What to do? I picked up an adorable pie pumpkin yesterday at Wolfe Spring Farm, but no one in the household or immediate circle of friends likes pumpkin pie. And, it’s post-Halloween, so how many more pumpkins do I need to decorate the home? Options: Roast, bake, compost, allow to decompose.
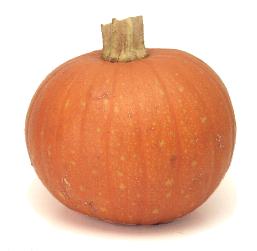
Pie Pumpkin
I opted for roasting since I also wanted to use the seeds inside to make homemade spicy pumpkin seeds, an excellent side benefit of carving or cooking pumpkins. Plus, pumpkin is actually quite healthy. Pumpkin is rich in carotenoids, the compounds that give the pumpkin its bright orange color, including beta-carotene, and Vitamin A, and fiber. What’s not to like?
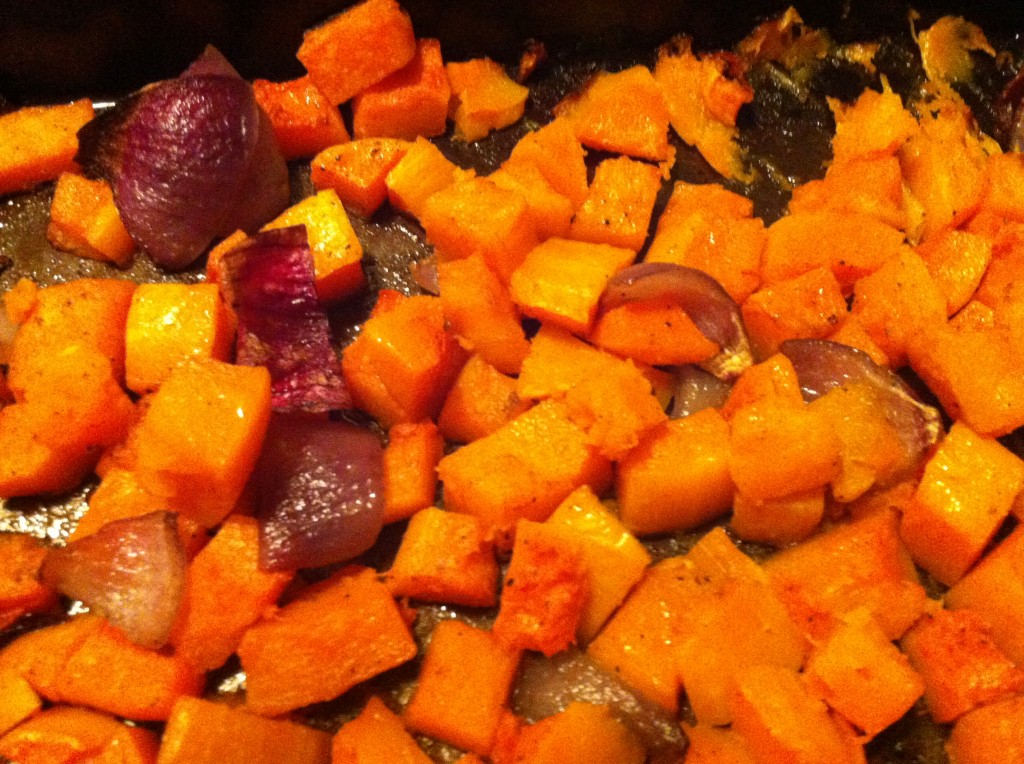
I had a 2 pound pumpkin, which was pretty manageable to cut open. I started by slicing it in half, and using a soup spoon to scoop out the seeds, reserving them in a separate bowl. I then put my knife to work, slicing the pumpkin into 1″ thick wedges. I mixed up some olive oil, honey and spices and tossed the slices with the mixture on a baking sheet. Popped it in the oven and let them do their thing for a good 45 minutes. And voila! Roasted pumpkin.
Honey Roasted Pumpkin Slices
1 small pie pumpkin
2 tablespoons olive oil
1 tablespoon honey
1 teaspoon ground cumin
1/2 teaspoon cardamom
1 teaspoon kosher salt
dash of cayenne pepper
dash of black pepper
Preheat oven to 425 Fahrenheit. On a sturdy cutting board, and using a large chef’s knife, slice off stem of pumpkin and cut pumpkin into 2 vertical halves. Scoop out seeds and flesh with a soup spoon. Set seeds aside in a bowl if you’d like to toast them for a bonus snack (recipe below), or discard. Cut pumpkin into slices vertically (they will look half-moons). Using a spoon or paring knife, remove any additional strings from the flesh.
In a small bowl, mix together remaining ingredients. Place pumpkin slices on a rimmed baking sheet and toss the slices in the the olive oil – honey mixture. Lay slices out on sheet in 1 layer. Sprinkle with an additional pinch of kosher salt and black pepper, and cayenne pepper (if using). Place baking sheet in oven. Roast for about 45 minutes, flipping slices 1 time half-way through the cooking time. Use a fork to see if the slices are tender. They should be lightly browned as well. Peel skin off before serving with a knife or gently remove the flesh by sliding a fork between the skin and the flesh. The pumpkin can be served warm or at room temperature, and will last 3 – 5 days in the refrigerator. Enjoy!
Crispy, Spicy Pumpkin Seeds
Raw pumpkin seeds
1 tablespoon olive oil
sprinkle of cayenne pepper
1/2 teaspoon ground cumin (or any other spices that you like
Kosher salt and black pepper
Preheat oven to 325 Fahrenheit. Assuming you are using the pumpkin seeds from your recently carved or sliced pumpkin, you’ll need to spend a few minutes cleaning up the seeds. This is arguably the most pain-staking part of the recipe. Place the pumpkin seeds in a wire mesh strainer and remove any large chunks of flesh. Then rinse the seeds under running water, making sure that you’ve removed any visible flesh and the seeds are clean. Then place seeds on a paper towel and dab them to remove excess water. They don’t have to be bone dry. I usually use 2 paper towels for this, no more.
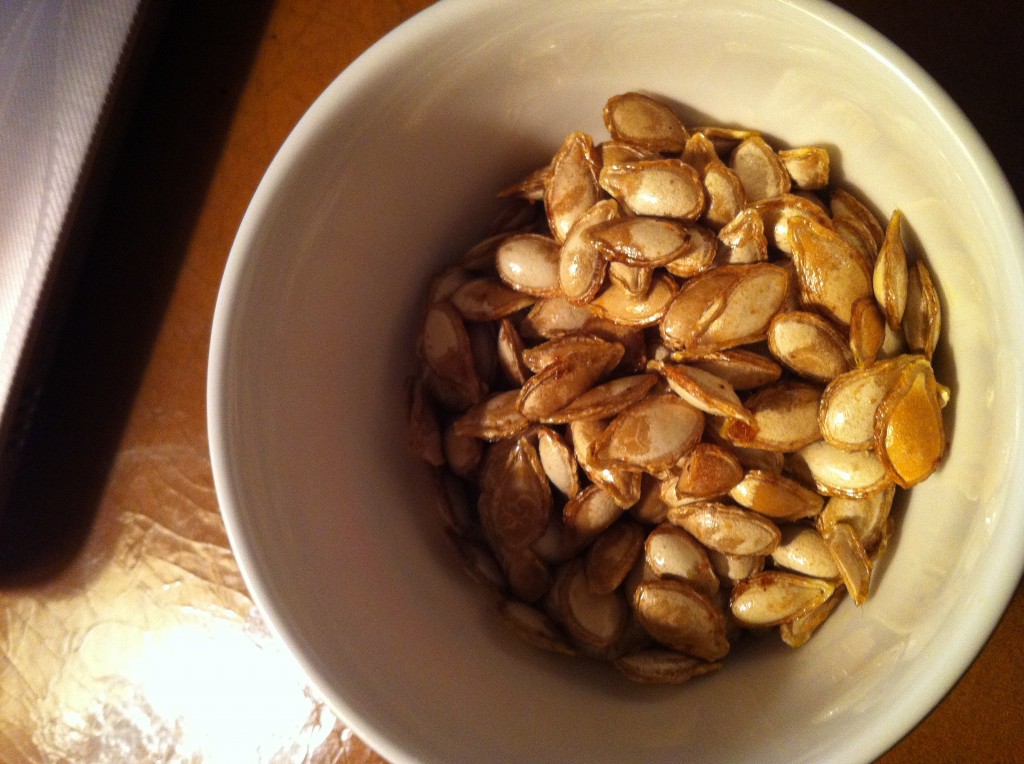
Mix remaining ingredients. Like the recipe for roasting the pumpkin slices, place the seeds in one layer on a rimmed baking sheet (I was using my one rimmed baking sheet, so I used a pizza pan instead). Pour the olive oil mixture over the seeds and use your hands or a spoon to coat them evenly if possible. Bake for 10 minutes. Remove from oven and give pan a shake and stir around the seeds. Return to oven for another 10-15 minutes. The seeds are ready when they are lightly browned. Some may get darker, which is just fine. Taste for doneness. Allow to cool and then place in sealed container. They will last for about a week at room temperature. Enjoy your healthy, homemade snack!

![Butternut Squash Seeds IMG_3314[1]](http://www.adventuresineatingandeverythingafter.com/wp-content/uploads/2013/02/IMG_33141-1024x764.jpg)
