Parker House Rolls Are a Hit

Epilogue on Parker House Rolls. Just what we needed for Thanksgiving dinner, another carb on the table, I thought to myself repeatedly, and voiced out loud  at least 1 or 2 times. But I am not too big to give credit where it is due and compliment Hubs on this last minute addition to the menu. The rolls created a few last minute scrambles like a missing 9X13 dish (had to swap out the homemade stuffing) and the equipment fumble (had to use Vodka bottle instead of rolling pin), but it was worth it. I was a doubter, and now I am a believer.

The rolls were rich and delicious and downright addictive. The Parker House rolls recipe we followed is from Bon Appetit. The good thing about having others help in the kitchen is that I can also capture their handiwork. Here is a video of Hubs lining up the individual rolls in the baking dish.  Did I mention that these make great leftovers, too?

Preparing Parker House Rolls

Tuesday night and What’s for Dinner? Roasted Cod with Garlic Bread Crumbs

Hyper-local radish toasts, Roasted Fresh Atlantic Cod from Iceland (ok, not local, but sustainable) with homemade garlic bread crumbs, and green salad with balsamic vinaigrette. The radishes are the last of this summer’s – proud to say we grew them in our recently moved raised bed. I read somewhere that radishes are the EASIEST vegetable to grow. We have had 3 or 4 failed crops until now. Clearly, I should stick to the kitchen. The cod is from Whole Foods (along with the greens), and the bread crumbs I made a few weeks ago.

This post will contain a few tips and one quick and easy weeknight recipe.

Surprisingly good: Radish Toasts

Tip #1: Radish toasts (or crostini or bruschetta if you want to get fancy) are an easy to make hors d’ouevres or starter that appears much fancier than it is (that is, if you like spicy, crunchy radishes). Slice up some baguette and some breakfast radishes, put a generous daub of butter on one side of the baguette slice, place a few slices of radish on top and sprinkle with good sea salt. Rinse, repeat, indulge. Yum!

Tip #2: You are literally throwing money out the window if you buy breadcrumbs in the store. I have seen a small bag sold for $5 or $6 in the specialty foods shop. Next time you have a day old baguette or Italian bread, don’t toss it. Hold on to it for another day or two until it is completely dried out/stale. Once it feels like a baton, take it to a box grater and go to town. It will make a bit of a mess, but grate the baguette like you would a carrot and ta-da, you’ve got homemade bread crumbs you can store in a glass jar on the shelf for months. The important thing is to make sure there is no more moisture in the bread, otherwise you’ll have mushy, and eventually, moldy bread crumbs. You can also cube it and put it into the food processor to make bread crumbs (less muscle), or make croutons out of them for your salad or soup (more effort).

Tip #3: Easy weeknight recipe that’s healthy to boot:

Roasted Cod with Homemade Garlic Bread Crumbs

  • 2 cod (or other dense white fish) fillets, about 6-8 ounces each
  • 1/2 cup homemade bread crumbs
  • 2 tablespoons olive oil
  • 1 garlic clove, minced
  • few sprigs parsley, chopped (or other fresh herb)
  • Salt and pepper
  • Lemon slices (for garnish)

Instructions:

Heat one tablespoon of olive oil in small pan over low-medium heat. Once heated, add garlic and saute for 1-2 minutes until fragrant, but don’t burn it. Add bread crumbs, salt and pepper and any other spices you’d like. Sautee for 5-6 minutes until bread crumbs are toasted evenly, but again, be careful not to burn (apparently, I do this frequently). Add parsley and mix, set aside.

Heat oven to 450 degrees. Place cod on a baking dish and drizzle remaining olive oil on fillets, sprinkle with salt and pepper. Place in oven. Turn 1/4 after 2 minutes, and repeat until last side is reached. Then remove baking dish and spoon bread crumbs on top. Bake cod for another 2 minutes, checking to ensure that bread crumbs are browning, not burning. Remove from oven and place on plate. Garnish with lemon, if desired, and more parsley.

Homemade Edamame Kale Quinoa Inspired by the Specialty Foods Counter

They say never to go grocery shopping when you’re hungry. I was so tempted to load up on prepared foods yesterday at Guido’s Marketplace in Great Barrington, but used my limited will power to stave off the urges. Guido’s Quinoa Edamame Salad (pictured below) looked divine  on an empty stomach. I liked that kale was one of the ingredients – it basically makes any recipe healthy in my book – and edamame, too (super food + protein). I nearly ordered a large container when I remembered that I had a bunch of kale in my CSA pick-up, and since it had been frosty, it needed to be prepared pronto.  Hold up, wait a minute, I was going to prepare this from scratch. I snapped a picture to capture the ingredient list (thank you, Guido’s) and hurried to the check-out counter.

Tempted: Quinoa Edamame Salad @ Guido’s Marketplace

While I unloaded the cart, I started making my mental map of prep steps.  I didn’t know the quantities, or the preparation instructions, but I was willing to wing it, even work under pressure as my belly was grumbling.  The first step would be to cook the quinoa (brilliant, I know). While the quinoa cooked, I’d prepare the vegetables and herbs (edamame, kale, parsley) and whip up the dressing. Mind you, these are all assumptions that I made.

I did a quick search online to confirm the cooking time for quinoa and found a great tip fromThe Kitchn blog. While boiling the quinoa, add a whole clove of garlic and a branch of rosemary to add an additional layer of flavor.  I loved this – the quinoa simply prepared like that tasted good enough to eat. But I powered forward, and to cut to the chase, the dish turned out great. If I had had more foresight, I’d have asked for a sample of Guido’s, so I would have had a taste benchmark as well. But, for a visual comparison, you can see my dish below. Not bad on the eyes, and pretty darn good on the palette. Recipe below photo for the adventurous.

Craving satisfied: Edamame Kale Quinoa Salad

Ingredients:

1 cup dry quinoa
2 cups water or broth
3 cloves garlic peeled, 1 smashed, the other 2 cloves minced
1 sprig of rosemary (optional)
1 tablespoon lemon juice
5 tablespoons olive oil
1 cup of edamame (if frozen, prepare according to package)
1 bunch of kale or tuscan kale, center ribs removed
1/2 cup of flat leaf parsley, washed and chopped
1-2 dried chili peppers (optional)


Instructions:

Rinse the quinoa well. Put the quinoa and water or broth in a small saucepan, add 1 clove smashed garlic and sprig of rosemary (if using), and bring to a boil. Cover and simmer for 15 minutes until all water is absorbed. Fluff with fork and let cool.

While quinoa is cooking, steam kale for 2-3 minutes. Remove from steamer with tongs and chop roughly. Place kale, chopped parsley, and edamame in mixing bowl. In a smaller bowl, prepare the dressing by combining remaining garlic, lemon juice, salt and pepper and chilis (if using). Whisk in the olive oil, and adjust seasoning as needed.

Once quinoa has cooled, add to bowl with vegetables and drizzle salad dressing over it. Stir gently to combine. Serve immediately, or store for 1-2 days.

Yield: 6-8 servings

Tabbouli Tabbouli Tabbouli

I just said it 3X because it’s kind of a dirty word in our house. Some people (who will go unnamed) won’t touch it. So instead of putting it on the menu, I made a delicious quinoa recipe on Saturday with fresh tomatoes, cucumbers, and garlic from our CSA pick-up, along with parsley, chives and mint from our garden, and didn’t utter the 8 letter word. And what do you know? It was roundly enjoyed.

I’ve written about quinoa and its virtues before, so no need to blather on about that. I will say that this recipe from Bon Appetit for Tabbouli-style quinoa was easy to prepare and very enjoyable: crunchy, summery, fresh and healthy. It also lasts a day or two, tasting better on day 2 if you ask me.

Bon Appetit’s Tabbouli Quinoa. My preparation looked the exact same

I prepared the recipe with minimal modifications and it was perfect [used chopped and seeded hothouse tomatoes instead of cherry tomatoes]. Here’s how I know:

  1. Aesthetics: it looked exactly like BA’s photo above (ex the cherry tomatoes)
  2. 2nd Helpings: Served at a casual buffet lunch and discerning guests came back for more (ok, not super scientific, but unless everything else tasted awful…)
  3. The “H” Factor: Hubs liked it

Just call it something else. Chalk up another win for quinoa. I still have to try Rebecca’s recipe before the end of the month.

Sharing is Caring – Double Trouble Tomato Bruschetta

At least that’s what Barney says. Those of you with small kids will get a smile out of that. Those of you without will likely scorn me and unleash the unbabyme app on my web presence.  Ah well, can’t please everyone.

This afternoon’s post is about sharing. I am fortunate to have awesome readers who frequently send me recipes.  Going forward, I will periodically invite readers to post to this blog as well. I love sharing recipes and  collaborating to improve a meal.  And, clearly love talking about cooking with all of you.

I will be out of town the next few Saturdays, so will sadly miss my beloved CSA Pick-ups at Wolfe Spring Farm. In my place, I have drafted friend, neighbor and fellow foodie Dan Doern to wax poetic on summer’s finest. I am also sad to miss this period because it is really peak season now in the NE. Readers may remember Dan Doern from pickled haricot verts fame. No pressure, Dan, but don’t let us down.

In reality, I fear Dan will handily out-foodie me. Bring it, Dan.

And, also in the spirit of sharing, I wanted to pass along a recipe sent to me this morning by  long-time friend, social media superstar and part-time vegan, Nicolette Barber. Everyone’s trying to figure out what to do with this year’s tomato bounty. Nico shares a timely recipe for Double Tomato Bruschetta that looks scrumptious. Take your basic bruschetta recipe, add sun-dried tomatoes to increase depth of flavor and melt some mozz on top. Kick it up a notch, why dontcha?

All Recipes: Double Tomato Bruschetta

Haven’t tried the recipe, but want to. Readers, please keep sharing!

Monday Night Dinner: A Day Late, but Still Worth Talking About

I made an easy-peasy salmon recipe last night that’s definitely worth sharing. It’s from Cooking Light  – Salmon with Roasted Tomatoes. Minimal prep time, and delicious outcome. The only con is that you do have to use your oven, which can be a downer on a summer night.

From Cooking Light: Salmon with Roasted Tomatoes

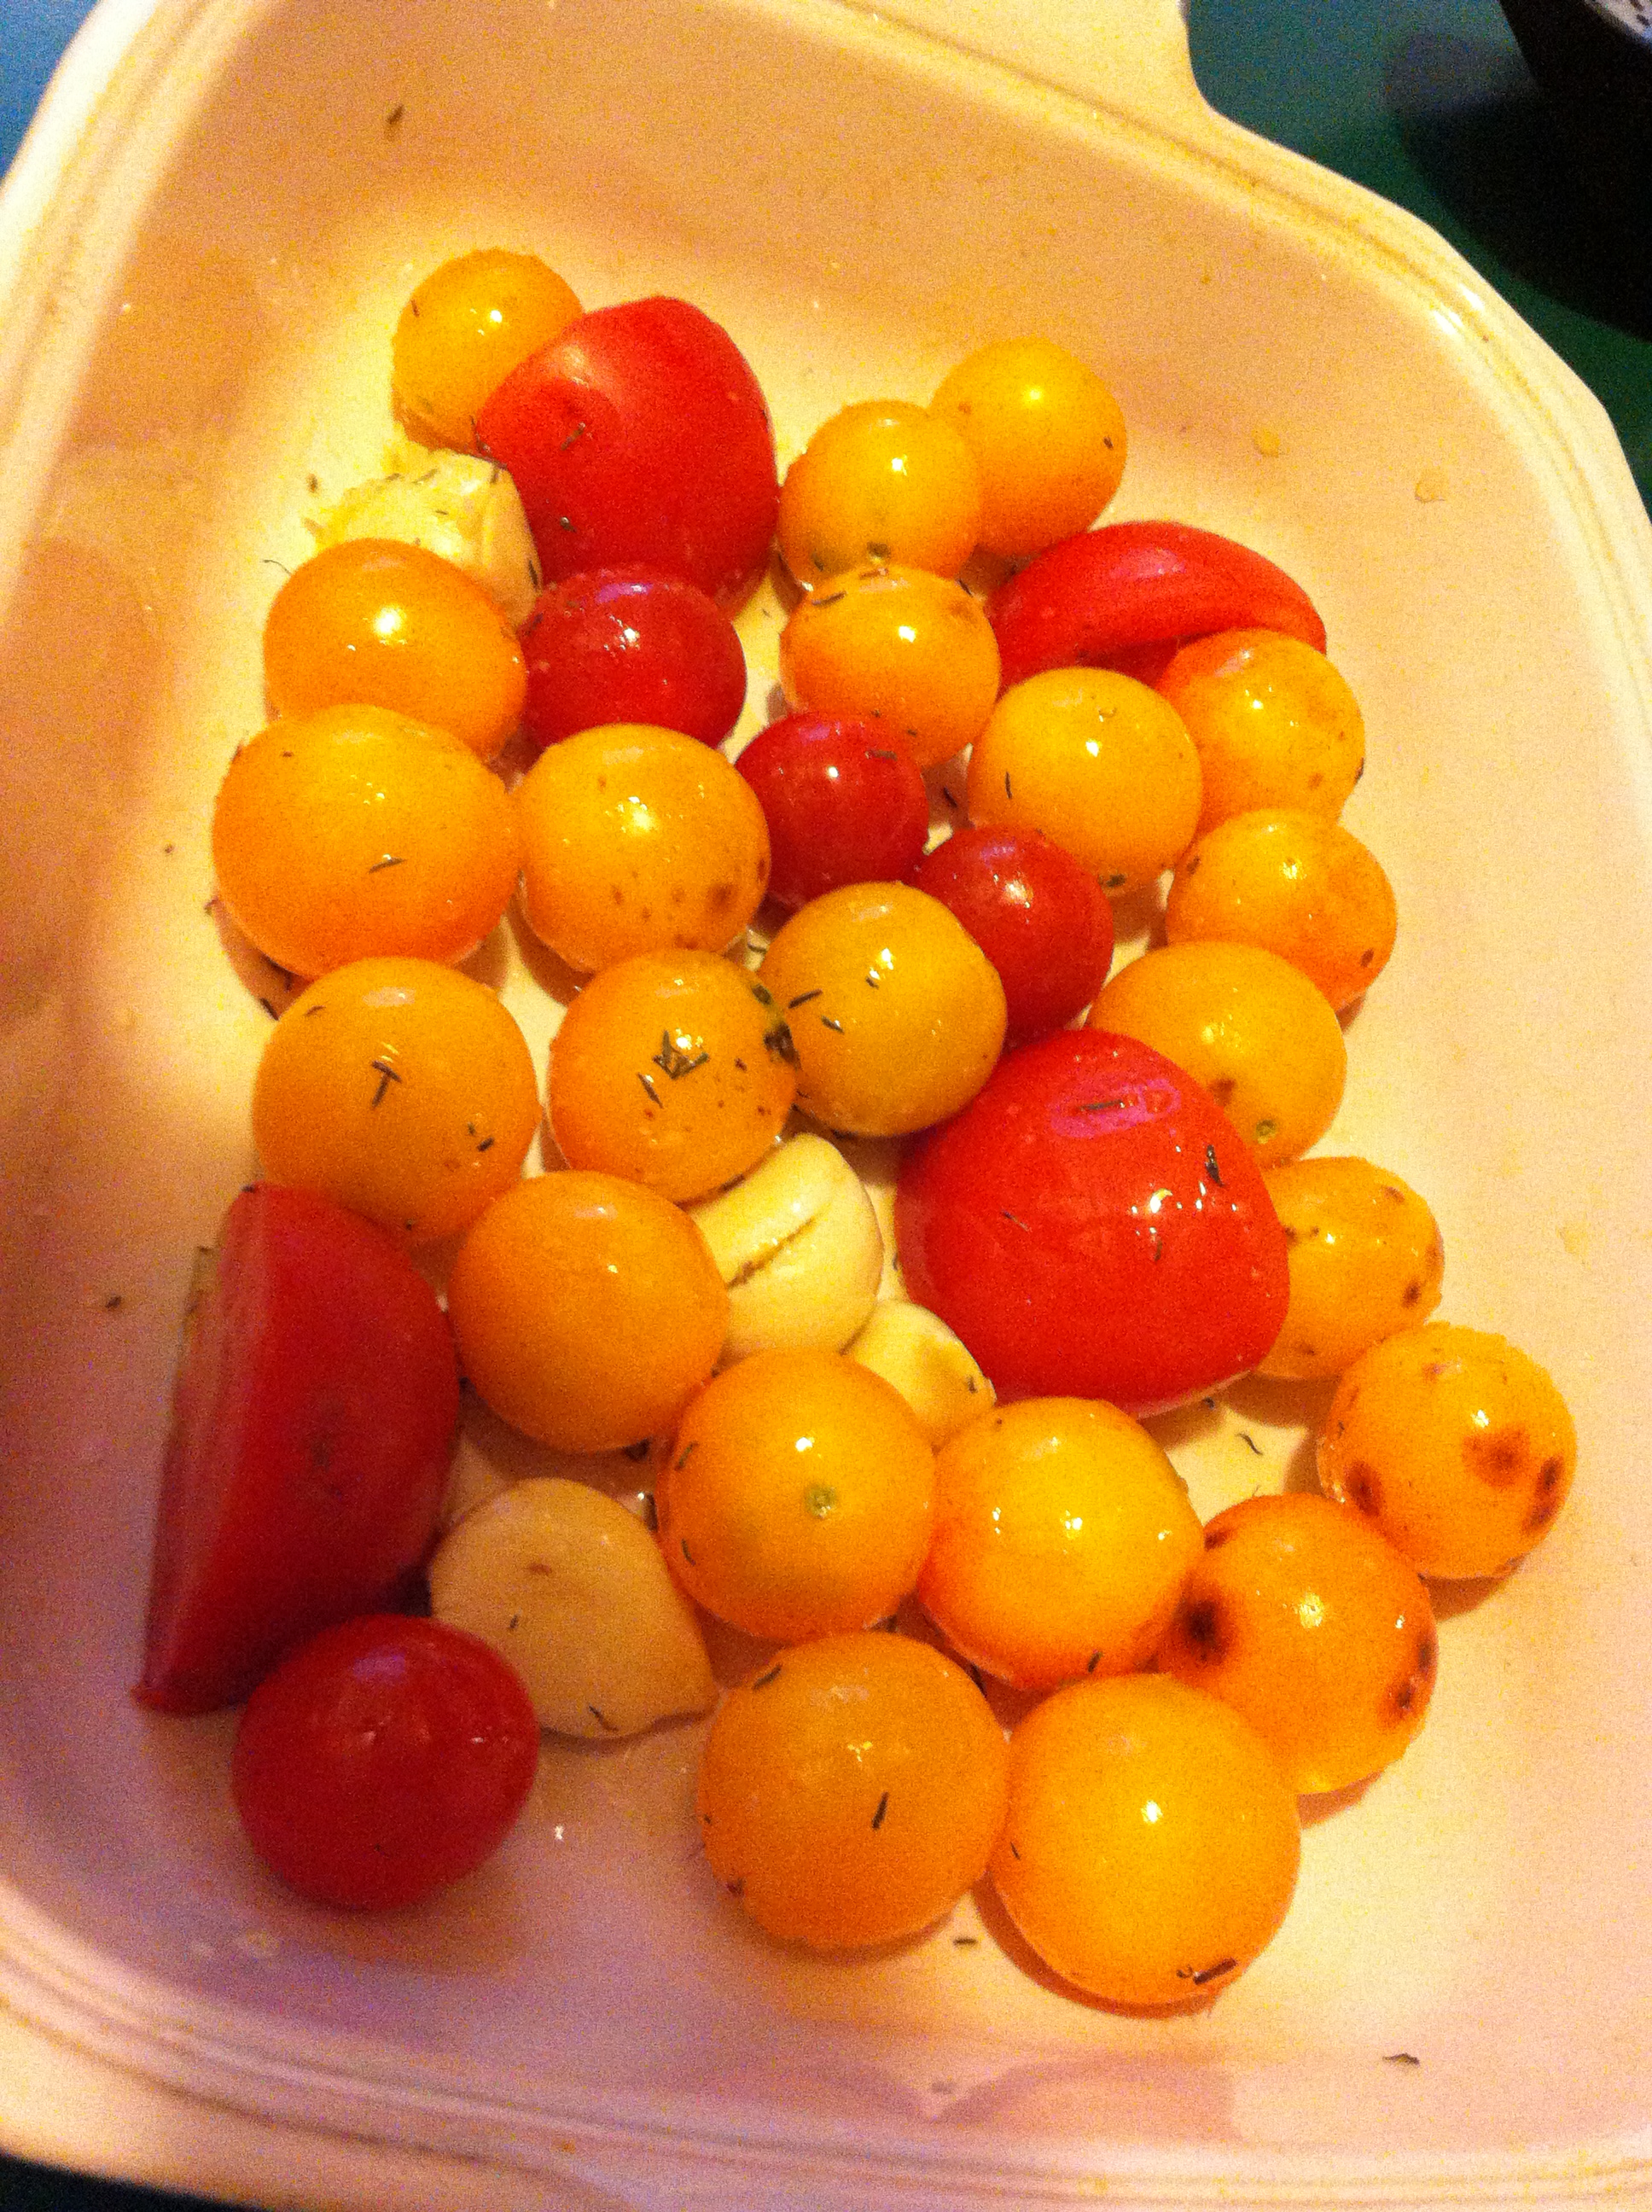
What I love about this recipe is that you don’t even have to halve the tomatoes. Wash and dry them, toss with some olive oil, garlic cloves, thyme and salt and pepper. Done! The recipe tells you to mince the garlic, but I simplified it further by leaving the garlic cloves whole and smashing them. I also added a quartered hothouse tomato simply because I had it on hand. All tomatoes and garlic were from my CSA Pick-up on Saturday. This week’s tomatoes are done and done.

Tomatoes Ready to Roast

I do like roasted tomatoes. Check out another great roasted tomato recipe here.

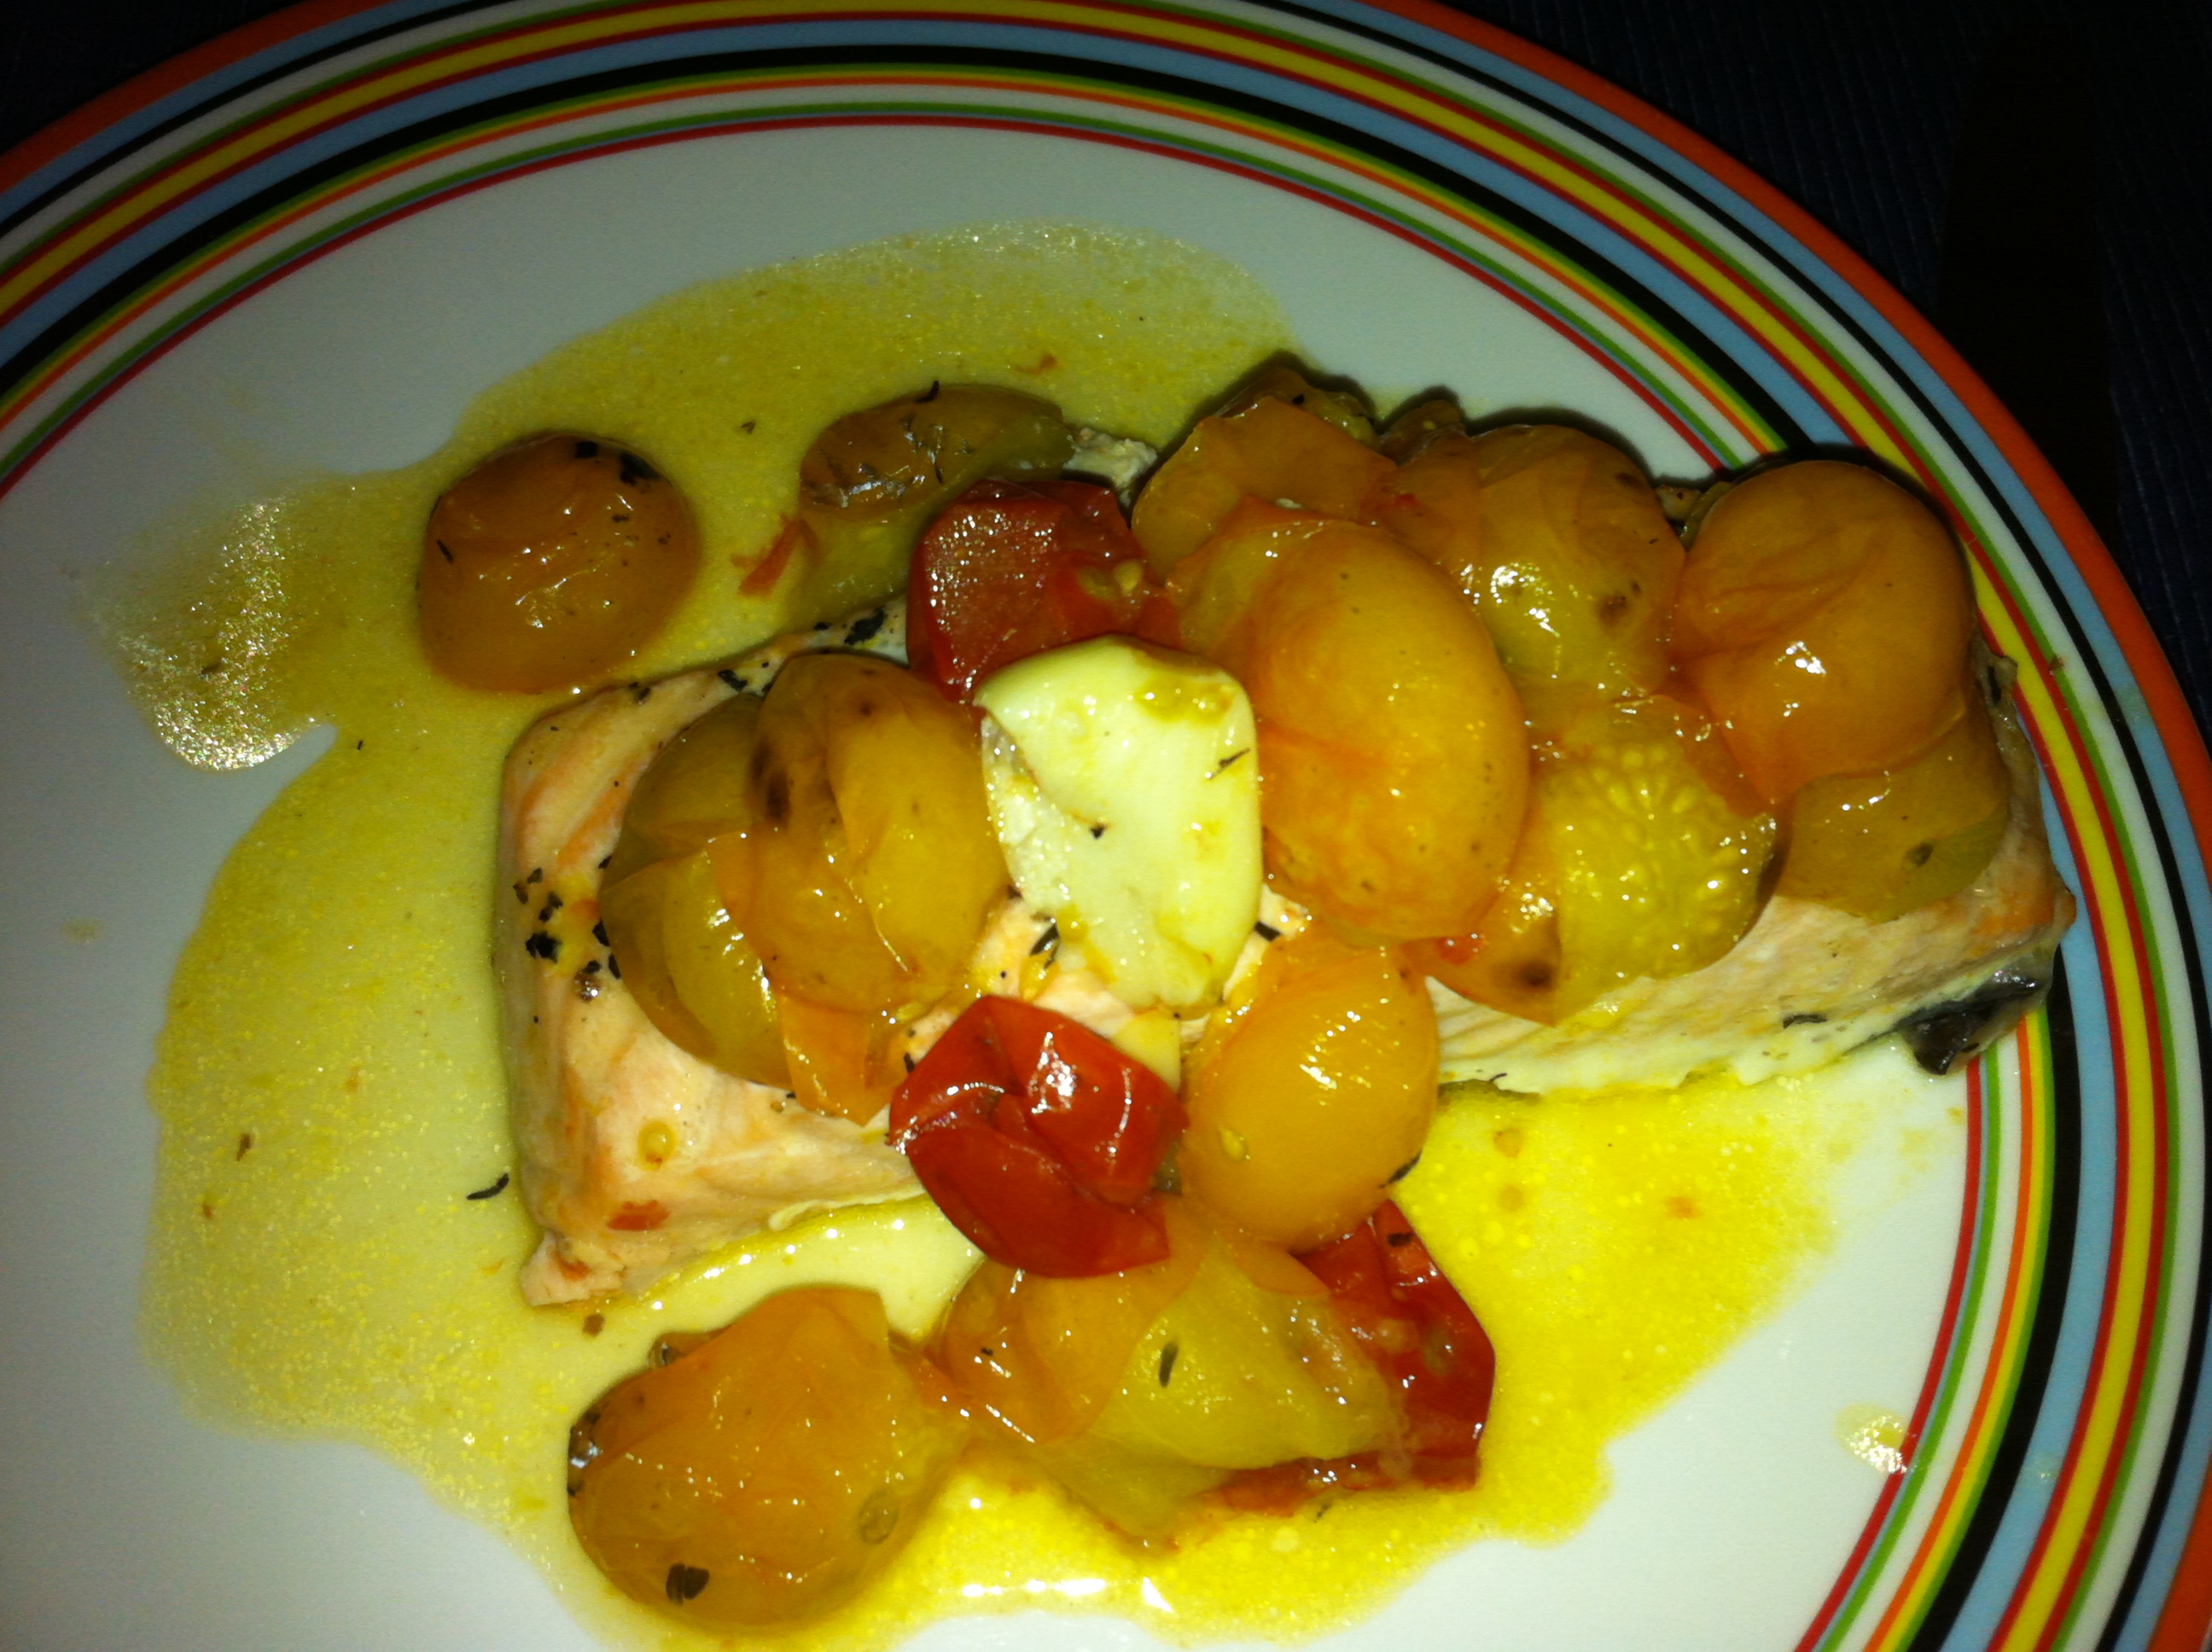
And here’s my final product:

Final product: Salmon with Roasted Cherry Tomatoes

A Midsummer’s Favorite – Roasted Vegetable Gazpacho

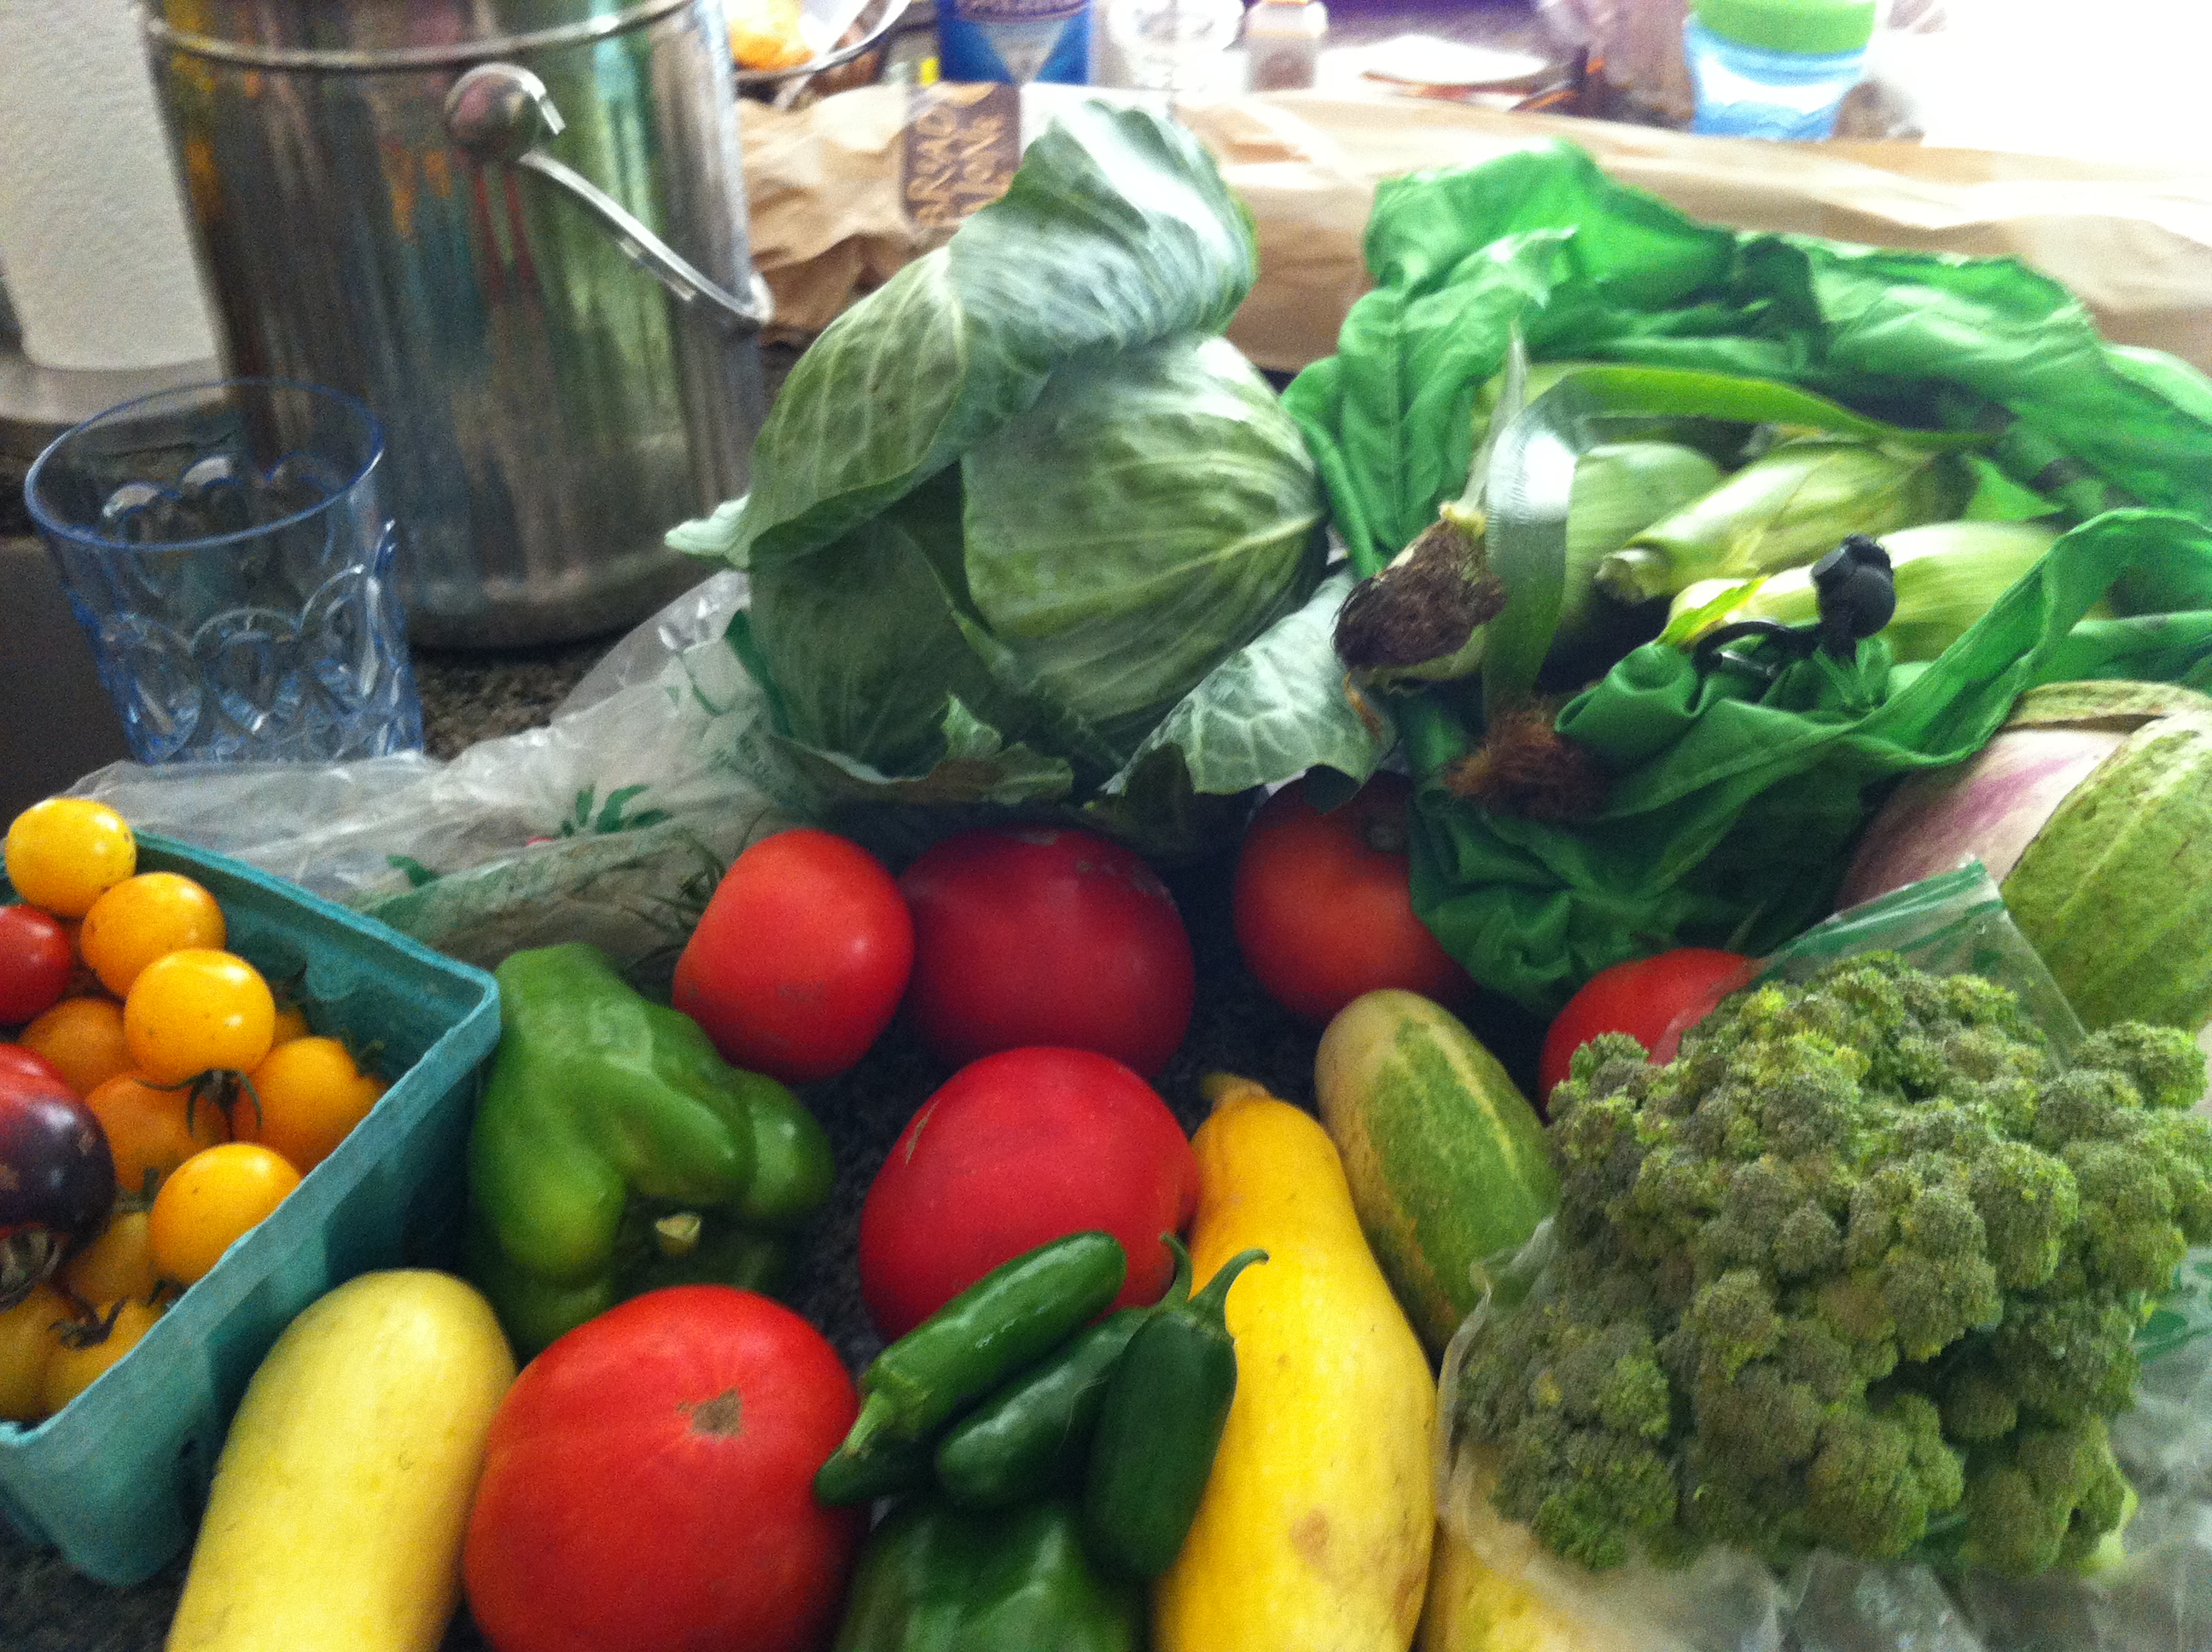
Such a bountiful CSA Pick-up on Saturday…Here it is on my countertop and I already stored the purple potatoes.

CSA Pick-up 8/4/12

I had a few recipes in mind, like Gazpacho and Zucchini Bread. I also wanted to think of something to do with the corn, since we had corn on the cob the night before, and our pick-up included 6 ears. After June graciously picked some kirby cucumbers for us, I considered a standard gazpacho, but then remembered a favorite recipe from summers past.

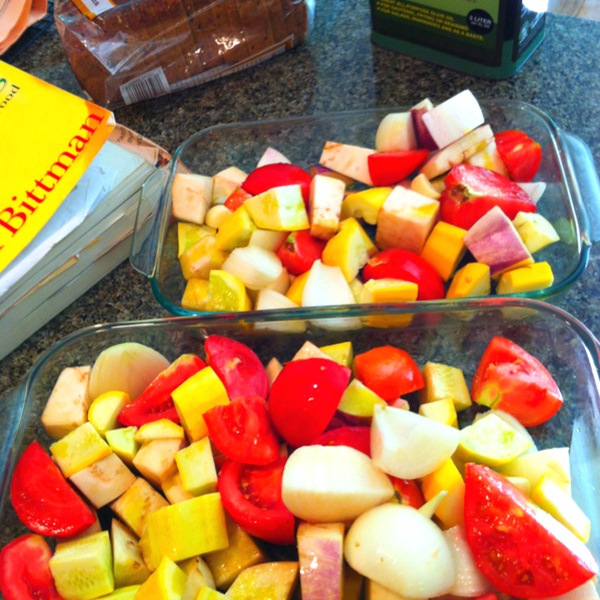
I’ve made this recipe  for Roasted Gazpacho from Mark Bittman many times and it’s always been a success. It’s also a good way to use some vegetables like eggplant, squash, and overly ripe tomatoes in bulk that might be otherwise difficult to use up. In a nutshell, you chop up zucchini, eggplant, tomatoes, onions and garlic, toss with olive oil and roast at 400 degrees. I used yellow squash instead of green zucchini here (picture below). Either works fine – another forgiving recipe.

Preparation for Roasted Gazpacho: Chopped vegetables tossed in olive oil and dash of kosher salt, ready to go into oven.

Cool, purée with 1/4 cup red wine vinegar and 4 cups water. Season with salt and pepper and garnish with chopped pepper, cucumbers, and/or tomatoes to add crunch. Enjoy!

Rebecca, a blogger in Colorado, transcribed the recipe and included a pic, and funnily enough, her final product looks nothing like mine.

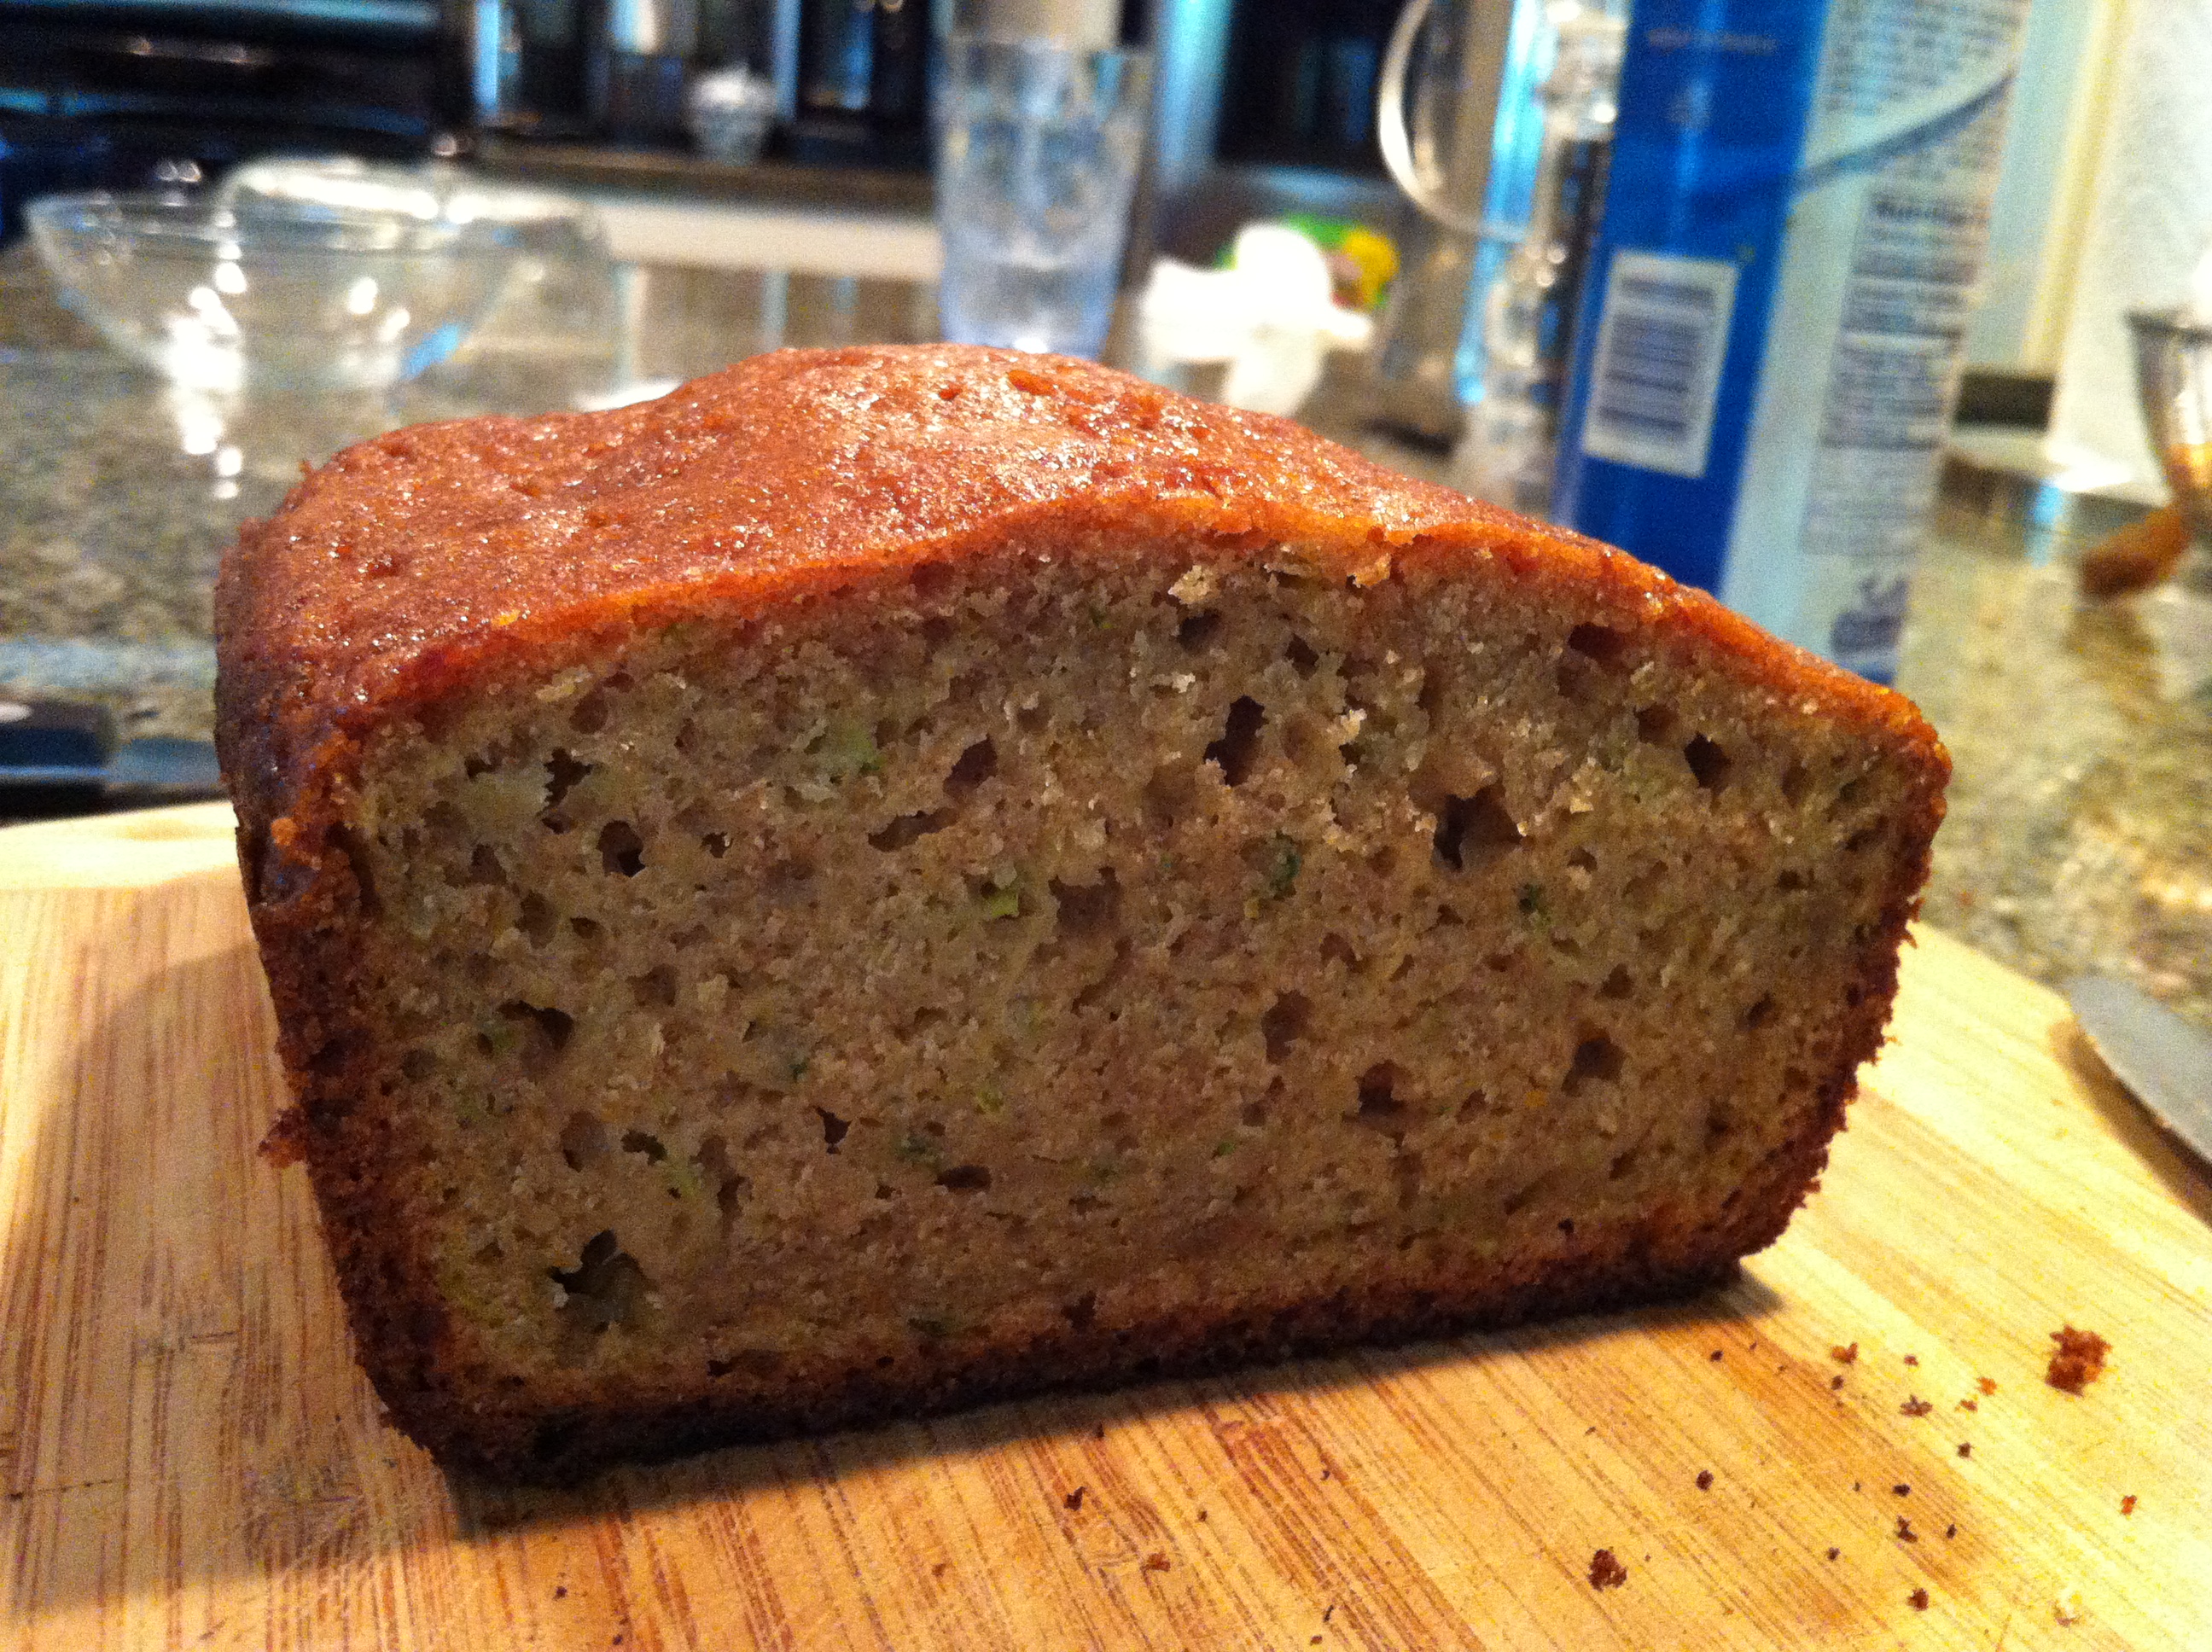
I also made 2 loaves of yummy Orange Zucchini bread.

Orange Zucchini Bread

Our friend Nash passed along the recipe and it was the first time I tried this variation on the classic zucchini bread. The orange rind and juice add a nice touch – slight tartness and interesting accent of flavor. You can also use less white sugar since the orange juice adds natural sweetness than with a traditional recipe (usually calls for 2 cups of sugar).

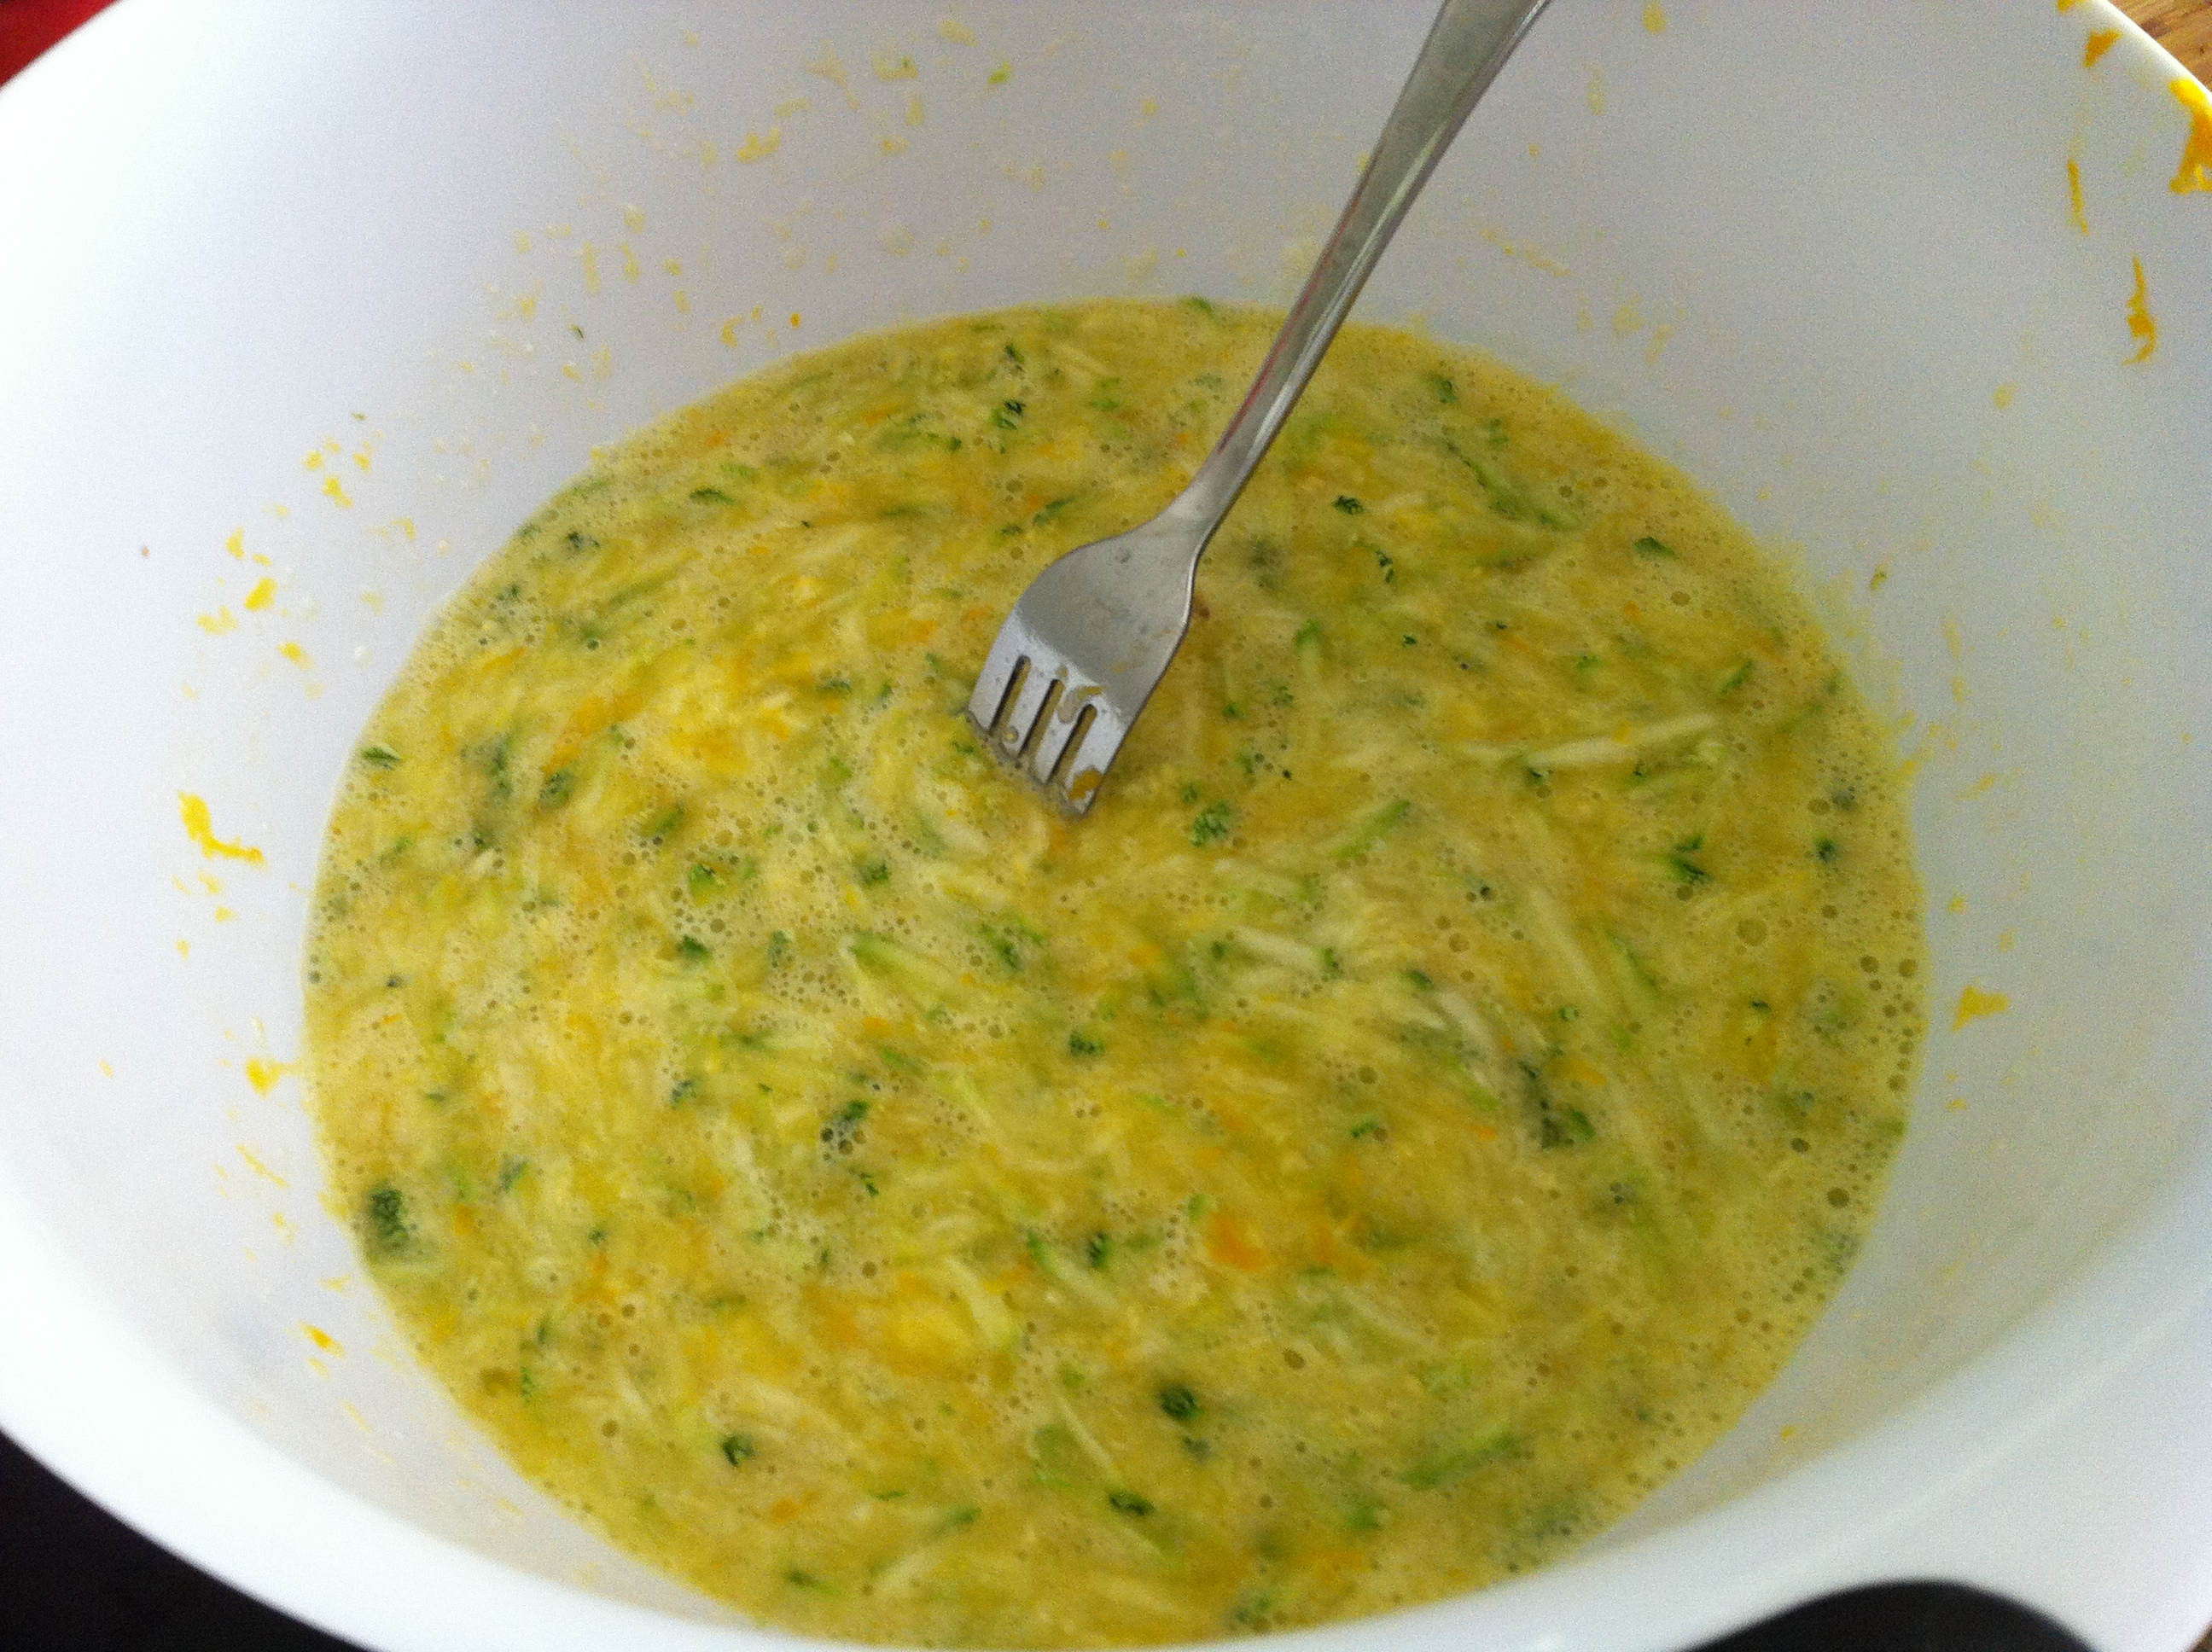
Zucchini Orange Bread batter

Here is the recipe I followed, similar to the Cooks.com recipe I linked to above:

Orange Zucchini Bread

1/2 c. canolaoil
1 1/2 c. sugar
3 eggs
2 tsp. vanilla
3 c. flour [I used 1 cup whole wheat, 2 cups all-purpose]
1 tsp. baking soda
1 tsp. baking powder
1 tsp. salt
1/2 c. orange juice
2 tsp. grated orange rind
2 c. grated zucchini

Instructions:

Mix all dry ingredients and set aside. Then mix the rest of the ingredients and cream well. Add the dry ingredients and mix well. Grease 2 bread pans and bake at 375 degrees for 50-60 minutes. You can add 1/2 cup chopped walnuts to batter as well.

Stay tuned for a great recipe for Sauteed Corn and Herbs…


Sure Beats Steaming…

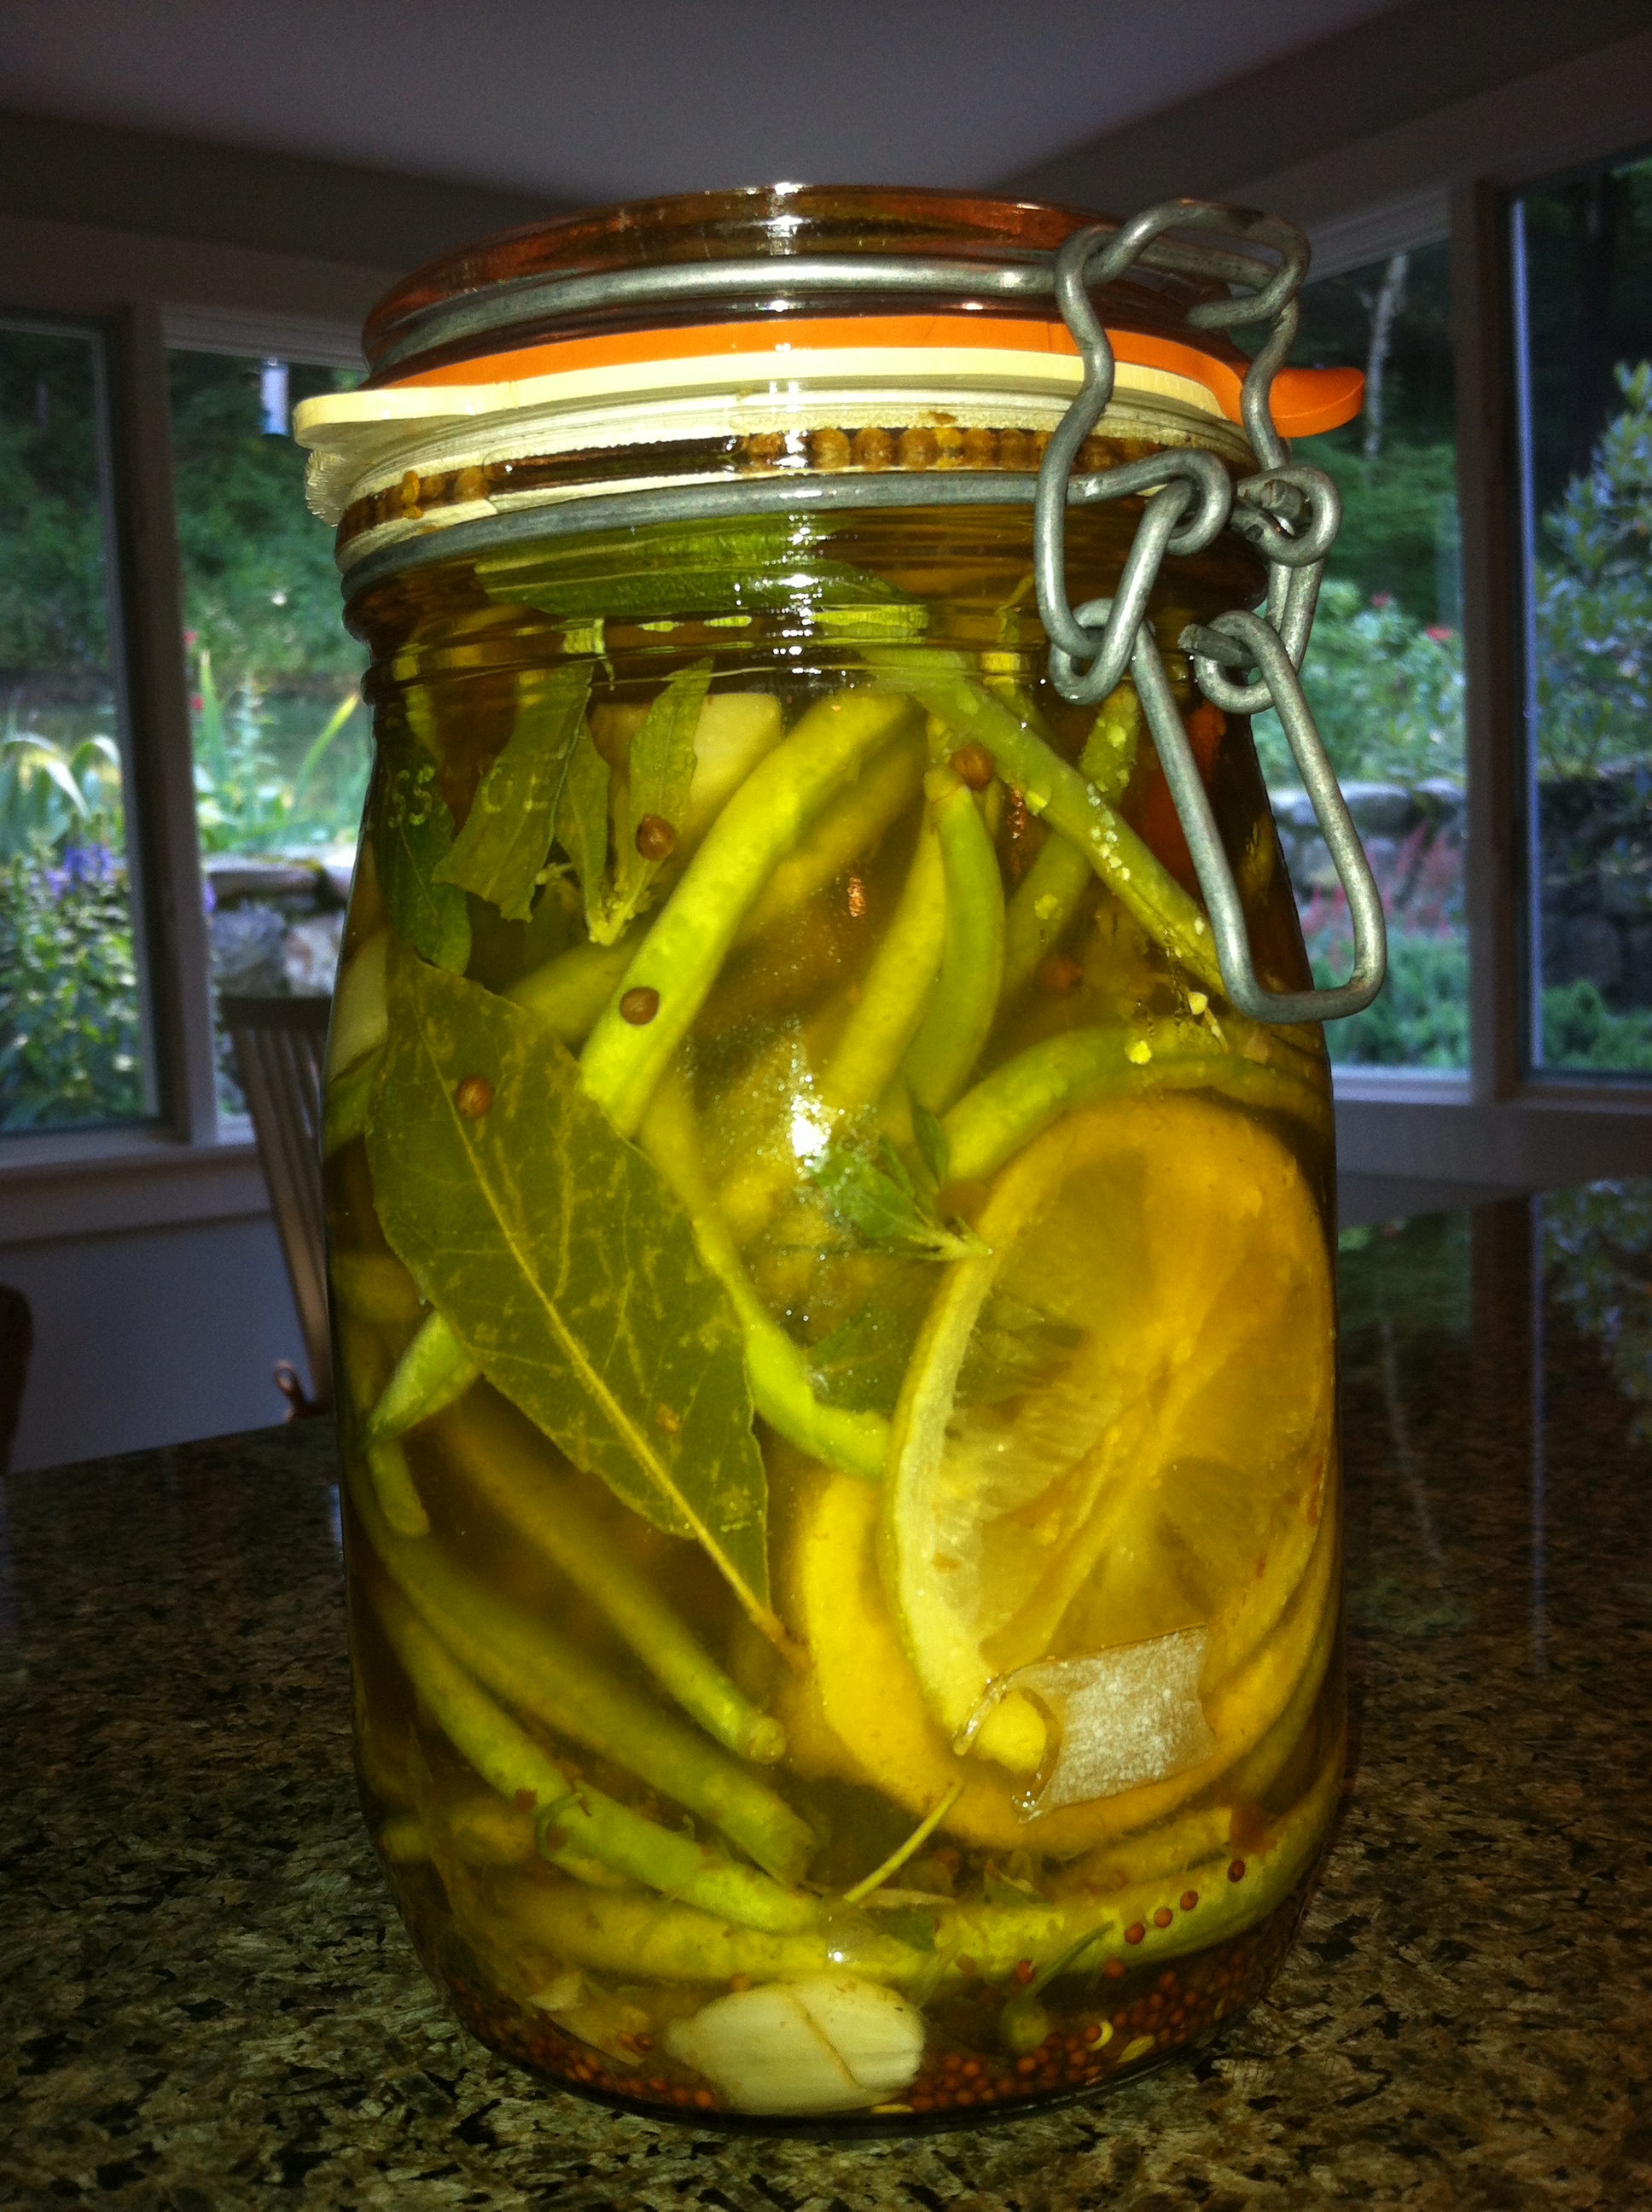
What a great surprise! Check out this gorgeous glass jar of pickled haricot verts that I received as a gift from my neighbor Dan Doern. Dan mixed the haricot verts from our 7/14/12 CSA pick up with vinegar, sliced lemons, peppercorns, garlic cloves, epazote (from his own garden) and jalapeno peppers to make a super tasty quick pickle.

The last time I used epazote was during a cooking class in Oaxaca, Mexico. Color me impressed…

Dan nuked everything for a minute and then stored it in this airtight glass container. Stored in the fridge, this tasty treat should last a few weeks.

And what flavor! The haricot verts are spicy, savory, tangy and citrus-y sweet all at the same time. Dan recommends adding to bloody marys for additional savoriness. We snacked on them with cocktails before dinner. Puts my steamed green beans to shame!

Dan, chime in on what I’m missing re: the recipe or instructions. And thank you again!

Monday, Monday – What’s for Dinner?

I always feel like I have to eat virtuously early in the week as things do start to slide downhill as the weekend approaches. Tonight I’ll make another favorite, particularly in warm weather – Seared Tuna with Shallot Gremolata. This is an easy and tasty recipe from a Williams Sonoma cookbook called “Weeknight Fresh + Fast” by Kristine Kidd. This recipe will take no more than 15 minutes from start to finish, not including the time to purchase fresh tuna steaks. Props to my dear friend Lauren for giving me this book as a gift last year.

As an aside, this is a great cookbook that takes a unique approach to categorizing recipes. All recipes are bucketed by season and feature seasonal ingredients.This recipe is ironically in the “Winter” section, but seasonality is linked to location, right?  It’s the citrus used in the recipe that places it in the “Winter” section, but since lemons and oranges never grow in NY without extraordinary efforts, I have no qualms about making this in July. Plus, I’ll use a few ingredients from my CSA pick up and garden.

Tuna with Shallot Gremolata recipe adapted  by me from Weeknight Fresh + Fast. Serves 2

  • 2 tuna steaks, about 6 ounces each (sushi grade tuna preferred)
  • 1 teaspoon mustard seeds
  • 1 teaspoon ground fennel seeds (use a mortar and pestle)
  • 1 lemon
  • few tablespoons chopped flat leaf parsley (from my herb garden)
  • 1 small minced shallot (from CSA Pick-up)
  • 2 teaspoons olive oil

Instructions: Mix together mustard seeds and fennel seeds and press into both sides of tuna steaks. Sprinkle with salt and pepper

Prepare gremolata: zest lemon in a bowl and add chopped parsley and shallot. Add a drizzle of olive oil to moisten the mixture. Gremolata done.

Prepare tuna steaks: Lightly coat a nonstick pan or cast iron pan with olive oil and heat over medium  to medium-high heat. Once hot, add the tuna steaks and cook 2-3 min per side depending on thickness of steak. I like to leave it very rare, or pink, in the middle. Sprinkle with gremolata and serve immediately

—–

You will have gremolata left over. Consider this a bonus – save it in the fridge and use it on other grilled dishes. It will stay for a few days.

On the side: You can serve this with any starch, or a light salad of fennel, red onion slices and orange slices. I love the fennel salad, but hubs never touches it, so I’m not bothering tonight.

We will have steamed haricot verts with a mustard vinaigrette and grilled bread rubbed with garlic and a hint of tomato (pan con tomate for you Spanish foodies)