We’ve been back from our trip for a few days, and I am still struggling with a spot of jetlag and general post-vacation malaise. I finally had the itch to cook today, but it had to be something easy, familiar and tasty. Nothing to boost the spirit like 2 favorite go-to dishes for dinner, and also a guarantee of a no-complaint meal. It’s my version of comfort food, so disclaimer disclaimer disclaimer that this is NOT a particularly healthy, local or nutrient-dense meal. As an aside, I picked up the handy phrase nutrient-dense from my friend Tamara John Mannelly who recently launched a beautiful new foodie blog. Check it out. But now right now as you must continue to read this…
Last night’s menu consisted of a simplified Sole Meunière and a dummied-down Rice Pilaf. And, yes, both these dishes do create a monochromatic palate often associated with fried foods, but like I said, don’t judge. It’s comfort food.
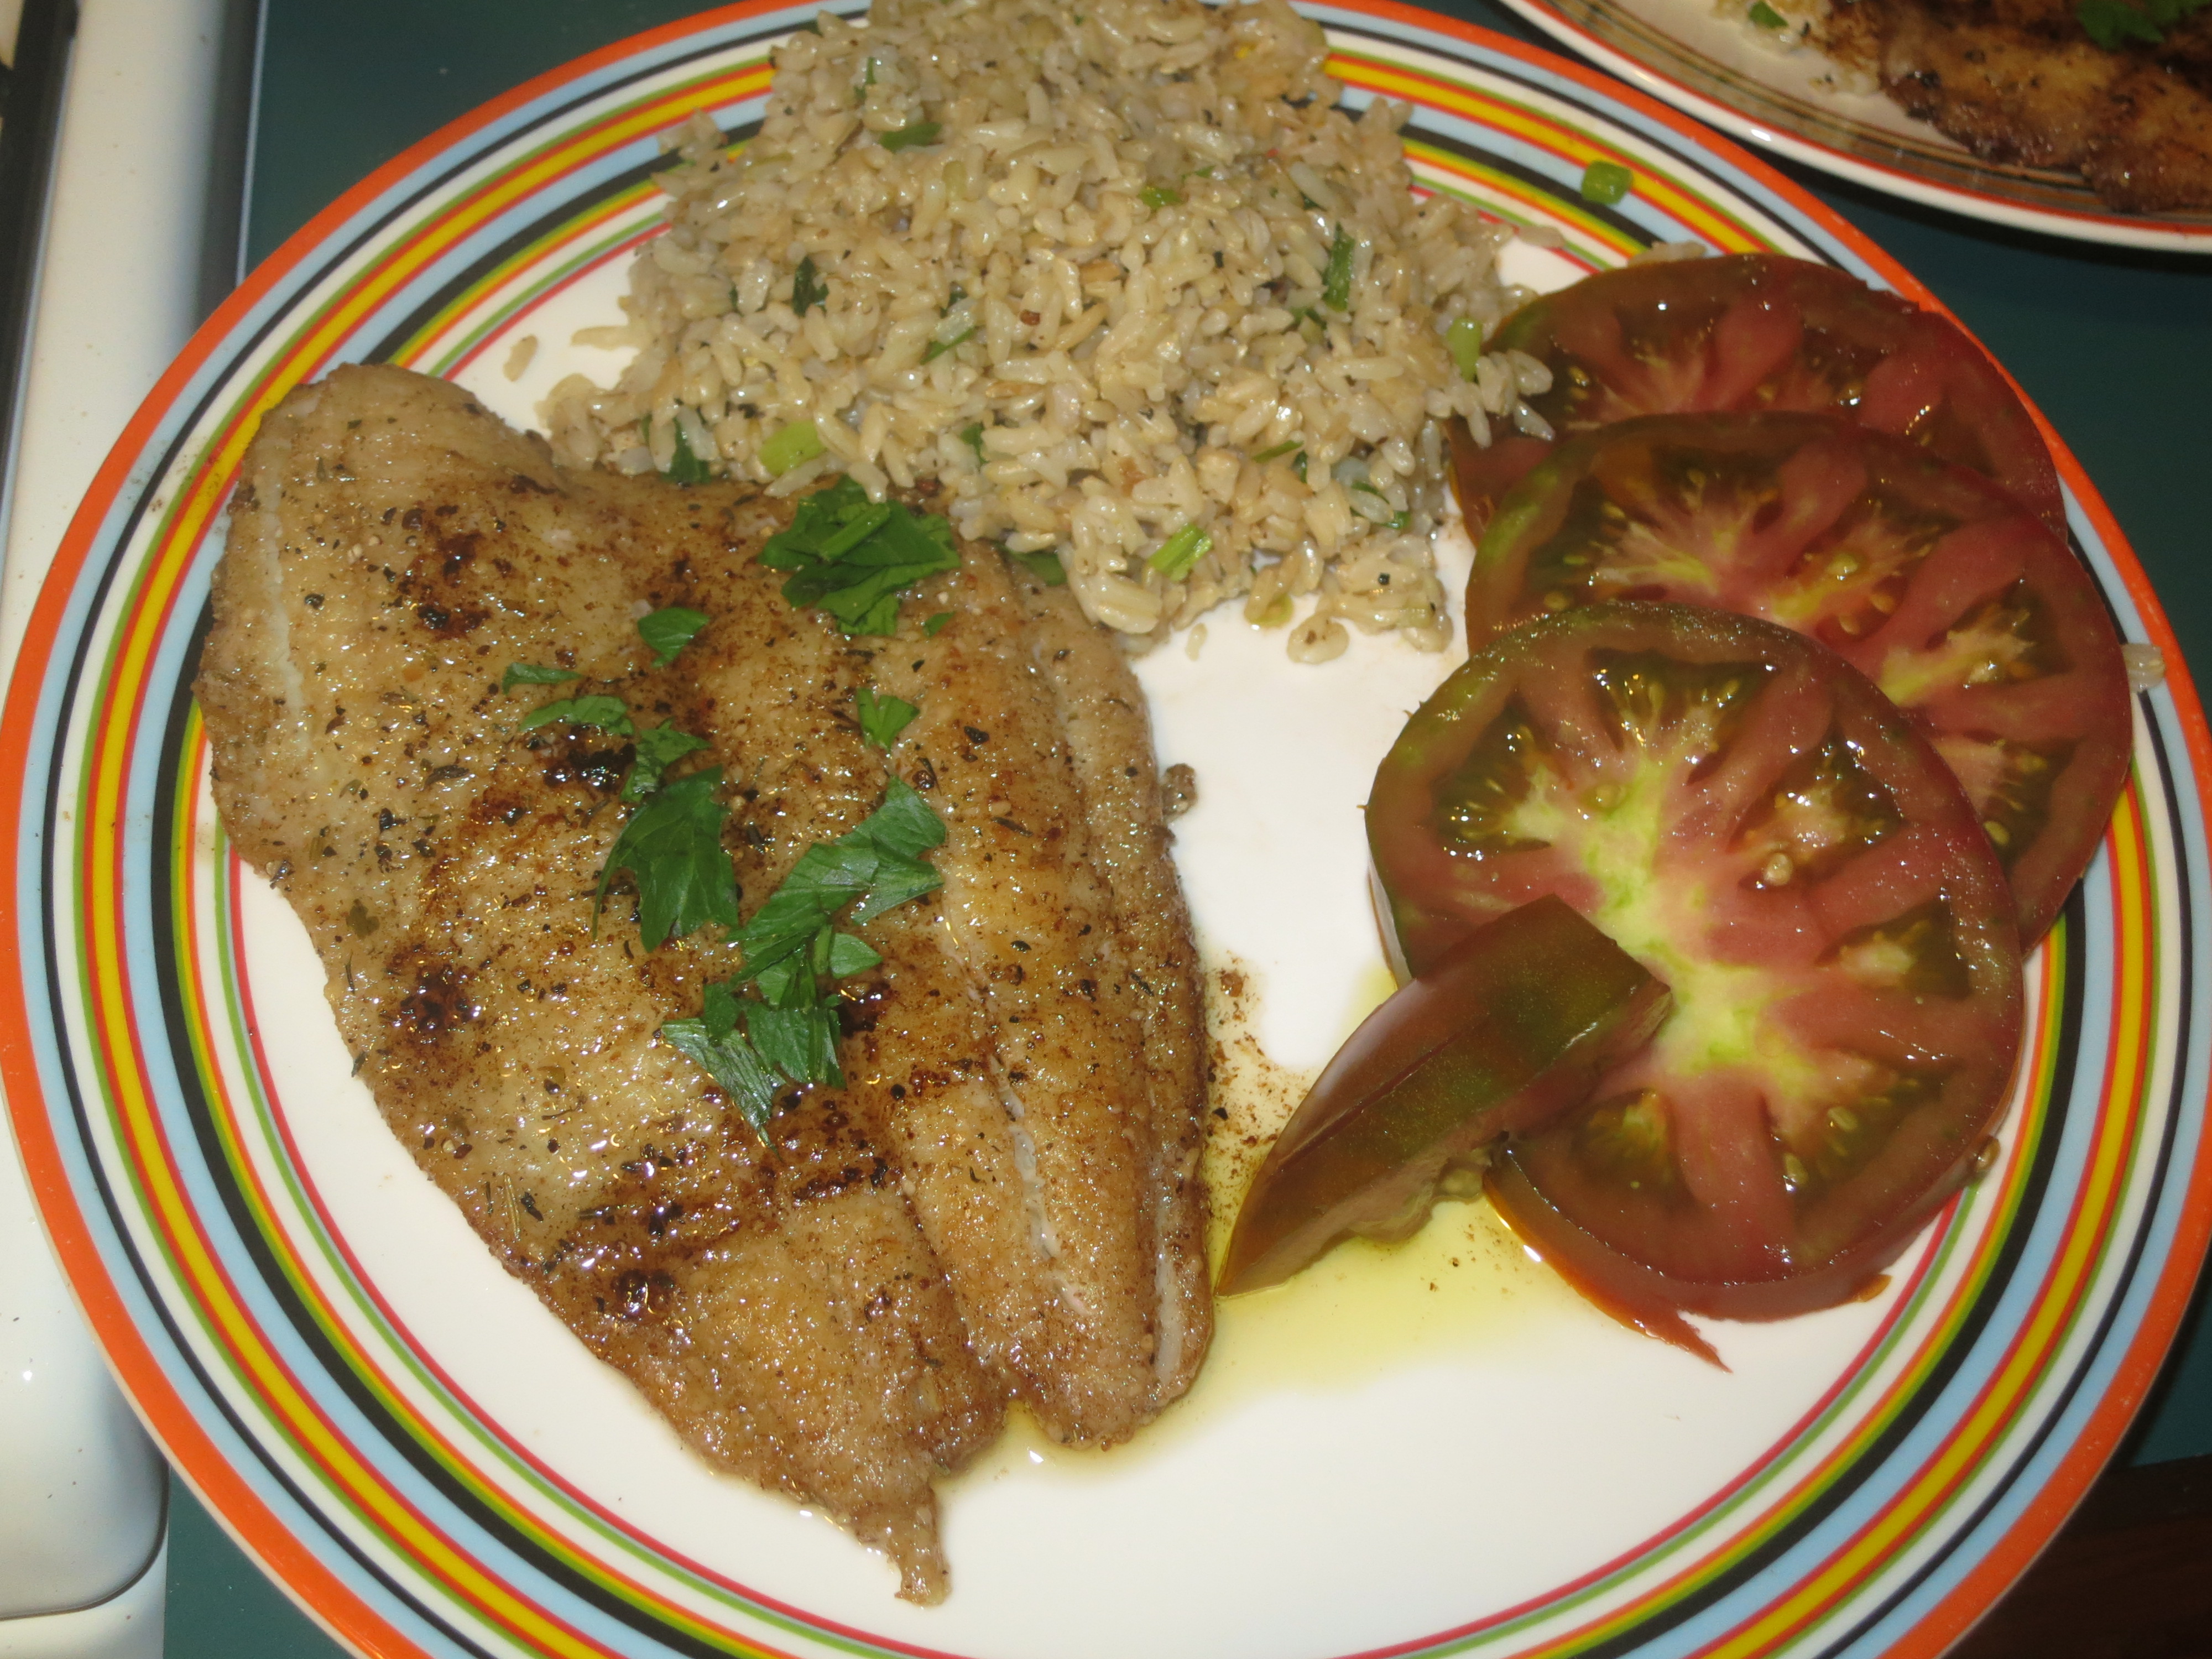
Flounder Meuniere, Rice Pilaf and Heirloom Tomato Salad
In order to spice things up the light brown palette, I sliced up an heirloom tomato (drizzled with olive oil and sea salt) and added it to our plates for color. This one plate meal was delish and hit the spots. No complaints, only clean plates – guaranteed.
Here’s what I did: prepared a large batch of brown rice earlier in the day, in a nod to nutritious eating, though I knew I’d be doctoring it up later. In a medium sized pan, I sauteed some scallions in a generous pour of olive oil, then added the pre-cooked brown rice, along with salt and pepper and sauteed for 3 or 4 minutes on medium heat. The rice gets a little crispy, and the olive oil and scallion give it a really nice flavor. You can saute red onion, yellow onion, or shallots (or a mix) in place of the scallion. I call this dummied-down Pilaf because it is simpler than a traditional Pilaf, both in preparation, as well as complexity of taste.
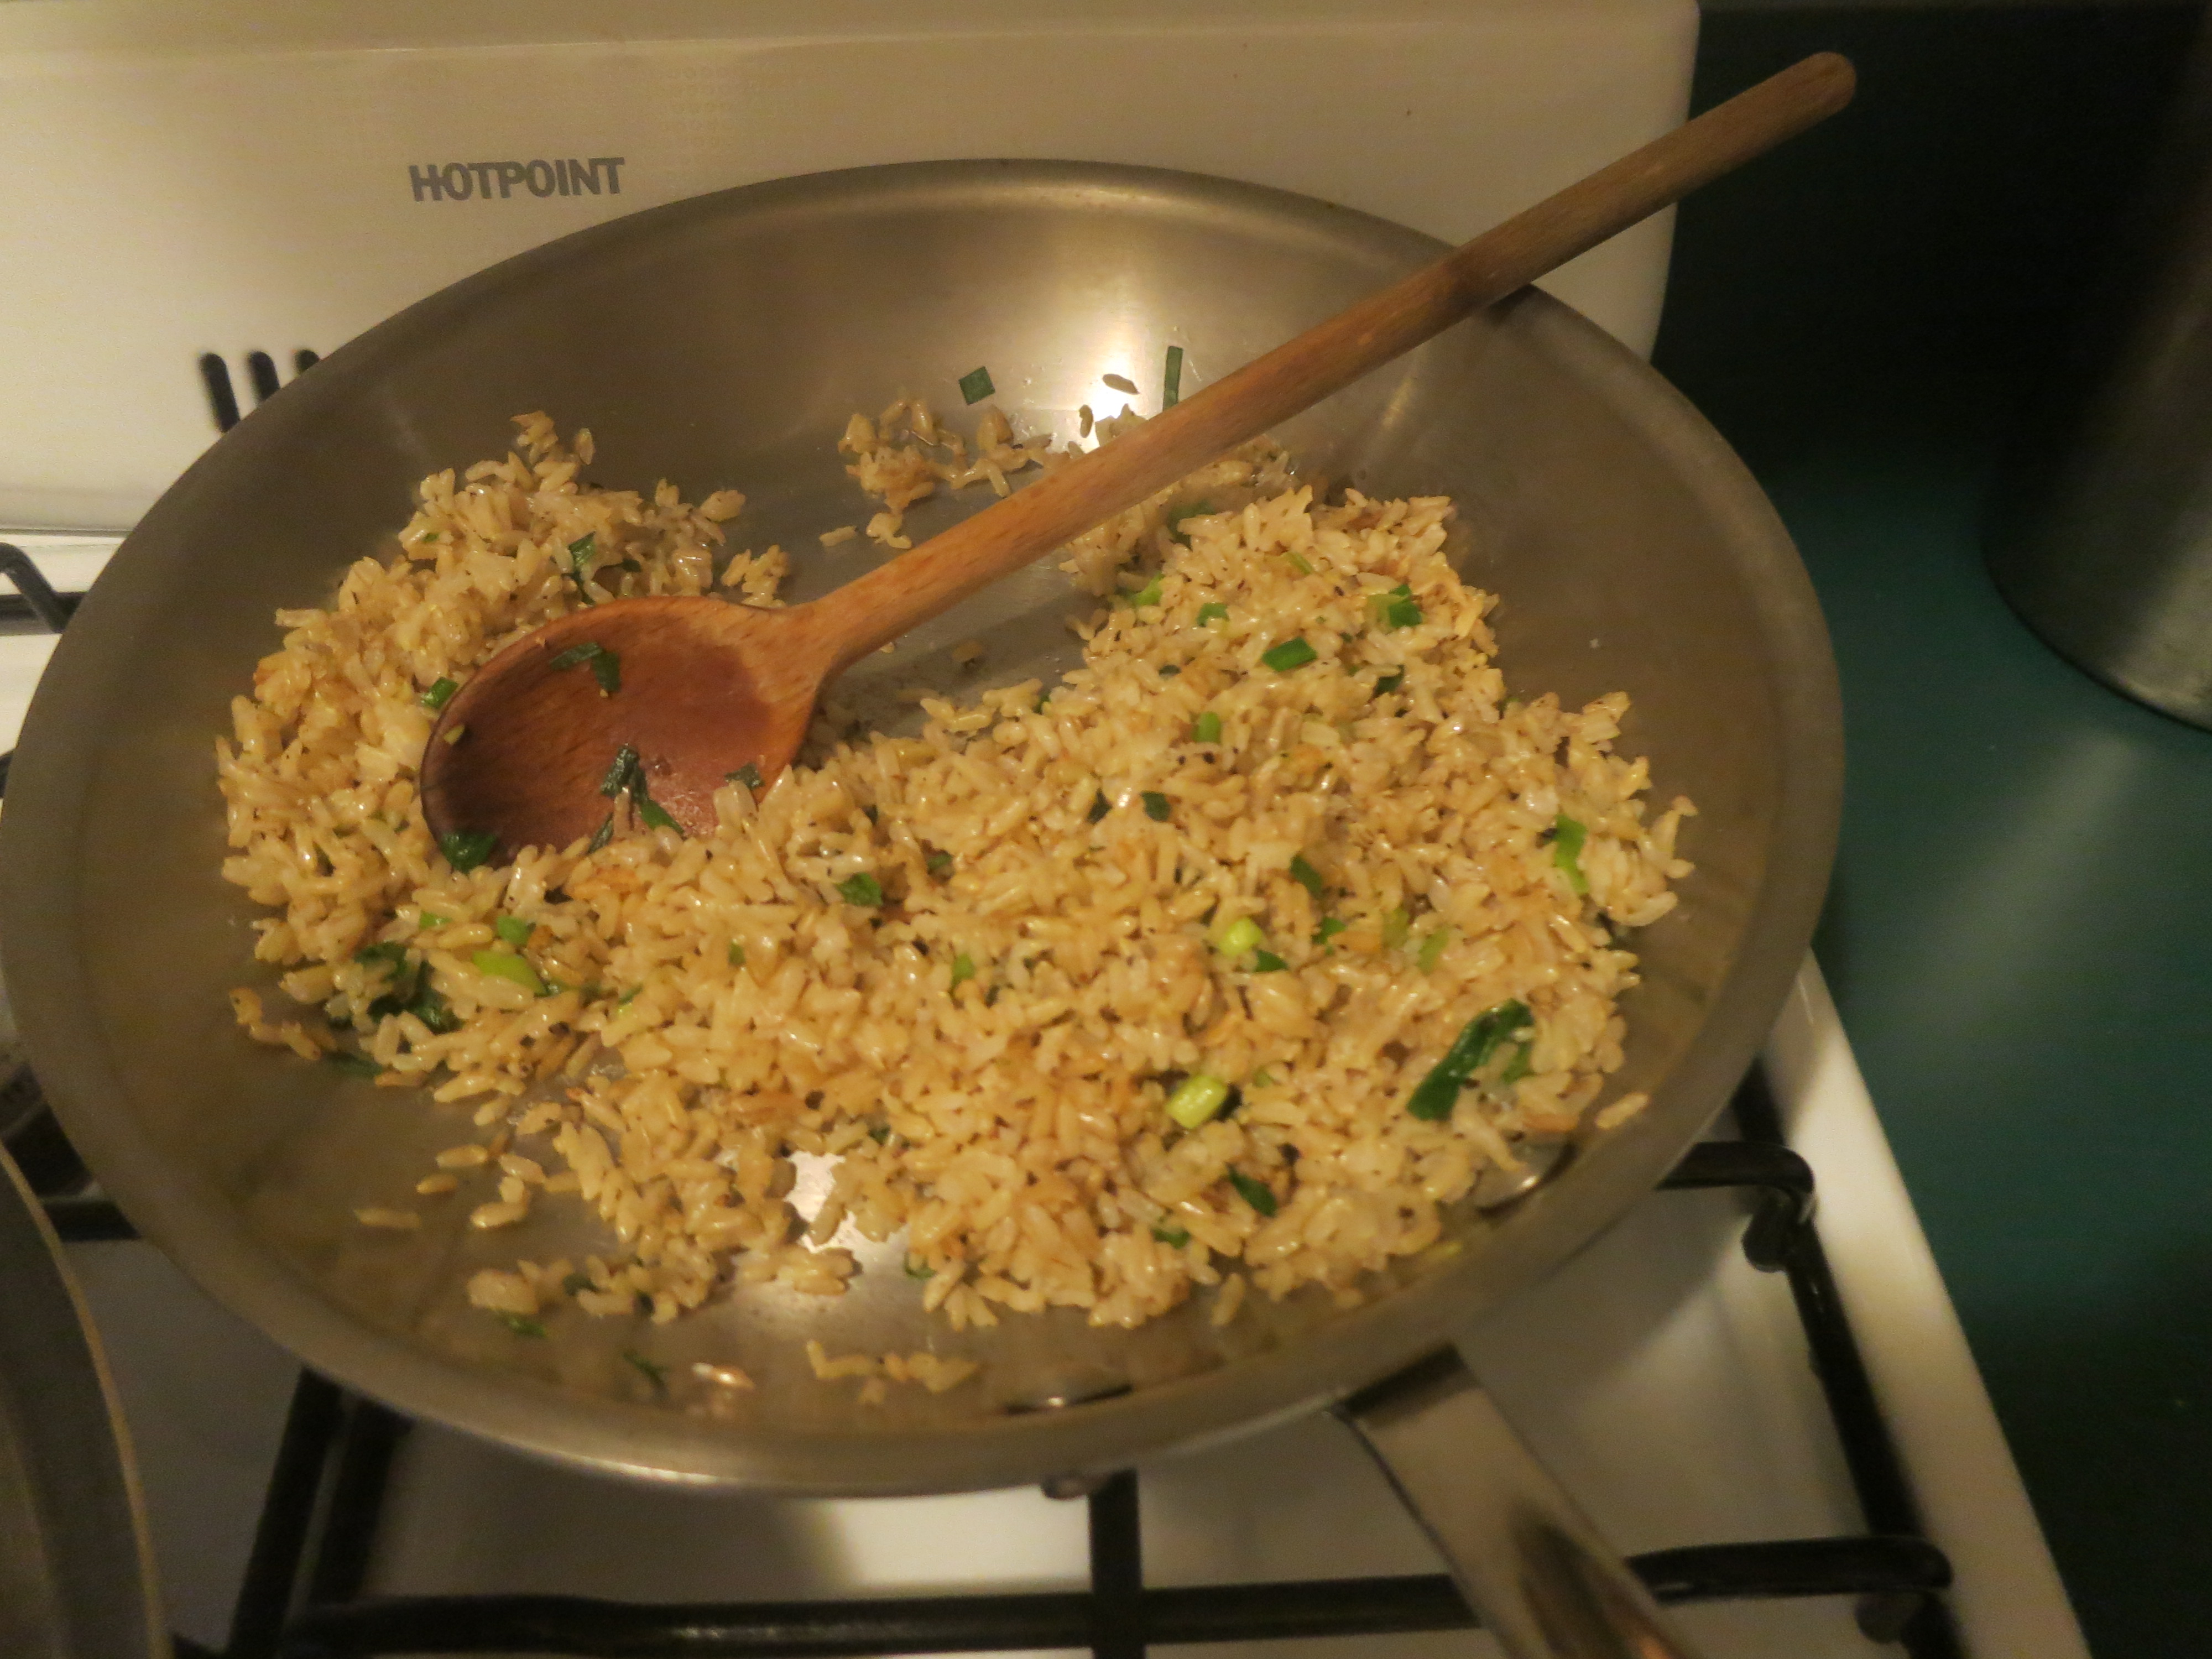
Simple Pilaf in the Pan
And here’s my recipe for “Sole” Meuniere. I actually used wild flounder, not sole, because I liked the looks of it on the fishmonger’s counter. You can prepare any thin, white fish fillet in this manner. It need not be the classic French “sole” which can be pricey and hard to find.
Sole Meuniere for 2
- 4 tablespoons butter
- 2 tablespoons olive oil
- 3 or 4 tablespoons of matzoh meal (or flour – I like matzoh meal because it has more texture than plain flour and my mom always uses it)
- 1 teaspoon of savory dried herbs, like herbs de provence, or thyme, tarragon, or any other spice blend you may have on the shelf
- 2 tablespoons freshly squeezed lemon juice
- Salt and pepper
- Small handful of fresh chopped flat-leaf parsley for garnish (no biggie if you don’t have any, but nice for color)
- 2 fillets of sole (or any other fresh, thin white fish like flounder, tilapia, etc)
Instructions:
On a plate or a piece of waxed paper, mix matzoh meal or flour with dried herbs (you will dredge the fish fillets in this, so use whatever surface is easiest for you). Add healthy pinches of salt and pepper. Heat a large cast iron or non-stick pan on medium high for 1-2 minutes until very hot. Then add 2 tablespoons butter and 2 tablespoons olive oil. Once butter melts, but before it turns brown, dredge fish fillets in matzoh meal/flour mixture and place in pan.
The olive oil/butter will spatter, so watch out. Depending on thickness of fillets, cook for 2-3 minutes on each side. You want to make sure that the fillets turn a nice light brown.
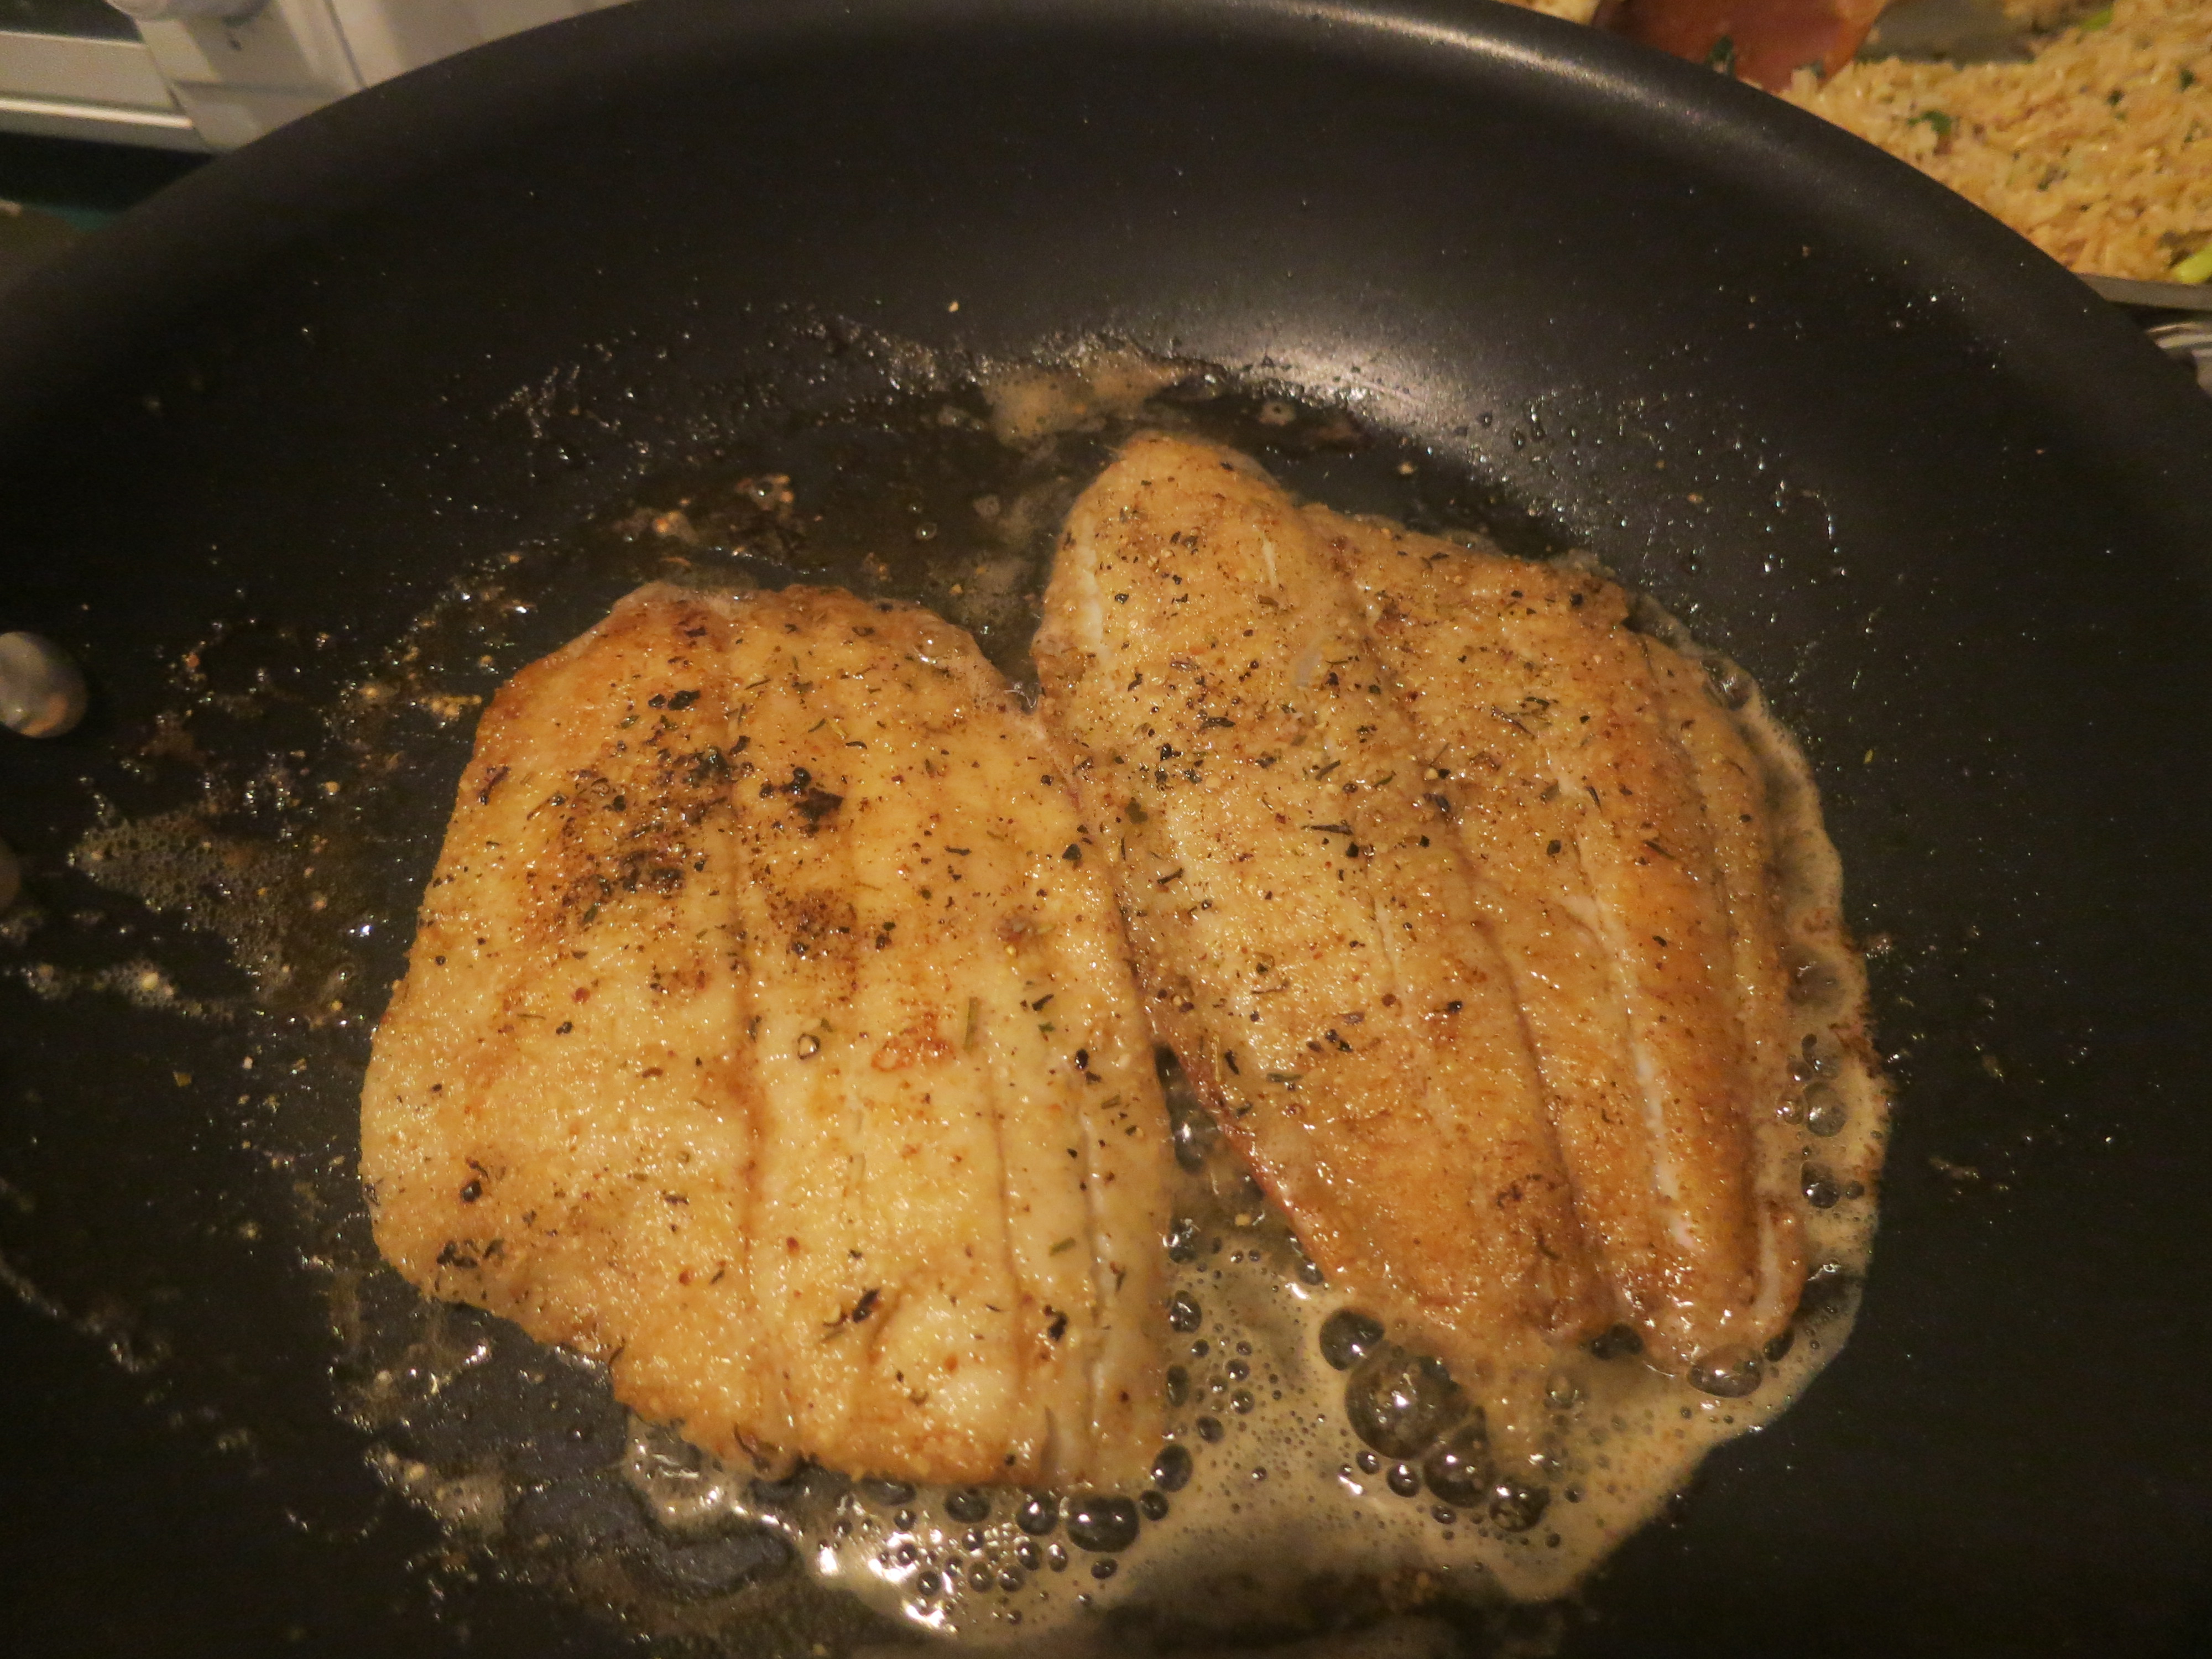
Flounder fillets on side 2 – almost ready
You can test doneness by sticking a fork into the fish. They are ready when you meet no resistance. Side 2 will take less than time than side 1. Once the fillets are ready, use a spatula to remove each one and place directly on serving plates. You are now going to make a quick sauce de-glazing the pan. Very simple, not to worry
Using the same frying pan, lower the heat from Medium-high to Medium or Low-Medium depending on your stove. Add the additional 2 tablespoons of butter to the pan. It will splatter again (sorry!), but just step back and let the butter melt. Once melted, it should be safe to get closer to the stove again. Use your spatula to scrape the good bits n pieces from the pan and mix with the butter. Now add the lemon juice, let it sizzle again, mix with the spatula for 10 seconds and you’re ready to go.
Divide sauce between the two plates, pouring directly on the fillets. Sprinkle chopped parsley on top for garnish, if you have it. Serve with lemon wedges if you wish, just serve immediately.
————————-
Like I said, this meal isn’t particularly healthy since it uses a LOT of butter and olive oil, but it is tasty, easy and rewarding. What’s your fave comfort food?
