Seasonal and Local: Crispy Caramelized Brussel Sprouts

I will readily admit that I used to hate Brussel Sprouts. I thought they were bitter, ugly and generally unpleasant. They were truly one of the only vegetables I didn’t eat. Then a few years ago I hit the tipping point – I tasted Crispy Caramelized Brussel Sprouts. Slightly crunchy, chewy, super flavorful, salty, with a touch of sweetness. Life changing. I have played around with the recipe, but basically it as follows.

Crispy Caramelized Brussel Sprouts

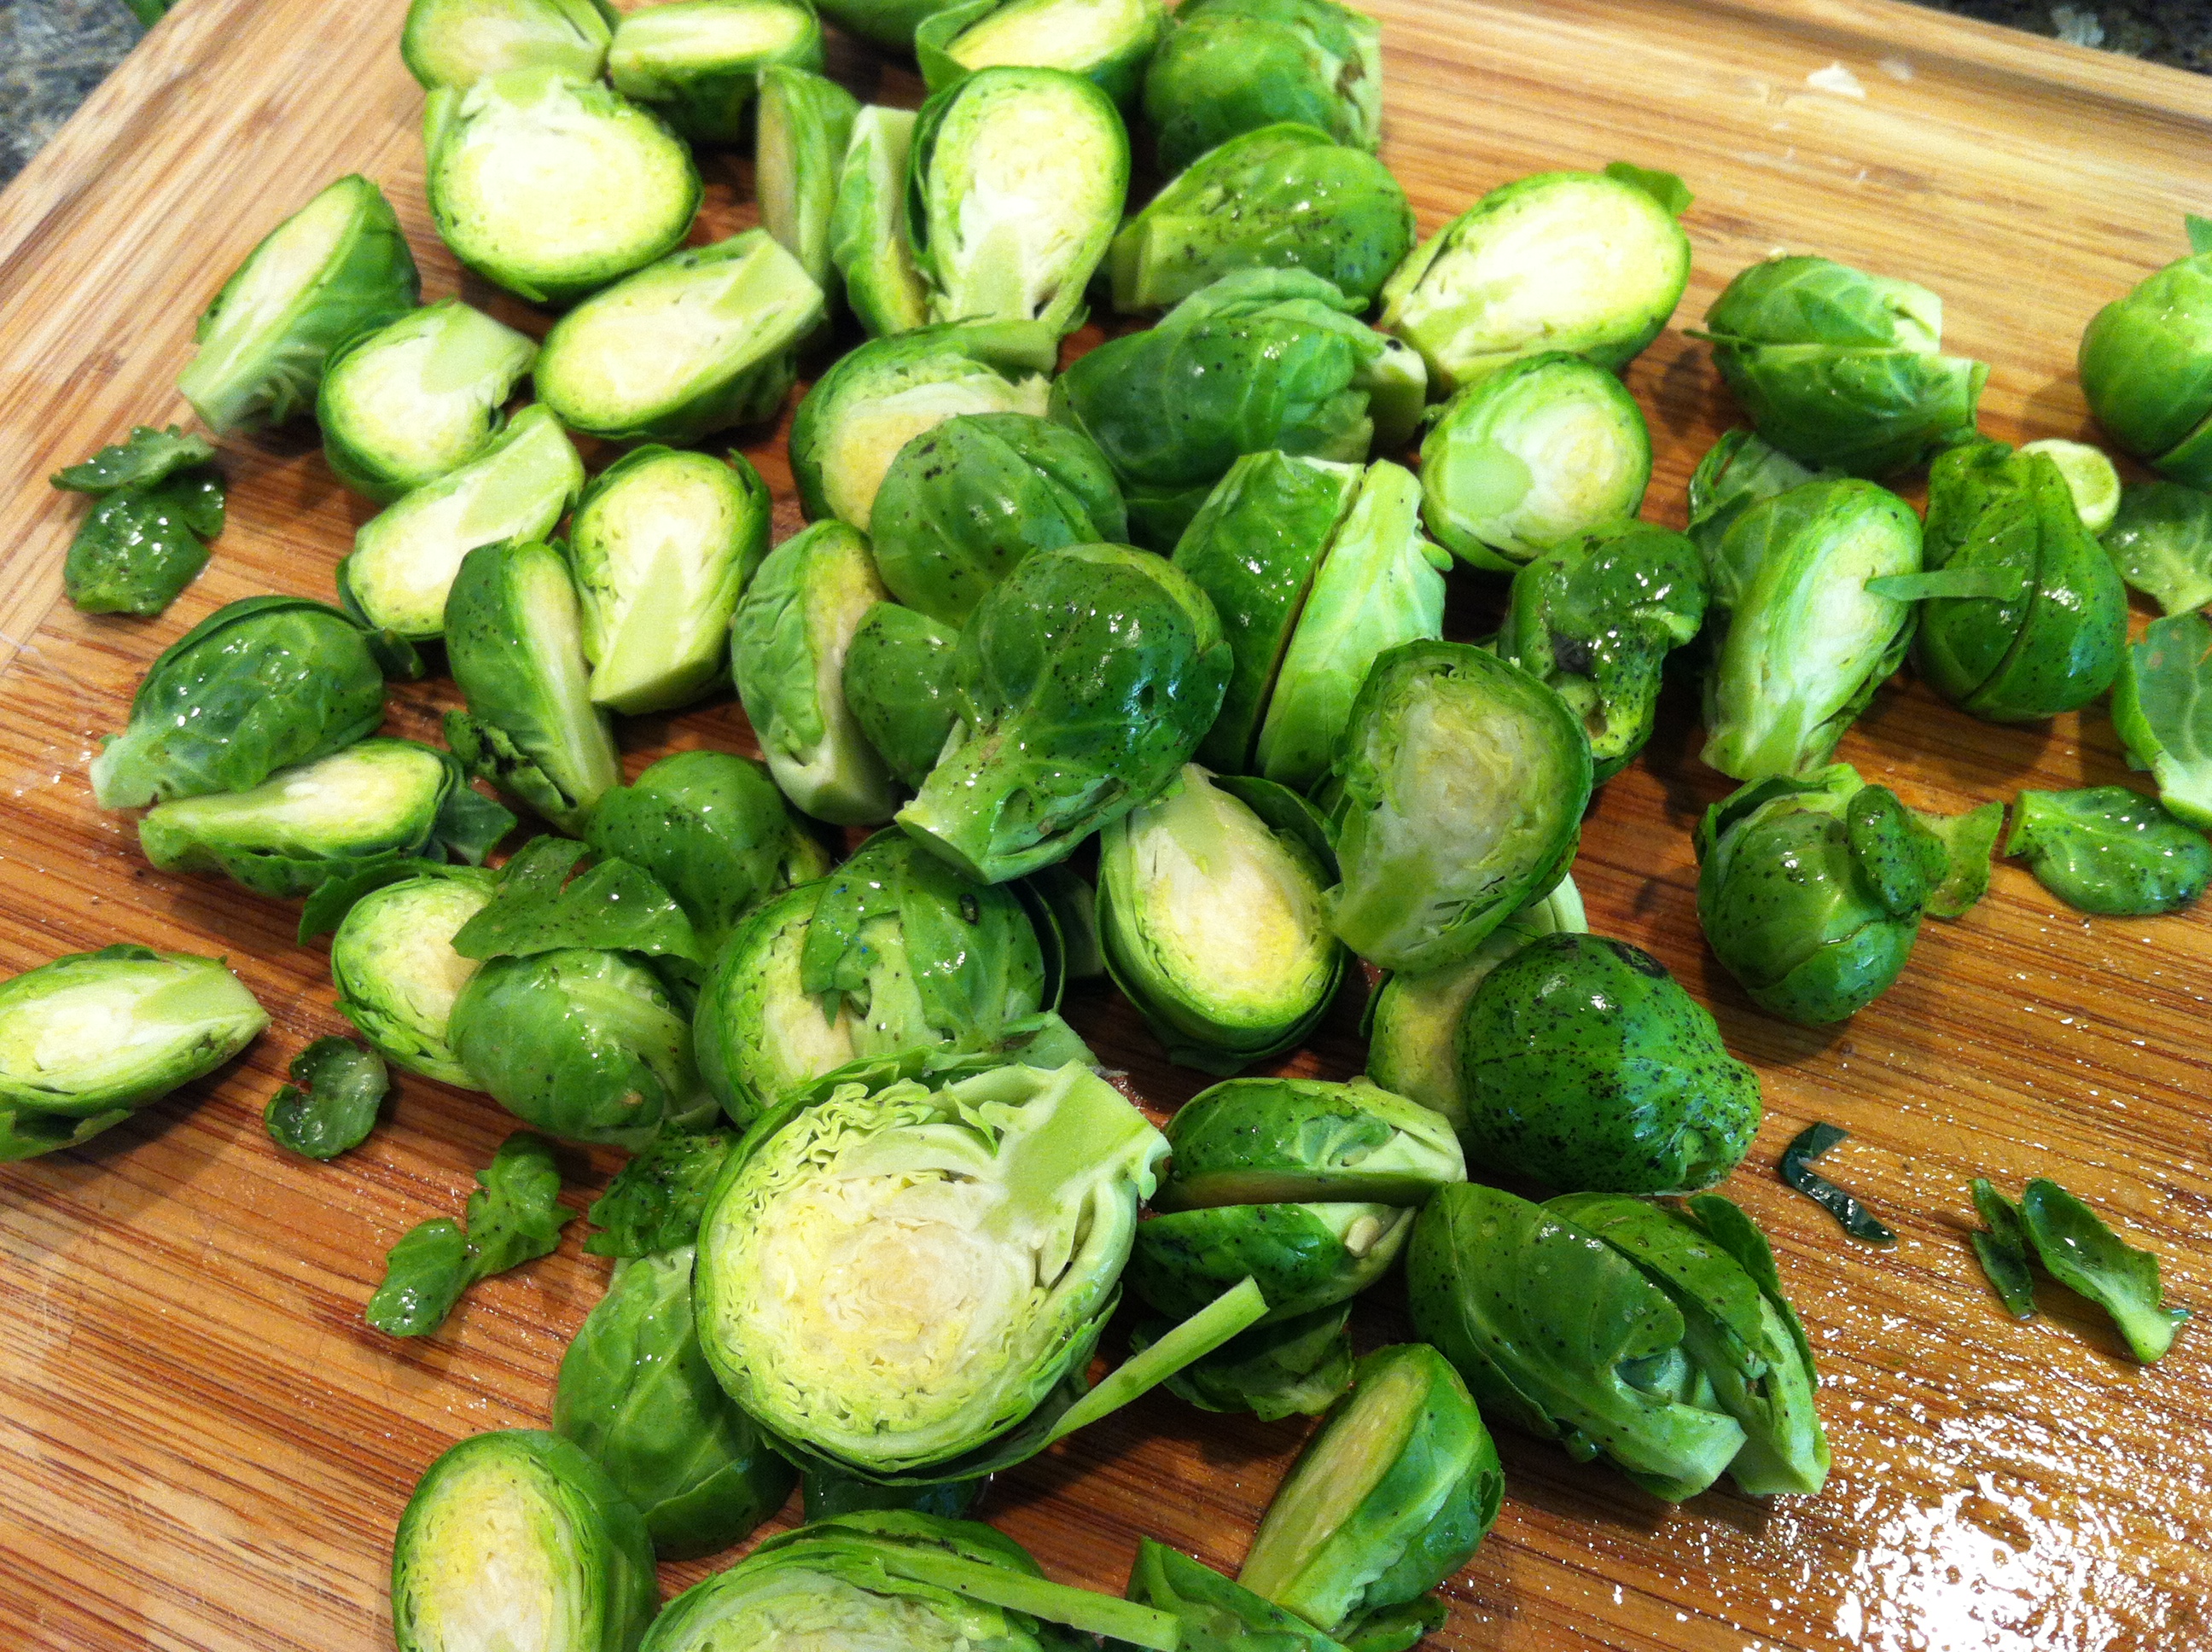
Brussel Sprouts: Trimmed, split and ready to cook

Wash and trim the brussel sprouts, slicing off the end of the stem and cutting them in half lengthwise. Peel and smash 4-6 cloves of garlic. Preheat oven to 400F.

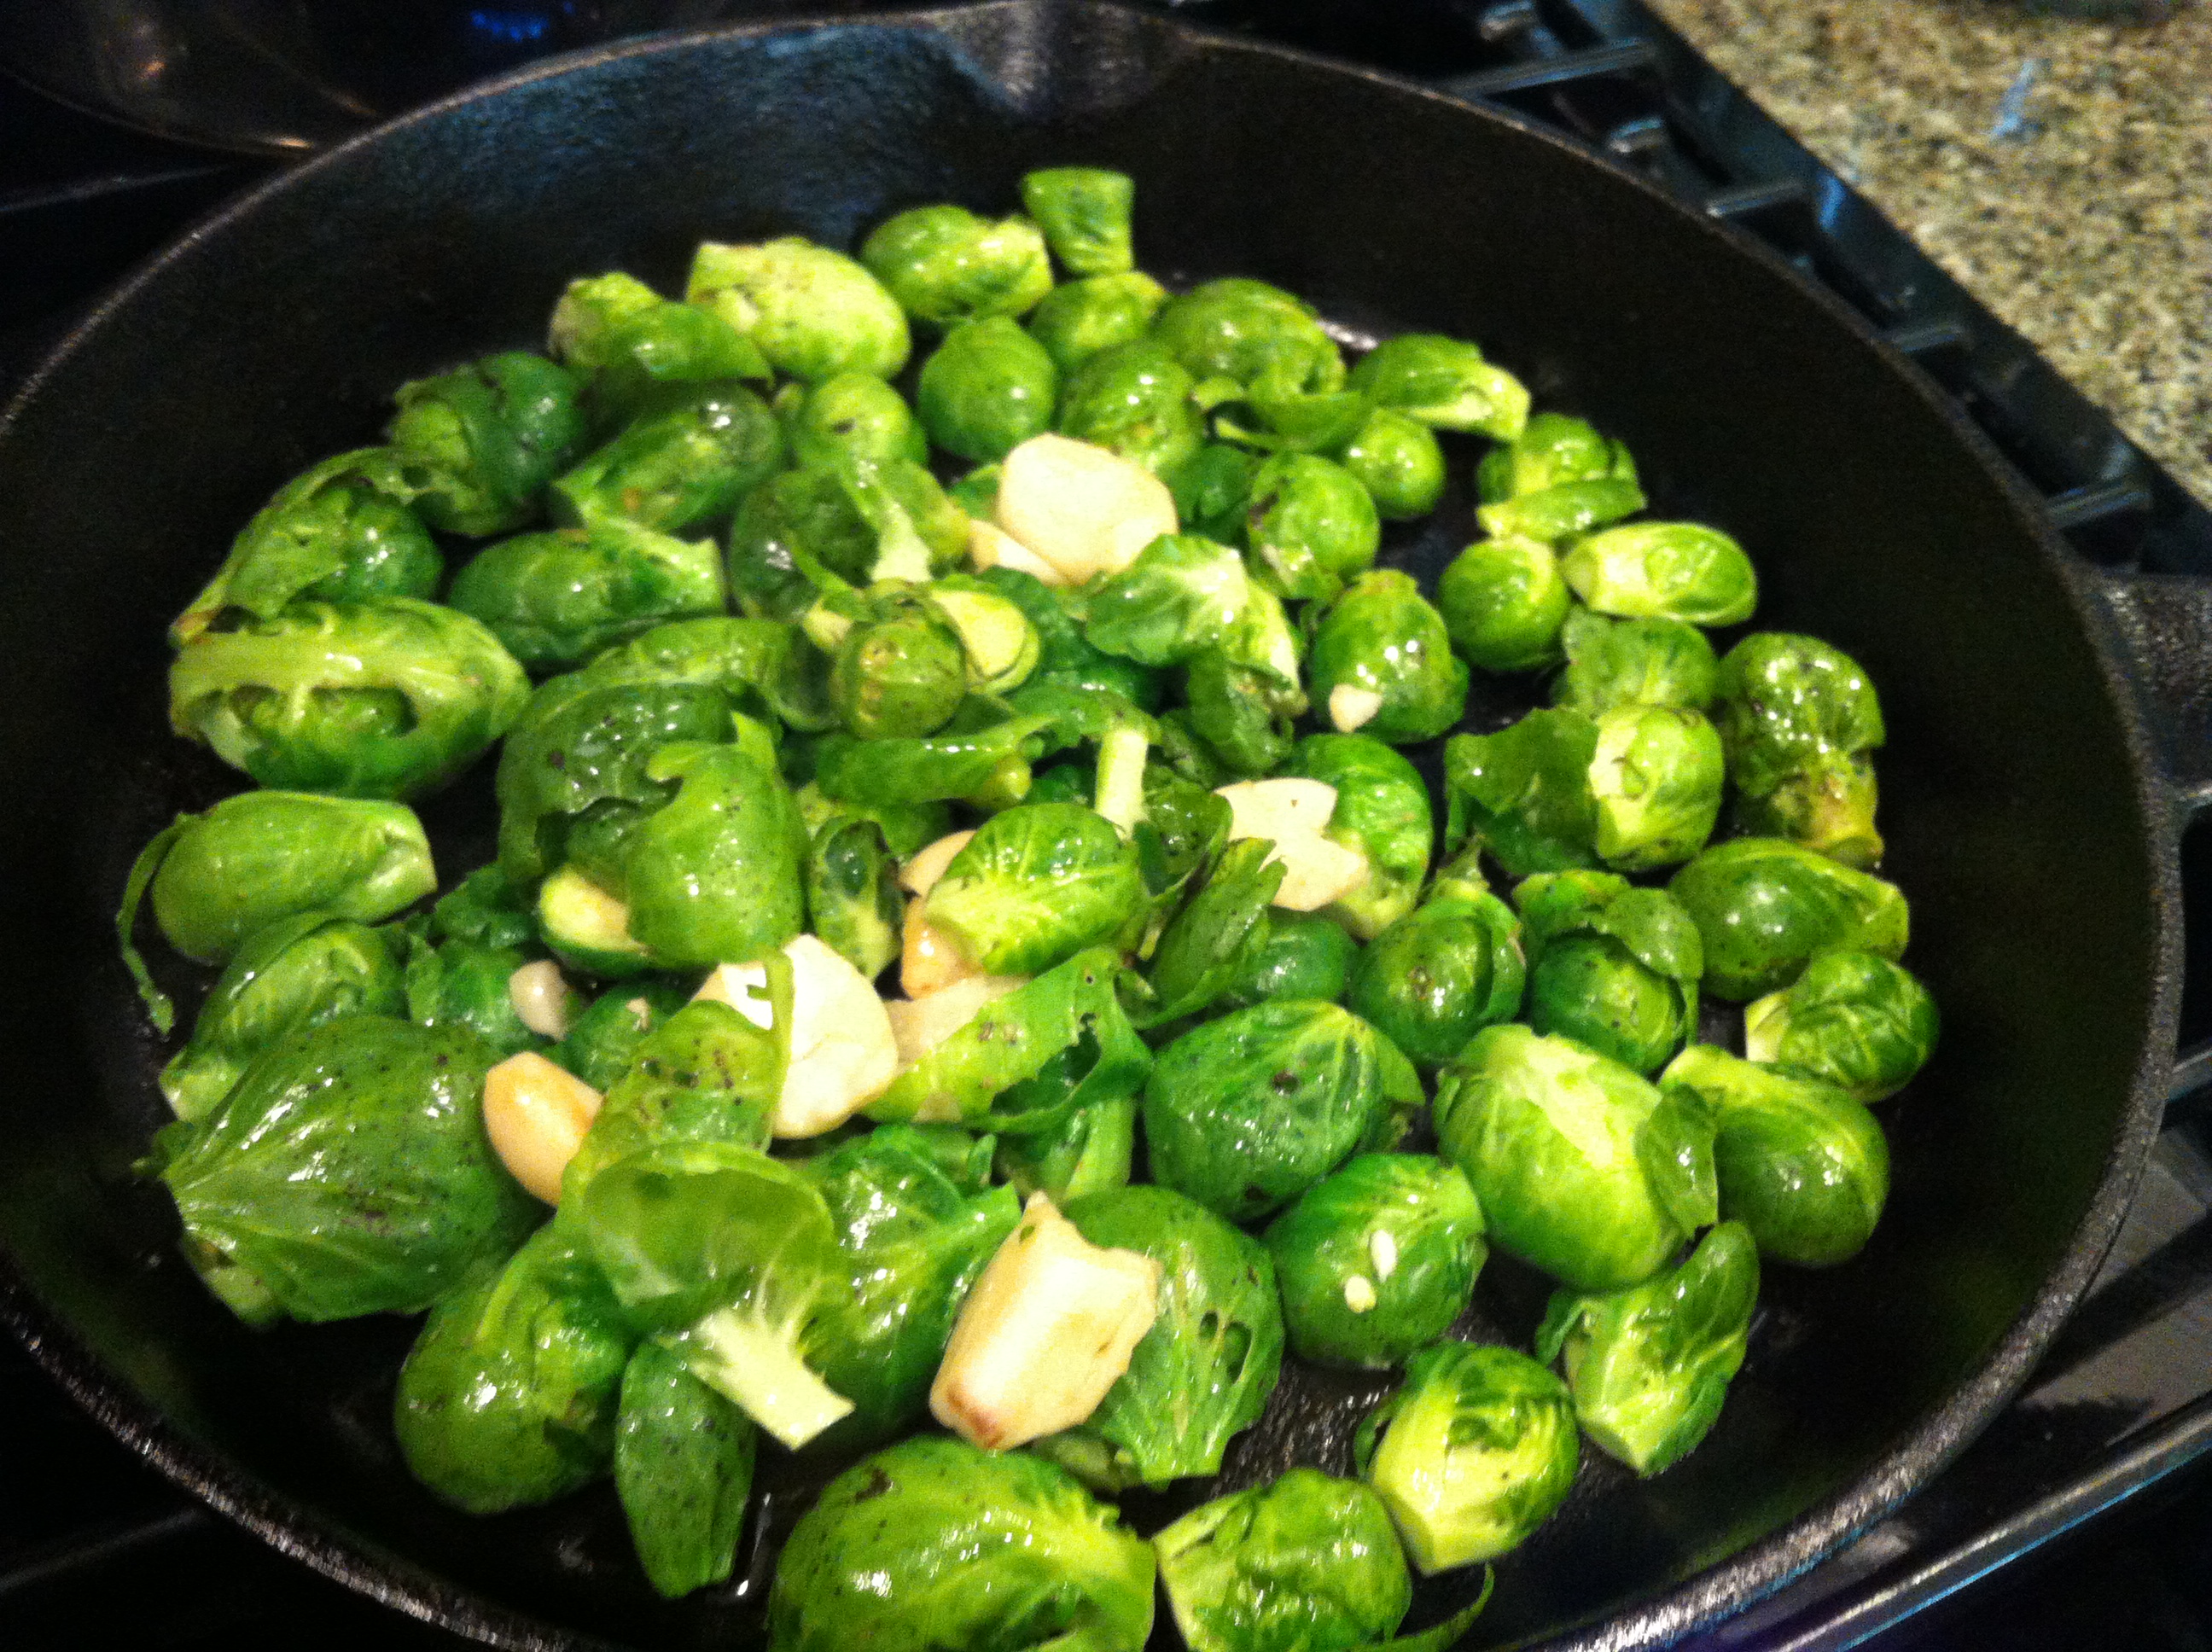
Take an ovenproof pan or baking dish (cast iron pan works great, or even a pyrex dish) and pour a healthy glug of olive oil in it. Make sure to select a pan that is large enough to allow you to place the brussel sprouts in one layer. Heat olive oil in pan over medium heat on stovetop for several minutes until hot. Arrange brussel sprouts, cut side down in one layer in pan and toss in garlic, sprinkle some kosher salt on top . Leave on stove top 8- 10 minutes untouched, letting underside caramelize. You may need to adjust the heat of the burner to medium low.

Caramelizing on the stove top in cast iron pan

Place pan in oven and cook for another 10 – 15 minutes or so until brussel sprouts are cooked through. Test with a fork, or taste one to see if they are tender. You will have beautiful browned, yet still green brussel sprouts.  Serve warm or cold. Enjoy

Crispy, Caramelized Brussel Sprouts

Freekeh: The Best Grain You’ve Never Tasted

Who has tasted Freekeh? It is a very old grain, like farro, that is also very good for you (like farro). It is green wheat that has gone through a roasting process.   It is high in protein, insoluble fiber, has a low glycemic index and is tasty, to boot. Freekeh can be prepared like rice, or most other whole grains, and used in similar recipes. It has a nice bite to it, and slightly nutty taste. You can find it in the bin foods section of some grocery or health foods stores, or pre-packaged (harder to find, I think). What’s not to like, right?

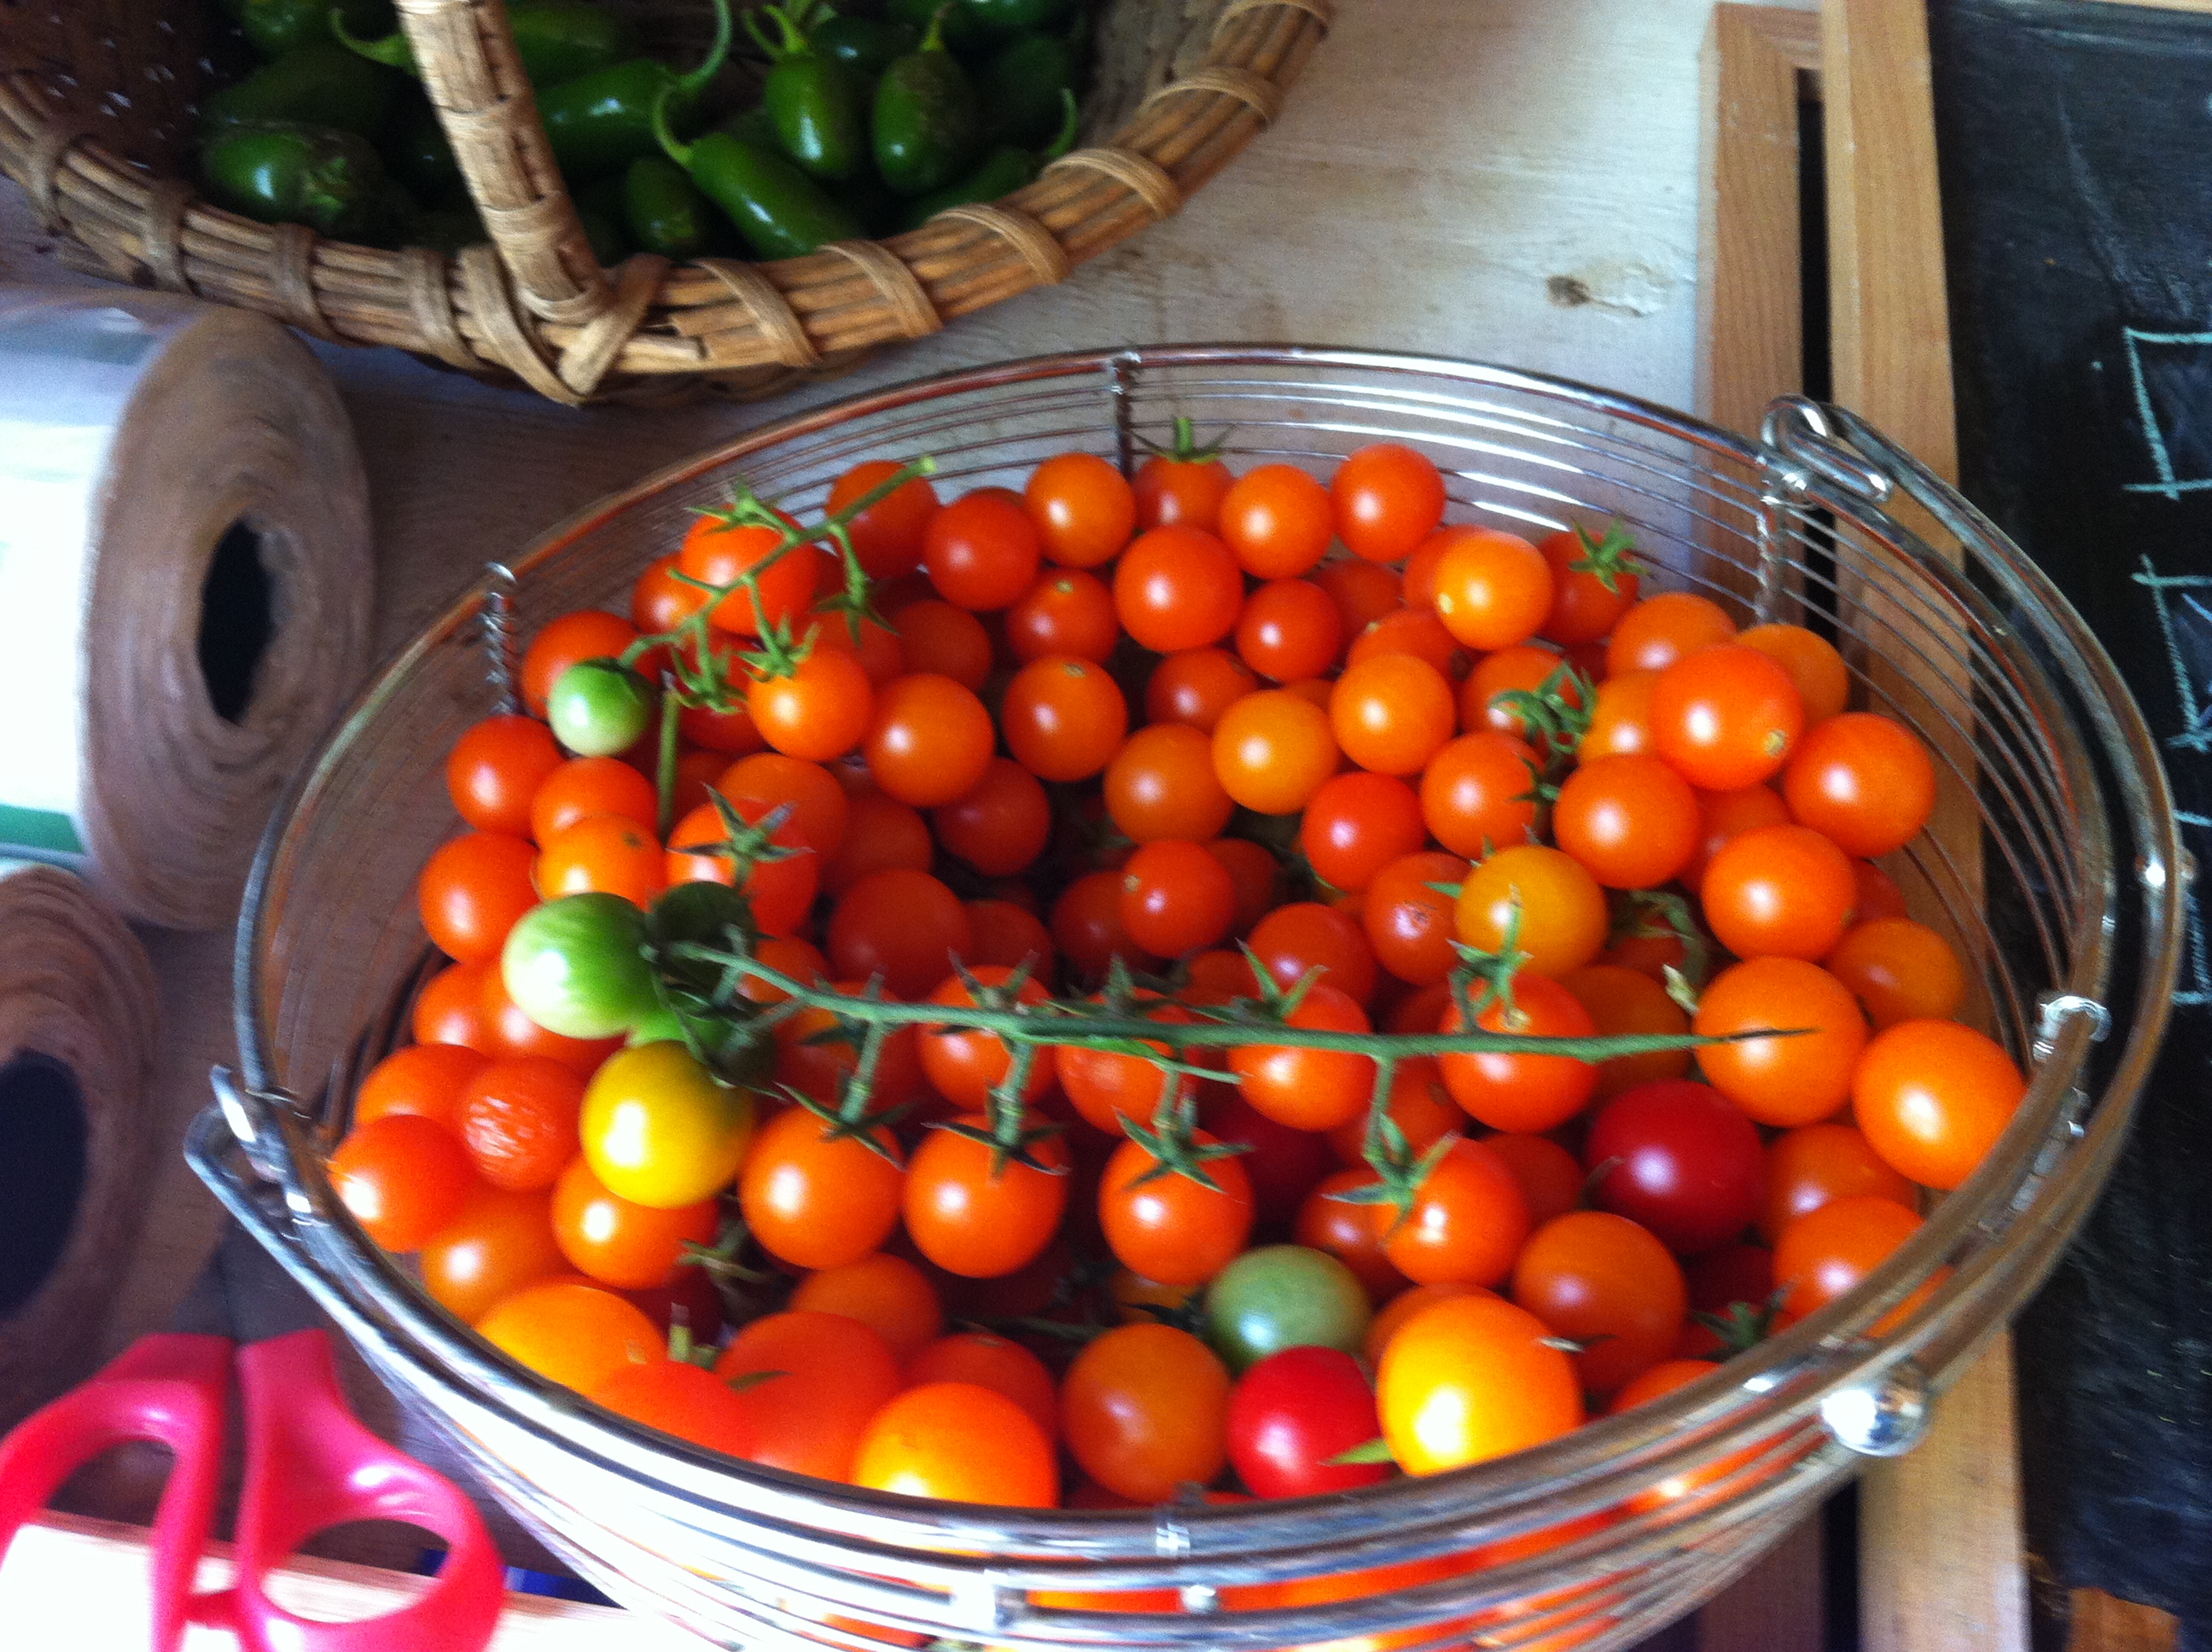
I prepared the Freekeh on Saturday and we had it for lunch on Sunday.  I decided on a Freekeh Pilaf, which is a traditional preparation. I added cherry tomatoes  because I had picked up the sweetest, juiciest yellow cherry tomatoes EVER from Wolfe Spring Farm.

Cherry Tomatoes at Wolfe Spring Farm

They were like little jewels, so I used them as the “fruit” in this pilaf recipe to add sweetness and moisture. If you don’t have sweet tomatoes, no worries. Just add some chopped dried fruit. I riffed on this recipe from the This is How I Cook blog that I found over the weekend. This was a big crowd-pleaser.

Ingredients:

2 tablespoons olive oil
1 small red onion,  chopped
1 clove garlic, chopped
1 jalapeno pepper, diced and seeded
1 handful walnuts, chopped (or pistachios or almonds)
1c freekeh
2c vegetable broth
Salt and pepper to taste
1/2t cumin
1/2 cup cherry tomatoes, halved (optional)
1/4 cup dried apricots, chopped  (optional)
Fresh parsley to garnish (or cilantro or mint)
Instructions:
Saute the onion, garlic, and jalapeno pepper  in olive oil. When they start to sweat (about 5 min), stir in the nuts. Brown them just a little. Stir in the freekeh. Let cook a minute. Stir in broth. Bring to a boil and then turn down to simmer. Cover. Check after about 20 minutes. It should be done but if you want it softer add a bit more liquid and cook a little longer.

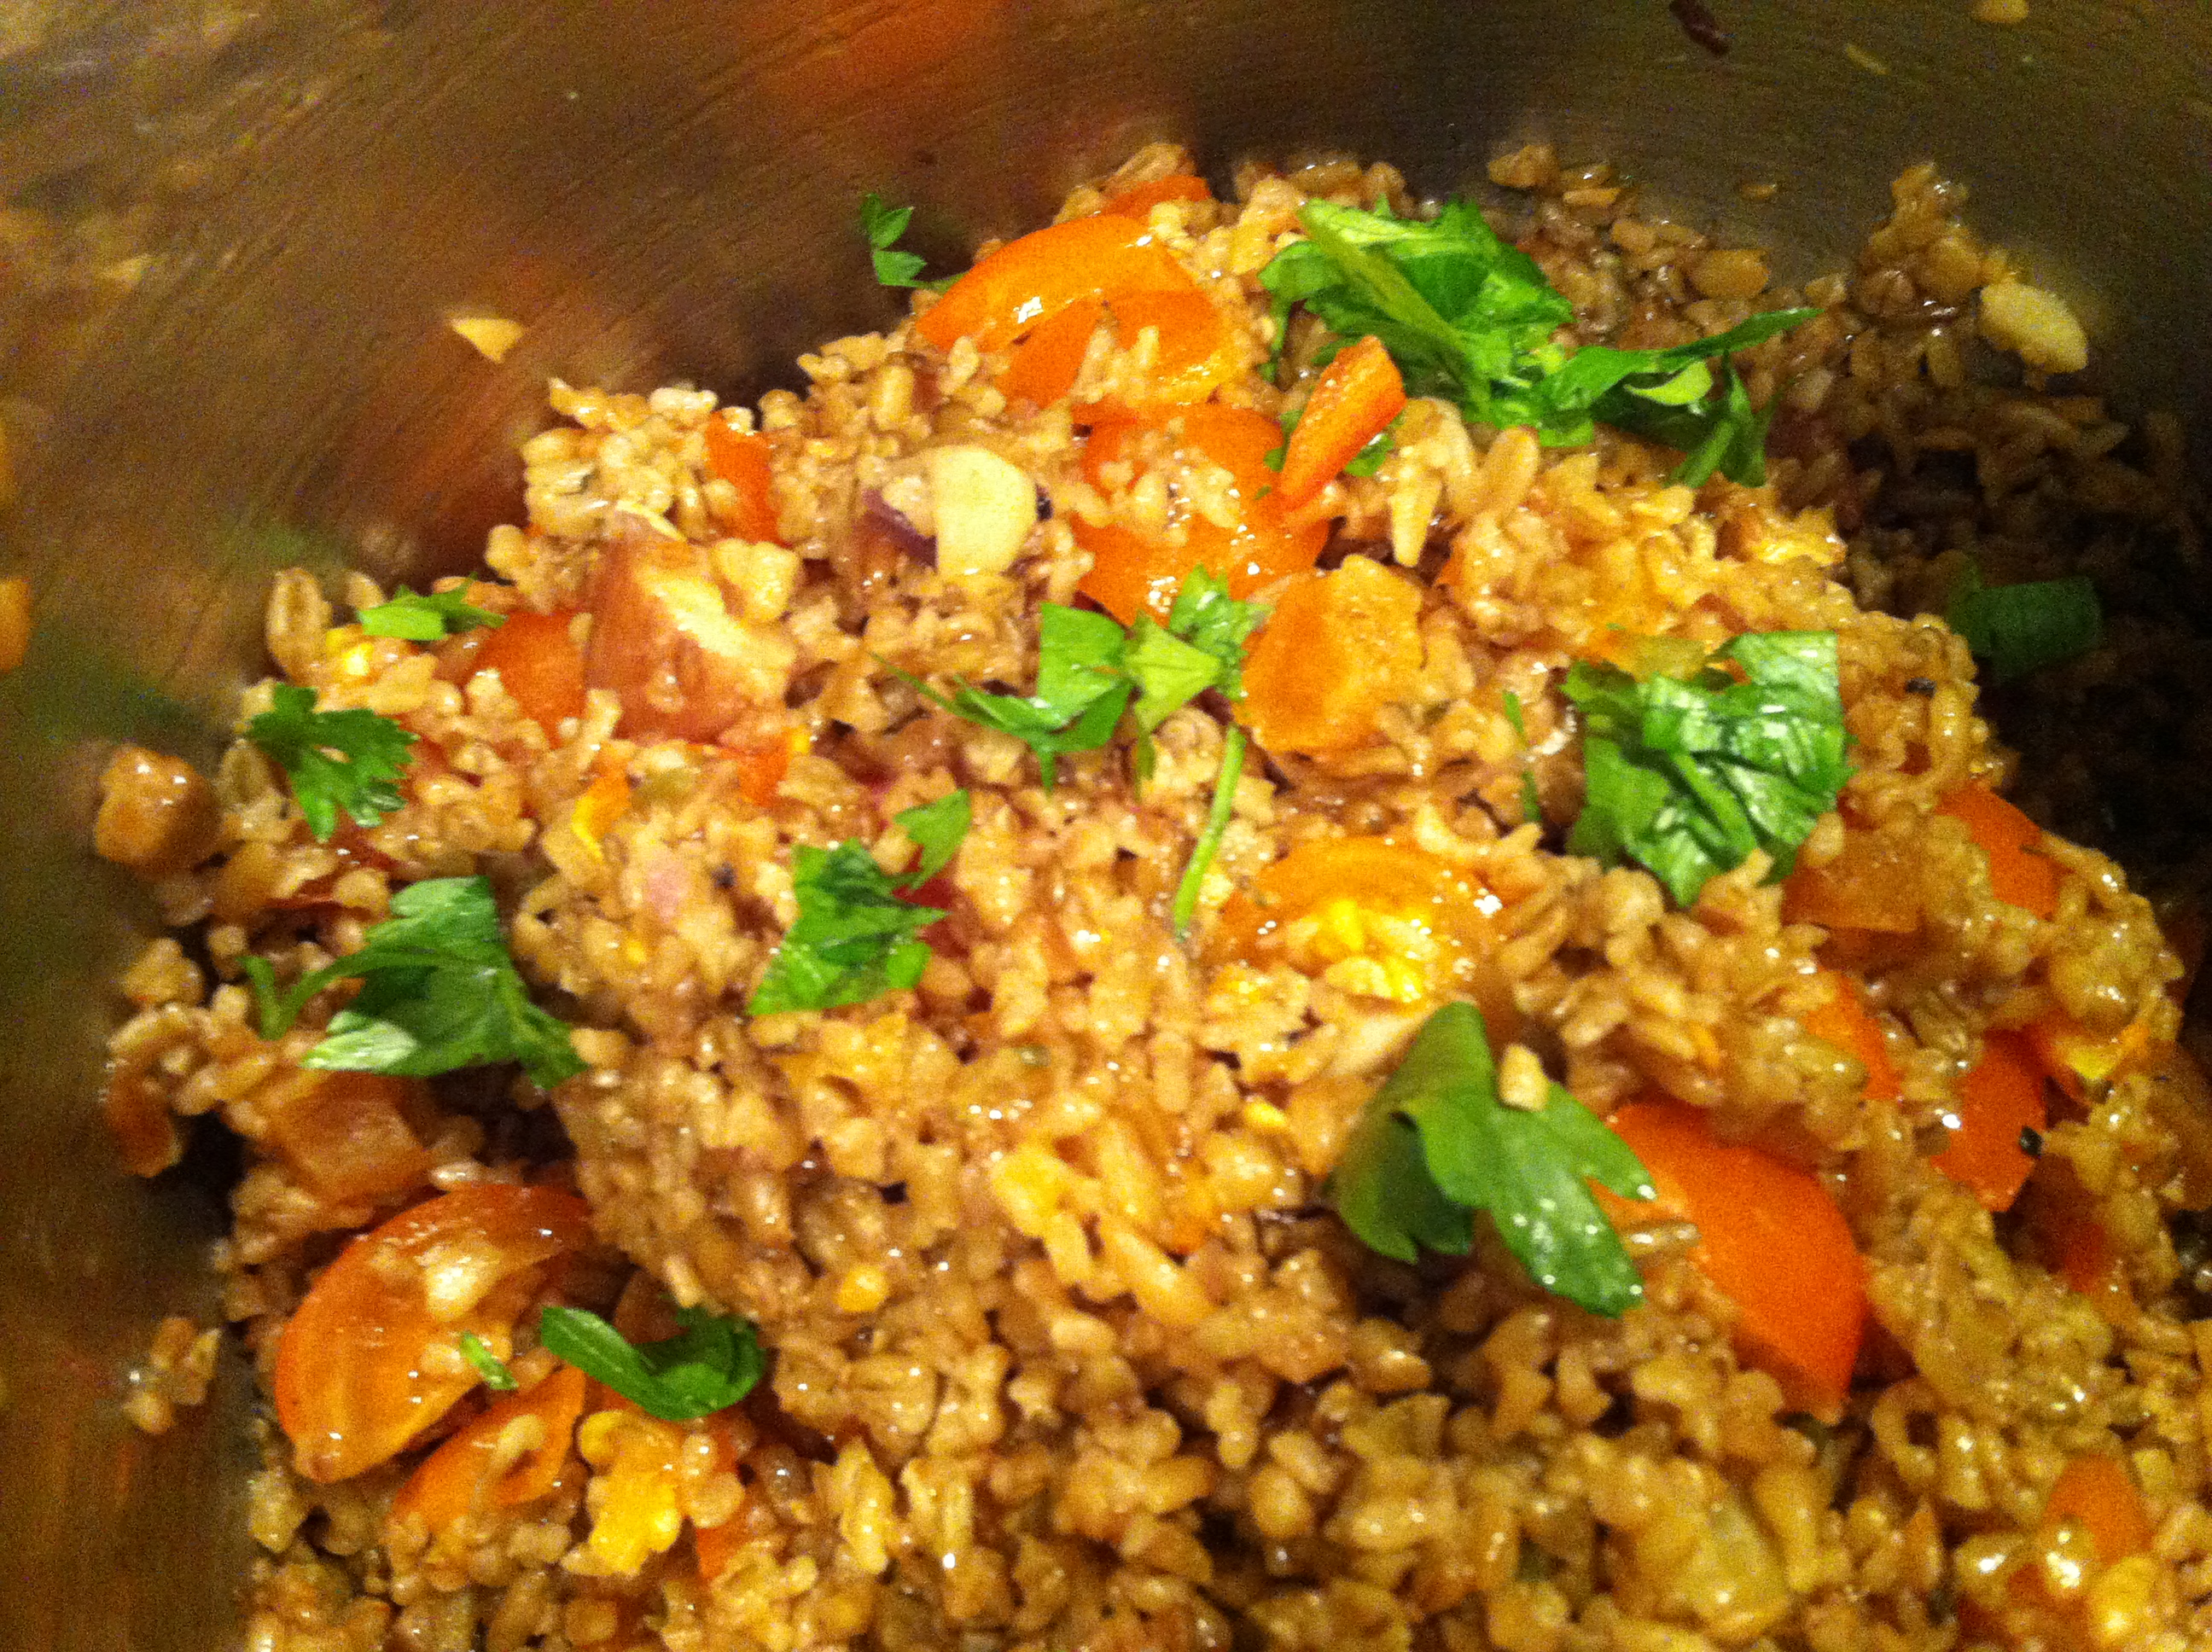
Freekeh Pilaf

Season with salt and pepper and garnish with parsley (or cilantro or mint – whatever you have on hand). Add chopped tomatoes and/or dried apricots, if available. Think of this as any pilaf recipe because all you have to do is substitute the grain. Serve warm or at room temperature.

CSA Pick-up 9/22/11: masochism

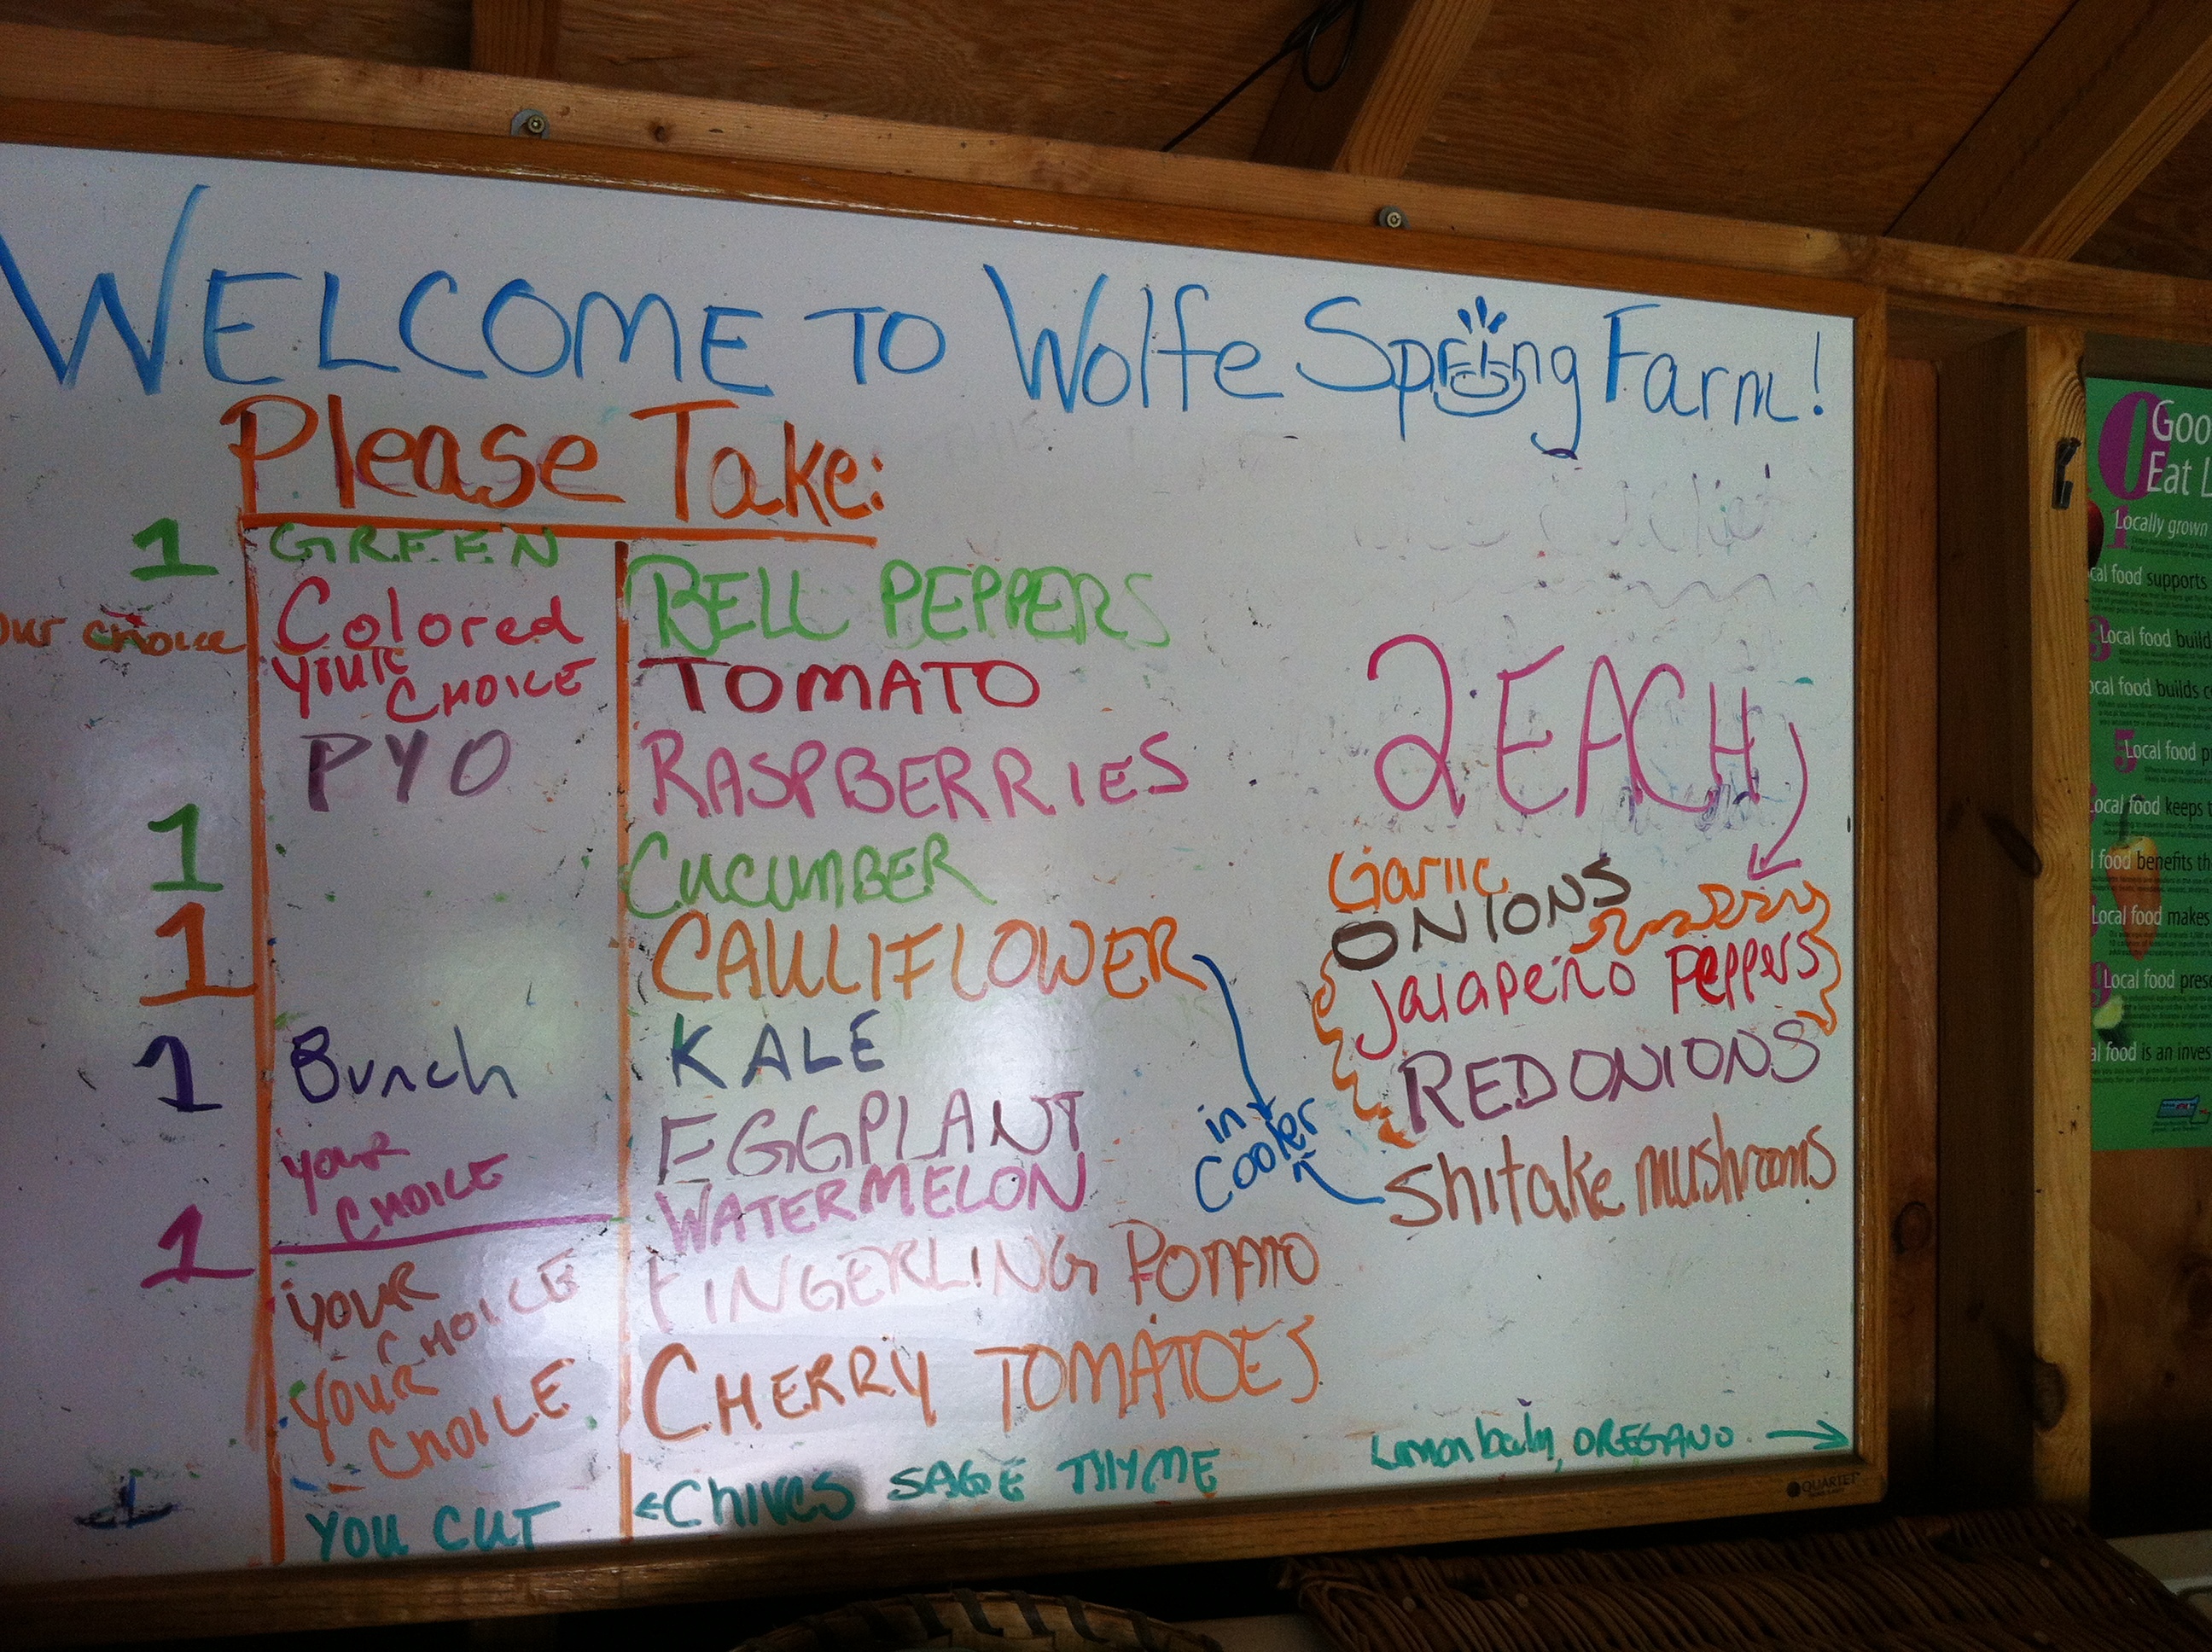
Hello people, as Baby Sam would say. Another red letter day at Wolfe Spring Farm. New this week: watermelon, shiitake mushrooms, kale and cauliflower

20120922-195352.jpg
Here’s what we prepared today:
– Freekeh Pilaf
– Minestrone soup (100% local, ex tr olive oil and parmiggiano)
– Smashed fingerling potatoes and garlic
– Kale Chips
– Roasted Eggplant
– Insalata Caprese

That’s where the masochism comes in. And I’ve still got 3 pounds of tomatoes left – yellow cherry tomatoes and standard red tomatoes. Any suggestions other than tomato sauce?

Pesto Gone Wild

The clock is ticking for this year’s herb garden. As we approach frost-like temps in the evening, I know my basil has a limited life span. So, I did some heavy pruning on the basil this weekend and whipped up another batch of pesto to put up for the winter (remember pasta al pesto genovese?). While I was at it, I noticed that  parsley was in need of a trim, too, so did the same for my flat-leafed friend. Did you know you can make a rather tasty pesto sauce out of parsley, too? And arugula, as well, but sadly, don’t have any growing in my garden just yet. Stay tuned for updates on the cold frame…

I followed a recipe from my trusty “How to Cook Everything” by Mark Bittman. From memory, it is something like this:

Ingredients:

2 cups tightly packed, washed and dried parsley leaves
2 cloves garlic, peeled
zest and juice from 1 small lemon
1/4 cup toasted pine nuts (can also use walnuts)
3/4 cup olive oil
salt and pepper

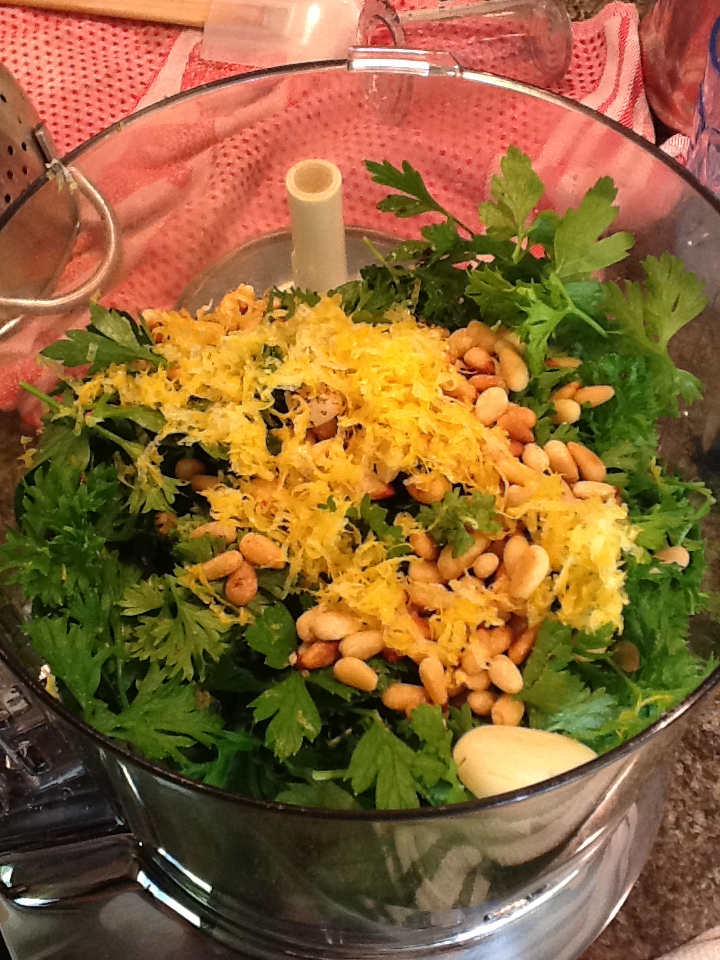
Lemon zest, parsley, garlic and toasted pine nuts ready to whirl

Instructions:

Place all ingredients in food processor or blender, but use only 1/2 of the olive oil. Pulse several times and then drizzle in remaining olive oil until desired consistency is reached. Taste for salt and pepper. Will stay in the fridge for 3 days, or pour a small layer of olive oil on top and freeze. Delicious on pasta, meats, fish, panini, etc.

I enjoyed reading RachelEats’s blog post about her parsley pesto as well. Check it out here.

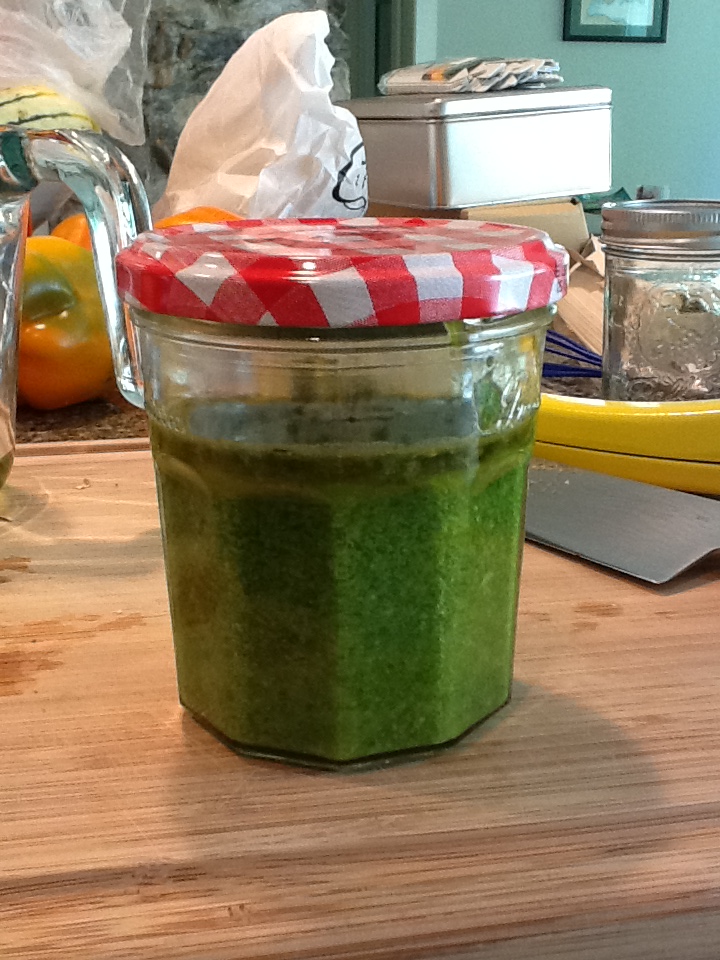
Freezer-ready pesto

It’s Thursday and I’ve finally covered off on all of last weekend’s cooking escapades.

Baba Redux: From Good to Great

Earlier this month, guest blogger double-D Dan Doern shared his beloved Baba Ghanoush recipe.  I tried it out 2 weeks ago and had pretty good results, but not the greatness I aspired to. I was missing that much talked about “smokiness” that can be achieved with eggplant.  I thought, “Gosh darn it, I will achieve that smokiness.” So with this week’s bounty, I decided to take my Baba to the next level.

“Fire up the grill!” I bellowed to Hubs as I prepped the eggplant and  garlic (I am such a copycat). This is going to be easy-peasy, I thought. I then waited. And waited. And waited some more. Guess Hubs didn’t hear me, I thought. And as the hours passed, and the eggplants remained on the kitchen island untouched, and no smoke emanated from the Weber, I surmised that I best try a different tactic. The next day the sun was shining again and I gently asked if Hubs would be so kind as to light the grill whenever he might have a free moment, oh, thanks so much.

Once the grill was nice and hot, I placed the 3 eggplants and garlic directly on the grill rack and checked on them after 20 minutes. They looked good.  They had turned a caramel-y brown color from their original light purple, and still retained their shape. I set the timer and checked on them after another 15 minutes (35 min total). Still looking (and smelling) good, but not making too much progress. I was expecting them to deflate, but as this was a first for me, was going by what I had read and heard from friends. I gave it another 10 minutes before checking again (45 min total), I realized that the charcoal was done. No wonder my progress had plateaued. And Hubs was off and running on his next project. Ghanoush interruptus.

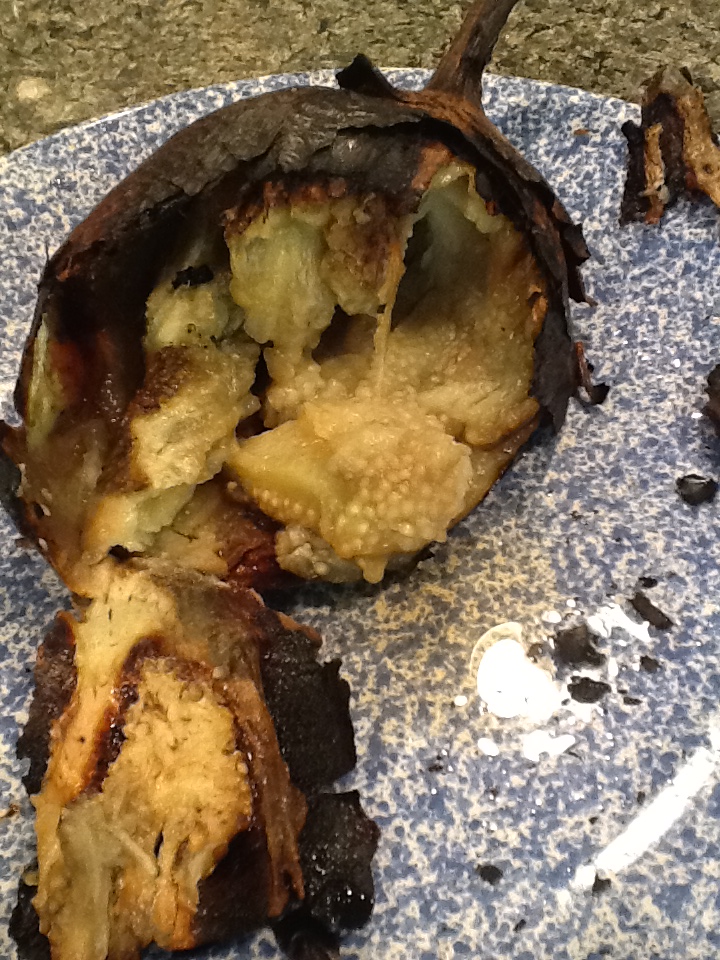
We got the grill fired up again after lunch and that’s when the magic happened (thanks, Hubs). It took another 45 minutes or so for a total of 90 minutes cooking time, not including the breaks (talk about slow food!). One by one, the eggplants started to sag internally. I scooped out the flesh from each one and placed it in a large bowl, careful not to include any charred pieces of skin. Pretty cool how the flesh does fall apart from the skin and easily scoops out.

90 minutes later: Grilled Whole Eggplant

Once I had all 3 eggplants in the bowl, I tackled the garlic. The eggplants were none the worse for wear with the stopping and starting of the heat, but the garlic had suffered a bit. Parts of the head got a little charred/burnt. I managed to squeeze out a portion of several cloves into the mixture, further imparting that elusive smokiness into the Baba Ghanoush, but I had to toss most of it. I augmented with a few cloves of minced raw garlic, too.

Verdict: I added the tahini, lemon juice and salt and pepper, and aaaaaaaaaaaahhhhhhhhhhhhh. There it was, smoky eggplant Baba Ghanoush in all its glory. The dish tasted so much better than last week’s version – much more complex and tasty and real. I imagine this would be much easier with a gas grill, and now I know that we need more charcoal if using the Weber.

Tabbouli Tabbouli Tabbouli

I just said it 3X because it’s kind of a dirty word in our house. Some people (who will go unnamed) won’t touch it. So instead of putting it on the menu, I made a delicious quinoa recipe on Saturday with fresh tomatoes, cucumbers, and garlic from our CSA pick-up, along with parsley, chives and mint from our garden, and didn’t utter the 8 letter word. And what do you know? It was roundly enjoyed.

I’ve written about quinoa and its virtues before, so no need to blather on about that. I will say that this recipe from Bon Appetit for Tabbouli-style quinoa was easy to prepare and very enjoyable: crunchy, summery, fresh and healthy. It also lasts a day or two, tasting better on day 2 if you ask me.

Bon Appetit’s Tabbouli Quinoa. My preparation looked the exact same

I prepared the recipe with minimal modifications and it was perfect [used chopped and seeded hothouse tomatoes instead of cherry tomatoes]. Here’s how I know:

  1. Aesthetics: it looked exactly like BA’s photo above (ex the cherry tomatoes)
  2. 2nd Helpings: Served at a casual buffet lunch and discerning guests came back for more (ok, not super scientific, but unless everything else tasted awful…)
  3. The “H” Factor: Hubs liked it

Just call it something else. Chalk up another win for quinoa. I still have to try Rebecca’s recipe before the end of the month.

Delicata Squash Delight

Well, it’s Monday afternoon and believe it or not, there is not that much left from my Saturday pick-up. Have had a busy few days of cooking, eating, entertaining.  I much appreciated the help in consuming these delectable perishables. I’ll spend a few minutes reflecting on Saturday night’s pasta experiment with delicata squash, which was a first for me.
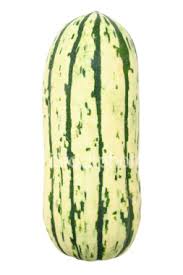
Delicata Squash

The delicata that we picked up from the CSA on Saturday was on the small side, but I still had high hopes for it. I figured its diminutive size could work in my favor – if we liked it, we’d be eager to try more. If we hated it, there wasn’t that much of it in the dish. I was intrigued by how pretty the squash looks when cooked, and by the fact that it doesn’t need to be peeled (bonus!). N.b. photo below is not mine. I did the unthinkable: left home without my phone/camera this weekend.
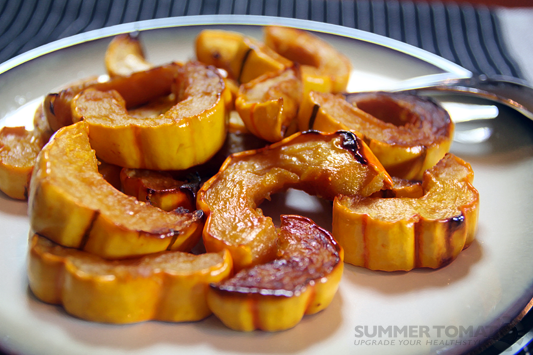
Roasted Delicata Squash

After some research, I settled on this recipe under the headline Delicious Fall Pasta Recipe from a Chicago chef and  foodie blogger Chow Bella. Given that my pantry was lacking some key ingredients, like radicchio and tallegio, paired with the fact that those foodstuffs would not fly with Hubs,  I took some liberties in my  technique and preparation….Here’s my interpretation of the recipe inspired by Chow Bella’s.

Ingredients:

250  grams or 1/2 box of spaghettini (thin spaghetti)
3-4 Tbs. Olive Oil
1 lb. Delicata Squash
4 cloves of garlic, thinly sliced
1/2 red onion, thinly sliced
1/4 cup Parmiggiano grated cheese [can add Taleggio cut in cubes if you have it on hand]
Kosher Salt and Black Pepper, to taste

Instructions:

Pre-heat the oven to 400 degrees.  Cut the squash in half, lengthwise and trim off both ends, and scoop out seeds. No need to peel the squash.  Slice the squash in 1/4 inch slices.  Toss the squash with 1 Tbs. of olive oil and sprinkle with salt.  Lay the squash evenly on a sheet tray (without overlapping) and roast for 12-15 minutes.

From Chow Bella: Roasted Delicata Squash Sauce

While the squash is roasting, heat a large saute pan with 3 Tbs. of olive oil.  When the oil is hot add the slivered garlic and saute for 30 seconds.  Add the slivered onion, season with kosher salt and pepper, and slowly cook for 15-20 minutes, until the onions are caramelized.  Add the roasted squash and cook for 1 more minute.  Add the 1/2 of the cheese and turn off the heat.

Prepare spaghettini as directed on box.  When the pasta in nearly done, use a ladle to scoop a generous ladle of the pasta water into the sauce.  Drain the spaghetti and then pour into the pan with the sauce.  Stir all of the ingredients together, adding kosher salt, black pepper and a splash of olive oil as necessary to loosen up sauce. Serve with additional Parmiggiano on the side.

Yield: 2 generous servings

Conclusions: Would definitely try this again, and would be curious to prepare it with radicchio. The squash was a little dried out from the roasting, so I adjusted the recipe above to reflect that, and recommend 1/4 inch slices (even 1/2 inch) vs 1/8 inch in the original recipe. We added a little more olive oil at the table, but this recipe had great flavor. The squash is quite tasty, and not as sweet as butternut squash. Hubs said, “It has good flavor.” Final word: we had some leftovers which Hubs and Sam had for lunch the next day re-heated.

CSA Pick-up 9/15/12

Image

20120916-163307.jpg
What a great haul this week at Wolfe Spring Farm. Great tomatoes, multi-hued peppers, onions, garlic, eggplants and (new this week) celery.

Here’s what we’ve prepared so far:

Details to come. Must rest now.

So much Veg!

Multitasking

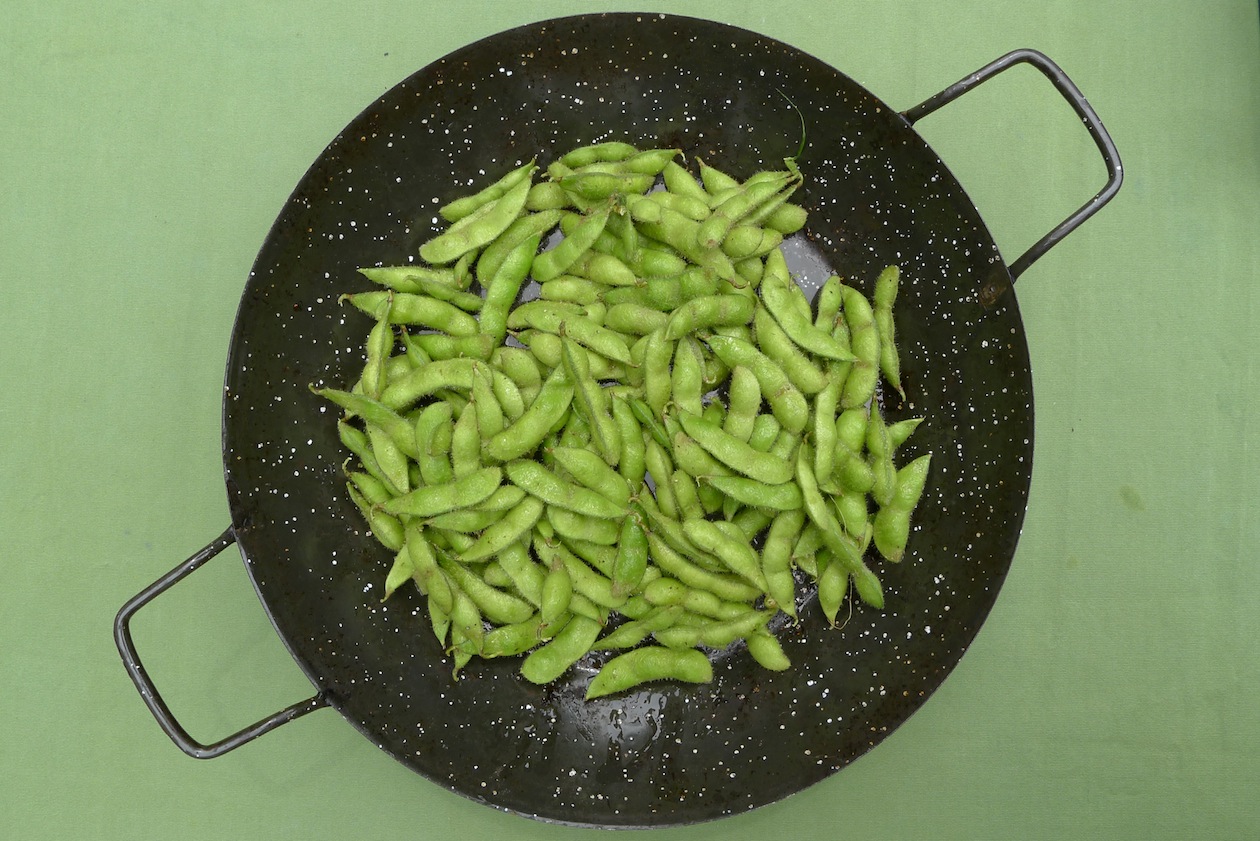
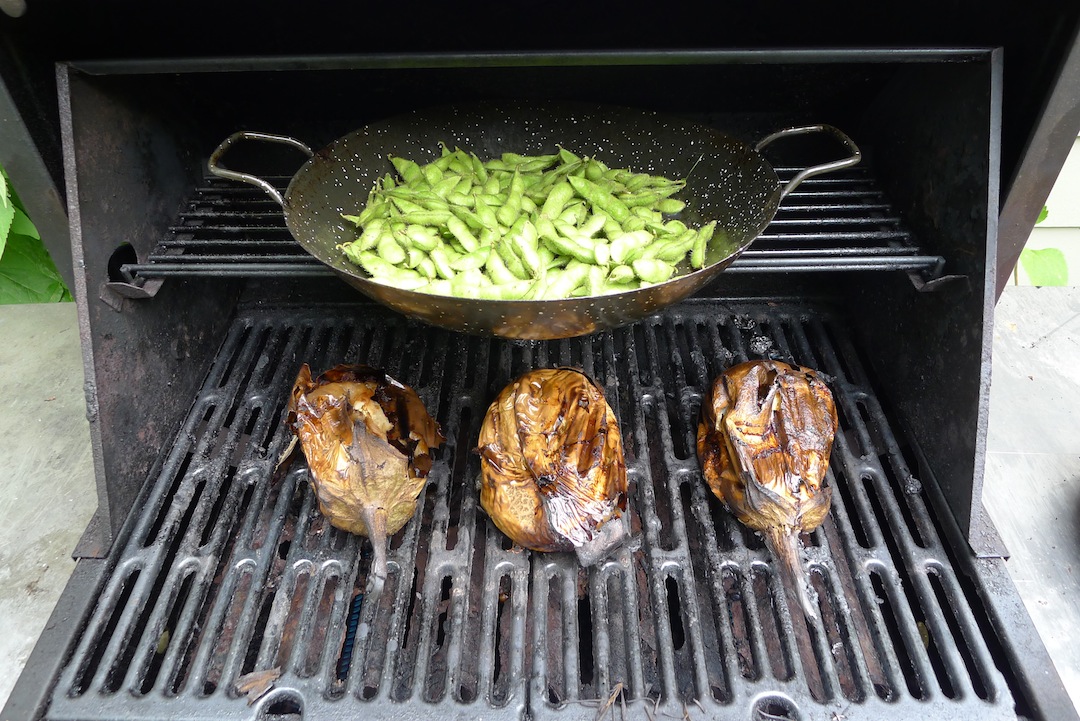
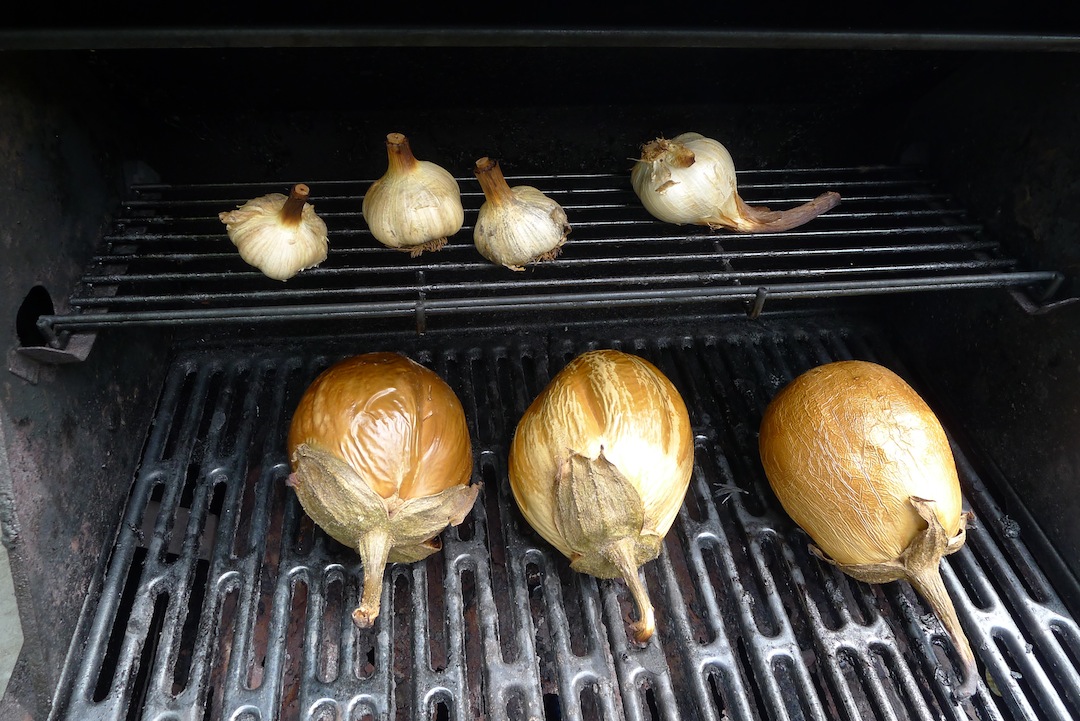
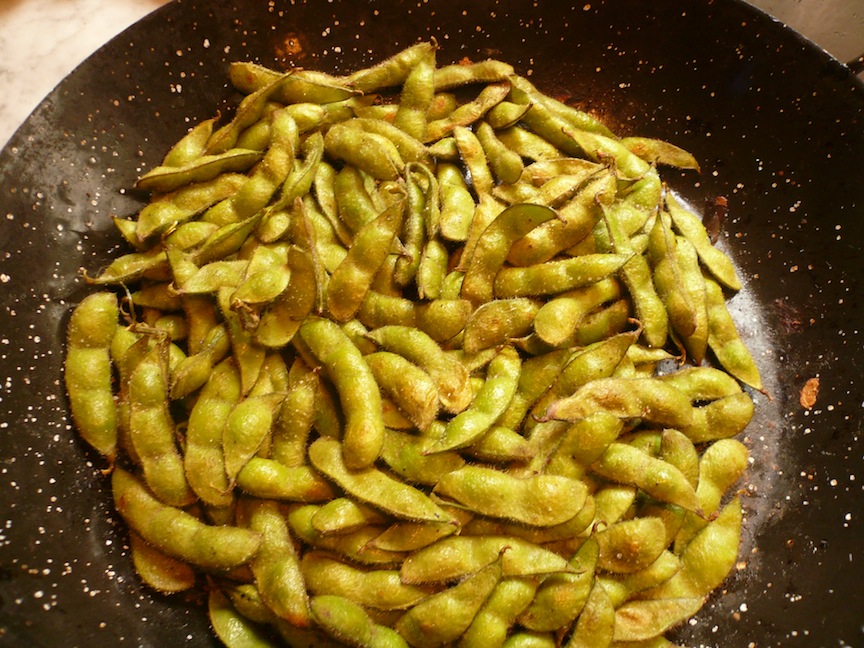
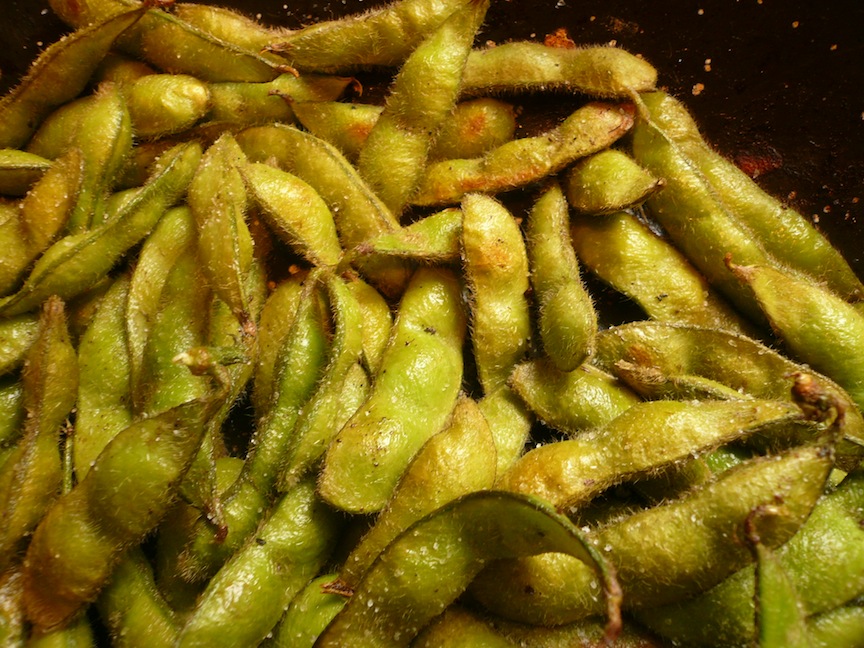
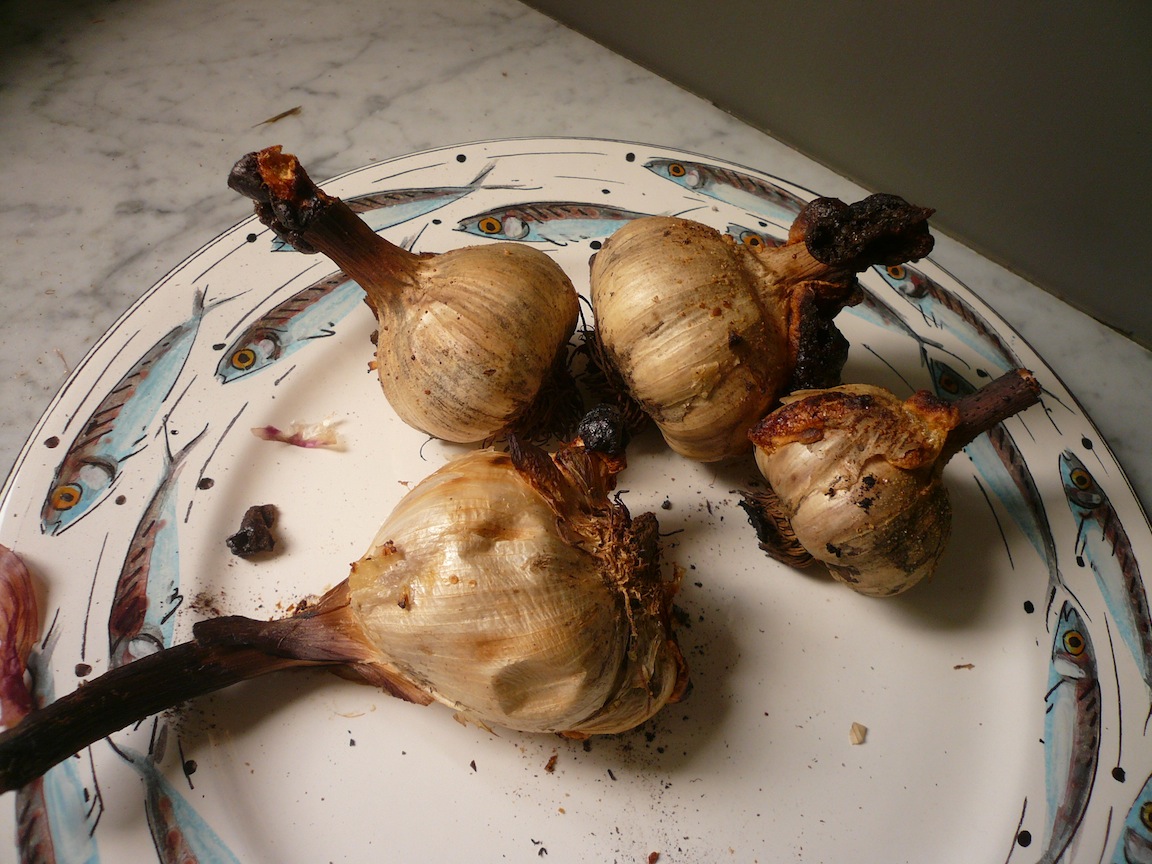
While Paul, Debra, and Sam are glamming it up on the continent, we’re keeping it real here down on the farm. A few fat eggplants challenged us to make some baba ganoush. Could we get any where near the smoky deliciousness of Fatoosh on Hicks Street in Brooklyn? We were willing to humiliate ourselves trying so………….I’m usually a Jamie Oliver throw-it-all-together-and-see-what-happens kind of guy but Baba ganoush mystified me. I knew it was a roasted eggplant dip with garlic and lemon but that was it. So, I turned to the New Book of Middle Eastern Food by Claudia Roden. This book has inspired me many times. She had a great recipe for baba ganoush which I’ll get to later. We through the eggplant on the grille. While we had the grill going, I put some garlic in to roast and, why not?, some edamame to see what would happen. Toss it with salt and pepper and roast it (rather than steam it) OMFG – so delicious. It took on some of the smoke of the eggplant and was magnificent. I bet they don’t do THAT in Ittly……….

Raw Wolfe Spring Farm soy bean pods (edamame) in our fantastic dumptique grille pan

Eggplant and edamame

WSF Eggplant and WSF garlic

Beautiful, grill-roasted edamame. Toss with sel-gris and devour. I did.

cuz close-up, naturally-lit food photos look classy

Grille-roasted Wolfe Spring Farm garlic. (Platter available at Bergdorf Goodman, NYC – shout out to David (“hubs” in Reganischqke) ) So useful……always have some around.

Parsley, Sage, Rosemary, no Time

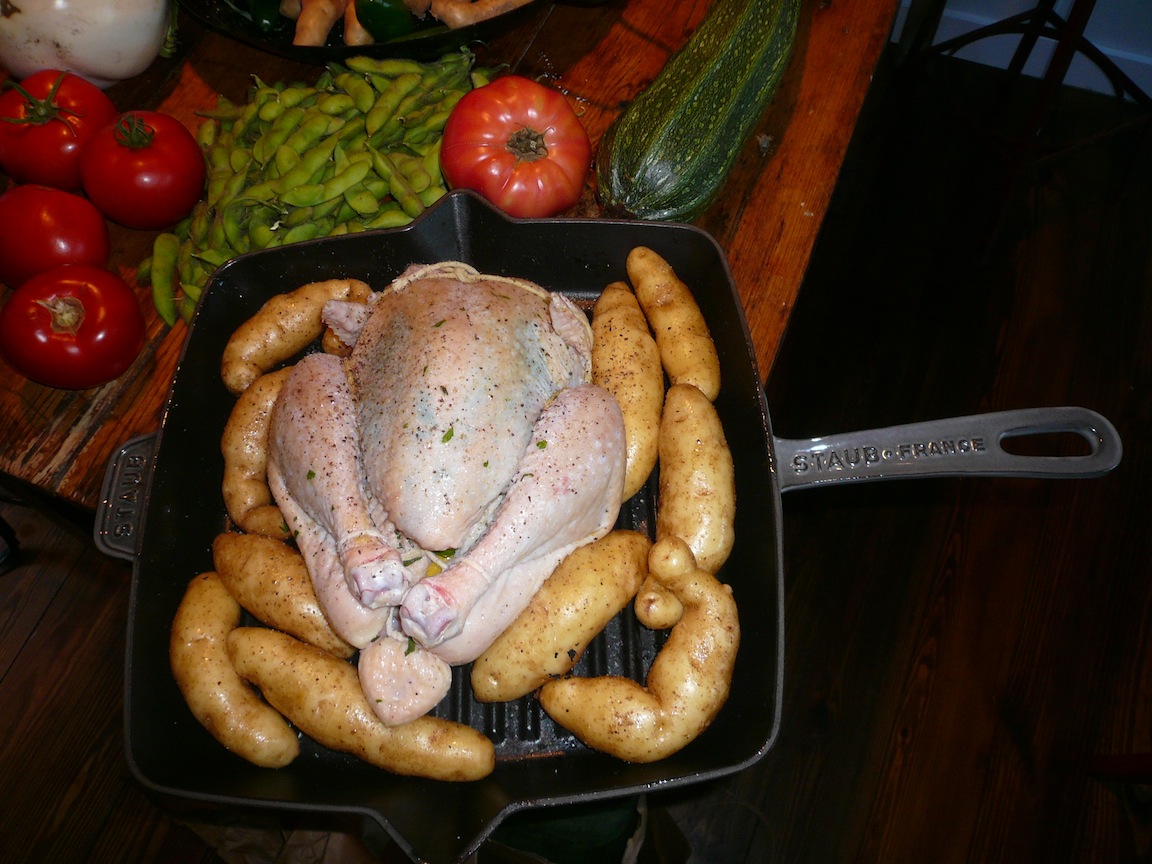
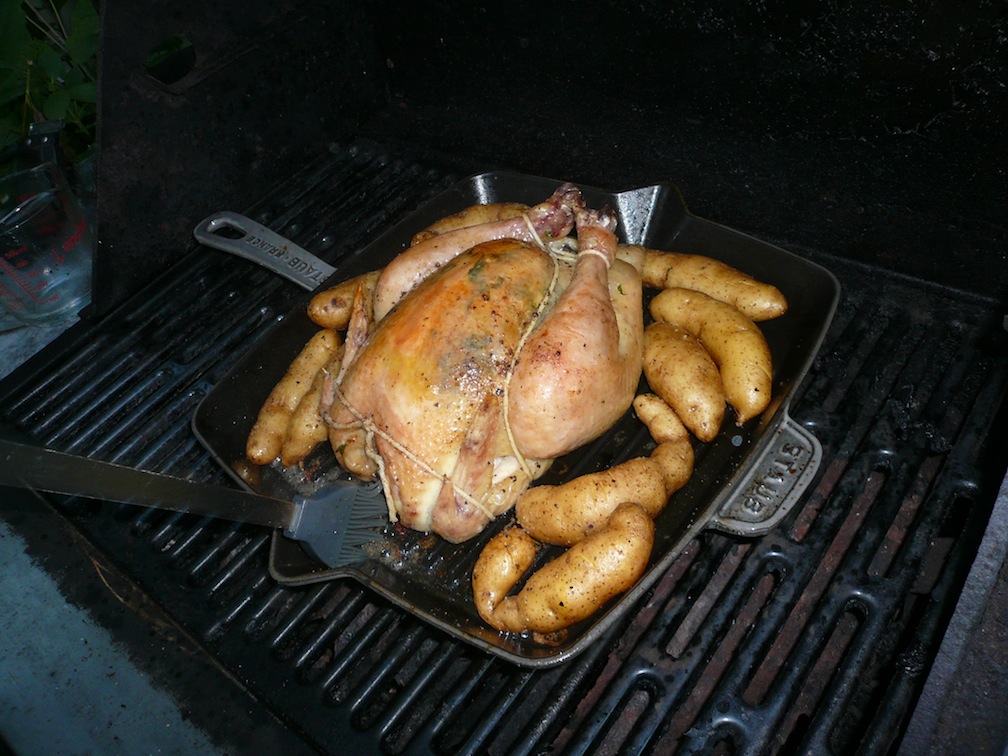
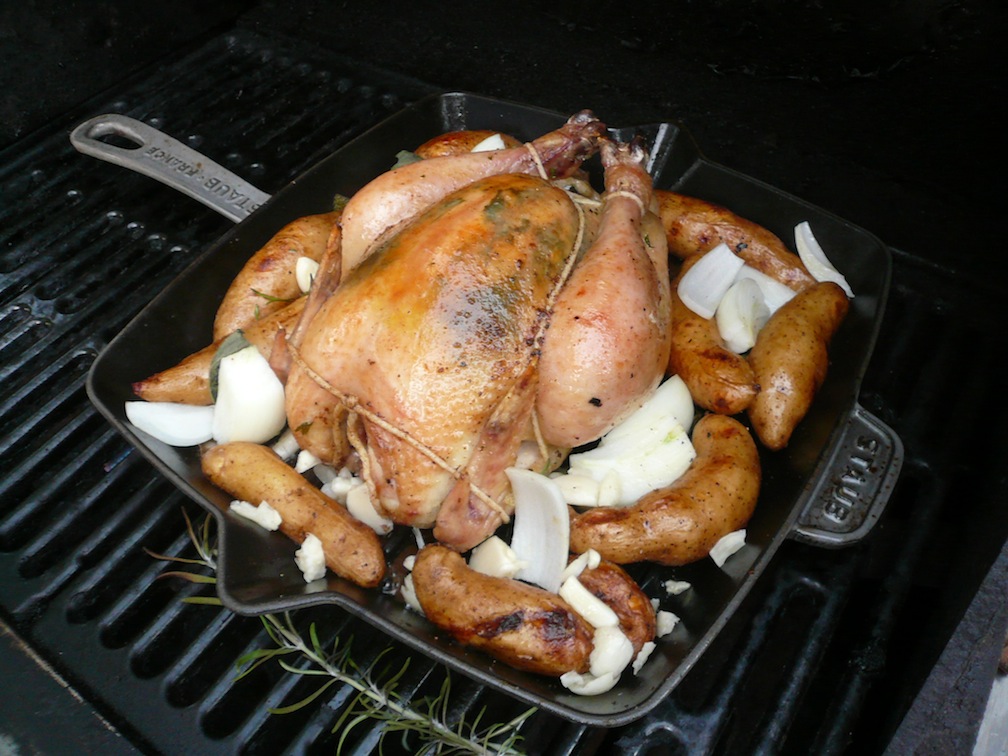
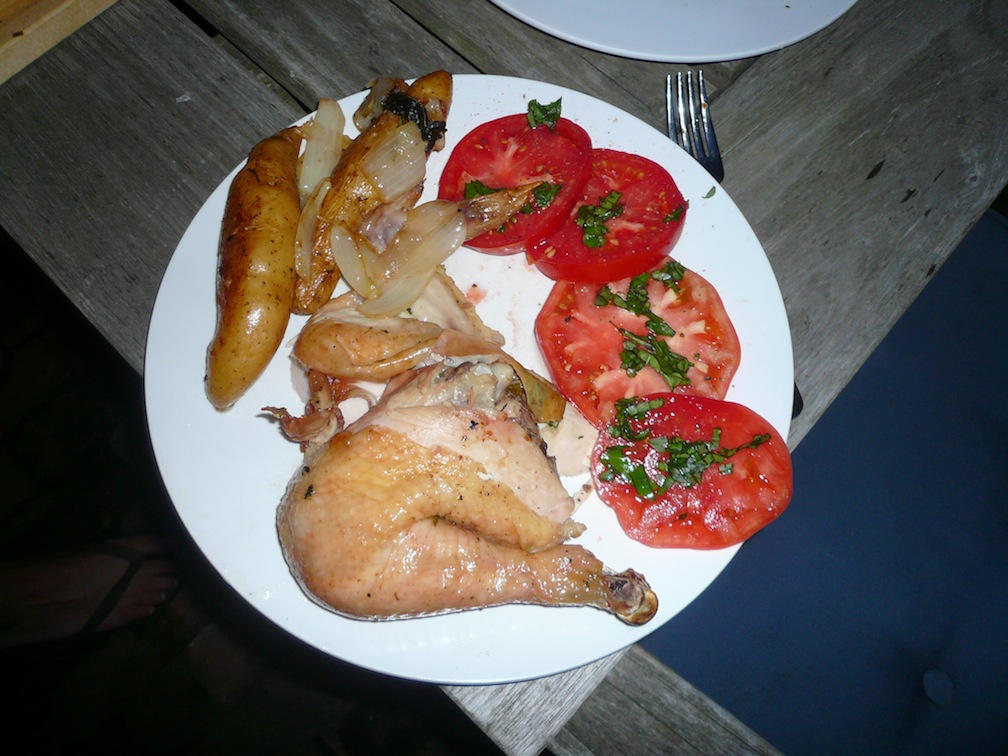
Next, we made an amazing grille-roasted chicken with a Wolfe Springs Farm naturally raised chicken, some WSF fingerling potatoes, some herbs from our garden and some WSF tomatoes.

Slip a few herbs under the chicken’s skin, cram some lemon wedges and whole herbs in the cavity, salt and pepper everything in sight and throw it in a pan (this one was a wedding gift that we dedicated to the grill) cook for a while, add some sliced onions and crushed garlic, cook until done, serve with sliced fresh WSF tomatoes and chopped basil. The whole cooking time was about 1.5 hours – just enough time to have a bloody mary or two. This was a truly sublime feast.

The raw ingredients

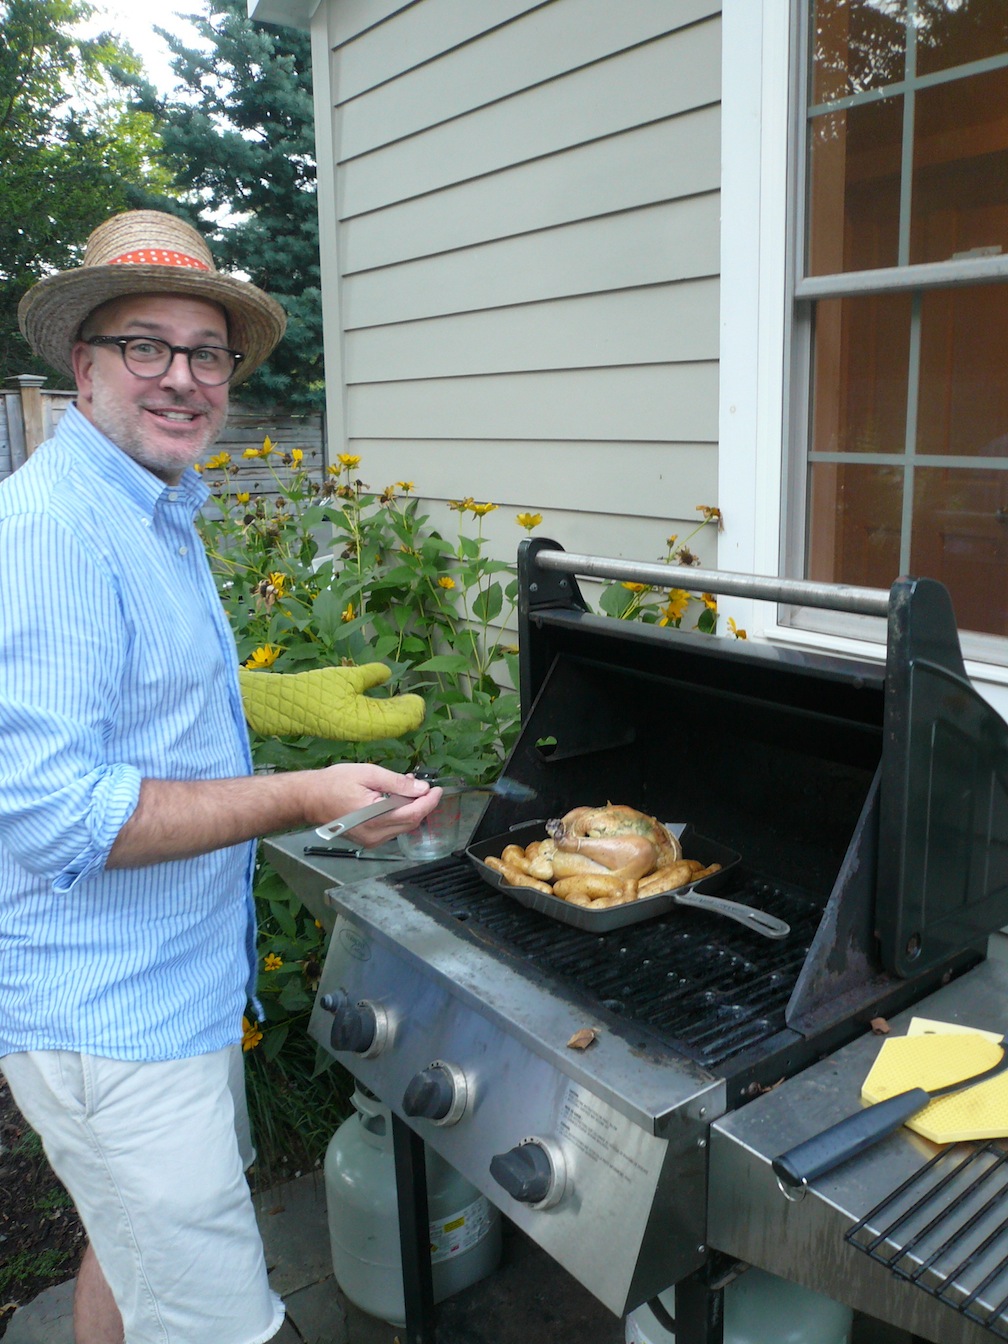
“How Easy is That?” Dave at the grill, channeling Ina Garten.

Work in Progress

Add onions and WSF garlic

BOOM! Dinnuh!