The Best Form of Flattery…Ode to Dan’s Carrots

I love having a partner in crime and it is so fun when Dan jumps in a with a post on this blog. I thought Dan’s preparation of roasted carrots looked so interesting (not to mention his Elton John song title reference), I had to try it out for myself. Making the interesting out of the seemingly ordinary.

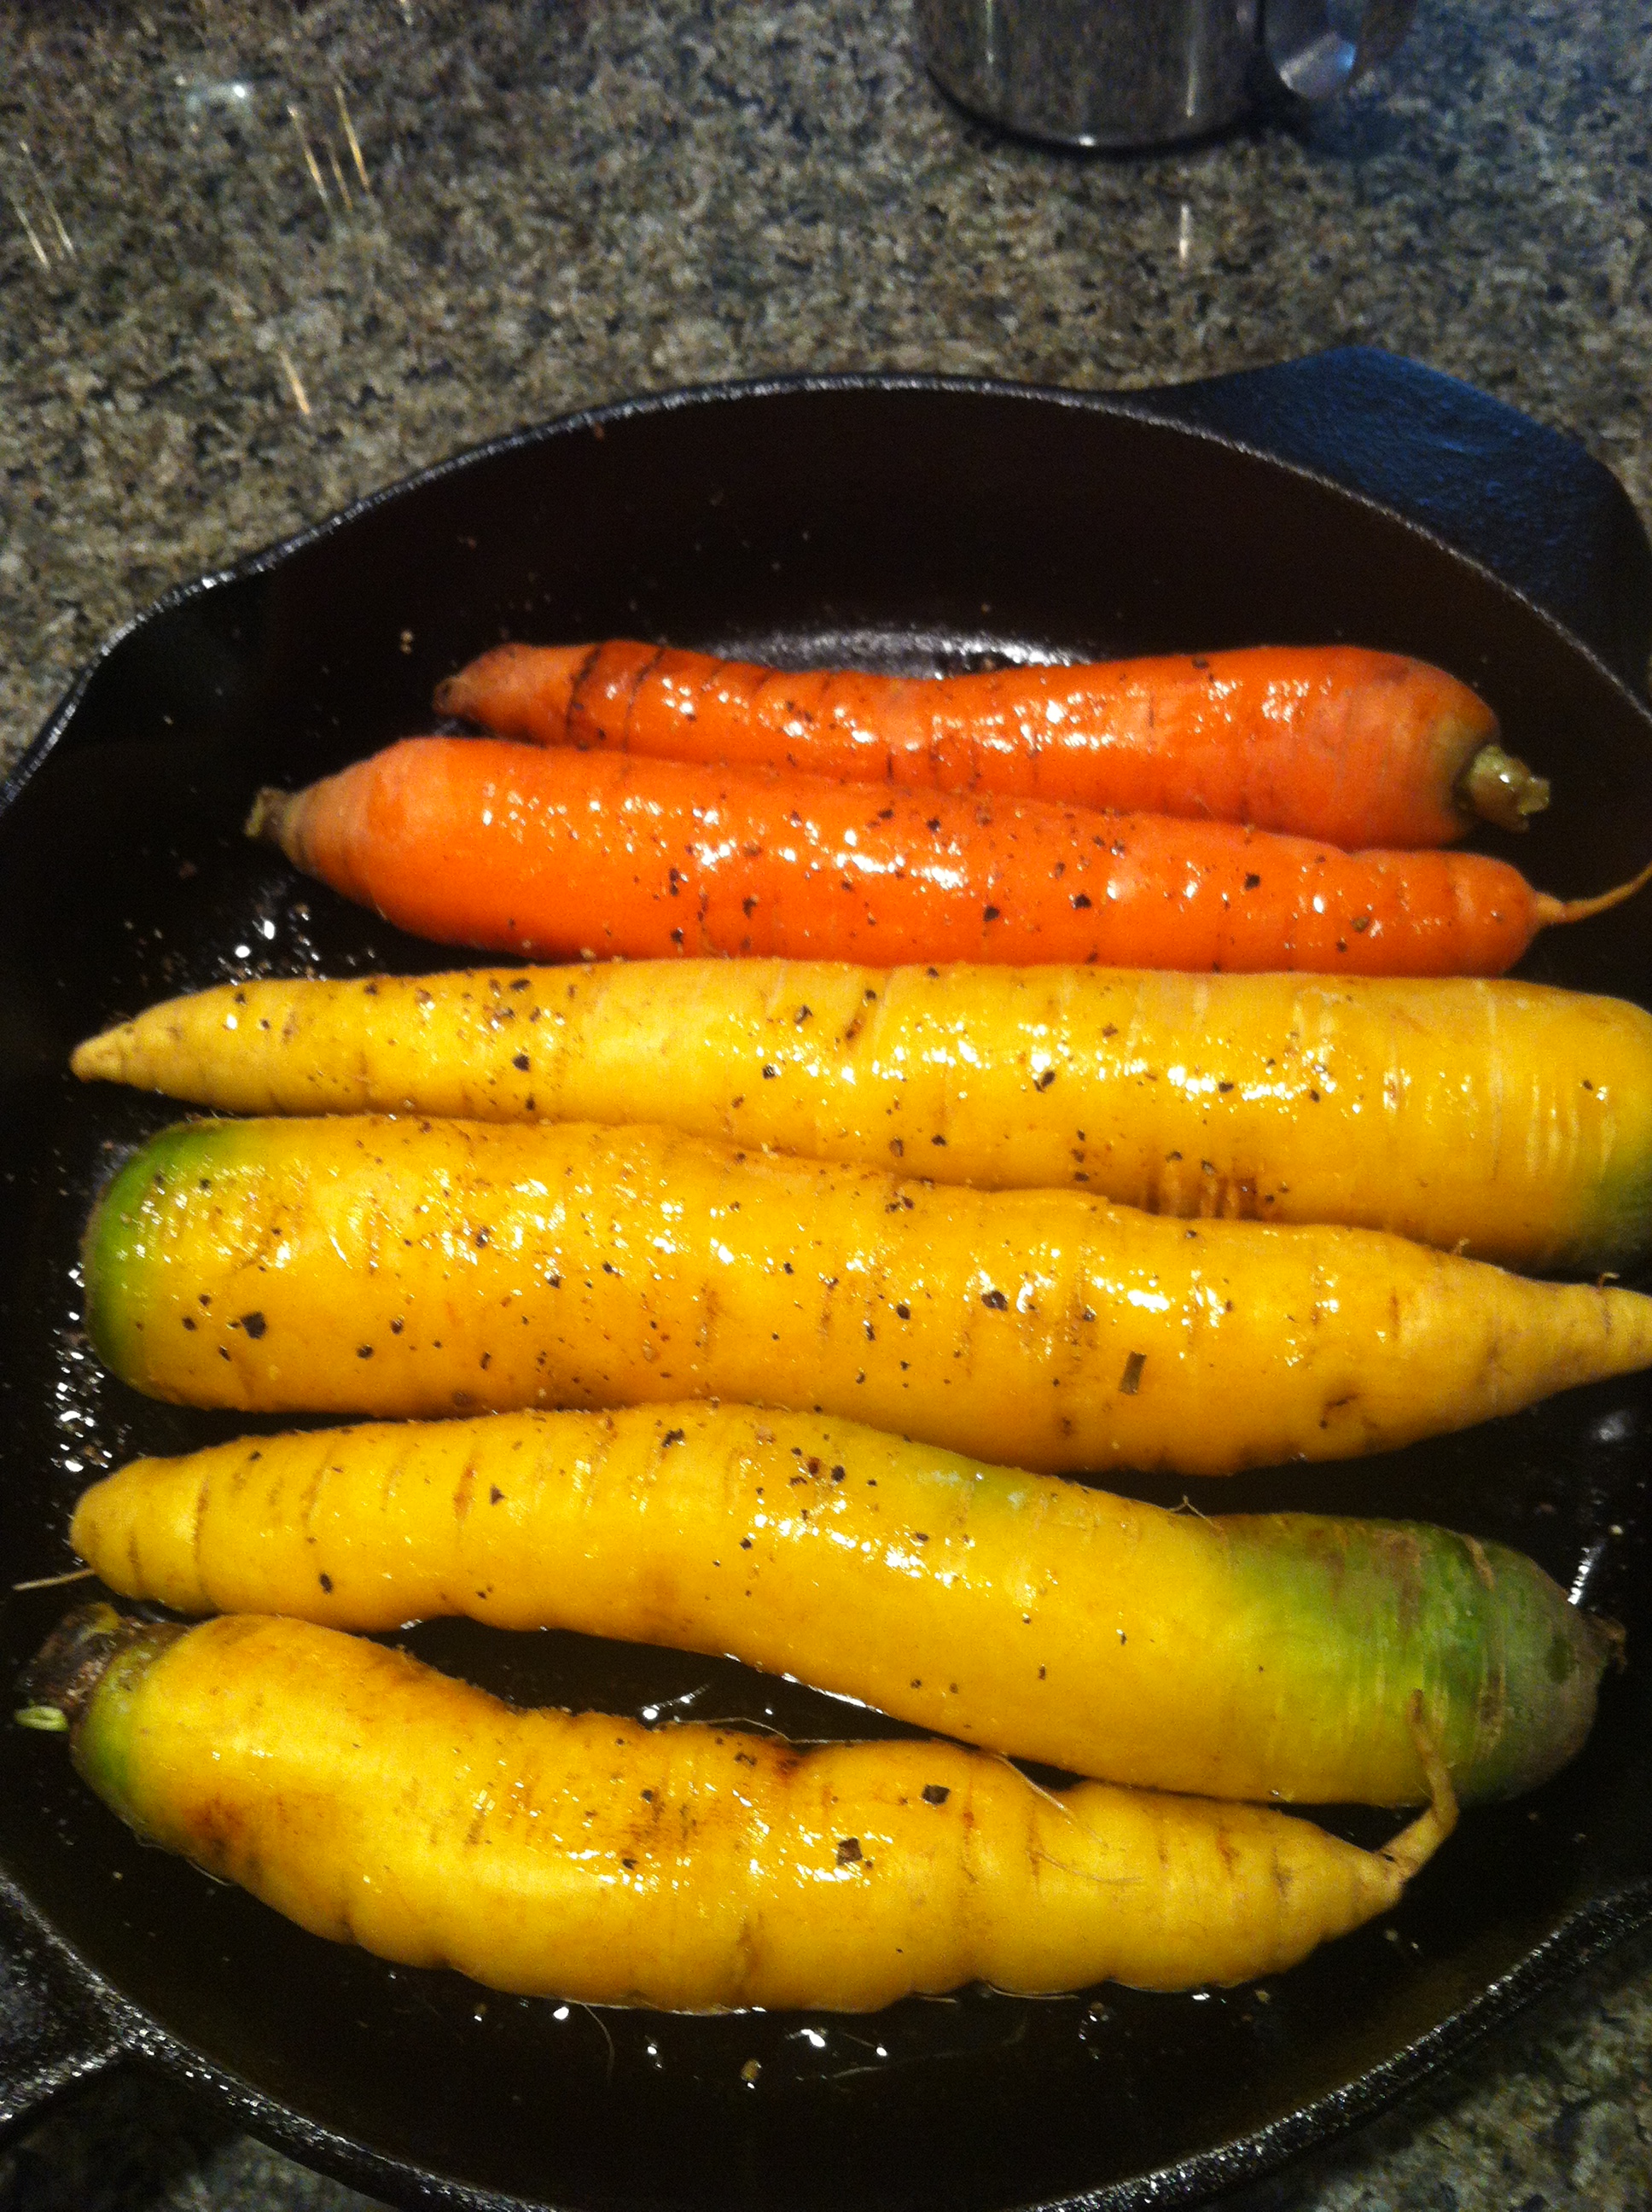
WSF Multi-hued Carrots ready for the oven

What I did: I washed and trimmed the WSF white and orange carrots, leaving the skin on for some rustic appeal (as Dan did). I tossed them in the pan with a hearty glug of olive oil, a sprinkle of kosher salt and a twist of fresh ground pepper. I am such a copycat, I even used the same cast iron pan as Dan. Baked for 30 minutes at 400 degrees, and then lowered the temp to 250 (per Dan’s instructions), and baked for another 20 minutes or so until they were nicely browned. I tested them with a fork and noticed that the larger carrots were still tough in the center, so removed the smaller carrots and returned the rest to the oven for another 15 minutes or so. Next time round, I’ll select all similar sized carrots for the pan.

The result:  savory and sweet, easy on the eyes, rich-tasting carrots. NOT your mama’s cooked carrots. A MUST TRY, taking preparation of an everyday vegetable to the next level.

Apple Picker Extraordinaire

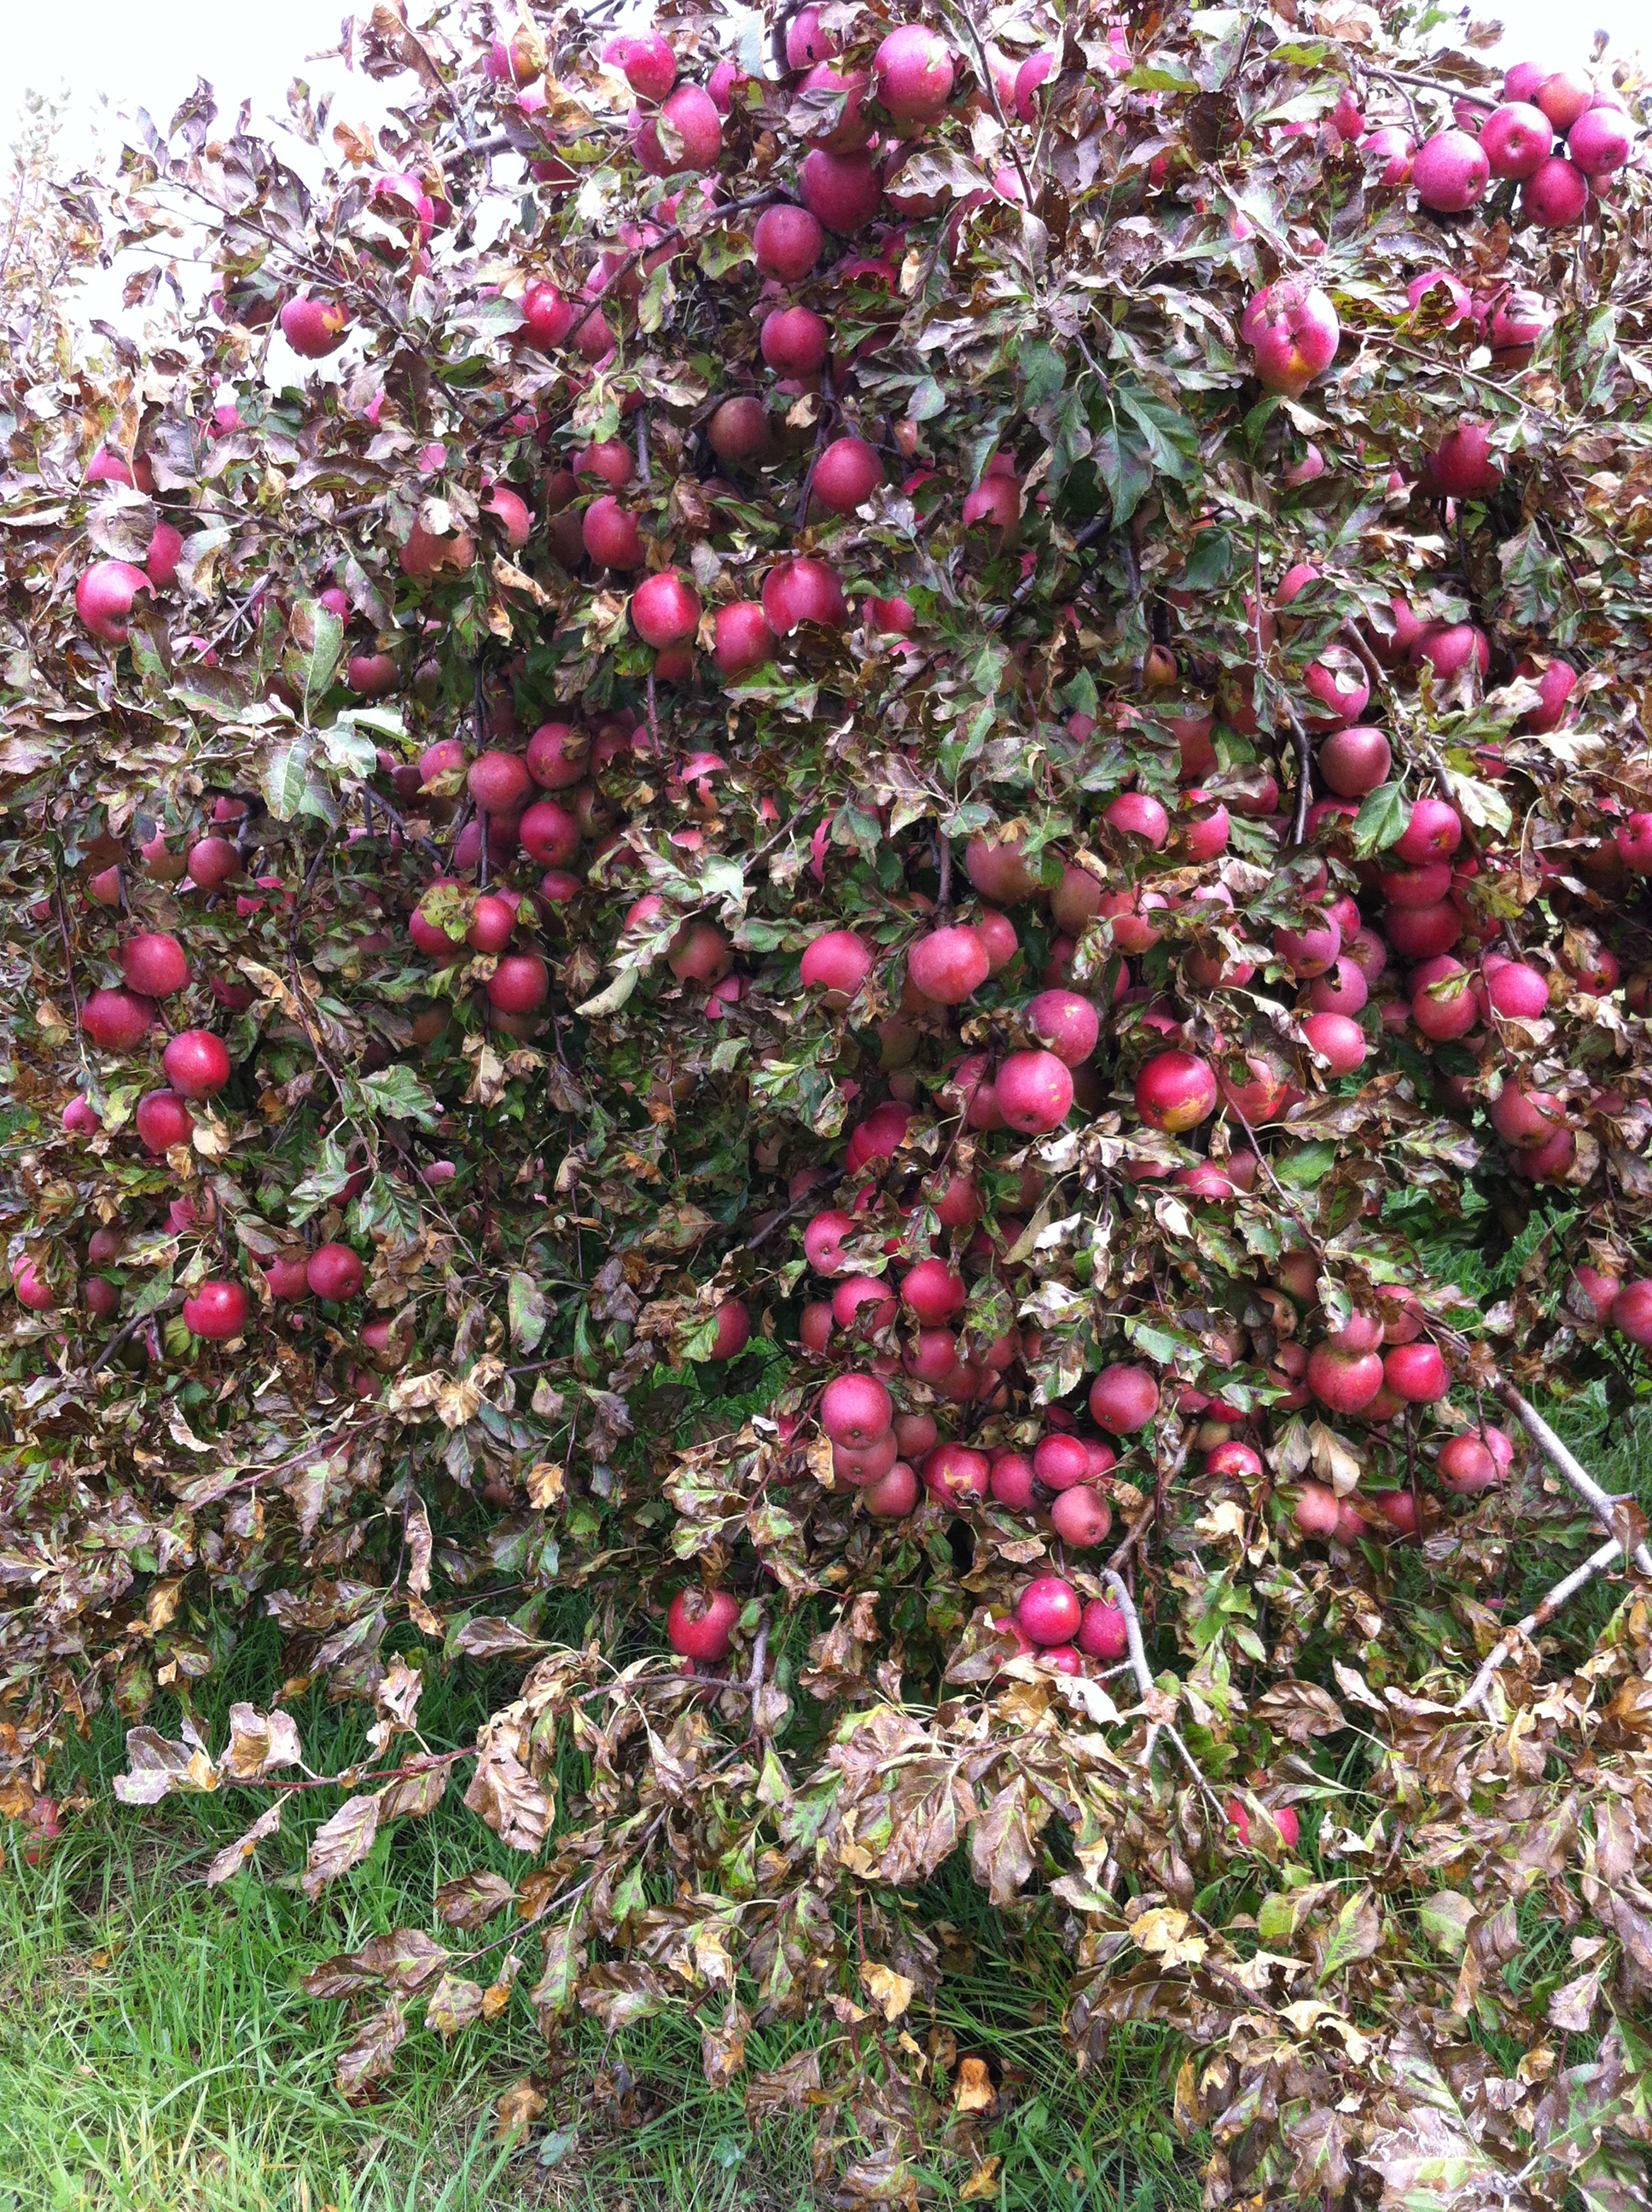
Macoun Apples @ Riiska Brook Farm

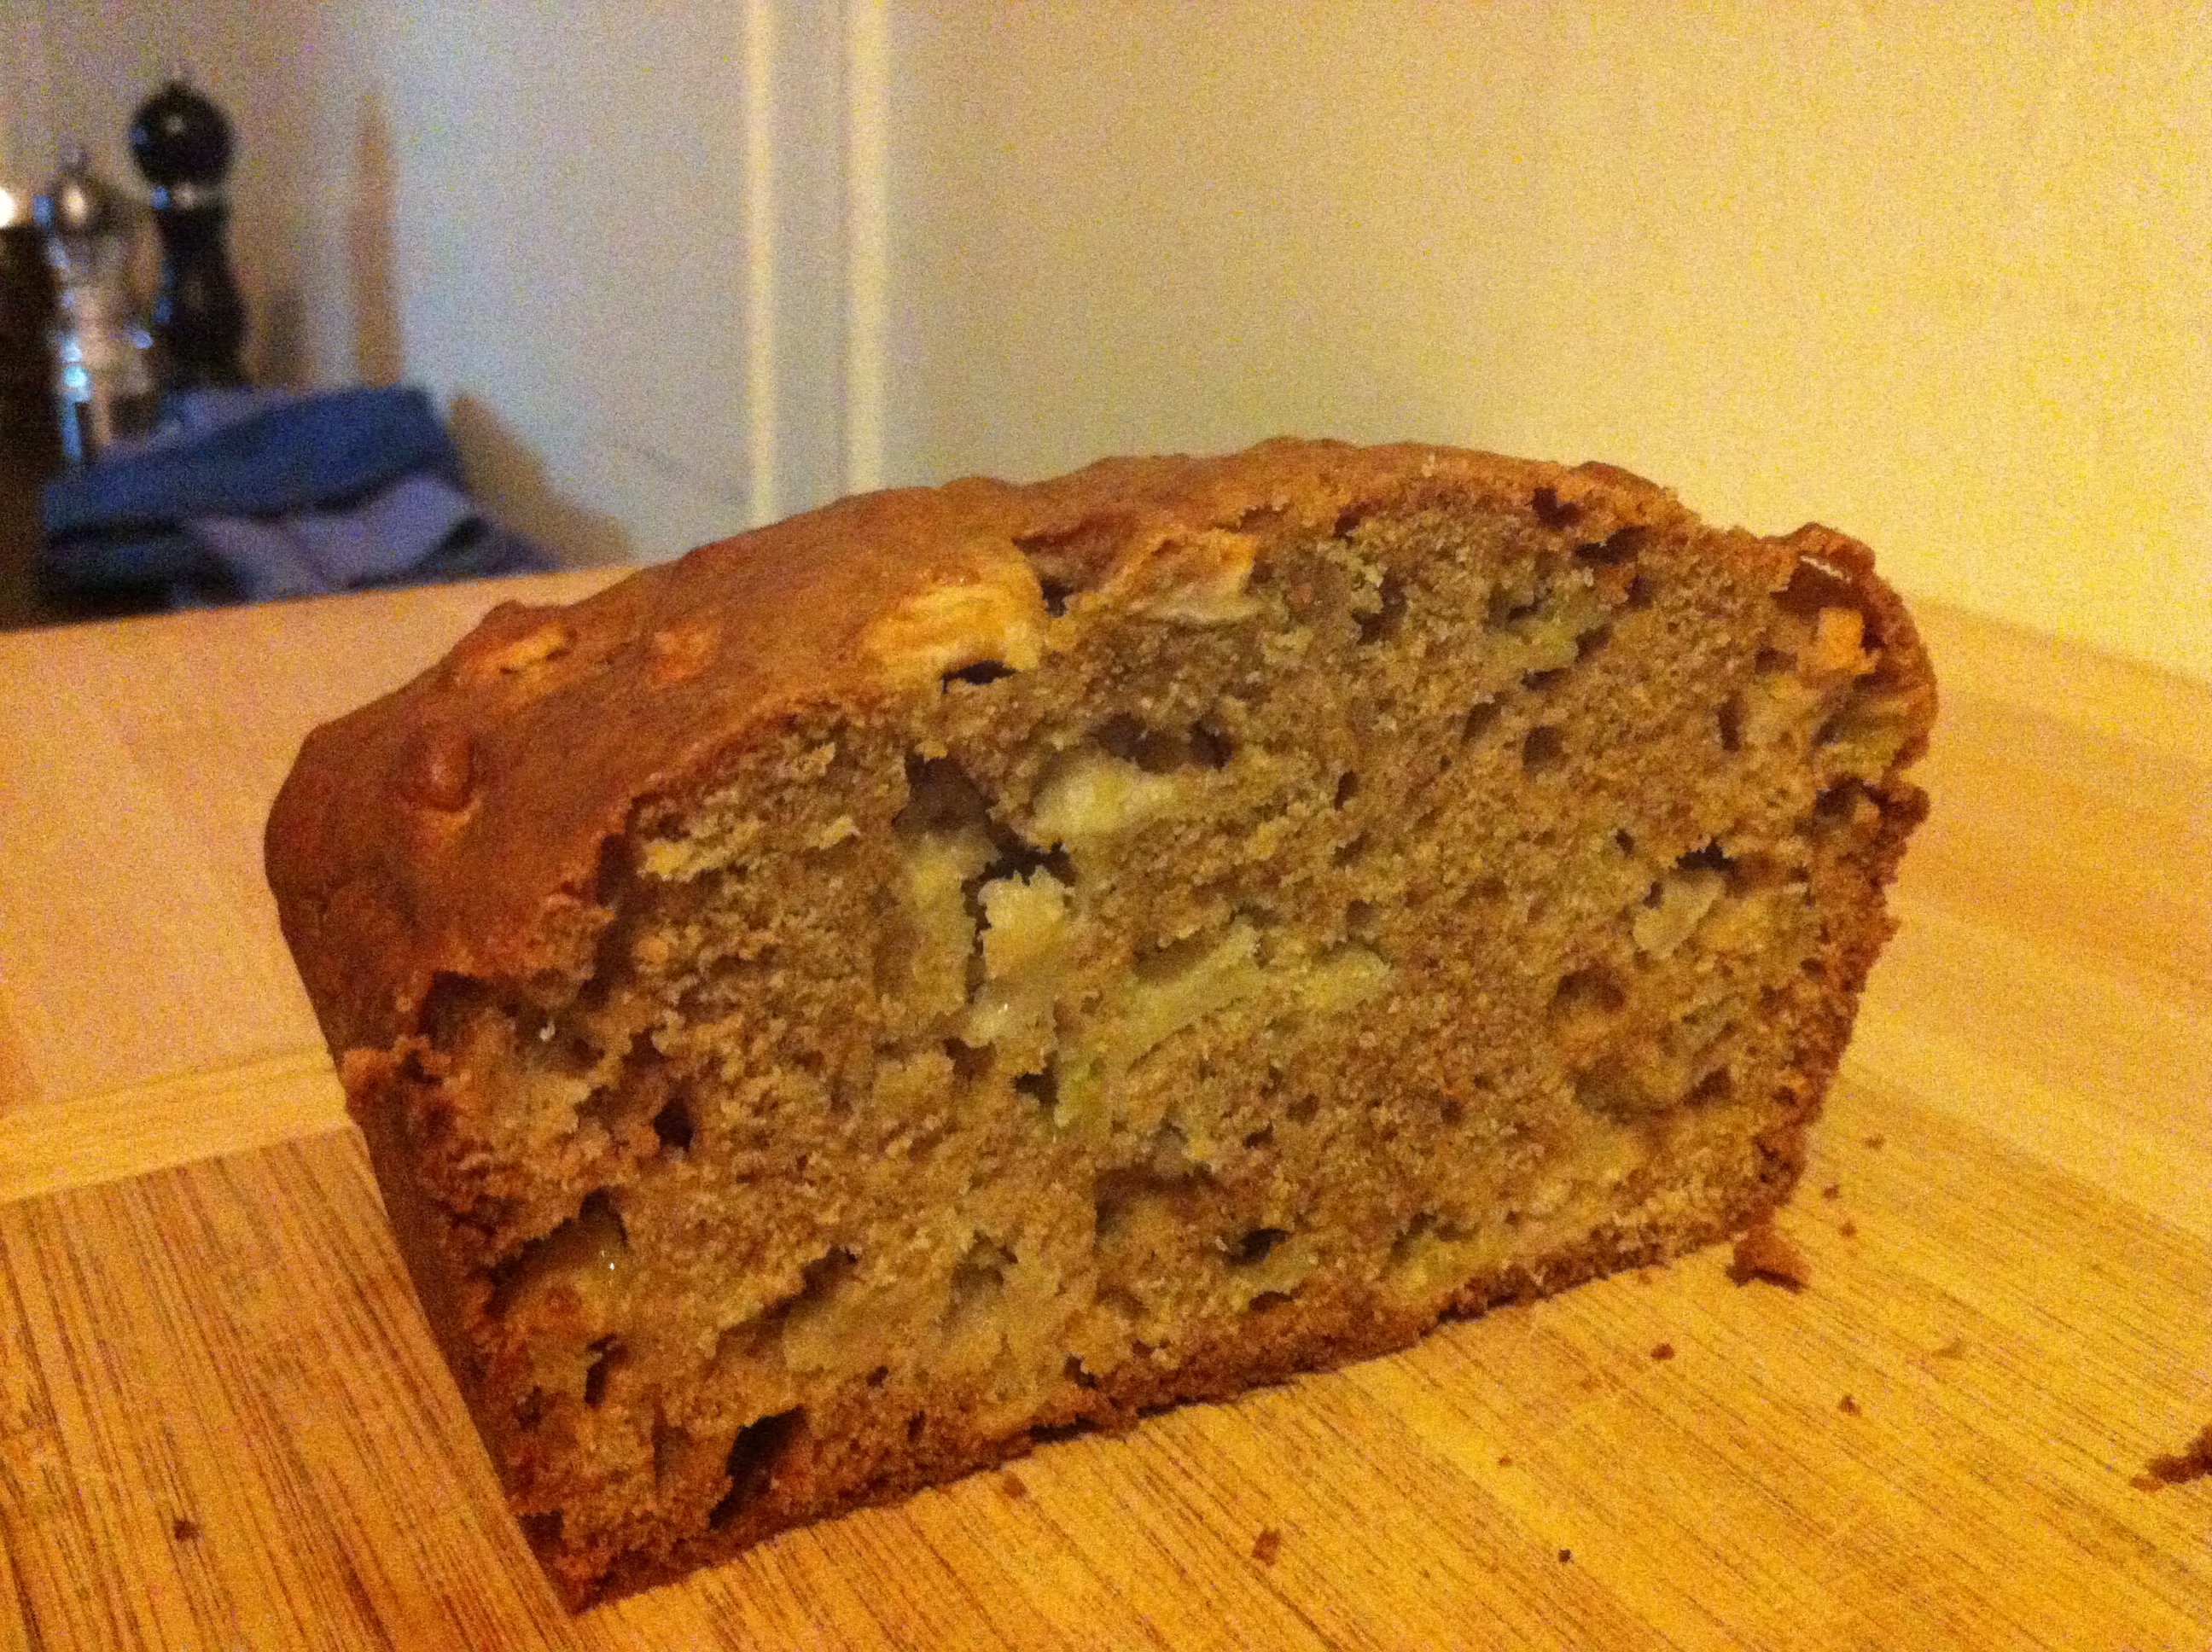
Rustic Apple Orange Quick Bread

Last weekend we visited the lovely and peaceful Riiska Brook Farm in Sandisfield, MA. We were delighted to find the trees laden with apples, begging to be picked. Because of this year’s funky weather, some orchards in the area were hit hard by an early season frost. Apparently, Riiska’s trees suffered no such damage.

After eating more than our fill of crunchy Macoun, Empire, Fuji, Gala and Braeburn apples, I thought of what to prepare with our peck. I was intrigued by the “No Crust” Apple Pie recipe from the From Scratch Club blog and had planned to bake that. But when I awoke unnaturally early on Saturday morning, it seemed more appropriate to bake for breakfast.  I thought about  a variation of the yummy Zucchini Orange bread I baked during the summer. Apples and oranges go together, so why not? I had some OJ in the fridge, too. I consulted a few recipes and not finding one to my likening (i.e., did not want to use shortening), I improvised a little and hoped for the best. Improvising and baking  don’t usually go together, but the quick bread spirits must have been looking favorably upon me. This recipe below produced 2 delicious, moist, rustic and not overly-sweet Apple Orange Loaves.  Yum. I used a mix of apples, and gave them a rough chop. The result made for an attractive loaf, too.

Rustic Apple Orange Quick Bread Recipe

2 cups all purpose flour
1 cup whole wheat flour
1  teaspoons cinnamon
1 teaspoon baking soda
1 teaspoon salt
3 eggs
1 cup sugar
1/2 cup orange juice
1 cup vegetable or canola oil
1 tablespoon vanilla
2 cups, peeled, chopped apples (roughly 3 apples)

Instructions:

Preheat oven to 325 degrees. Grease 2 loaf pans. Mix flour, cinnamon, soda,  and salt  together. In a large mixing bowl, beat eggs and add vanilla, sugar and oil. Add orange juice. Slowly add dry mixture – batter should be quite thick. Stir in apples.

Pour into 2 greased loaf pans. Bake for 1 hour and check for doneness by inserting a toothpick. Bread is ready when it is lightly browned on top. Raise temperature to 350, if needed, and bake an additional 10-15 minutes. Remove from oven and place loaf pans on wire rack to cool for 10 minutes before removing from pans. Enjoy.

Yield: 2 loaves

Apple Picker Extraodinaire @ Riiska Brook Farm

CSA Pick-up 10/20/12

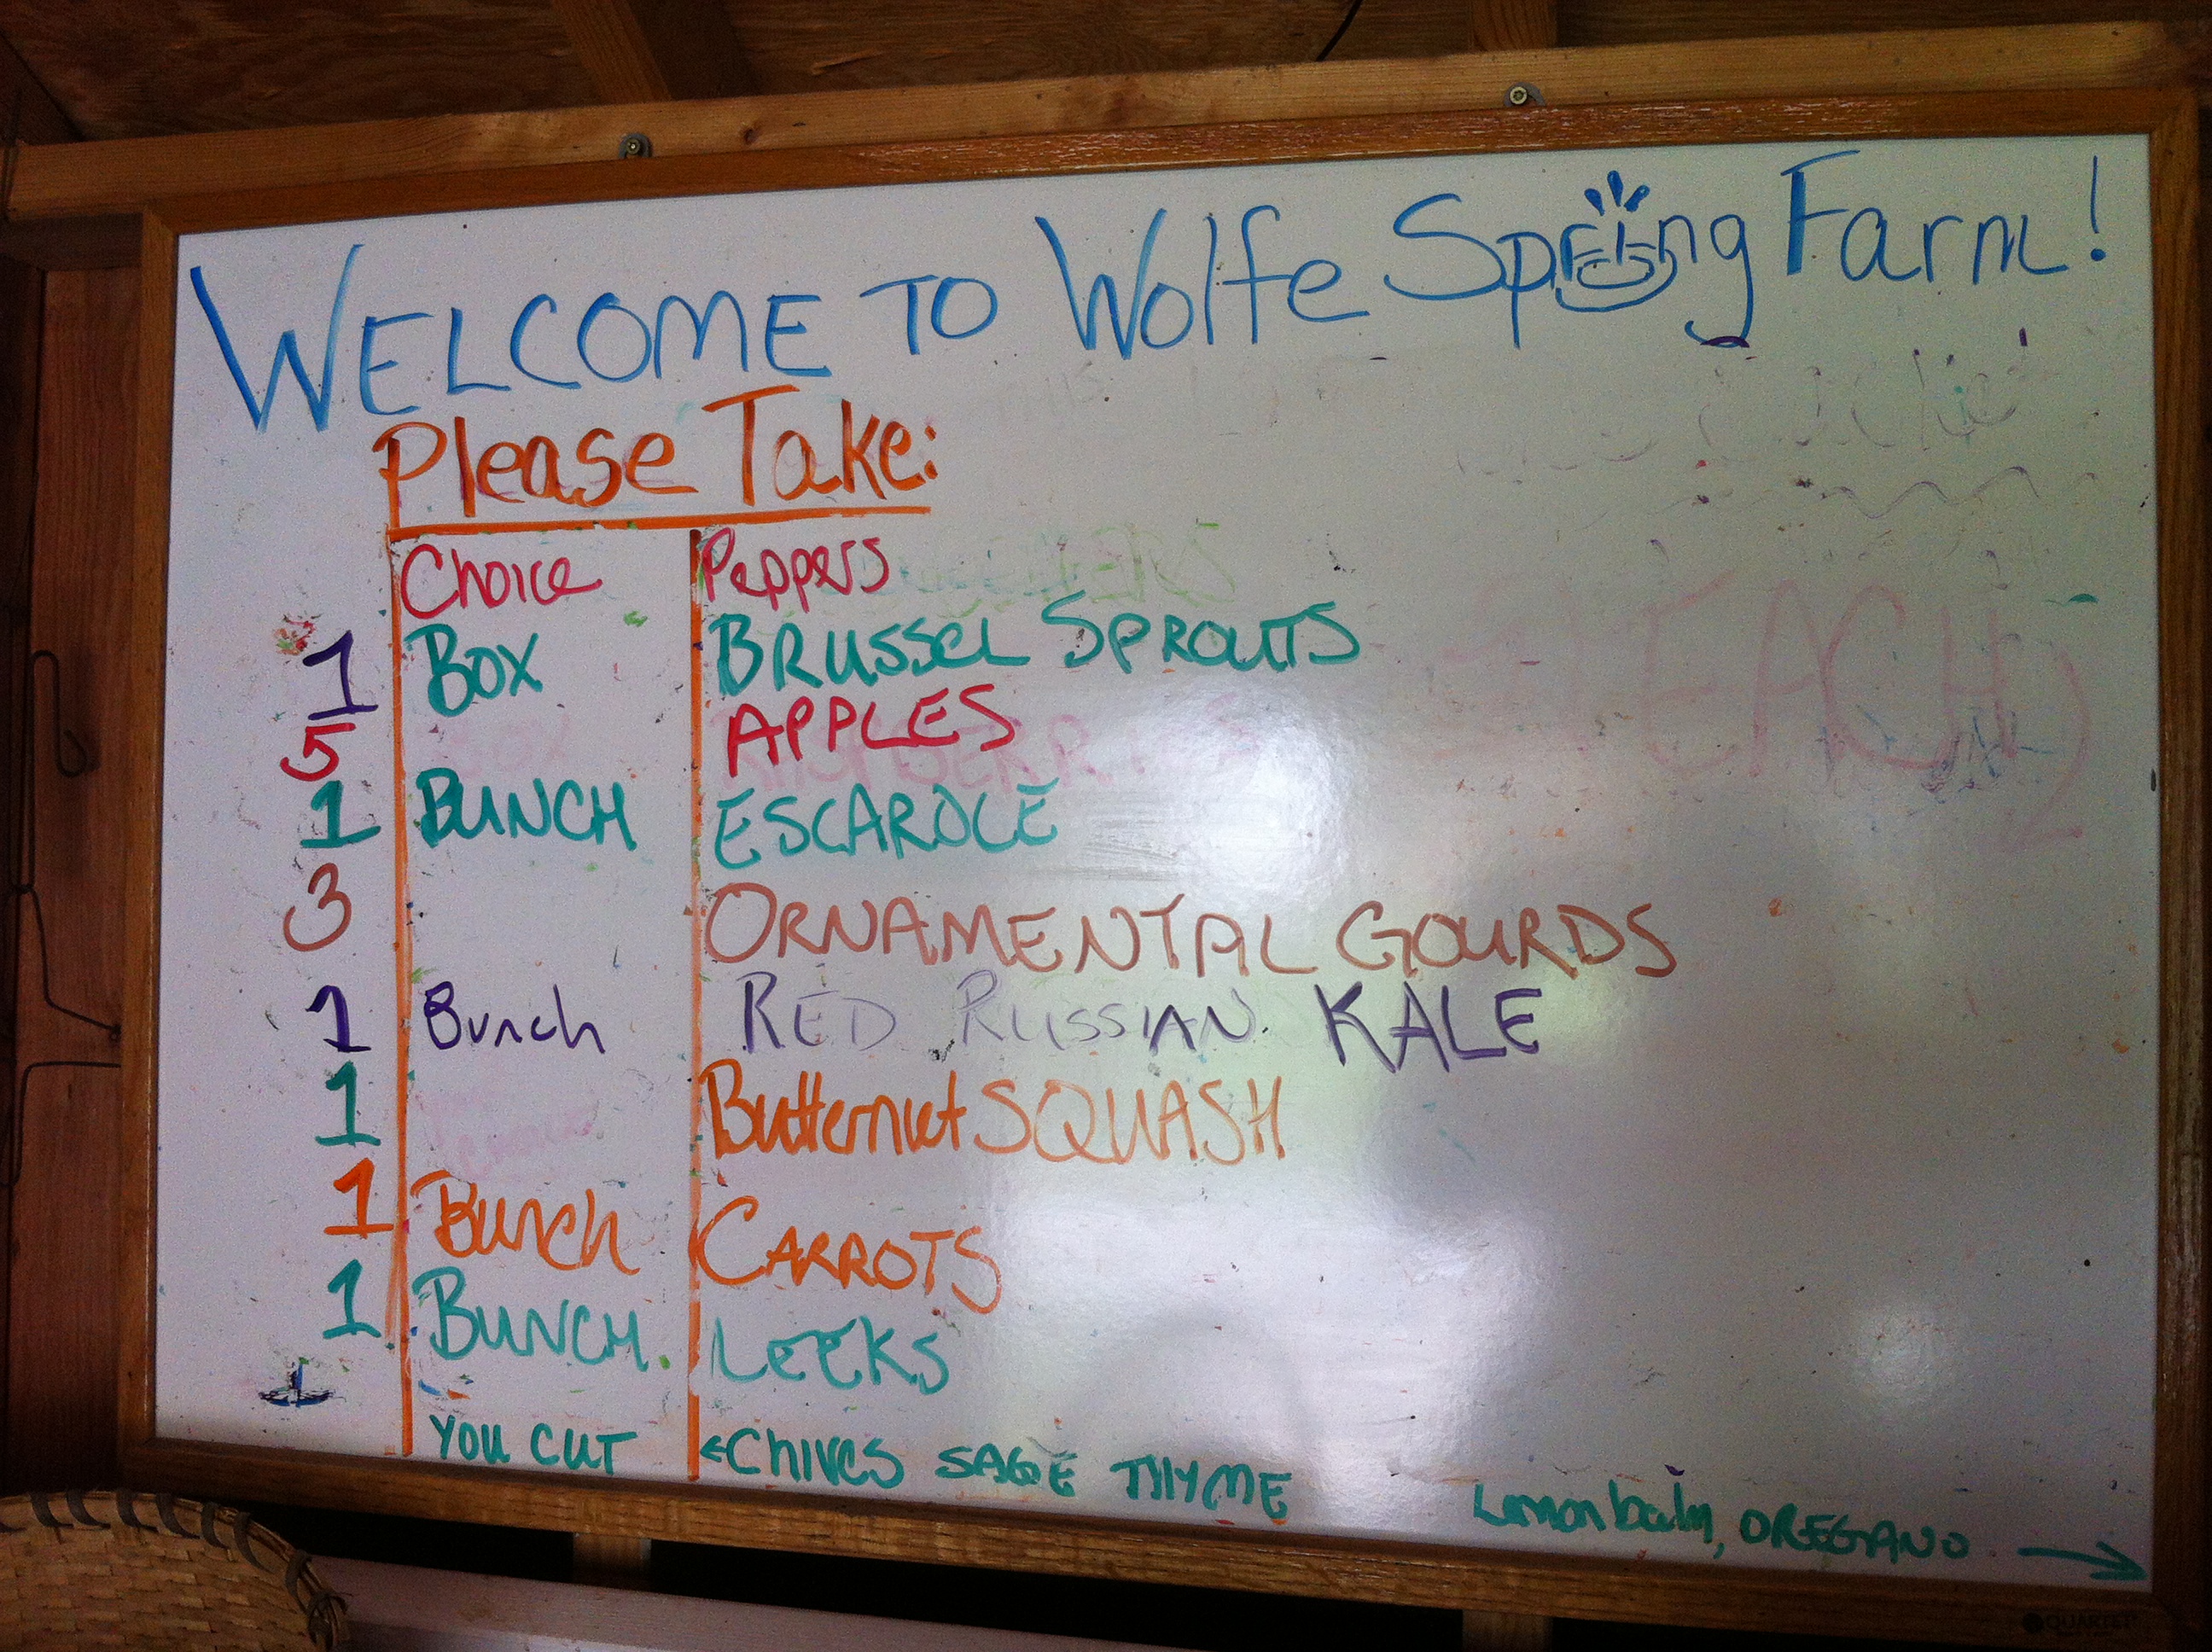
The funny thing about autumn in the Northeast is that it can be freezing (literally) one night and soar back to the 60s another. After last weekend’s frosty temps, we were surprised to feel the need to peel off layers on Saturday morning as we stopped by the farm for our pick-up. Penultimate pick-up of the season. My bag felt a little lighter than usual, but there were still some great new veggies on hand: Red Russian kale, butternut squash and escarole.

Penultimate pick-up – 10/20/12

I was also delighted to see another pair of leeks, a box of brussel sprouts and bunch of multi-colored carrots. With our house guests on the way, I knew we’d make short order out of this pick-up in no time at all. Here’s what I had on tap:

– My “almost-famous” Minestrone-style veggie soup
Leeks Vinaigrette (very French, I know)
– Roasted carrots, copycat pt 2 (see guest blogger Dan Doern’s post for inspiration)
Crispy Caramelized Brussel Sprouts
– Sauteed kale

And, any other year I’d be psyched to see the ornamental gourds, but they didn’t do much for me this year. We found a “volunteer” squash vine in our garden this year and it produced a prodigious crop of yellow and green bumpy creatures.

True Confessions: I Heart Snails

As many of you know, I have been a vegetarian for a looong time (ok, pescatarian). I have not eaten meat/chicken/turkey of any kind for over a decade. But, admittedly a few escargot have passed these lips. I remember first tasting snails as a little girl. For some reason, my mom kept a set of large shells in a plastic tube and she would actually prepare escargot once in awhile. The actual snails were sold in a can, and my mom would make the decadent butter, shallot and parsley sauce. After gobbling up the snails, I’d dunk bread in the heavenly butter sauce and sop up every bit. That may be my “madeline” moment  from childhood.

Bizarre, I know. But my mom didn’t bake, so I had snails. I really don’t know how snails are categorized (fish, fowl, insect??), apart from being gastropods. Wikipedia calls them gastropod mollusks, so does that put them in the same category as fish? But the snails commonly served as escargot are definitely terrestrial, not maritime.  I guess that’s why I haven’t been able to let them go despite the fact that when I think intellectually about what I’m eating, it’s totally gross.

I enjoyed Jeff Gordinier’s tongue in cheek NY Times article entitled, “The Snail Wrangler.” It’s about the elevation of the common snail  in today’s restaurant supply chain. It reminded me of my fondness for escargot, despite the obvious contradictions with my usual eating habits.

Please don’t think less of me for divulging this weakness…and feel free to share any of yours.

Tuesday night and What’s for Dinner? Roasted Cod with Garlic Bread Crumbs

Hyper-local radish toasts, Roasted Fresh Atlantic Cod from Iceland (ok, not local, but sustainable) with homemade garlic bread crumbs, and green salad with balsamic vinaigrette. The radishes are the last of this summer’s – proud to say we grew them in our recently moved raised bed. I read somewhere that radishes are the EASIEST vegetable to grow. We have had 3 or 4 failed crops until now. Clearly, I should stick to the kitchen. The cod is from Whole Foods (along with the greens), and the bread crumbs I made a few weeks ago.

This post will contain a few tips and one quick and easy weeknight recipe.

Surprisingly good: Radish Toasts

Tip #1: Radish toasts (or crostini or bruschetta if you want to get fancy) are an easy to make hors d’ouevres or starter that appears much fancier than it is (that is, if you like spicy, crunchy radishes). Slice up some baguette and some breakfast radishes, put a generous daub of butter on one side of the baguette slice, place a few slices of radish on top and sprinkle with good sea salt. Rinse, repeat, indulge. Yum!

Tip #2: You are literally throwing money out the window if you buy breadcrumbs in the store. I have seen a small bag sold for $5 or $6 in the specialty foods shop. Next time you have a day old baguette or Italian bread, don’t toss it. Hold on to it for another day or two until it is completely dried out/stale. Once it feels like a baton, take it to a box grater and go to town. It will make a bit of a mess, but grate the baguette like you would a carrot and ta-da, you’ve got homemade bread crumbs you can store in a glass jar on the shelf for months. The important thing is to make sure there is no more moisture in the bread, otherwise you’ll have mushy, and eventually, moldy bread crumbs. You can also cube it and put it into the food processor to make bread crumbs (less muscle), or make croutons out of them for your salad or soup (more effort).

Tip #3: Easy weeknight recipe that’s healthy to boot:

Roasted Cod with Homemade Garlic Bread Crumbs

  • 2 cod (or other dense white fish) fillets, about 6-8 ounces each
  • 1/2 cup homemade bread crumbs
  • 2 tablespoons olive oil
  • 1 garlic clove, minced
  • few sprigs parsley, chopped (or other fresh herb)
  • Salt and pepper
  • Lemon slices (for garnish)

Instructions:

Heat one tablespoon of olive oil in small pan over low-medium heat. Once heated, add garlic and saute for 1-2 minutes until fragrant, but don’t burn it. Add bread crumbs, salt and pepper and any other spices you’d like. Sautee for 5-6 minutes until bread crumbs are toasted evenly, but again, be careful not to burn (apparently, I do this frequently). Add parsley and mix, set aside.

Heat oven to 450 degrees. Place cod on a baking dish and drizzle remaining olive oil on fillets, sprinkle with salt and pepper. Place in oven. Turn 1/4 after 2 minutes, and repeat until last side is reached. Then remove baking dish and spoon bread crumbs on top. Bake cod for another 2 minutes, checking to ensure that bread crumbs are browning, not burning. Remove from oven and place on plate. Garnish with lemon, if desired, and more parsley.

Saturday Night’s Alright For Flyin’ (butterflying as in chicken, that is)

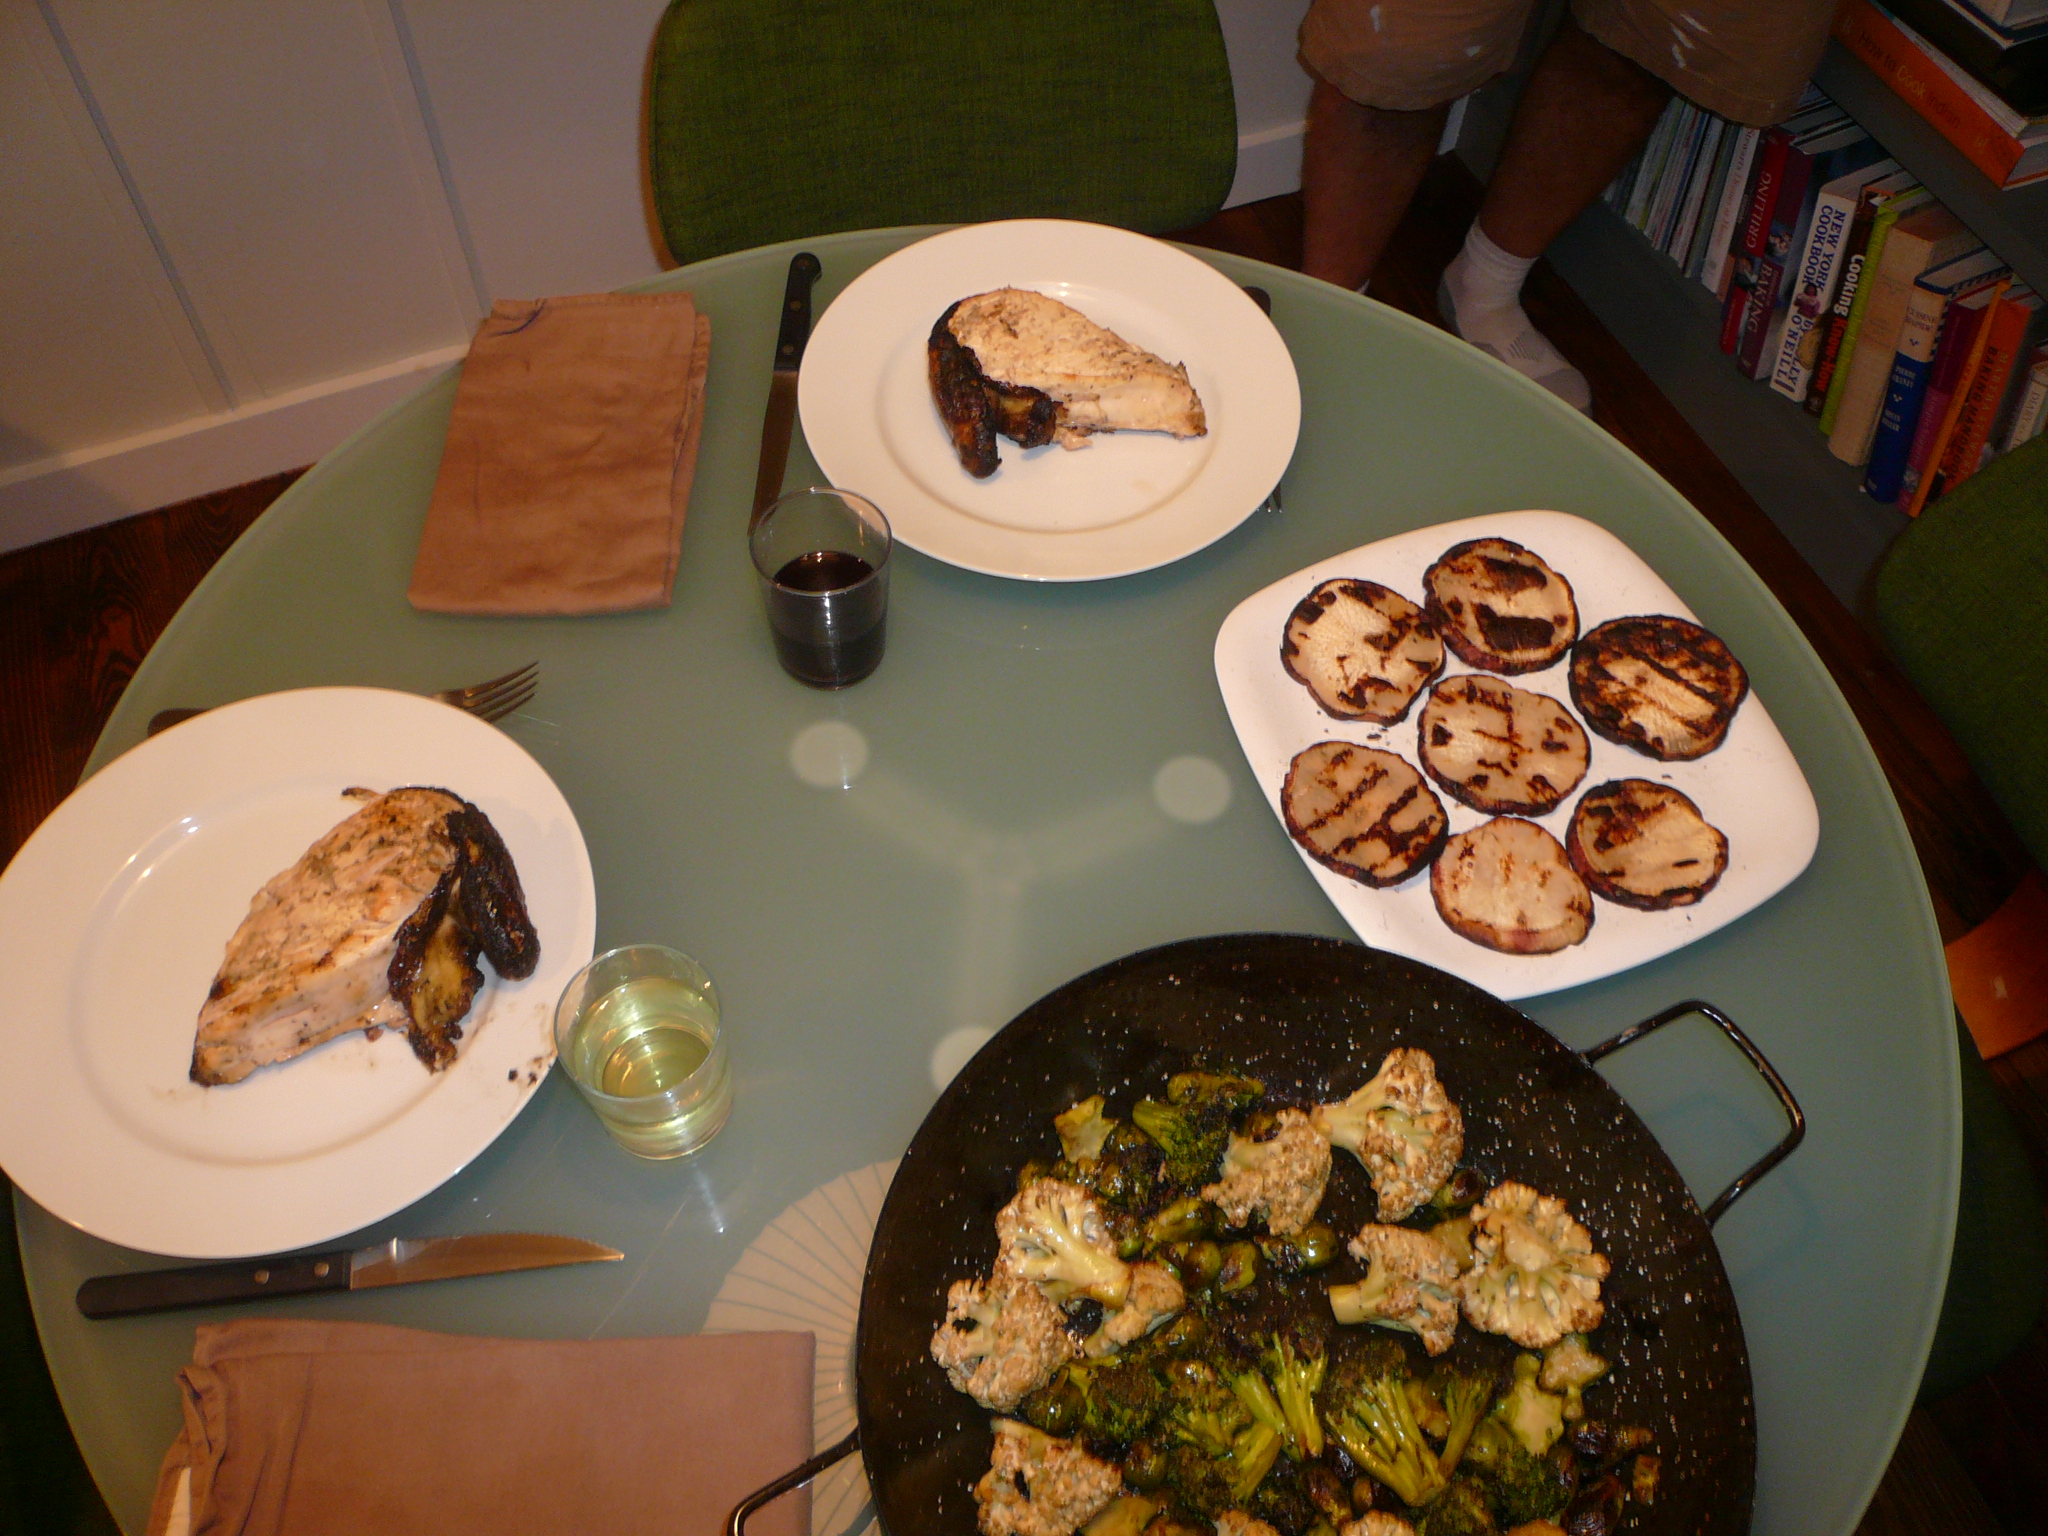
So the chicken was not from Wolfe Spring Farm. They were all out. Its no surprise because theirs was some of the best chicken I’d ever tasted (a close second to the free roaming grubandwhoknowswhatelse eating Rancho Margot birds we had in Costa Rica)  Otherwise, the meal was a celebration of WSF’s bounty.

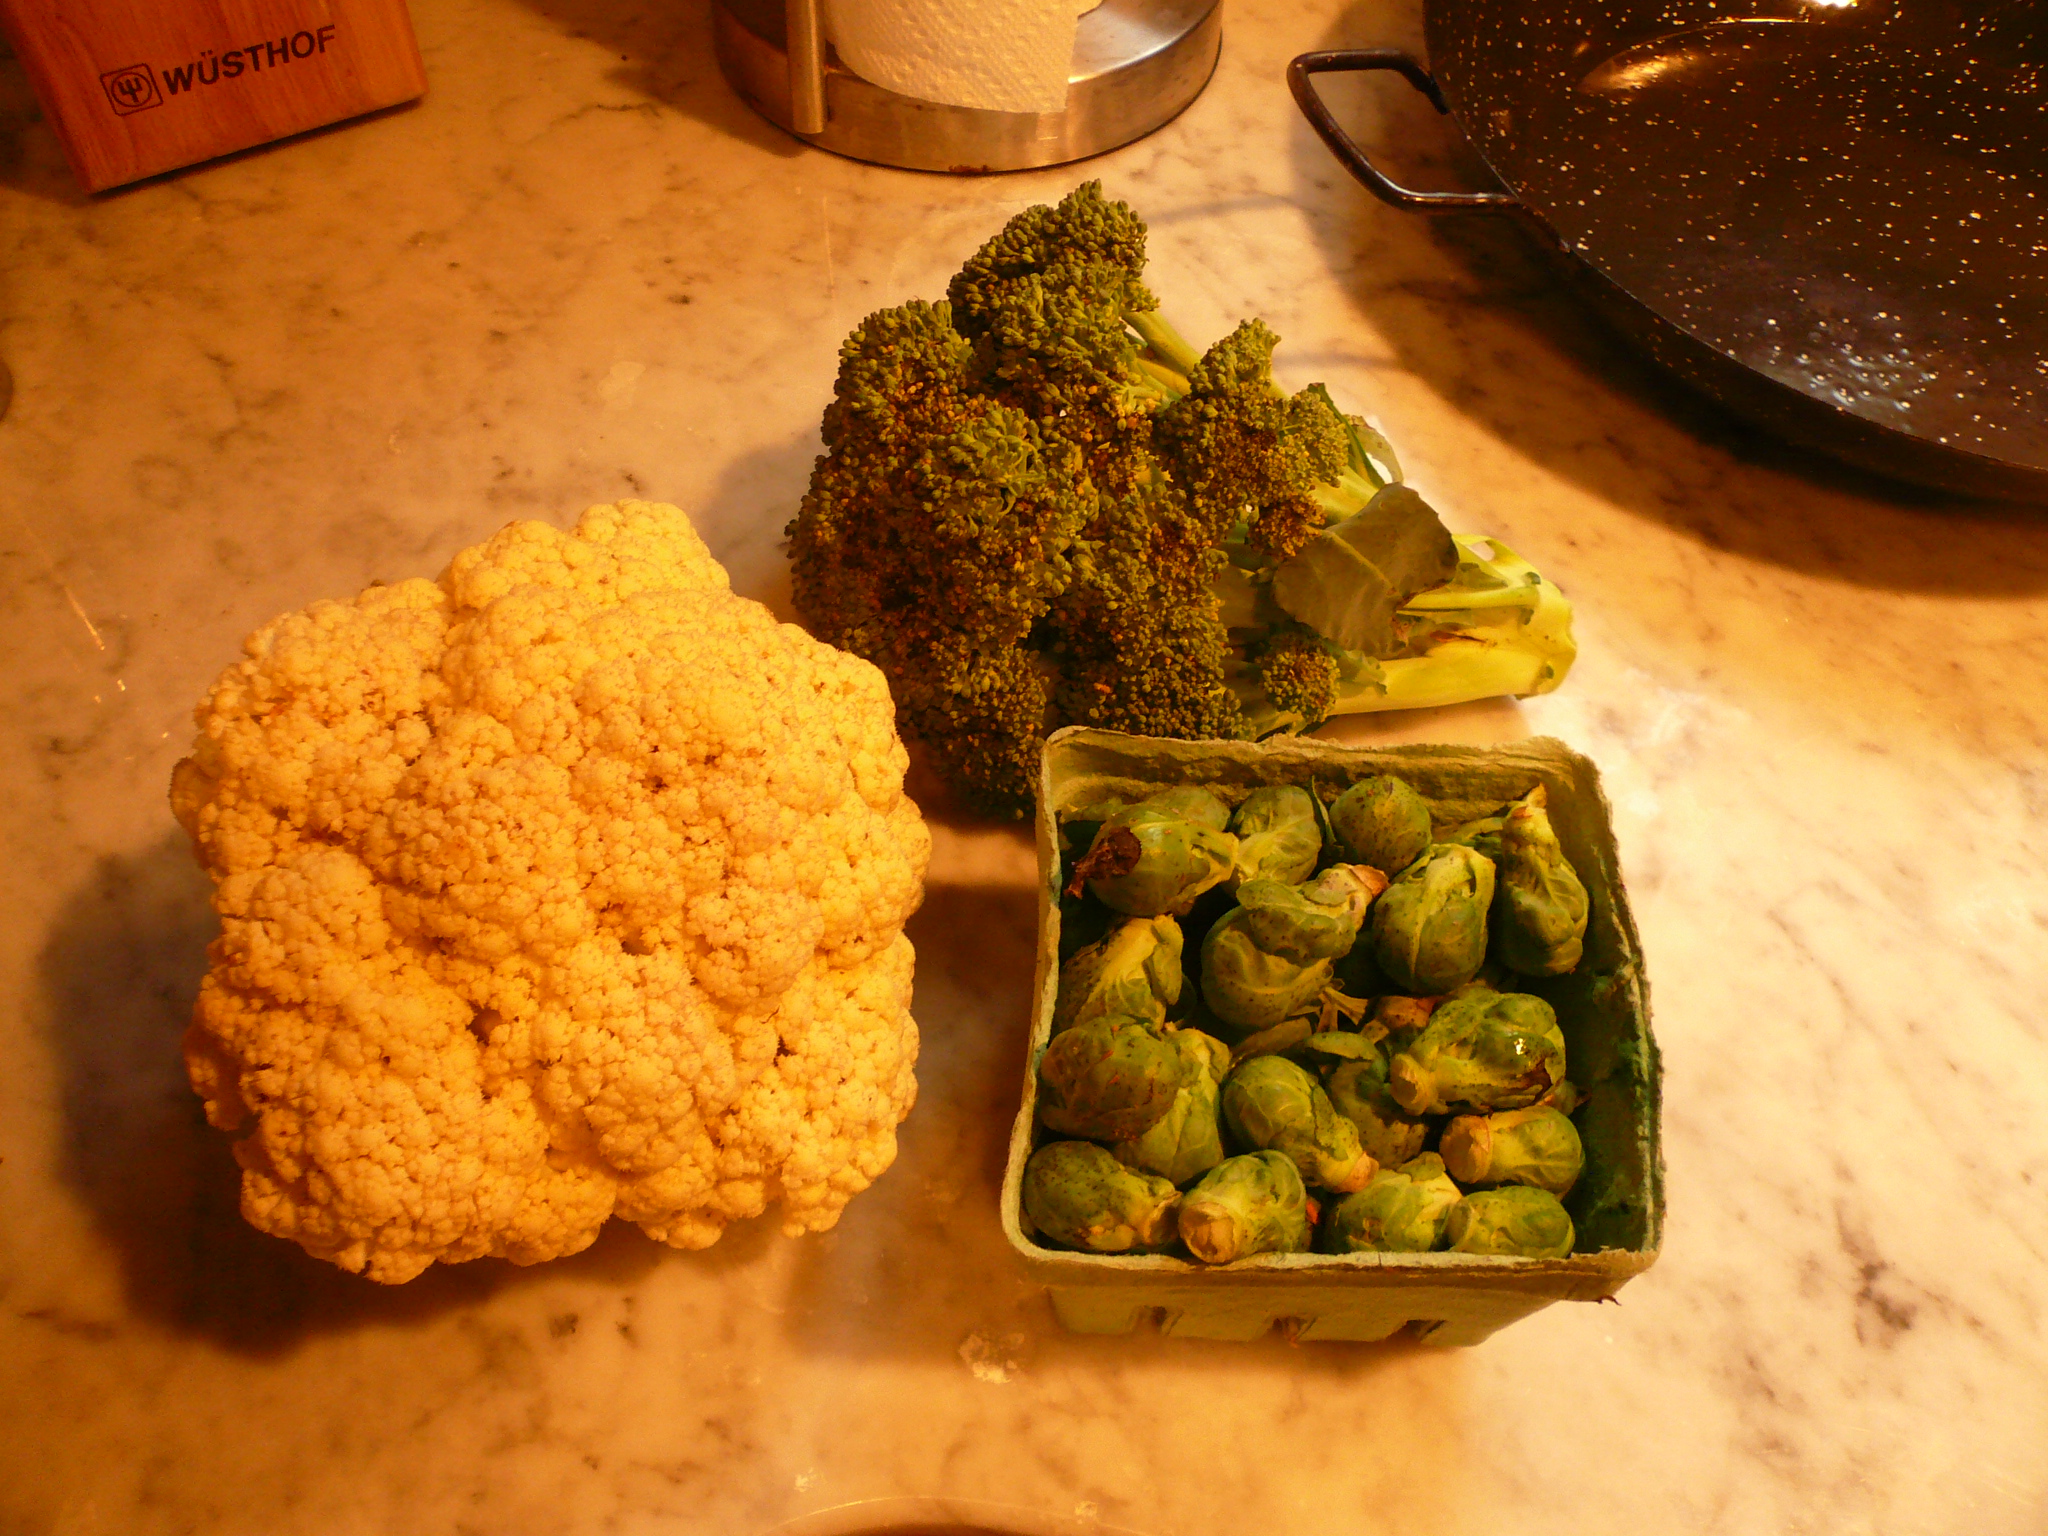
Grille Roasted Brussel Sprouts, cauliflower and Broccoli melange. So delicious. Toss in olive oil, salt and pepper, put on grill until done. I had this for lunch during the week.

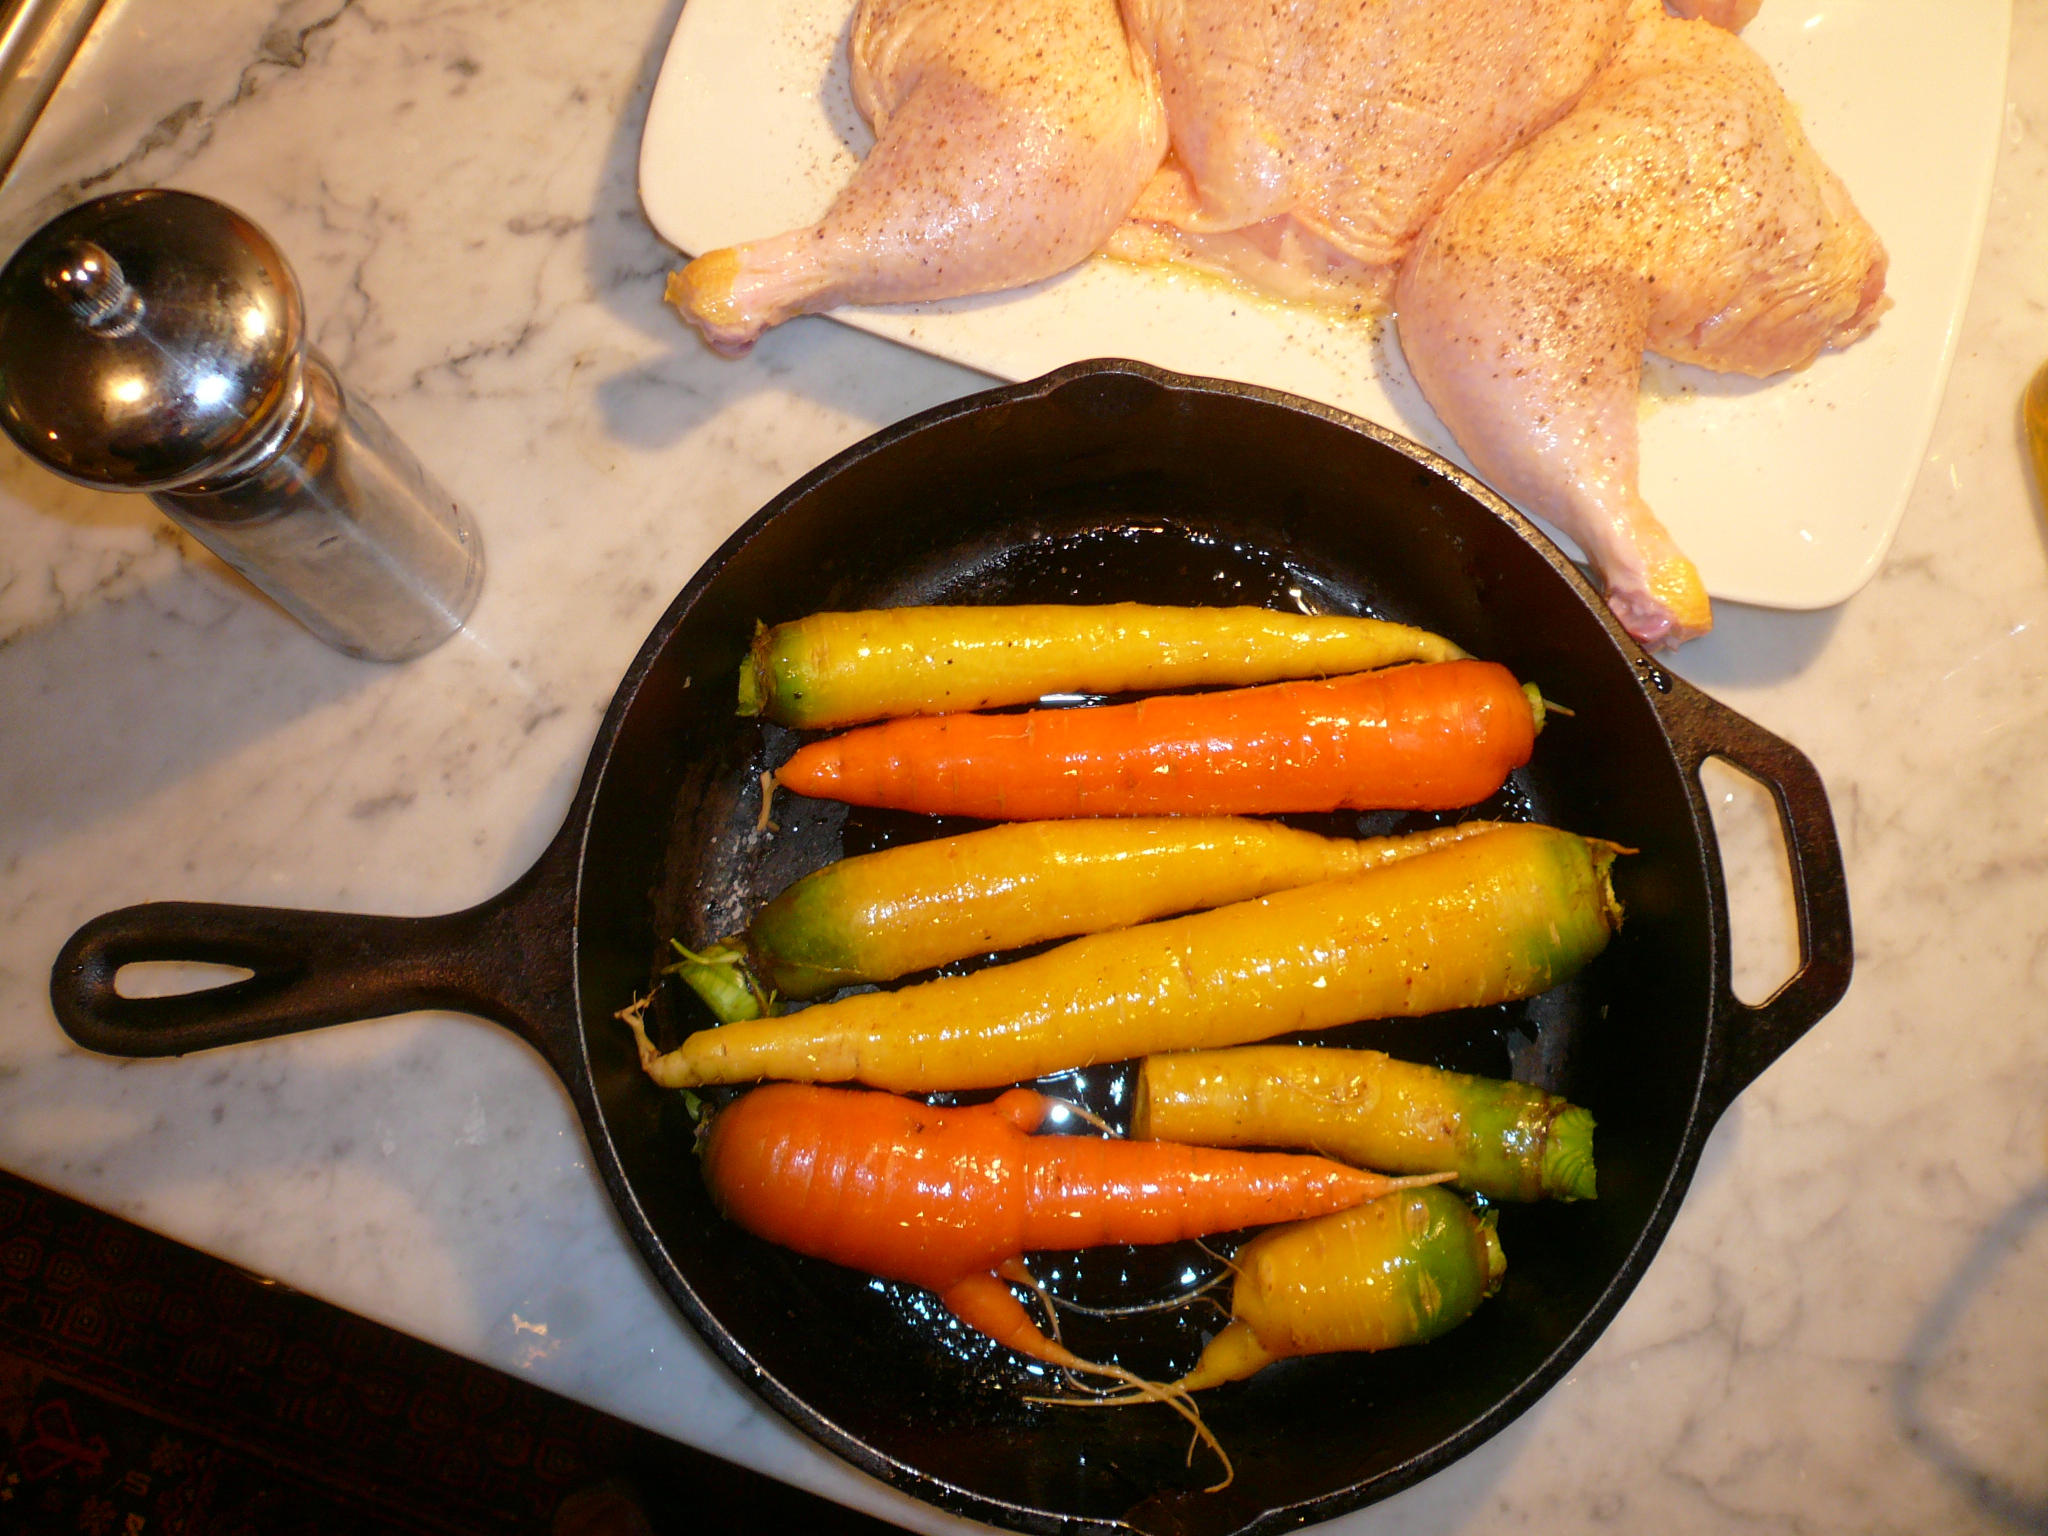
Grille Roasted Carrots. Look at how gorgeous they are. They tasted even better. Again, a very simple preparation: Olive oil, salt pepper.

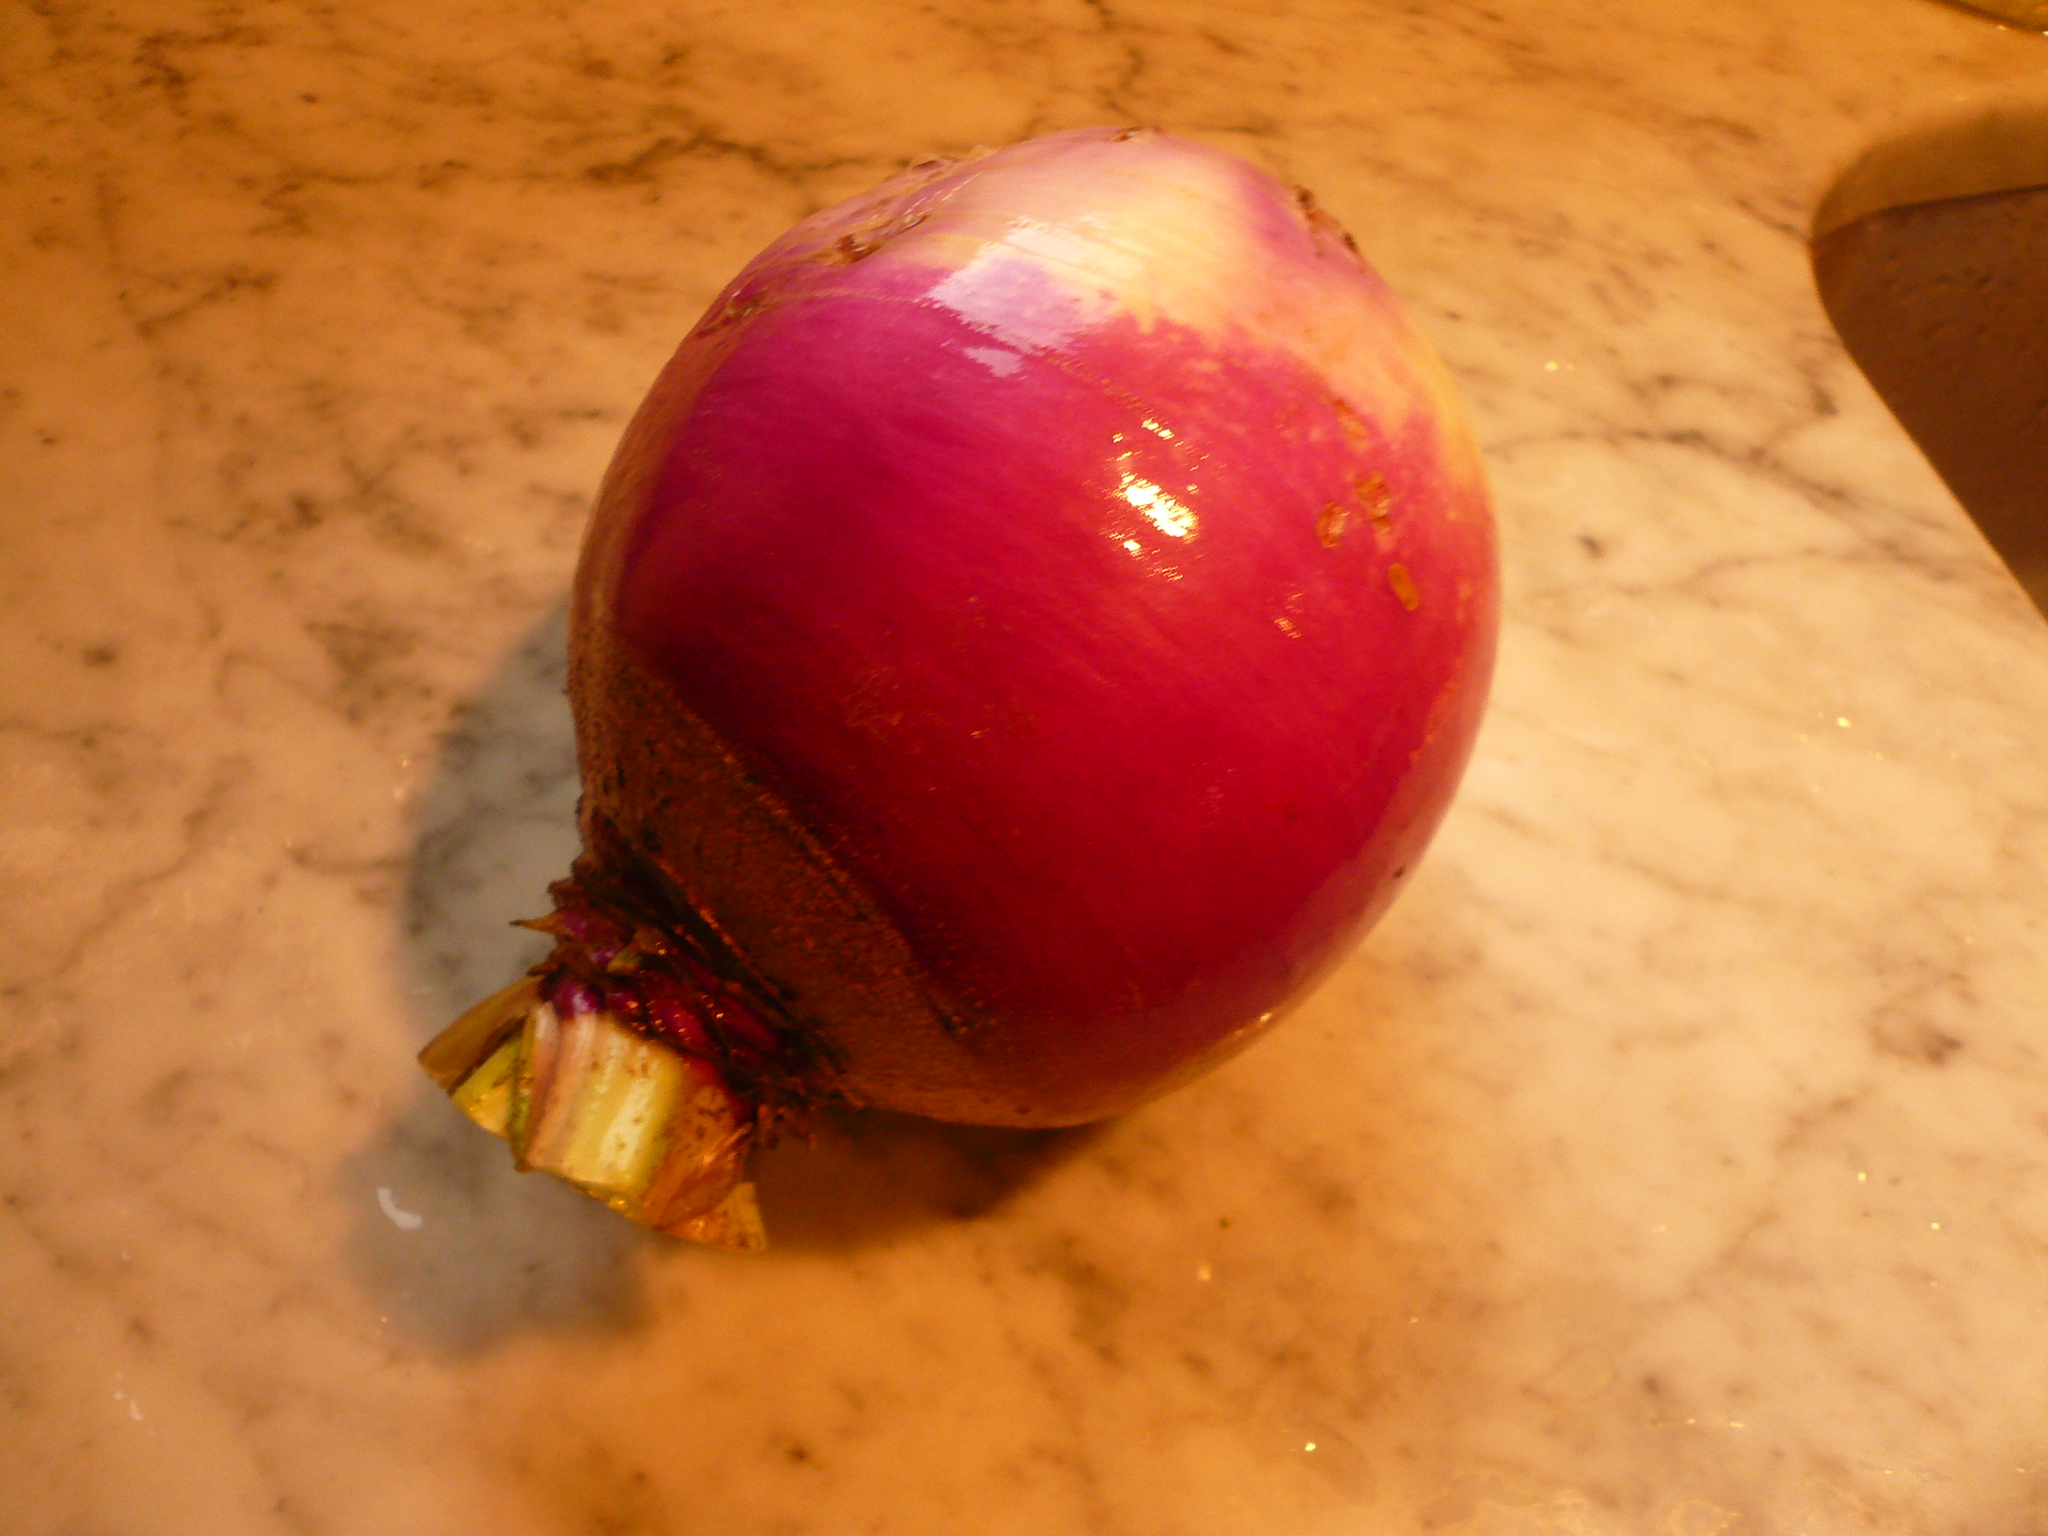
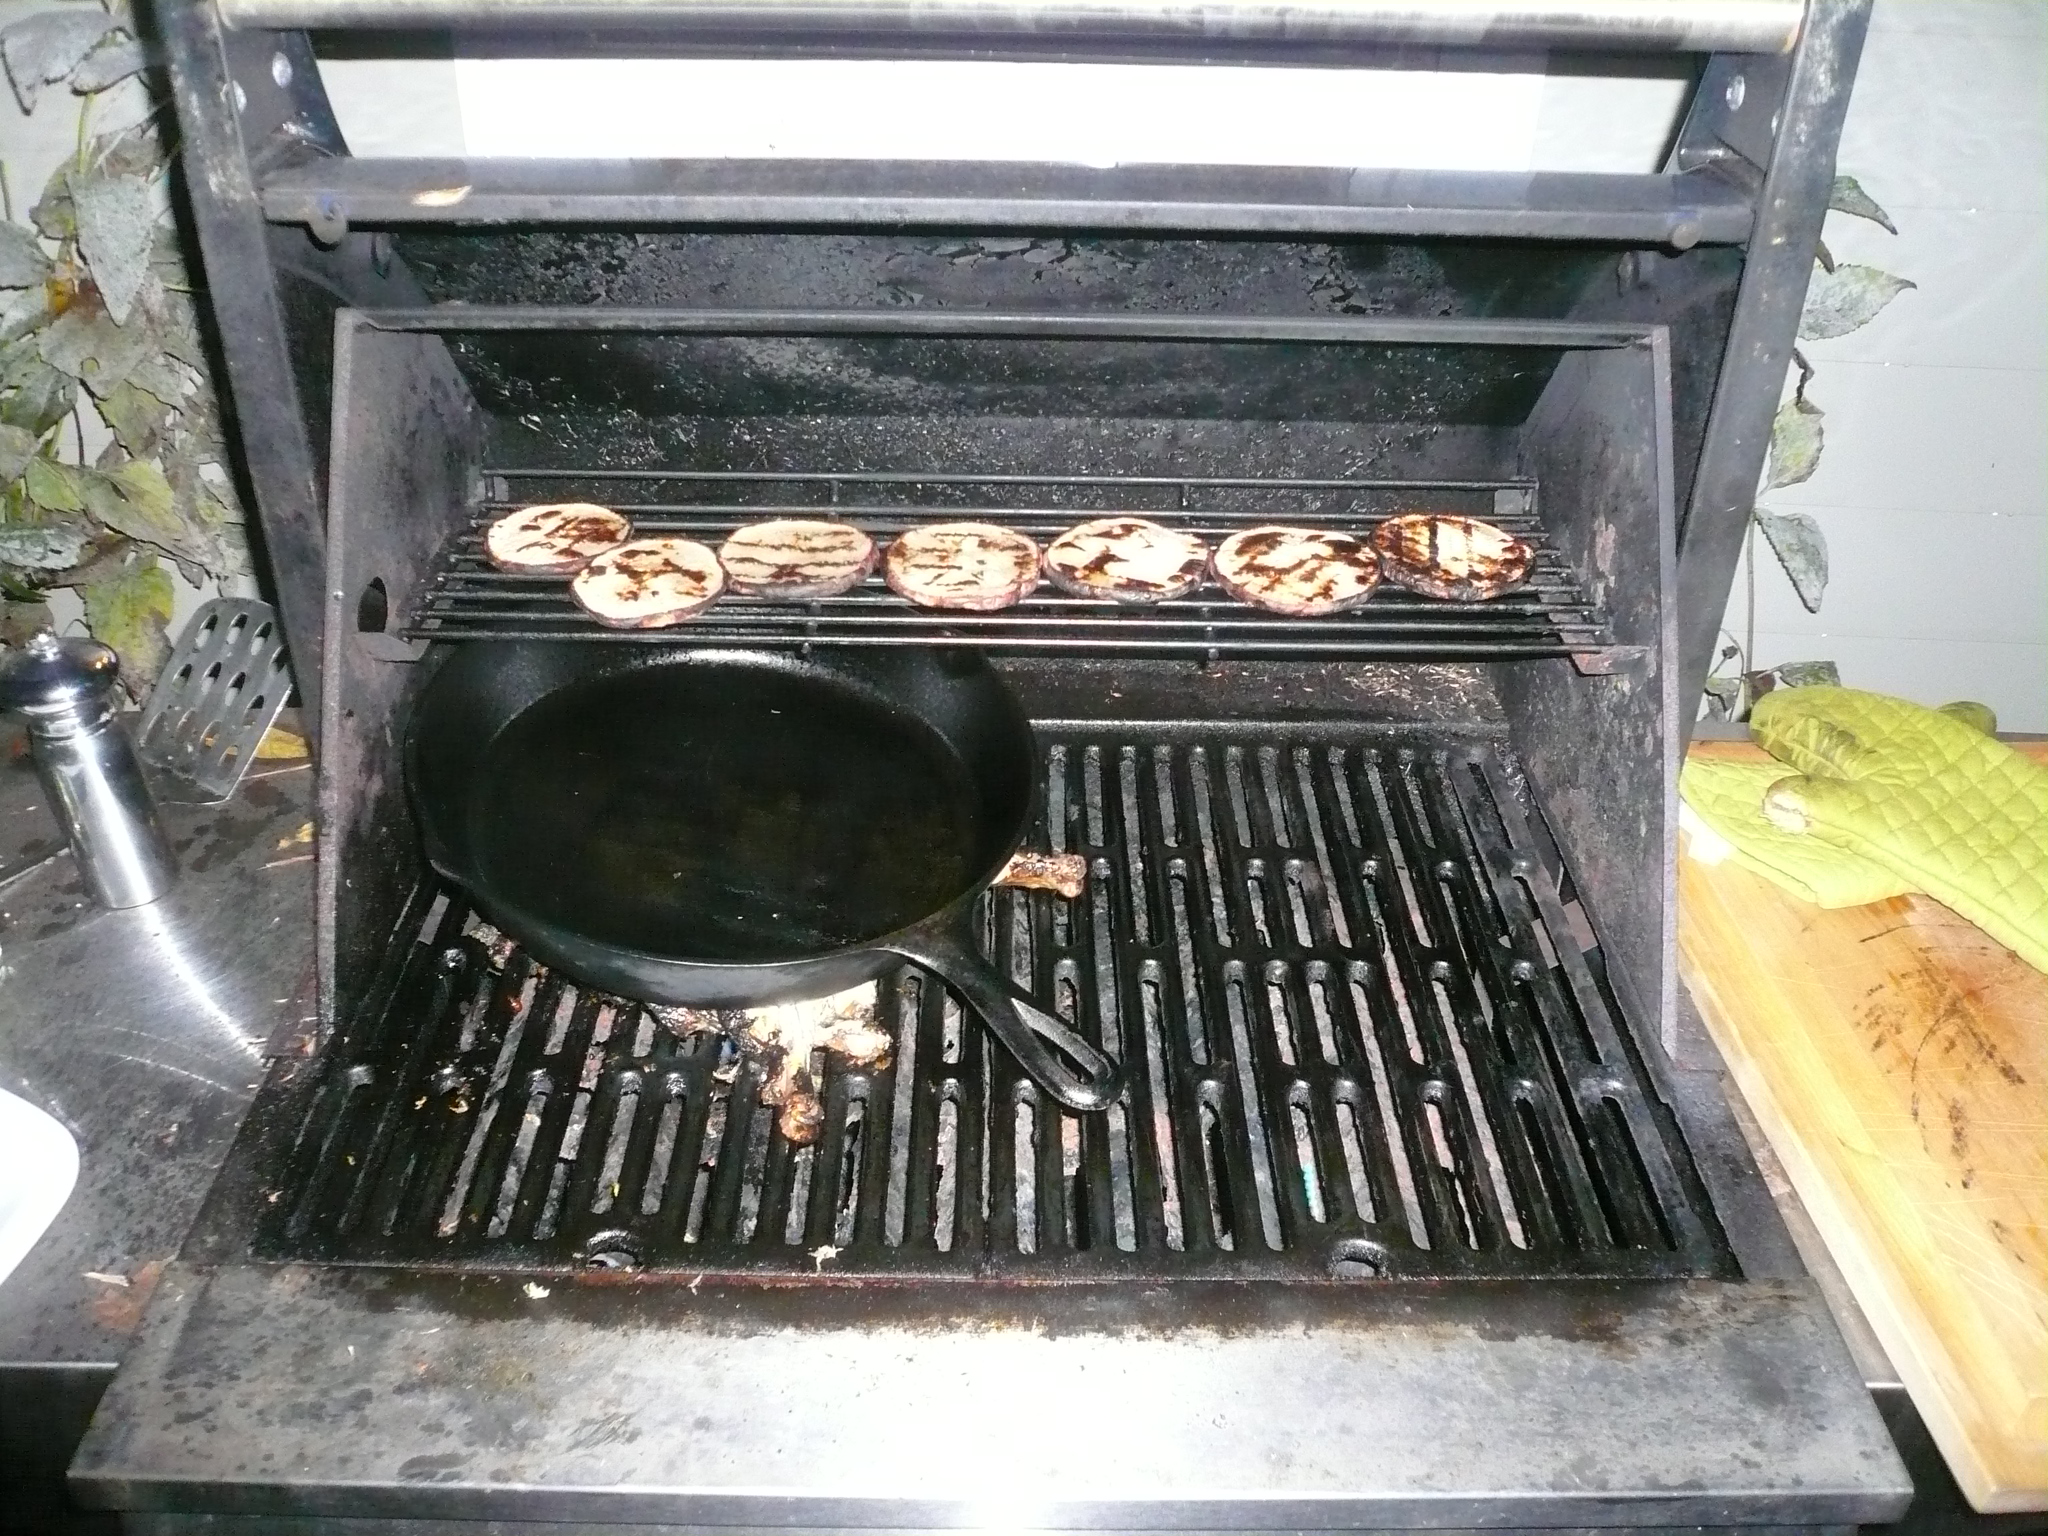
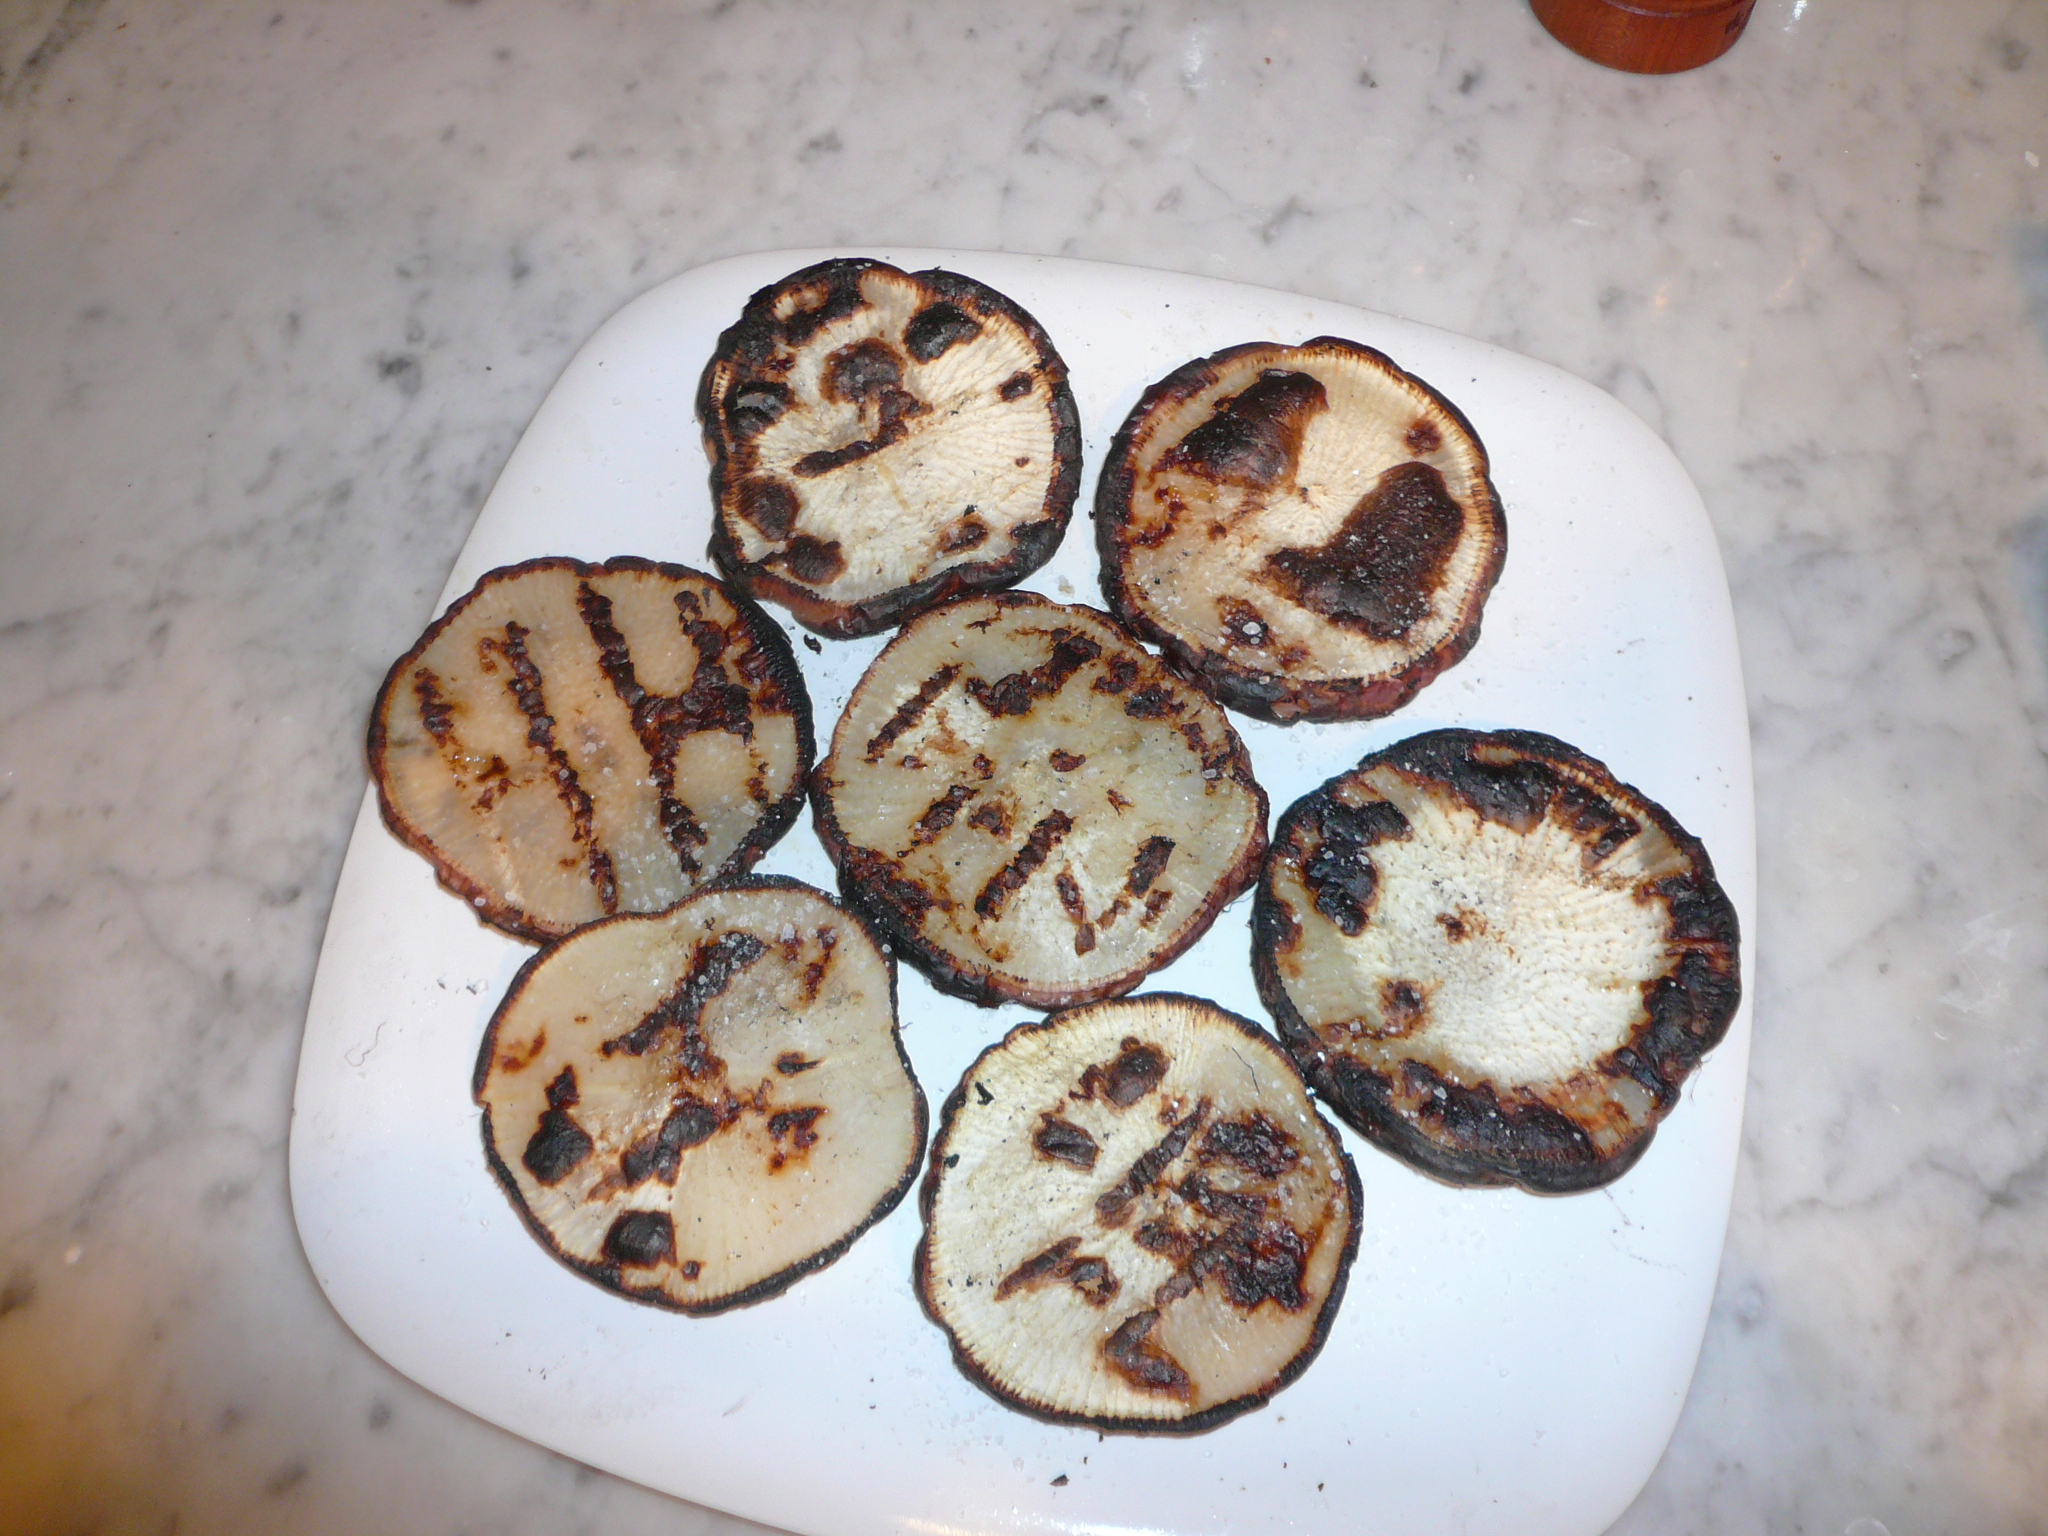
Now for the weird part: Grilled turnip planks. We’d tried grilled potato planks but nothing else. This turnip was farmin’ huge so we gave it a shot. Slice thick, toss with salt, let rest in salt for 20 mins or so, rinse, nuke  on low for 10 mins to soften up a bit. Toss in olive oil salt and pepper, grill on medium heat, off direct flame until done. Sprinkle some coarse salt before serving warm. I bet even Hubs would like these!!

Cauliflower, sprouts and broccoli, Oh My!

I bet you monsters lead the most innnnnteresstin’ lives……

Warning! Pic not safe for work

Our grille is really not filthy, its just the flash……..
Note modesty skillet and turnip planks

You must try these: smoky, earthy surprising.

A most fabulous un-fabulous meal.

À la recherche du l’ete perdu (or Better Late Than Never, right?)

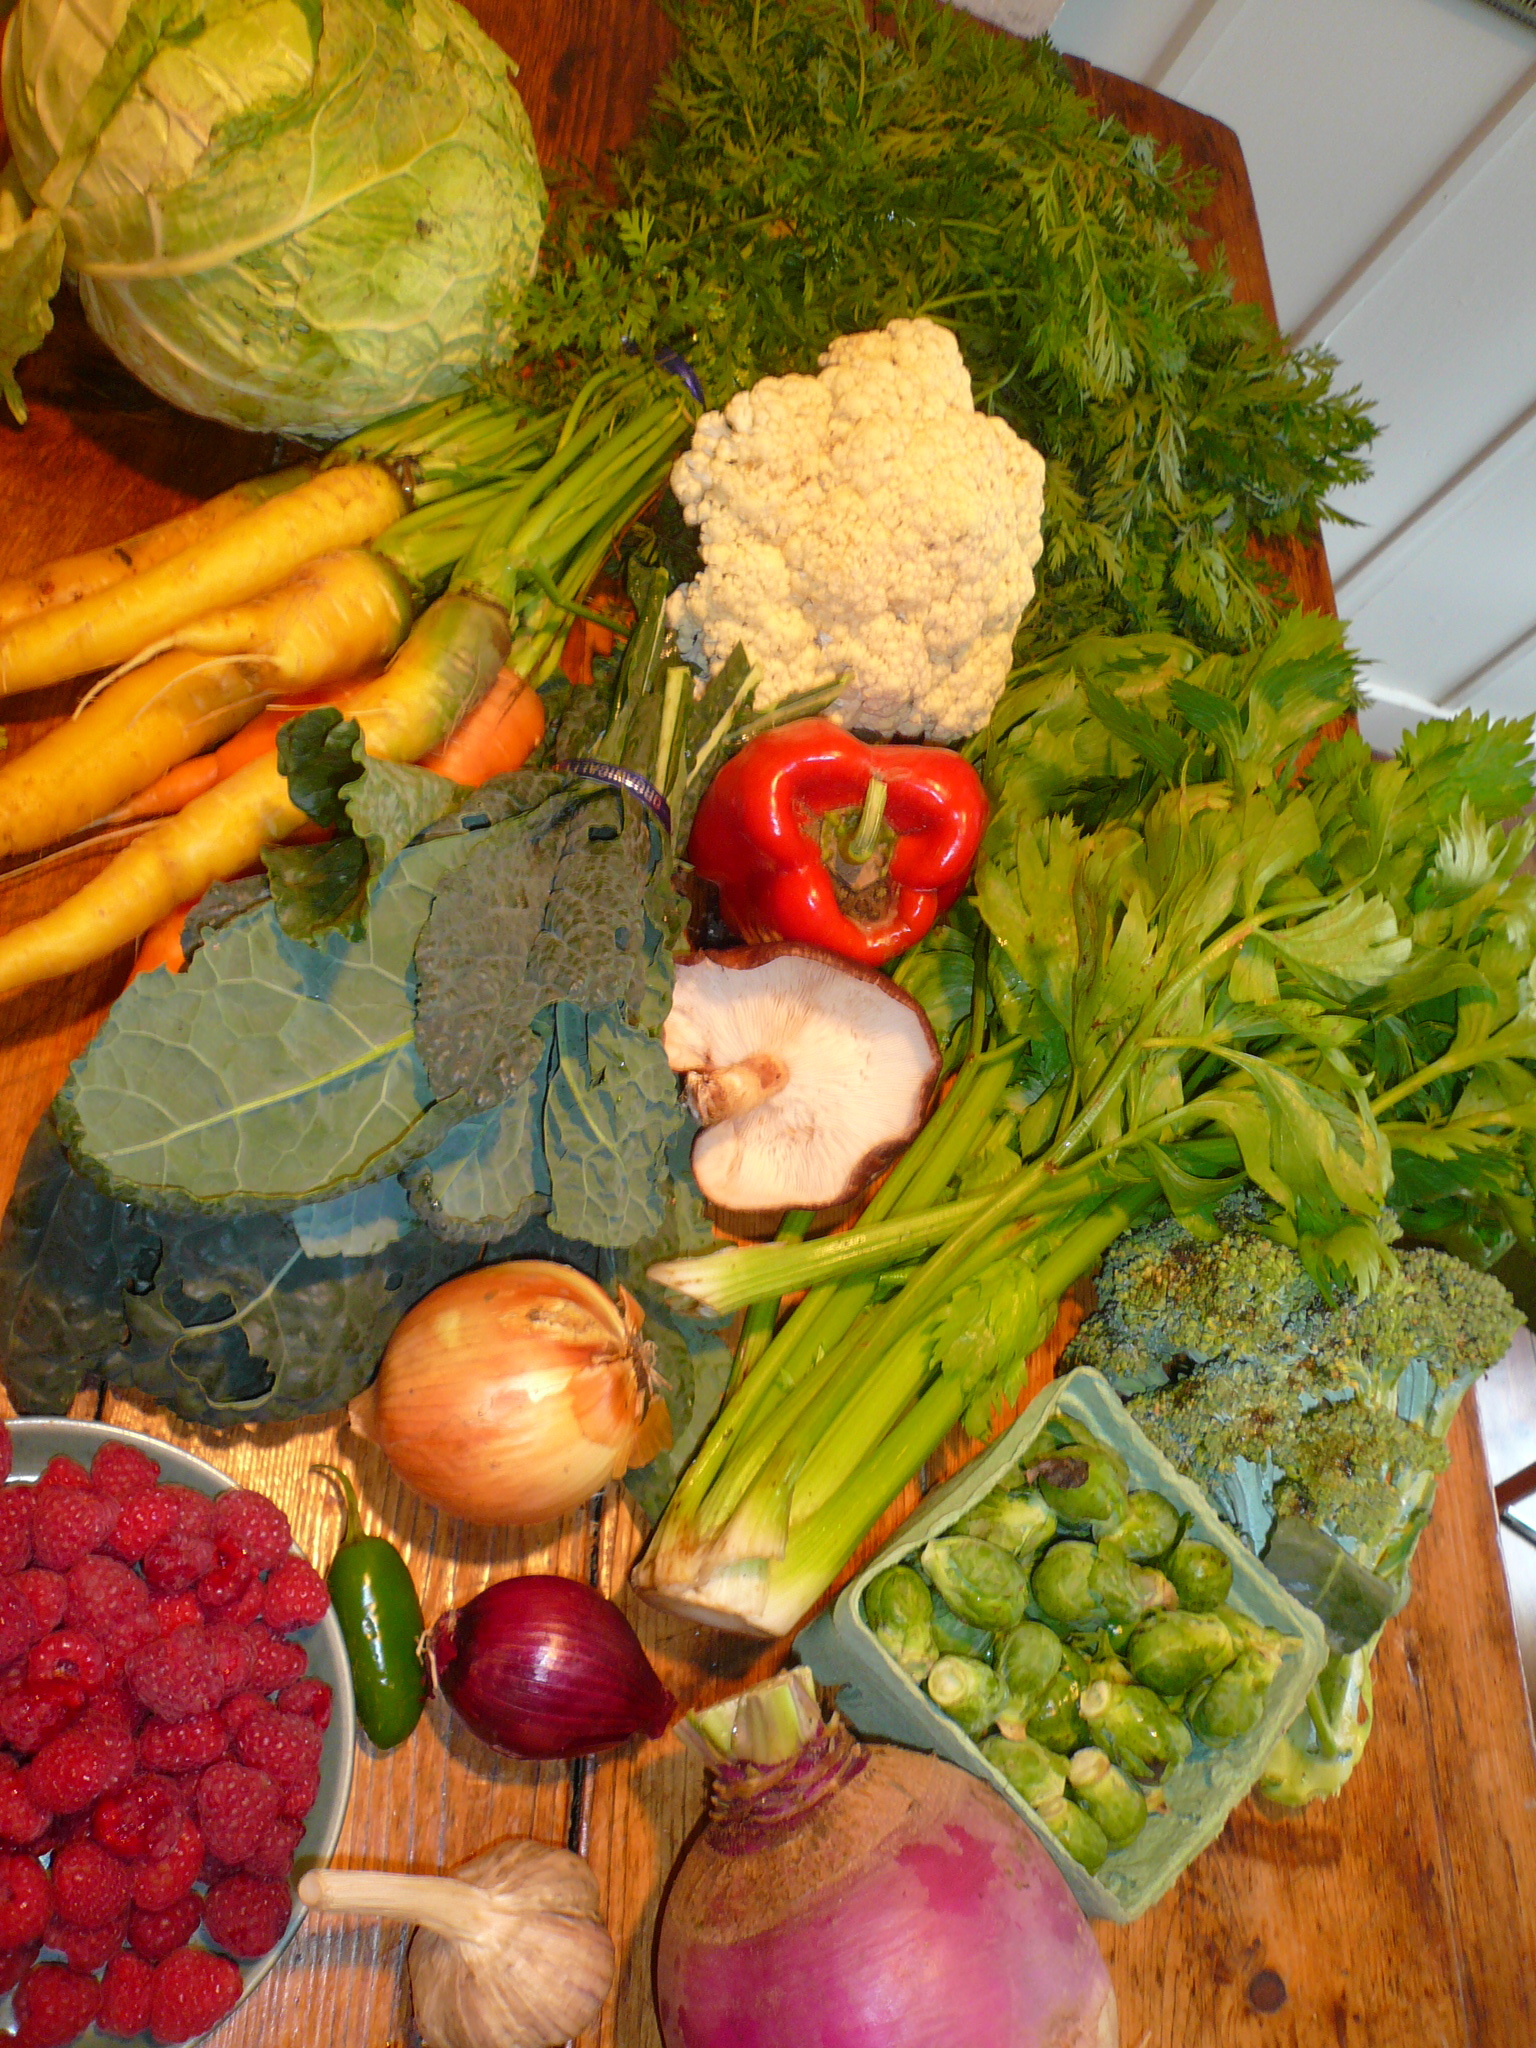
OK, so Debra and Hubs were generous enough to give us yet another pickup a week and a half ago and I’m only now getting to blogging about it. Excuses abound but here it is. Y’all should be glad I’m late, actually. Since October 6, when we picked up, we’ve had a frost and fall is definitely here and summer is definitely gone. So maybe my pics will conjure some wistful thoughts……………

Look at the gorgeous haul. More soon on what we did with some of it. I don;t have pics of the great braised cabbage and kale I made. Chopped both, tossed in olive oil, added a bit of vinegar, some water though beer would have been better, a couple of juniper berries and a red chile. Braised with the top off in 400 for 20 minutes, then 250 until tender. Toss once or twice.

We were going to make something cool out of the raspberries but we and our house guests ate them up before dinner time came around!

Last of the season

Hearty Fall Soup for Frosty Temps

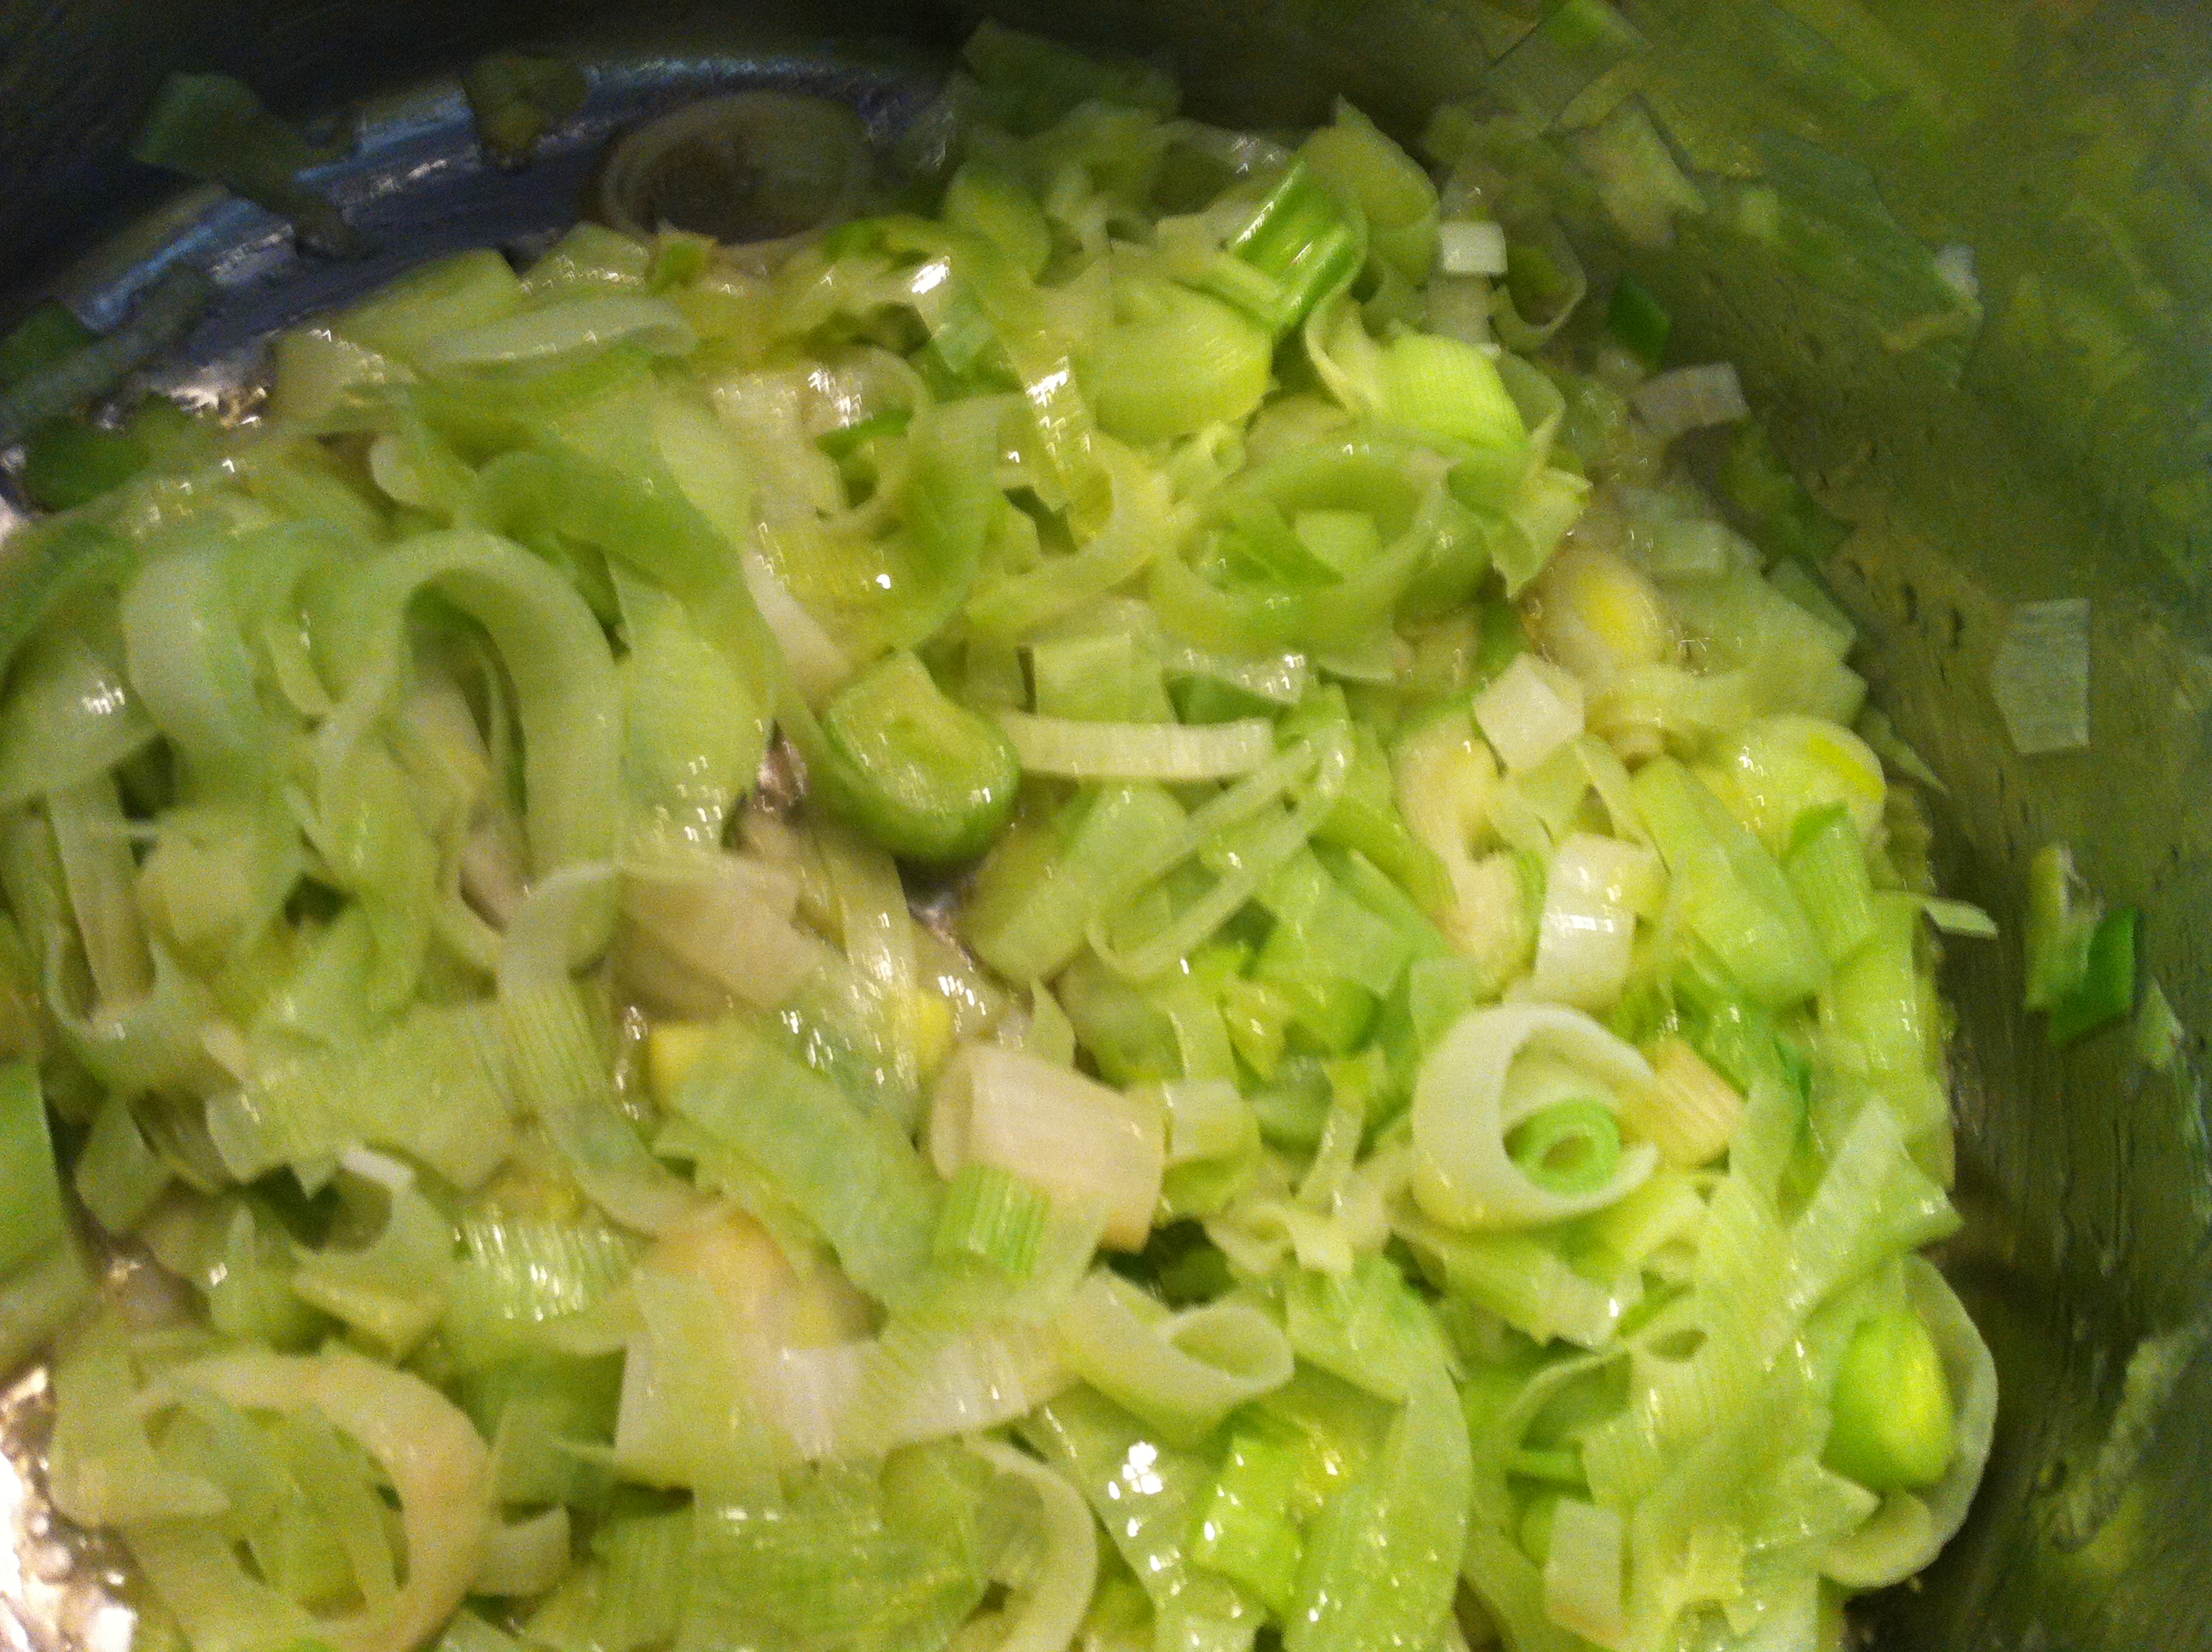
Chopped leeks ready for some butter

Chopped leeks ready for some butter

The irony of this soup recipe is that I originally tried it back in May, and here it is in mid-October and I finally have all the ingredients available in my CSA basket. It took nearly 6 months and 2 seasons to reach the point where I can prepare the dish from local, seasonal ingredients. The recipe for Cabbage, Potato and Leek soup comes from Melissa Clark‘s NY Times column, “A Good Appetite.”

It is a deeply flavorful, thick and satisfying soup that in my opinion, is much more suited for the fall than early spring, so I’m glad I filed it away in the back of my mind for this season. I was excited to put my frosty leeks to work (truly nothing smells better than leeks sauteed in butter), use up some of that never-ending cabbage, and make some headway in our large stock of potatoes. What sounds like a rather bland and monochromatic soup actually turned out to be quite colorful during the prep stages. The soup was roundly praised by all. Baby Sam asked for thirds. Check out my modified recipe below:

Ingredients:

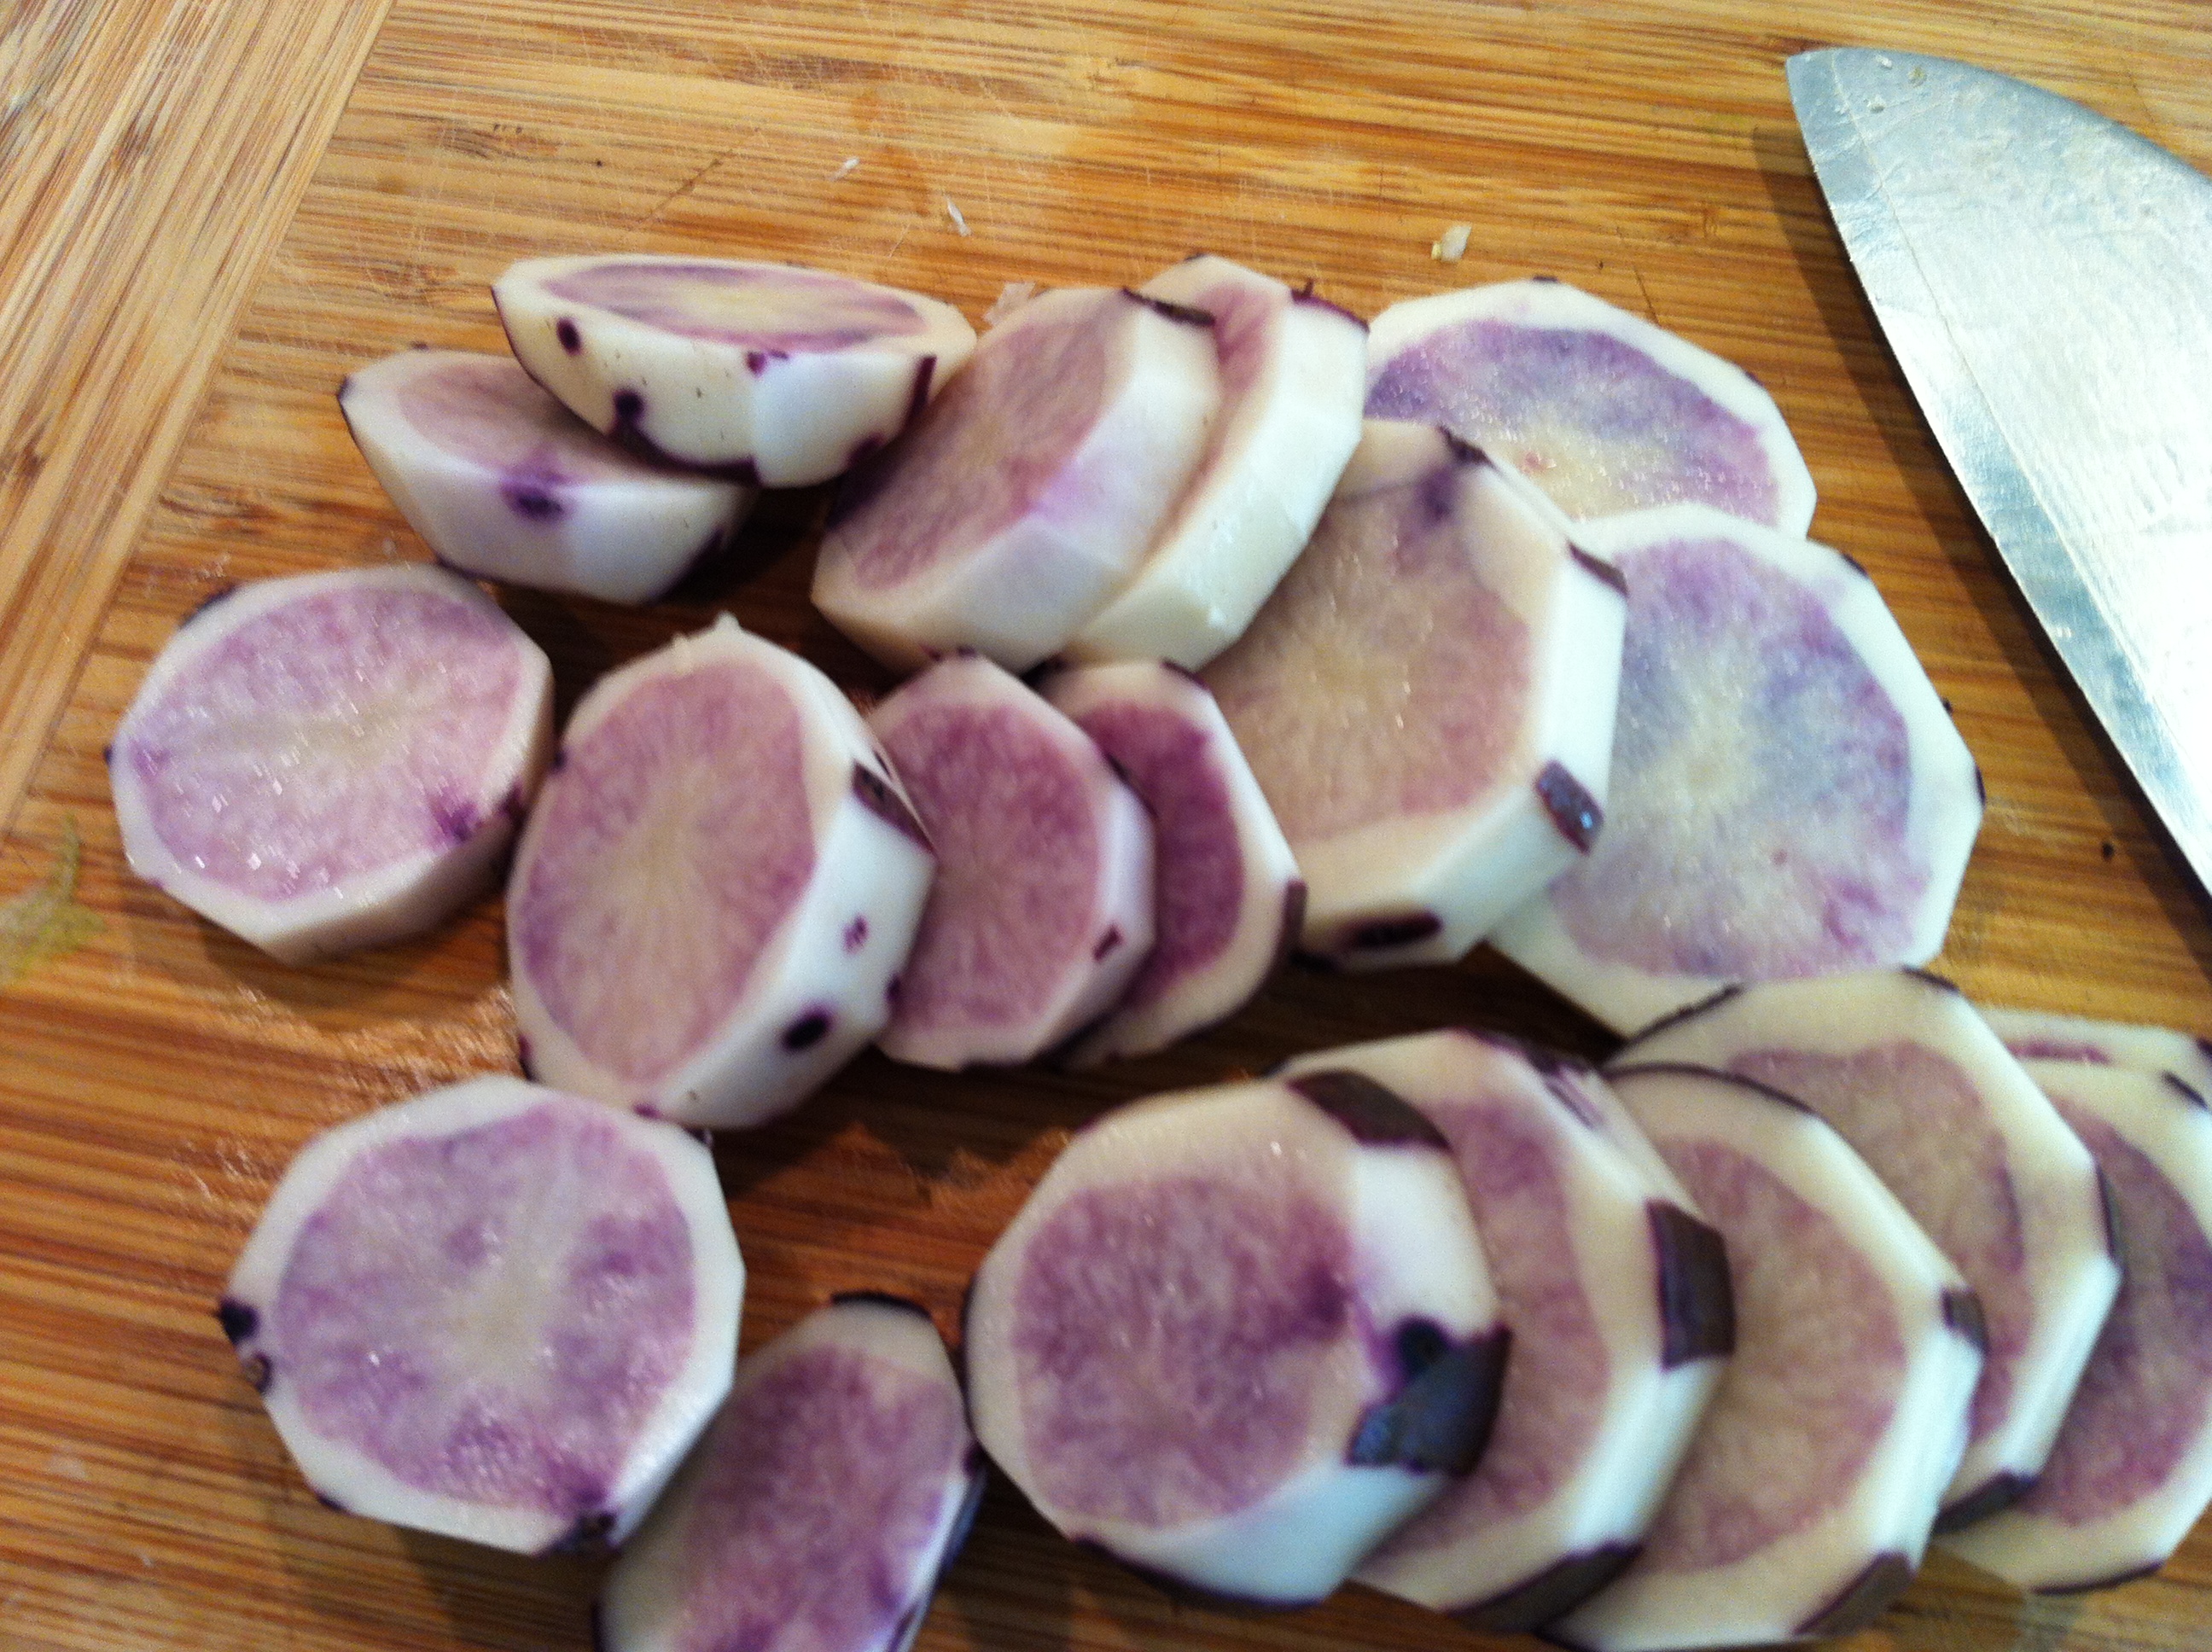
Sliced purple potatoes. Just because.

6 tablespoons unsalted butter
3 medium leeks, white and light green parts, thinly sliced
8 cups shredded cabbage
3 garlic cloves, finely chopped
5 small new potatoes (I used purple potatoes because I had them on hand) 
3 cups vegetable stock
2 1/2 teaspoons kosher salt
2 thyme branches
1/2 teaspoon black pepper
Pecorino Romano rind, or parmiggiano rind (optional)
Grated Parmigiano-Reggiano, to serve
Instructions:

1. Melt the butter in a large pot over medium-high heat, add the leeks and cook until soft and golden around the edges, 5 to 7 minutes. Add the cabbage and garlic and cook, stirring occasionally, until cabbage begins to caramelize, about 10 minutes.

Sauteed leeks

2. Stir in potatoes, stock, 4 or 5 cups water, salt, cheese rind (if using) and thyme. Bring soup to a simmer and cook, partly covered, until potatoes begin to fall apart, 45 to 50 minutes. Add more water, as needed, to reach the desired consistency. Use hand blender to partially puree and remove thyme stems. Season with black pepper and serve, topped with cheese.

Yield: 6 servings


Homemade Edamame Kale Quinoa Inspired by the Specialty Foods Counter

They say never to go grocery shopping when you’re hungry. I was so tempted to load up on prepared foods yesterday at Guido’s Marketplace in Great Barrington, but used my limited will power to stave off the urges. Guido’s Quinoa Edamame Salad (pictured below) looked divine  on an empty stomach. I liked that kale was one of the ingredients – it basically makes any recipe healthy in my book – and edamame, too (super food + protein). I nearly ordered a large container when I remembered that I had a bunch of kale in my CSA pick-up, and since it had been frosty, it needed to be prepared pronto.  Hold up, wait a minute, I was going to prepare this from scratch. I snapped a picture to capture the ingredient list (thank you, Guido’s) and hurried to the check-out counter.

Tempted: Quinoa Edamame Salad @ Guido’s Marketplace

While I unloaded the cart, I started making my mental map of prep steps.  I didn’t know the quantities, or the preparation instructions, but I was willing to wing it, even work under pressure as my belly was grumbling.  The first step would be to cook the quinoa (brilliant, I know). While the quinoa cooked, I’d prepare the vegetables and herbs (edamame, kale, parsley) and whip up the dressing. Mind you, these are all assumptions that I made.

I did a quick search online to confirm the cooking time for quinoa and found a great tip fromThe Kitchn blog. While boiling the quinoa, add a whole clove of garlic and a branch of rosemary to add an additional layer of flavor.  I loved this – the quinoa simply prepared like that tasted good enough to eat. But I powered forward, and to cut to the chase, the dish turned out great. If I had had more foresight, I’d have asked for a sample of Guido’s, so I would have had a taste benchmark as well. But, for a visual comparison, you can see my dish below. Not bad on the eyes, and pretty darn good on the palette. Recipe below photo for the adventurous.

Craving satisfied: Edamame Kale Quinoa Salad

Ingredients:

1 cup dry quinoa
2 cups water or broth
3 cloves garlic peeled, 1 smashed, the other 2 cloves minced
1 sprig of rosemary (optional)
1 tablespoon lemon juice
5 tablespoons olive oil
1 cup of edamame (if frozen, prepare according to package)
1 bunch of kale or tuscan kale, center ribs removed
1/2 cup of flat leaf parsley, washed and chopped
1-2 dried chili peppers (optional)


Instructions:

Rinse the quinoa well. Put the quinoa and water or broth in a small saucepan, add 1 clove smashed garlic and sprig of rosemary (if using), and bring to a boil. Cover and simmer for 15 minutes until all water is absorbed. Fluff with fork and let cool.

While quinoa is cooking, steam kale for 2-3 minutes. Remove from steamer with tongs and chop roughly. Place kale, chopped parsley, and edamame in mixing bowl. In a smaller bowl, prepare the dressing by combining remaining garlic, lemon juice, salt and pepper and chilis (if using). Whisk in the olive oil, and adjust seasoning as needed.

Once quinoa has cooled, add to bowl with vegetables and drizzle salad dressing over it. Stir gently to combine. Serve immediately, or store for 1-2 days.

Yield: 6-8 servings