Vegetables and Trickery

I had absolutely no plans for Friday night dinner. I vaguely thought we’d pick up something ready to go for dinner and relished the absolute lack of planning. While in the car, we made a pit stop at the Farmer’s Market in Sheffield, MA, in search of inspiration for our meal. I was conscious not to be tempted by the wares on display and splurge the night before our CSA Pick-up, and focus only on the meal at hand. I also knew what we had in the house

  • 1 v large zucchini
  • 1/4 head of cabbage
  • Potatoes galore
  • Eggs

Pretty limited selection, I know. We picked up a few ears of corn from a trusted farmer and had hopes that it would be tastier than last week’s. Hubs and I talked over a tomato salad and looked around for some, but only “paste tomatoes” were on display.  Still early in the season, said Dominic and his crew from Moon in the Pond Farm. A vague idea started forming in my mind about zucchini fritters or some kind of veg pancake. I suggested it to Hubs and he looked nonplussed.

I hit the books when we got home and offered a few suggestions based on an old copy of Bon Appetit and my handy How to Cook Everything Vegetarian cookbok by, you guessed it, my food idol Mark Bittman. I suggested this recipe for Shaved Zucchini with Parmesan and Pine Nuts to Hubs. He scoffed – too obvious a use of zucchini, a verboten vegetable. I then suggested some fritter recipes and we settled on Korean Style Crispy Vegetable Pancakes. The fact that the recipe name contained the words “pancake” and “crispy” helped sell it.

Vegetable Trickery: Korean Style Crispy Vegetable Pancake

I followed the recipe with the exception of using rice flour, which I didn’t have on a hand. I halved the recipe and it made 2 large pancakes. My first pancake did not turn out as crispy and I considered it my “tester” pancake, a phrase coined by Hubs. The second pancake is pictured above. I used about a cup of shredded zucchini, a healthy handful of thinly shredded cabbage, as well as a carrot, scallions and chives from the garden.

So that’s where the trickery comes in. You couldn’t individually identify the zucchini or cabbage, but they were in there. On their own, these ingredients would never fly in our house, but mixed into a dish with the word “pancake” in it, I could get away with it. There are a bunch of food writers out there proposing recipes like this all the time, especially for kids.  Things like stashing sweet potatoes in muffins, not to name names [Jessica Seinfeld], but I’m generally not a proponent of this method. I want ingredients to shine and for the people I’m cooking for to know what they are eating. But I mention it here because you could put almost any veg in this dish, serve it with dipping sauce and it would be roundly praised.

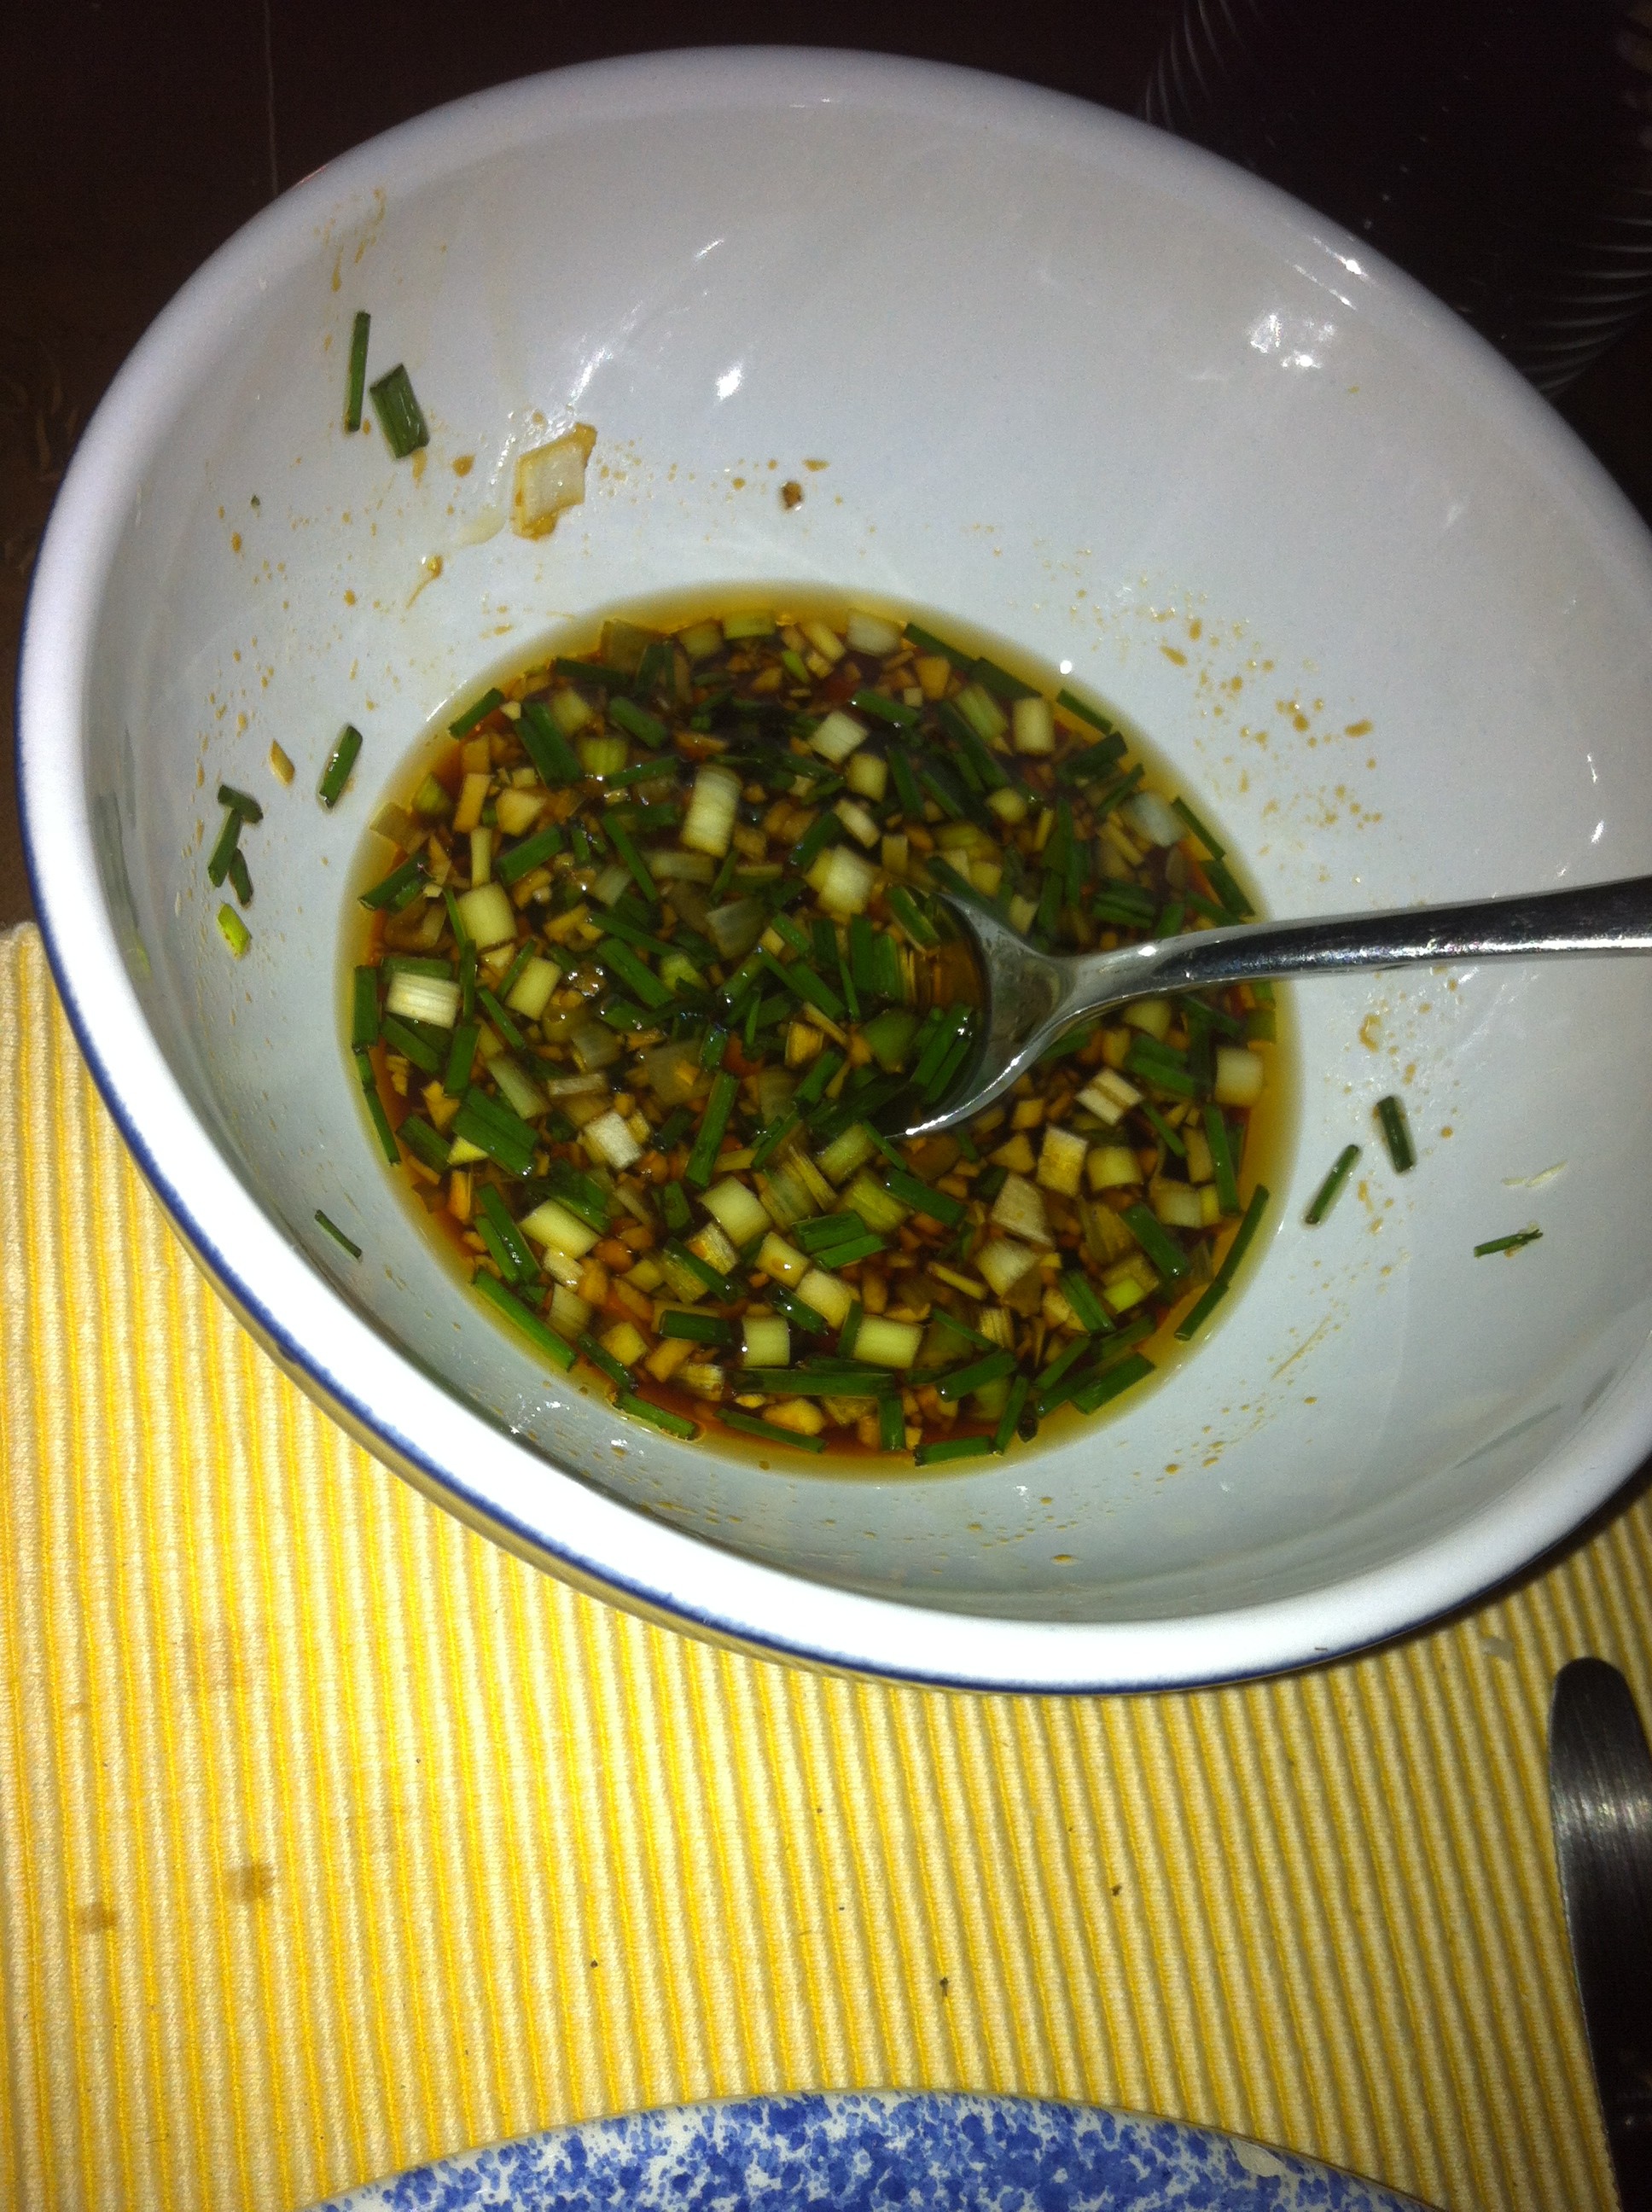
Scallion Ginger dipping sauce

Final word from Hubs: “Pretty good for an impromptu meal.” I would definitely make the Crispy Pancakes again, using rice flour as Bittman recommends. We also had corn on the cob and some mixed greens. The corn was sweet and succulent, with even rows of ears. As it should be.

It’s Thursday and do you know what’s Left in your CSA Basket?

Our CSA Pick-up day is Saturday and I’m usually out of food, ideas and energy for creative home cooking by Thursday night. Quick review of this week’s recipes:

But I’ve still got a few usable and useful items left, so it’s back to work tonight. I have the following left:

  • 1/3 quart cherry tomatoes – dinner tonight
  • Shallots and Garlic- dinner tonight,and these will last, so no hurry
  • Zucchini – have plans for zucchini bread this weekend, so sit tight
  • 1/2 head of cabbage – I’m out of ideas for you, cabbage head
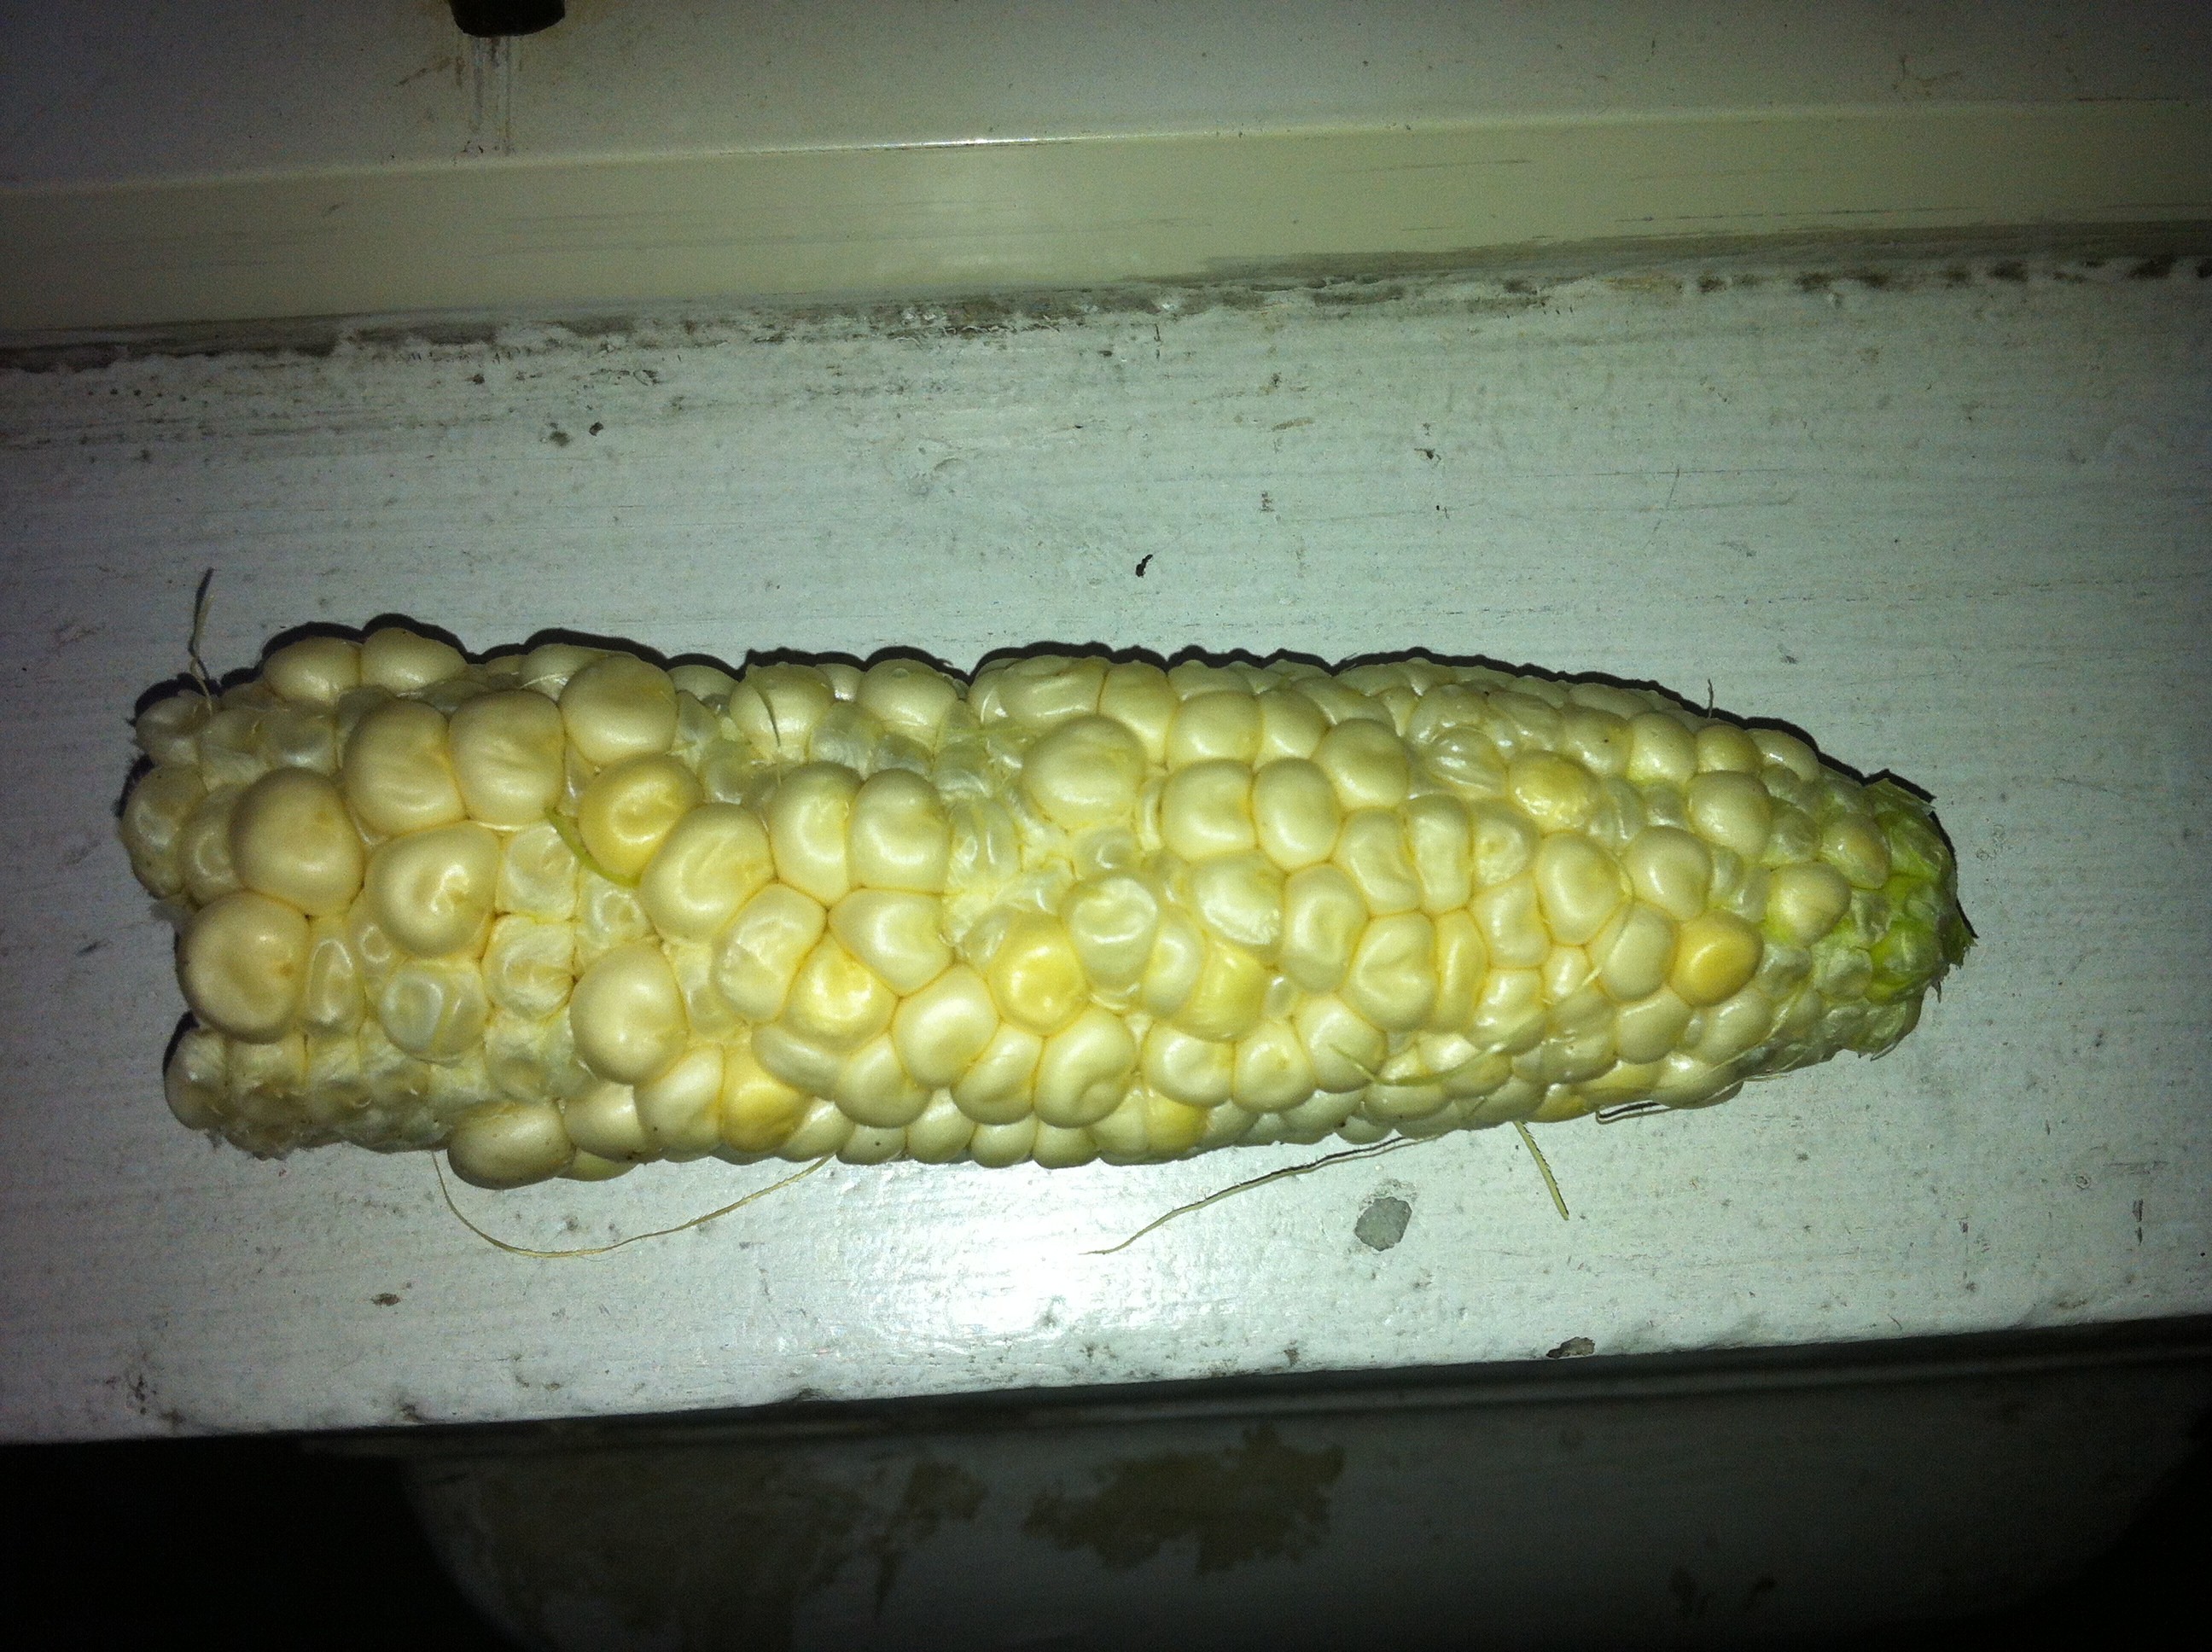
  • 1 ear of early drought corn – Sam was going to eat for dinner, but the crazy rows look uninviting

Krazy Korn from CSA Pick-up 7/28/12

Krazy Korn is going in the compost bin.

We’ll have Salmon en Papillote and a green salad for dinner tonight. As I wrote in an earlier post, fish en Papillote is a simple to prepare dish for the kitchen weary. I’ll use the cherry tomatoes and shallots from my CSA pick-up, and then we’re ready again for Saturday’s stash.

Shrimp Tacos and All the Fixins

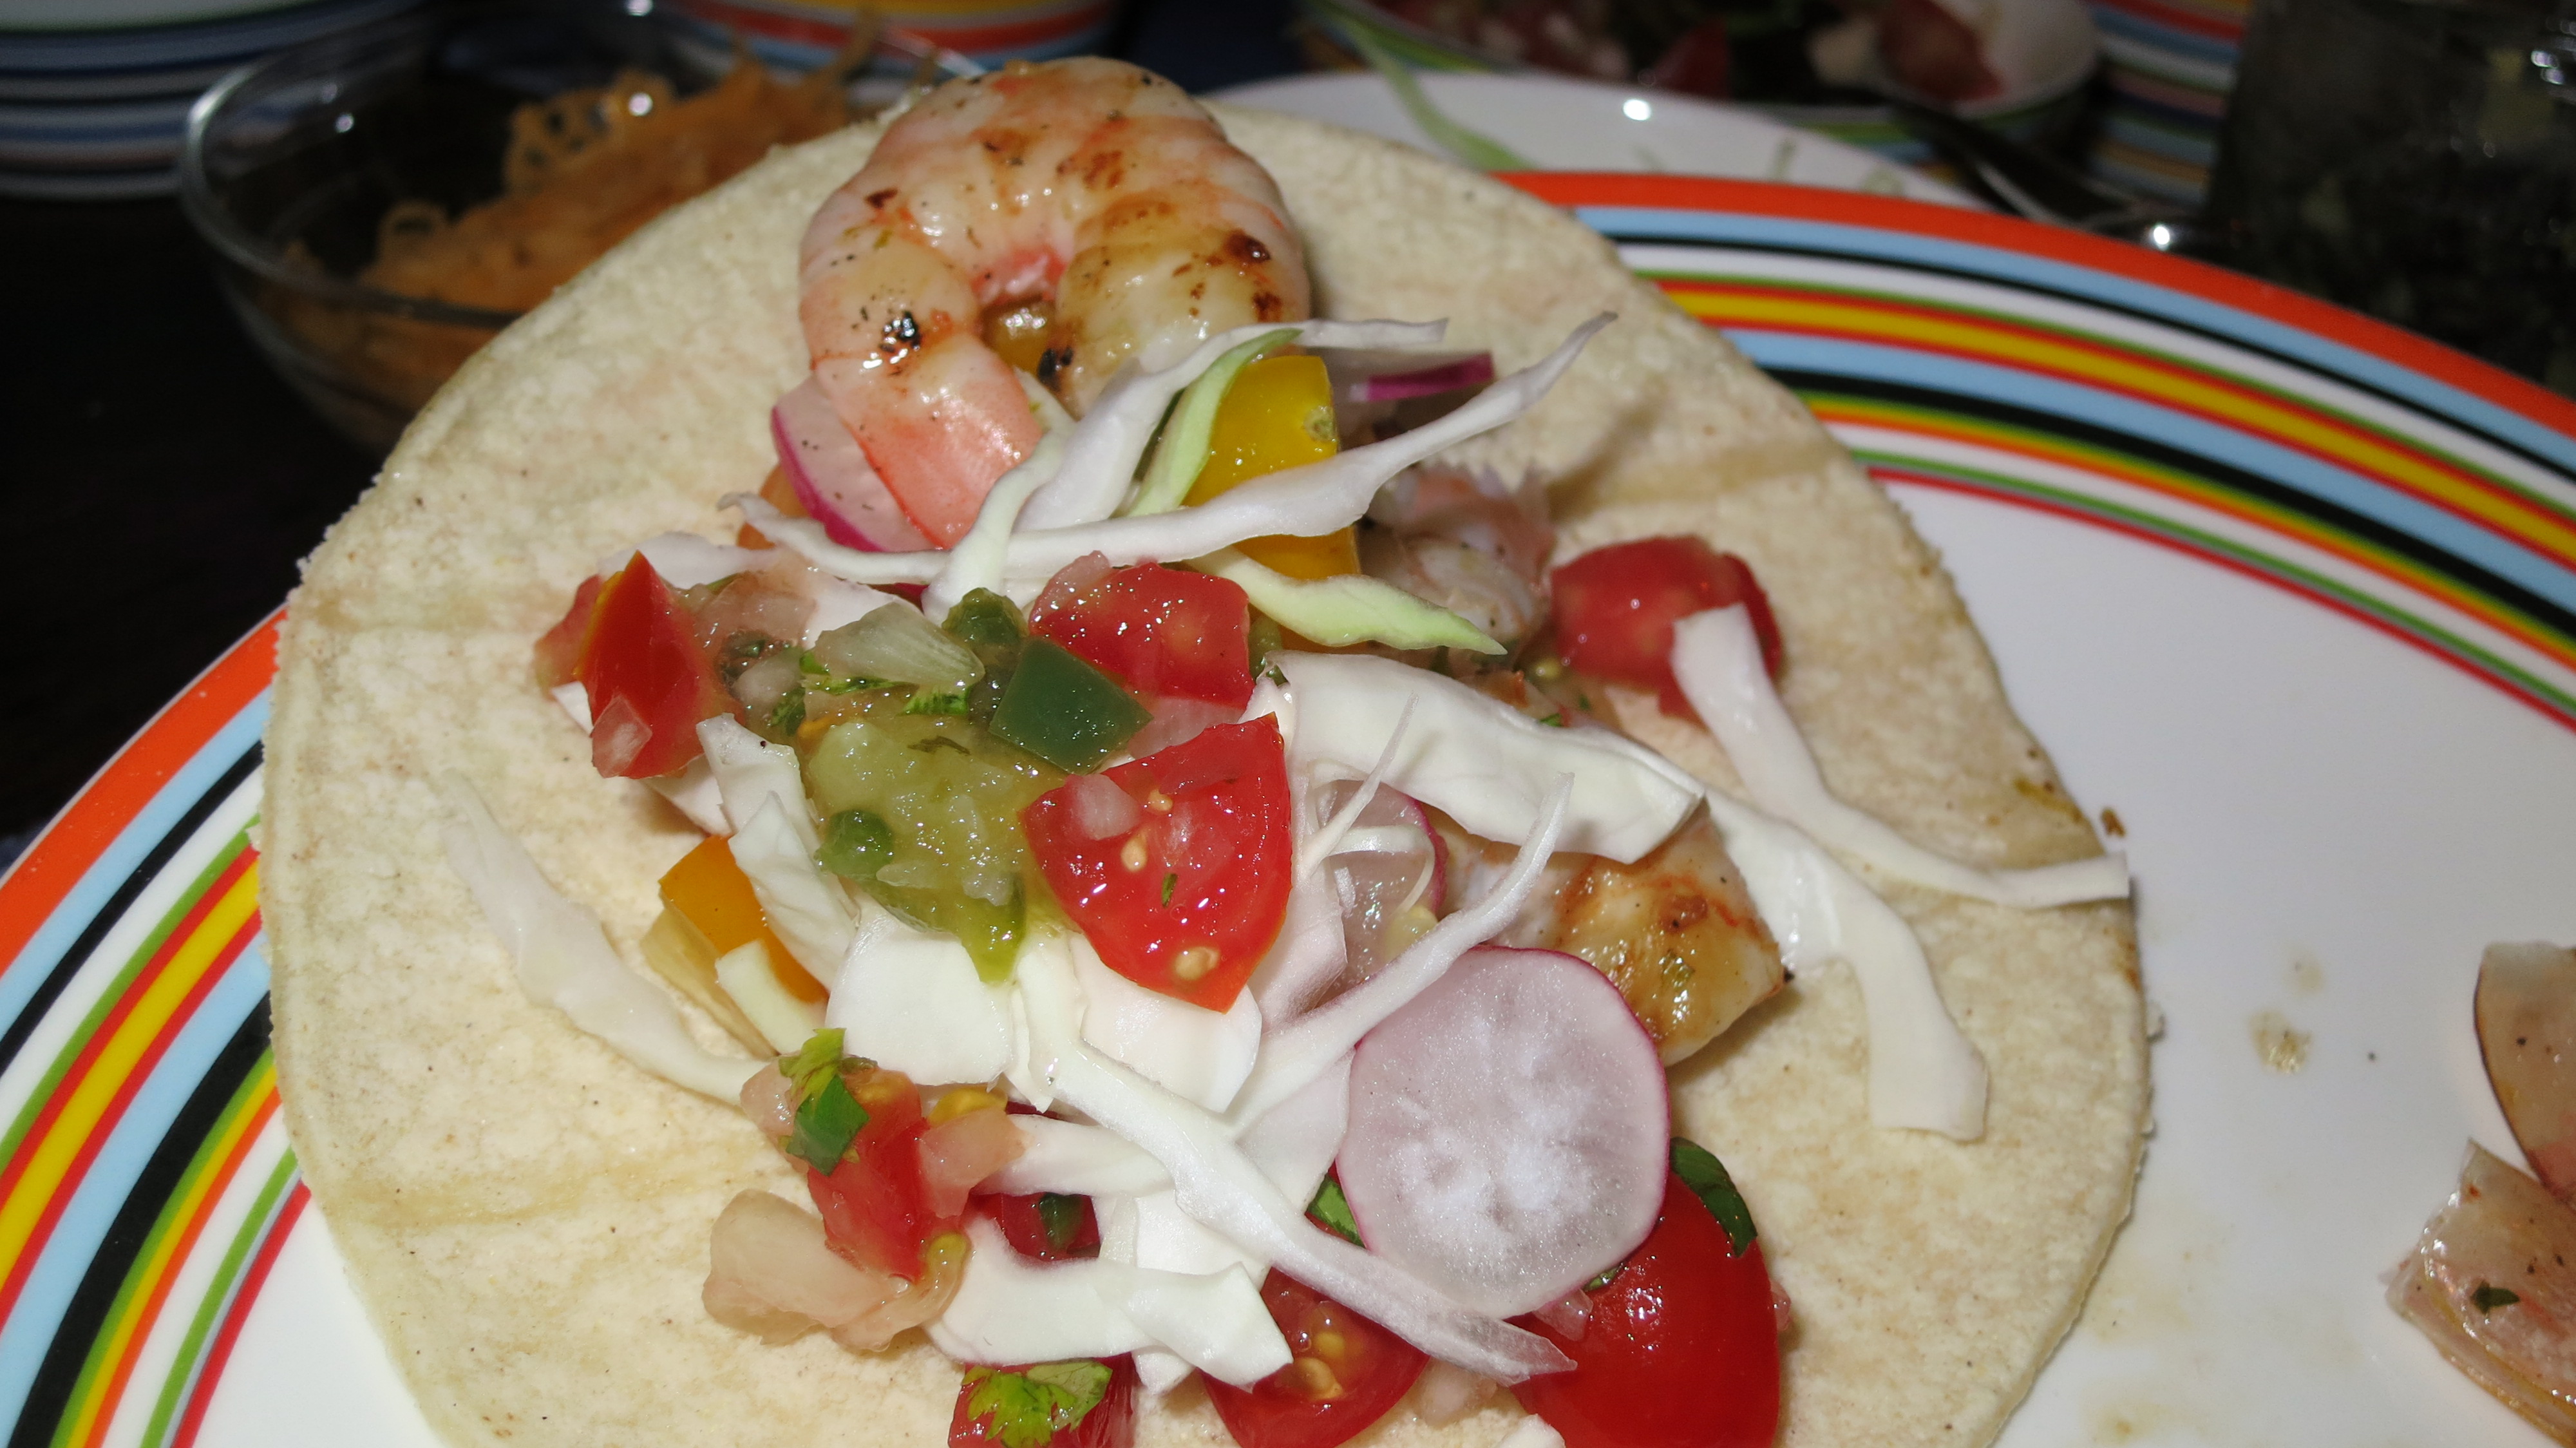
Novagirl, I thought your recipe for Honey Lime Shrimp Tacos was awesome.  I made a few modifications here and there. I added a tablespoon of orange juice to the marinade as I was low on lime juice and used a grill pan to cook the shrimp in my apartment. Here’s the final product:

Honey Lime Shrimp Tacos

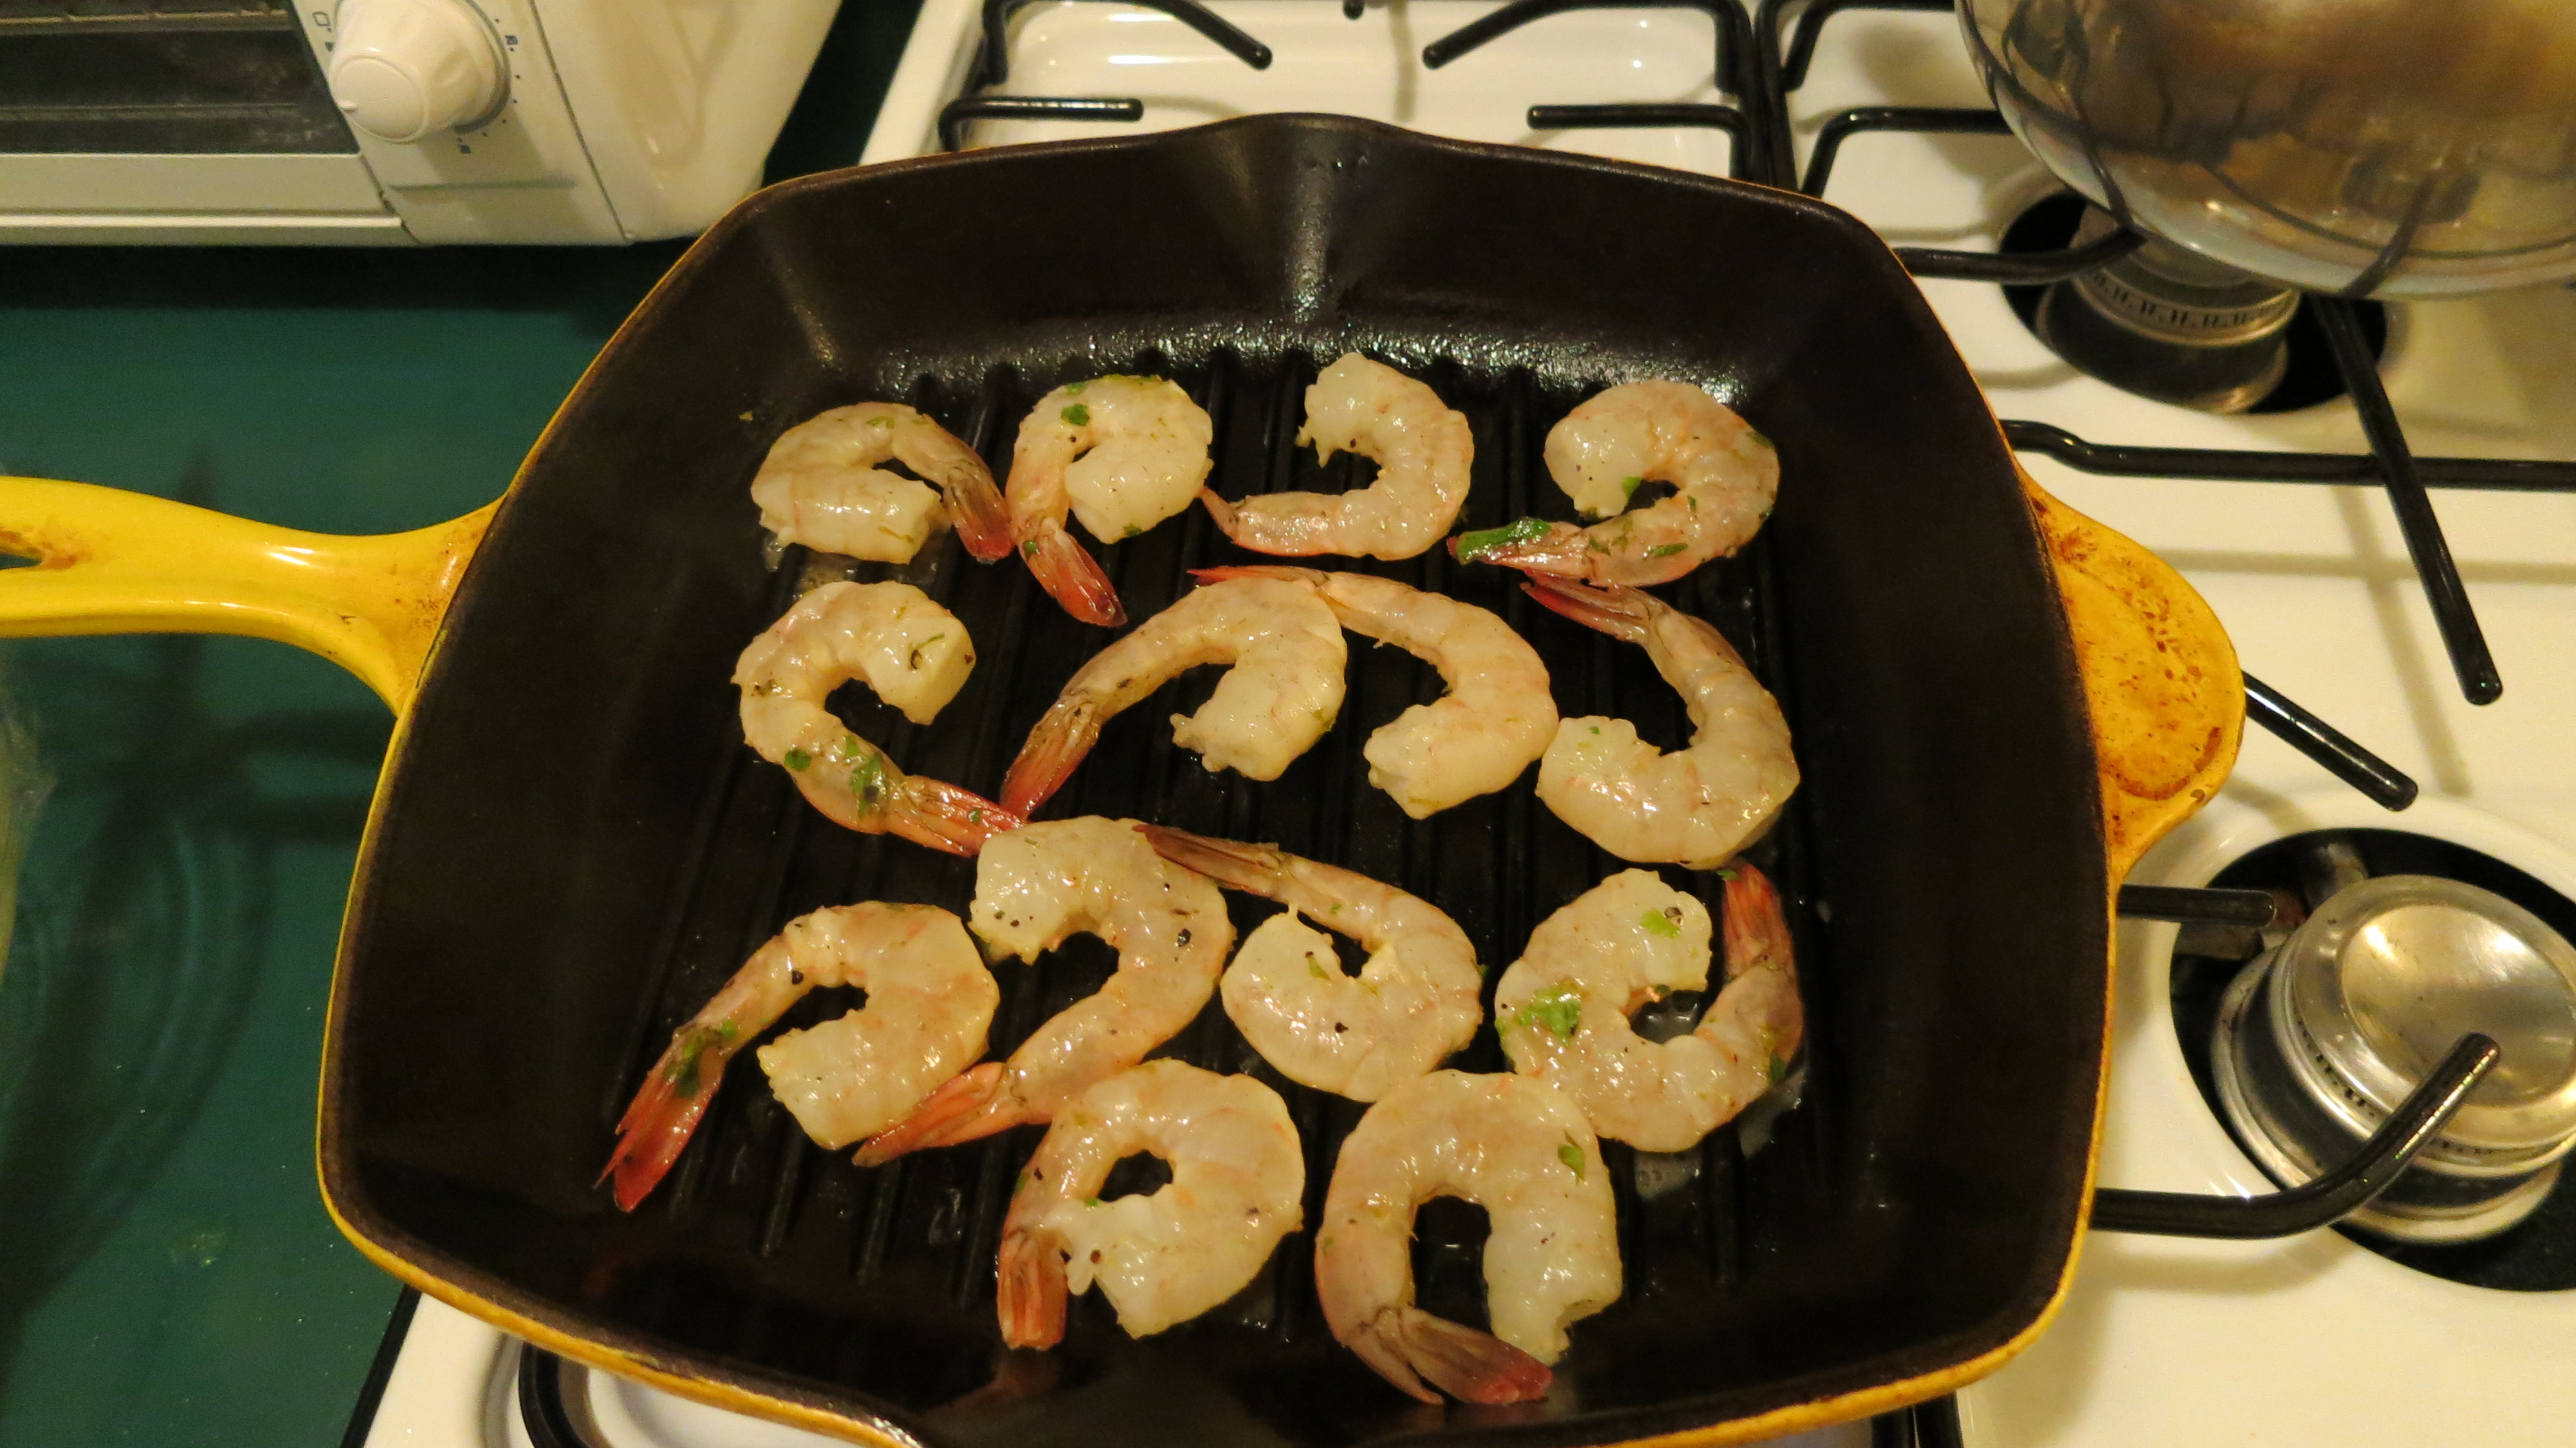
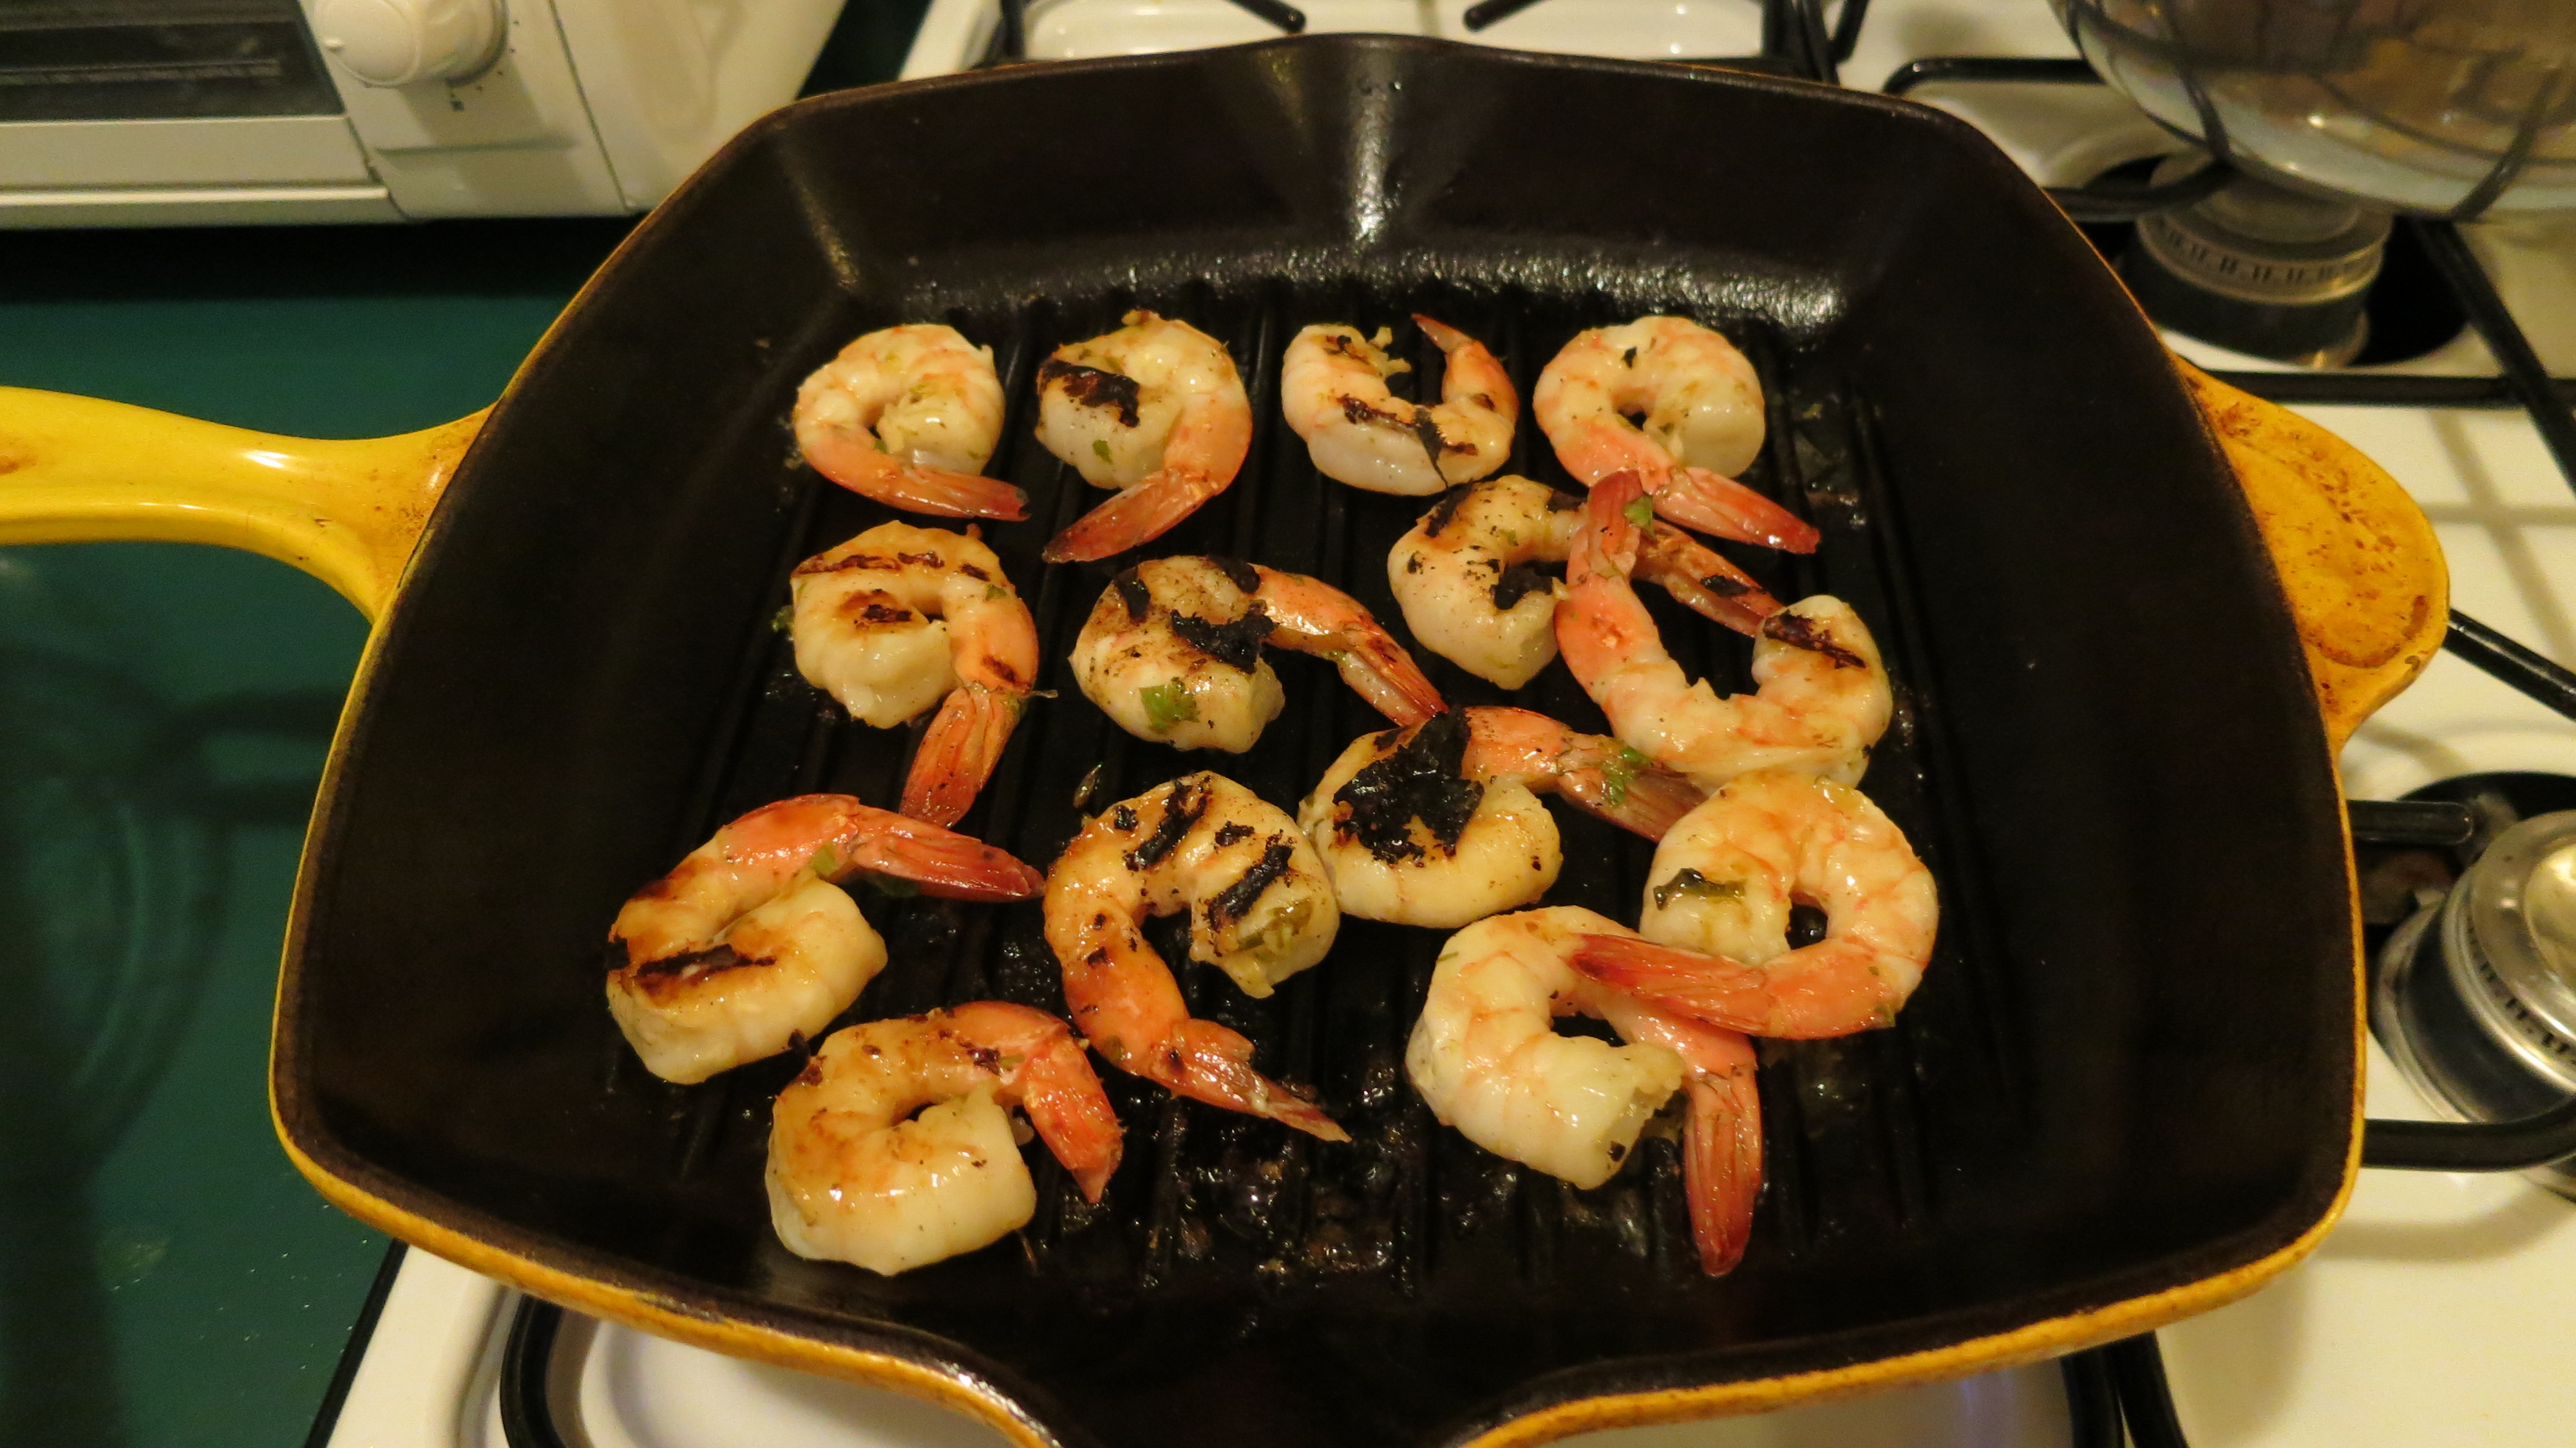
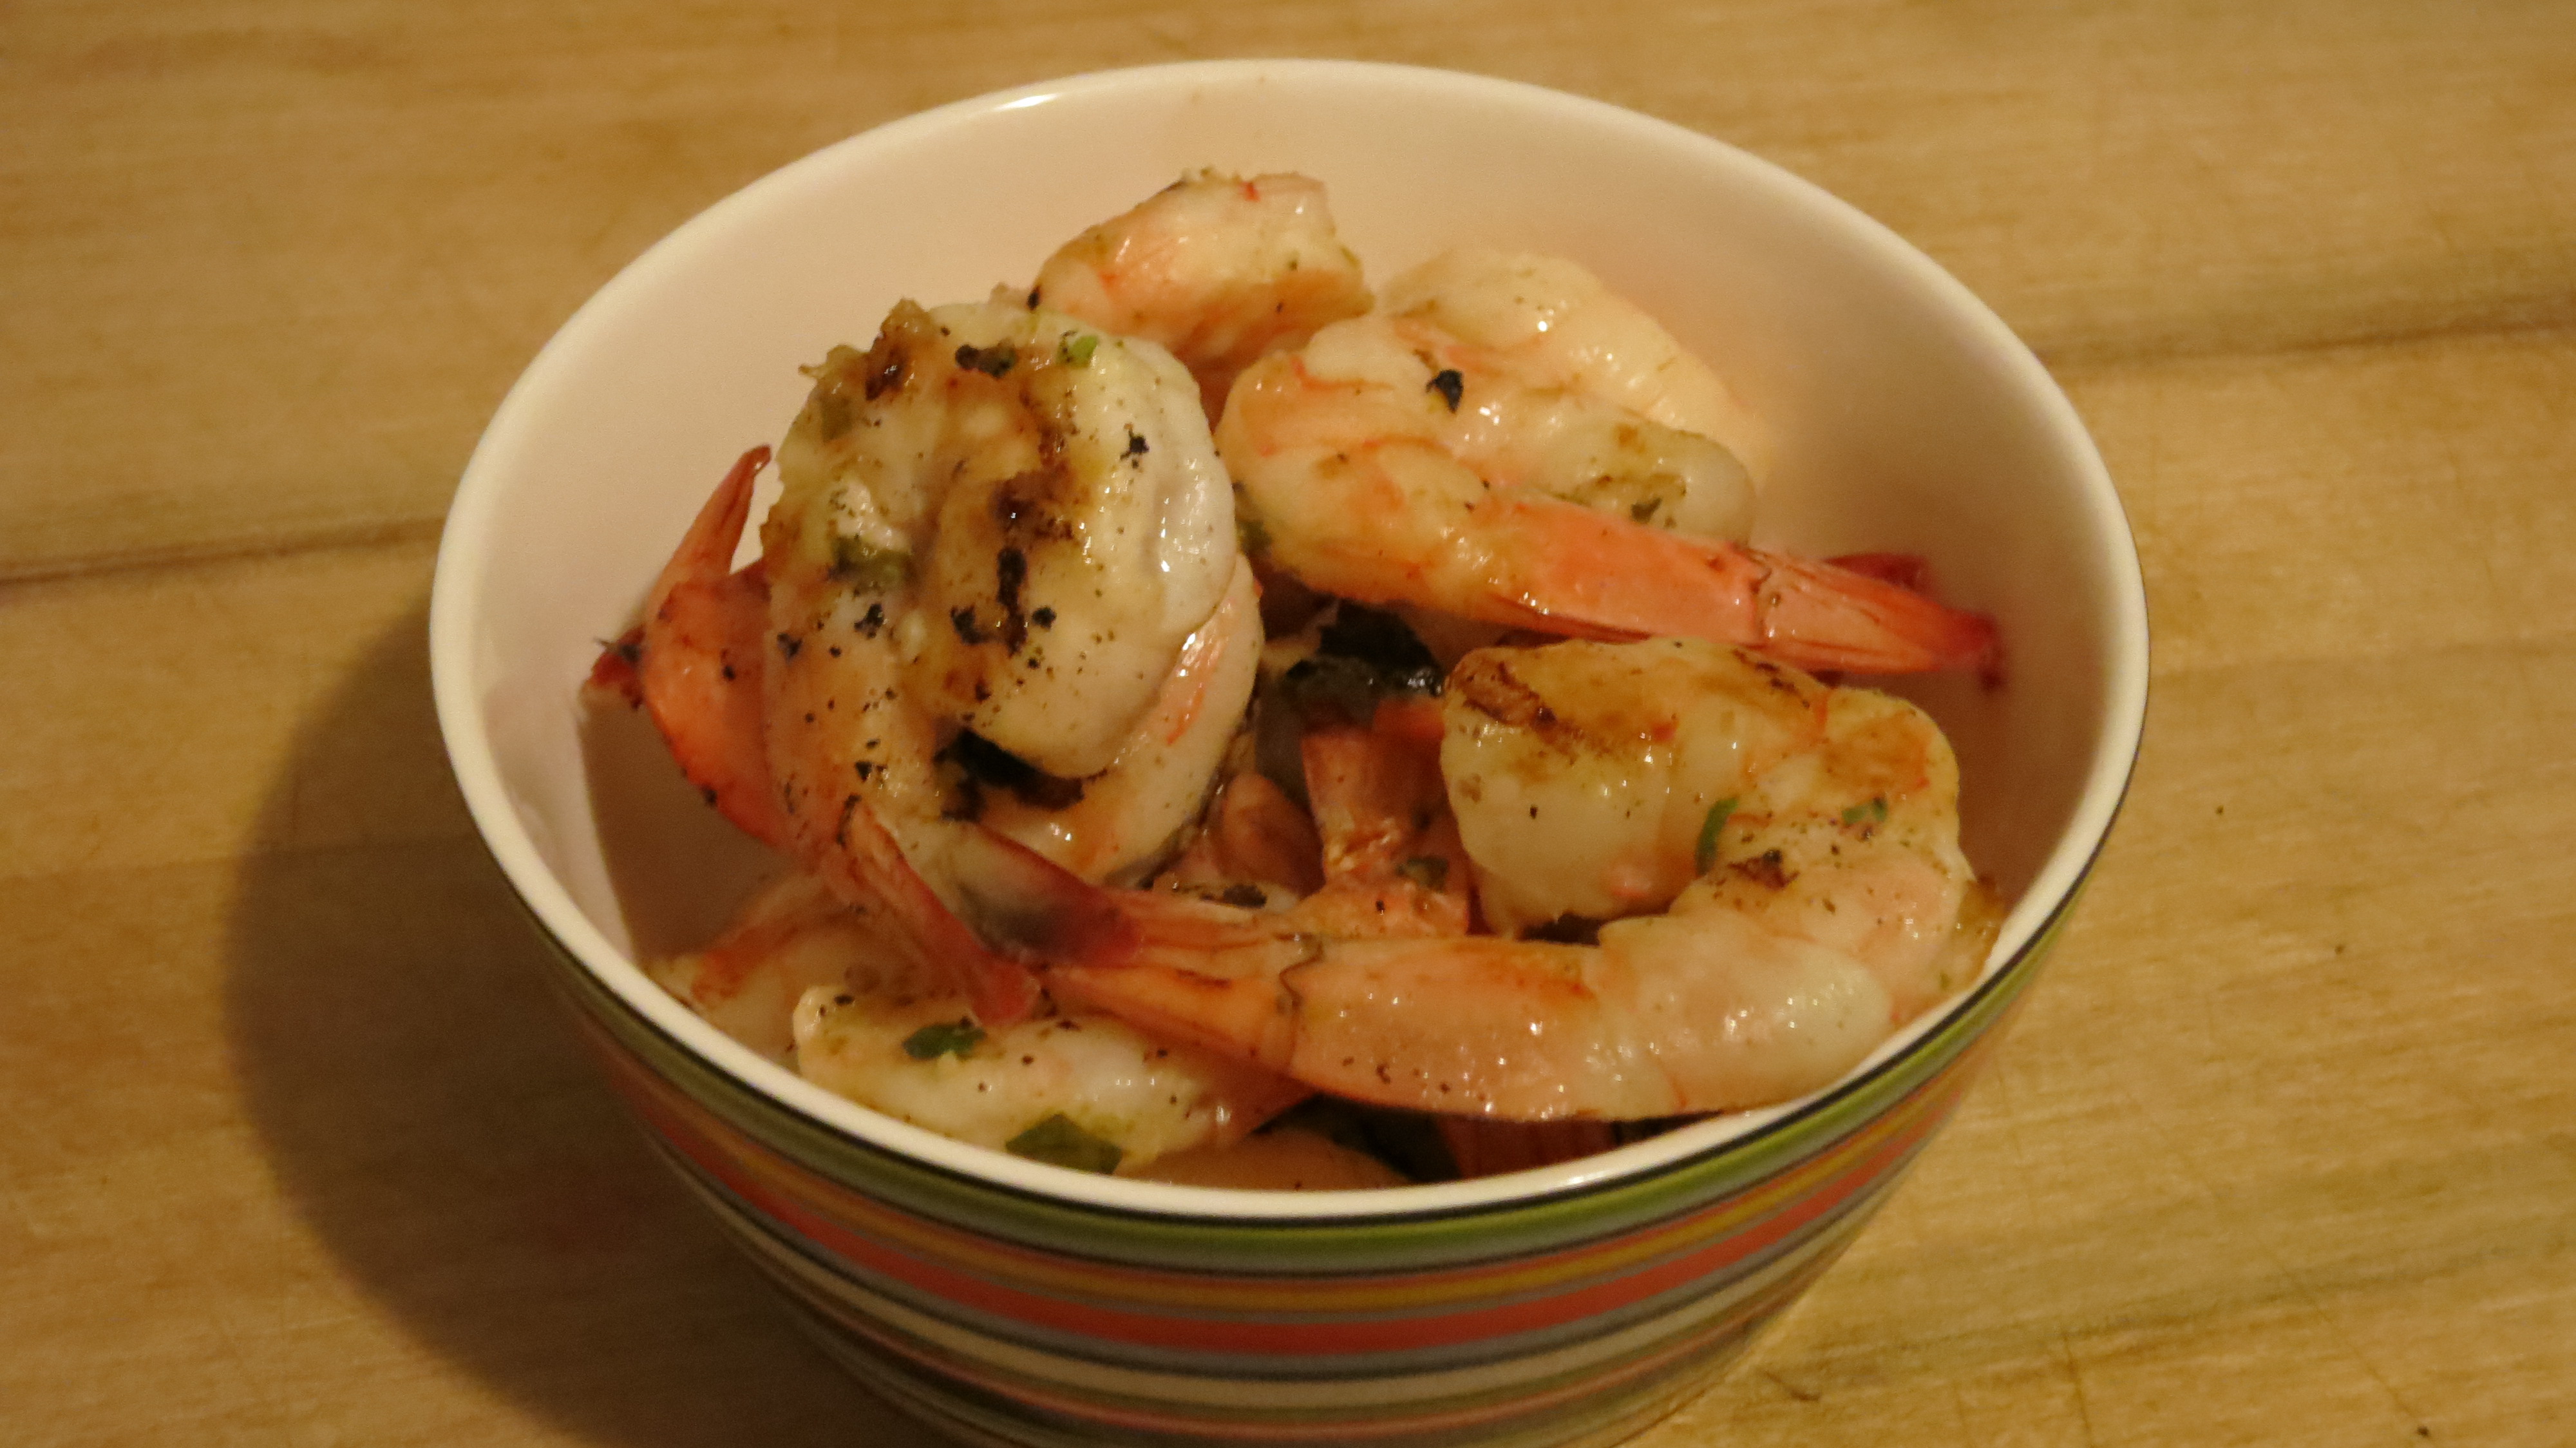
The grill pan worked like a charm. I cooked the shrimp about 2 minutes on the first side, then 1 minute on the second side and they were perfect. Still tender and slightly charred. They missed the smokiness you’d get from a real grill, but this definitely worked in a pinch.

Grilling Shrimp on Grill Pan – side 1

Grilling Shrimp on Grill Pan – side 2

Grilled Honey Lime Shrimp

I was pleasantly surprised at how well the shrimp turned out on the grill pan. Had never cooked them on it before, and it was fast, tasty and gave them nice char marks, too.
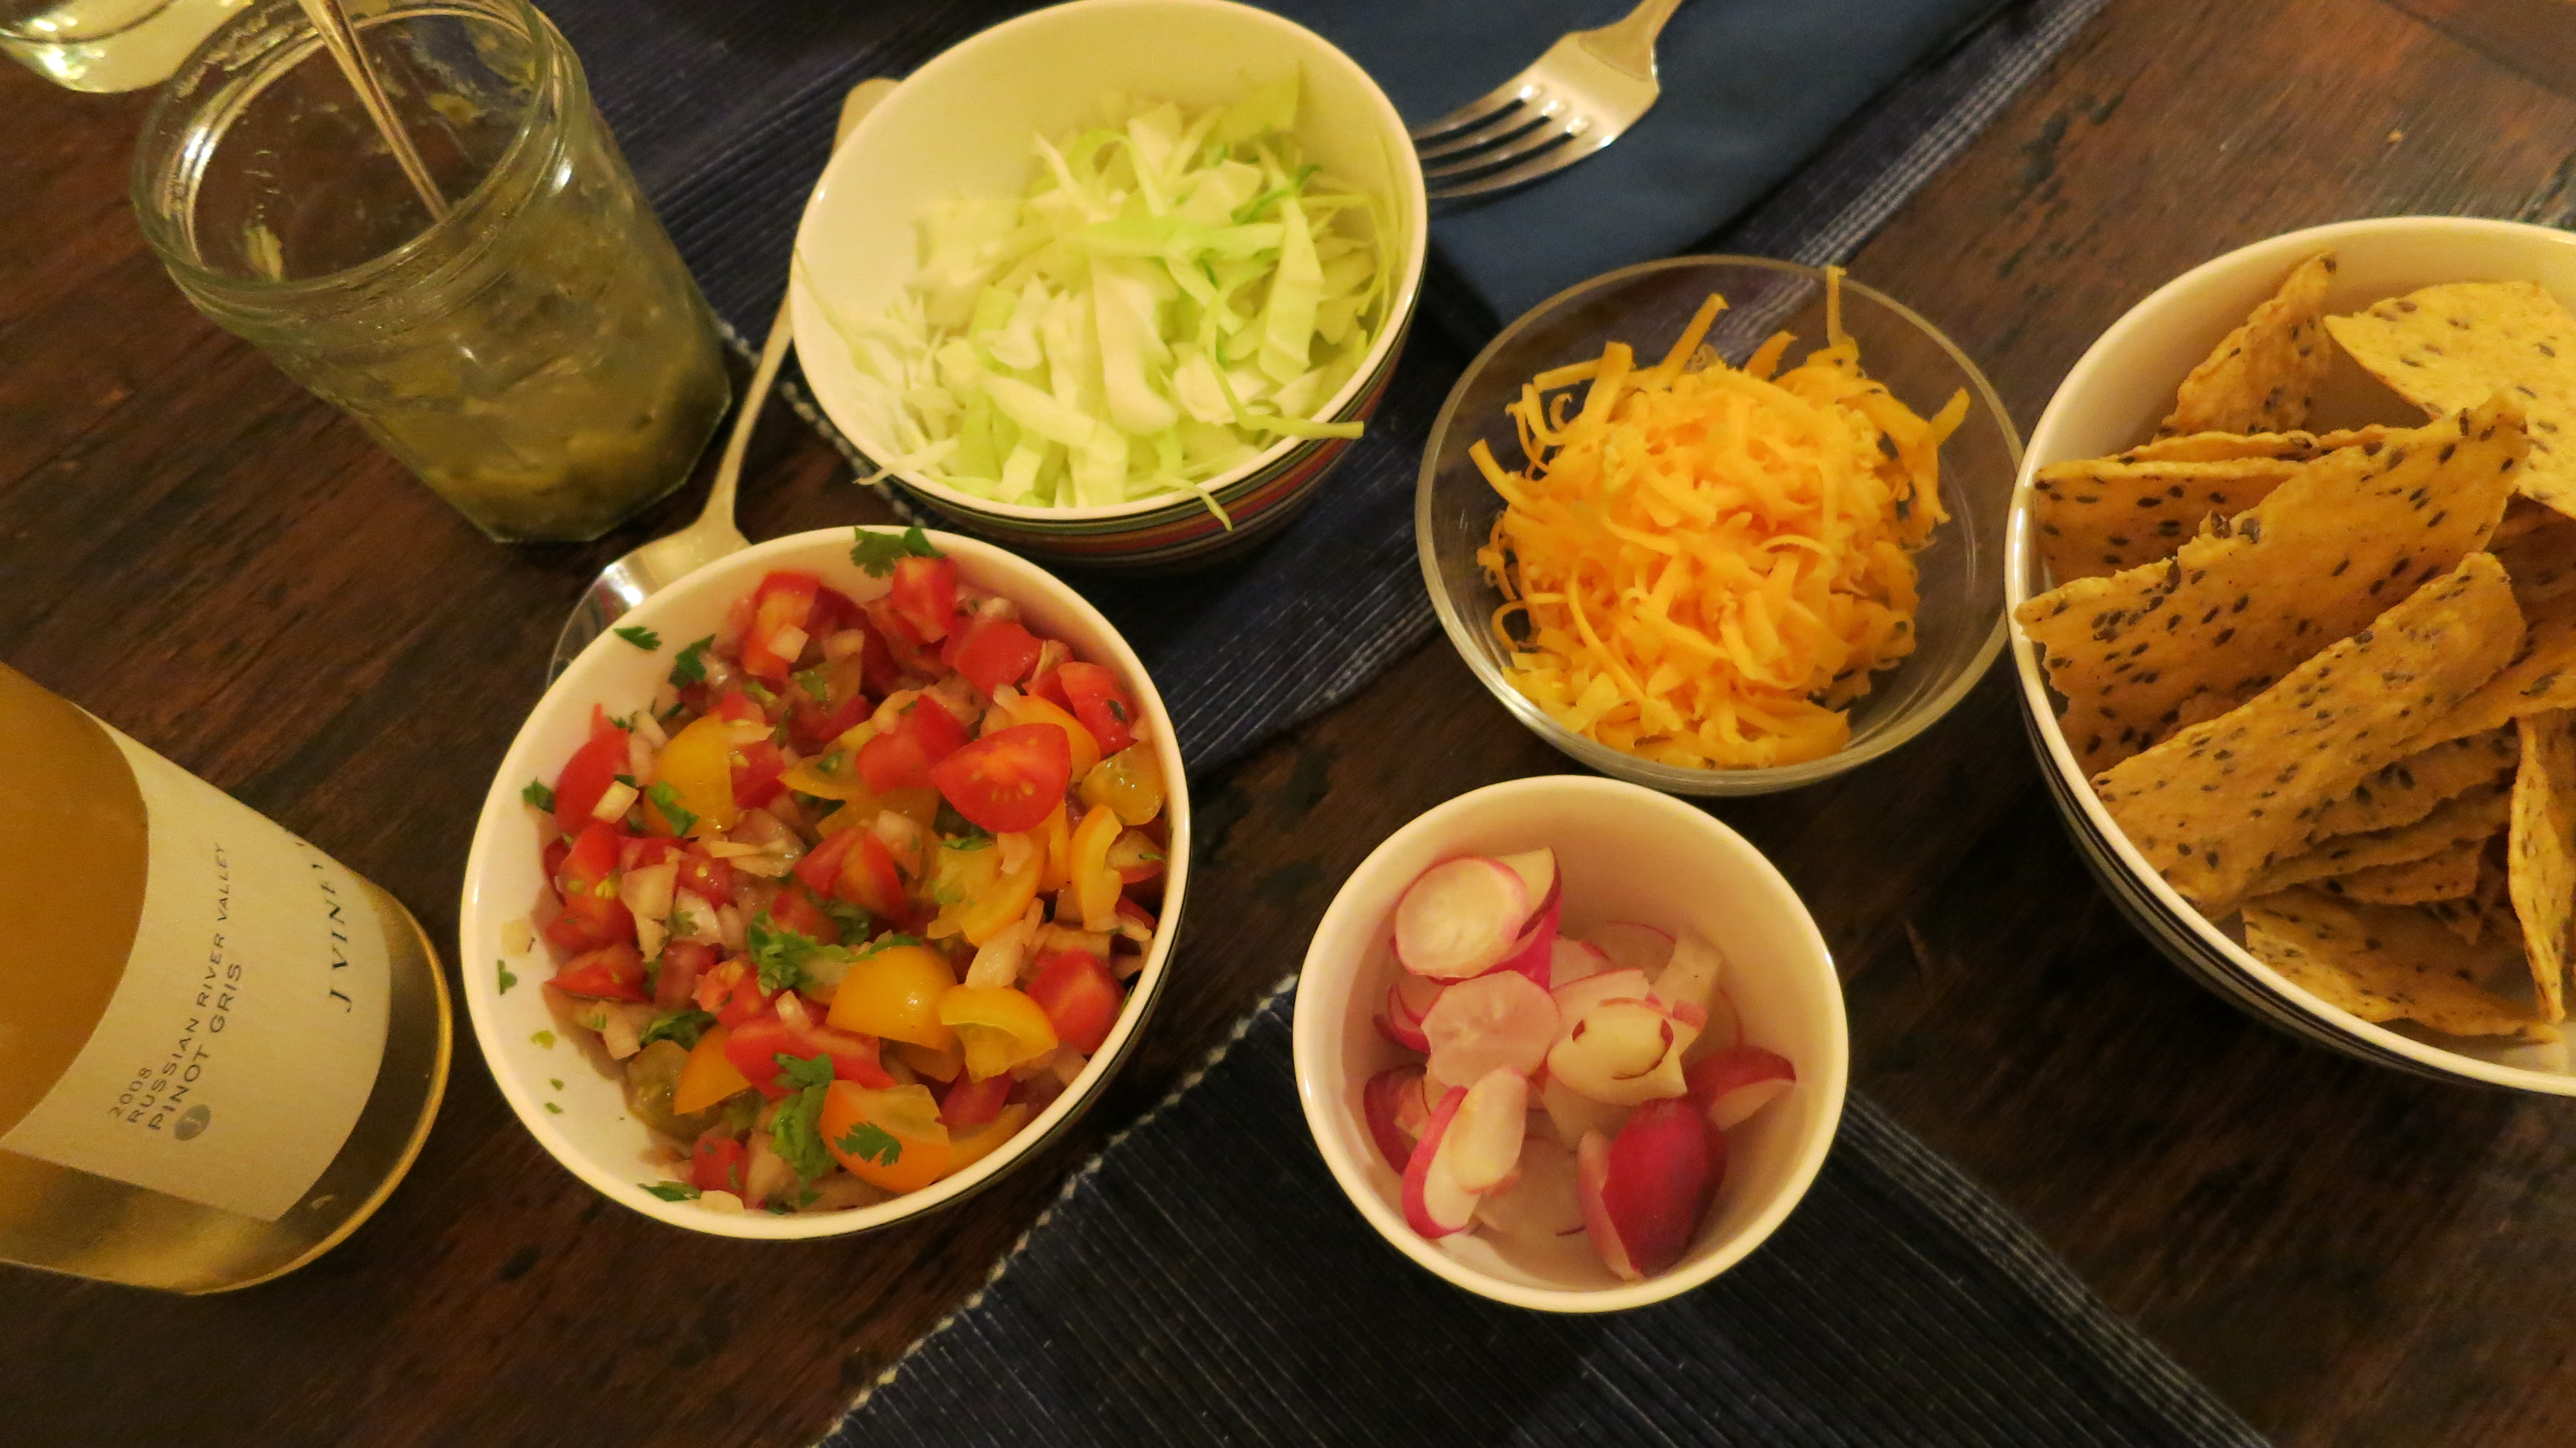
Here is the spread of fixins that I prepared: shredded cabbage, sliced radishes, shredded cheese, salsa verde, pico de gallo, chips and soft corn tortillas.  The cabbage was from my CSA pick-up. and the radishes were a gift from Steve at Berkshire Bounty Farm. As an aside, I still have over half a head of green cabbage left after making a large batch of coleslaw and using it here as an accompaniment to the tacos. It is hard work making use of an entire head of cabbage.

Shrimp Taco Fixins

A few final words on this meal. The shrimp and salsa verde got big thumbs up. The wine pairing of Pinot Gris with the spicy salsas and shrimp worked well, too. The pico de gallo, while easy on the eyes, was lacking something. We thought it was salt, so Hubs added a healthy dash, but that wasn’t it. I think I was too aggressive on seeding the tomatoes, leaving it too dry as I had suspected earlier. Lesson learned.

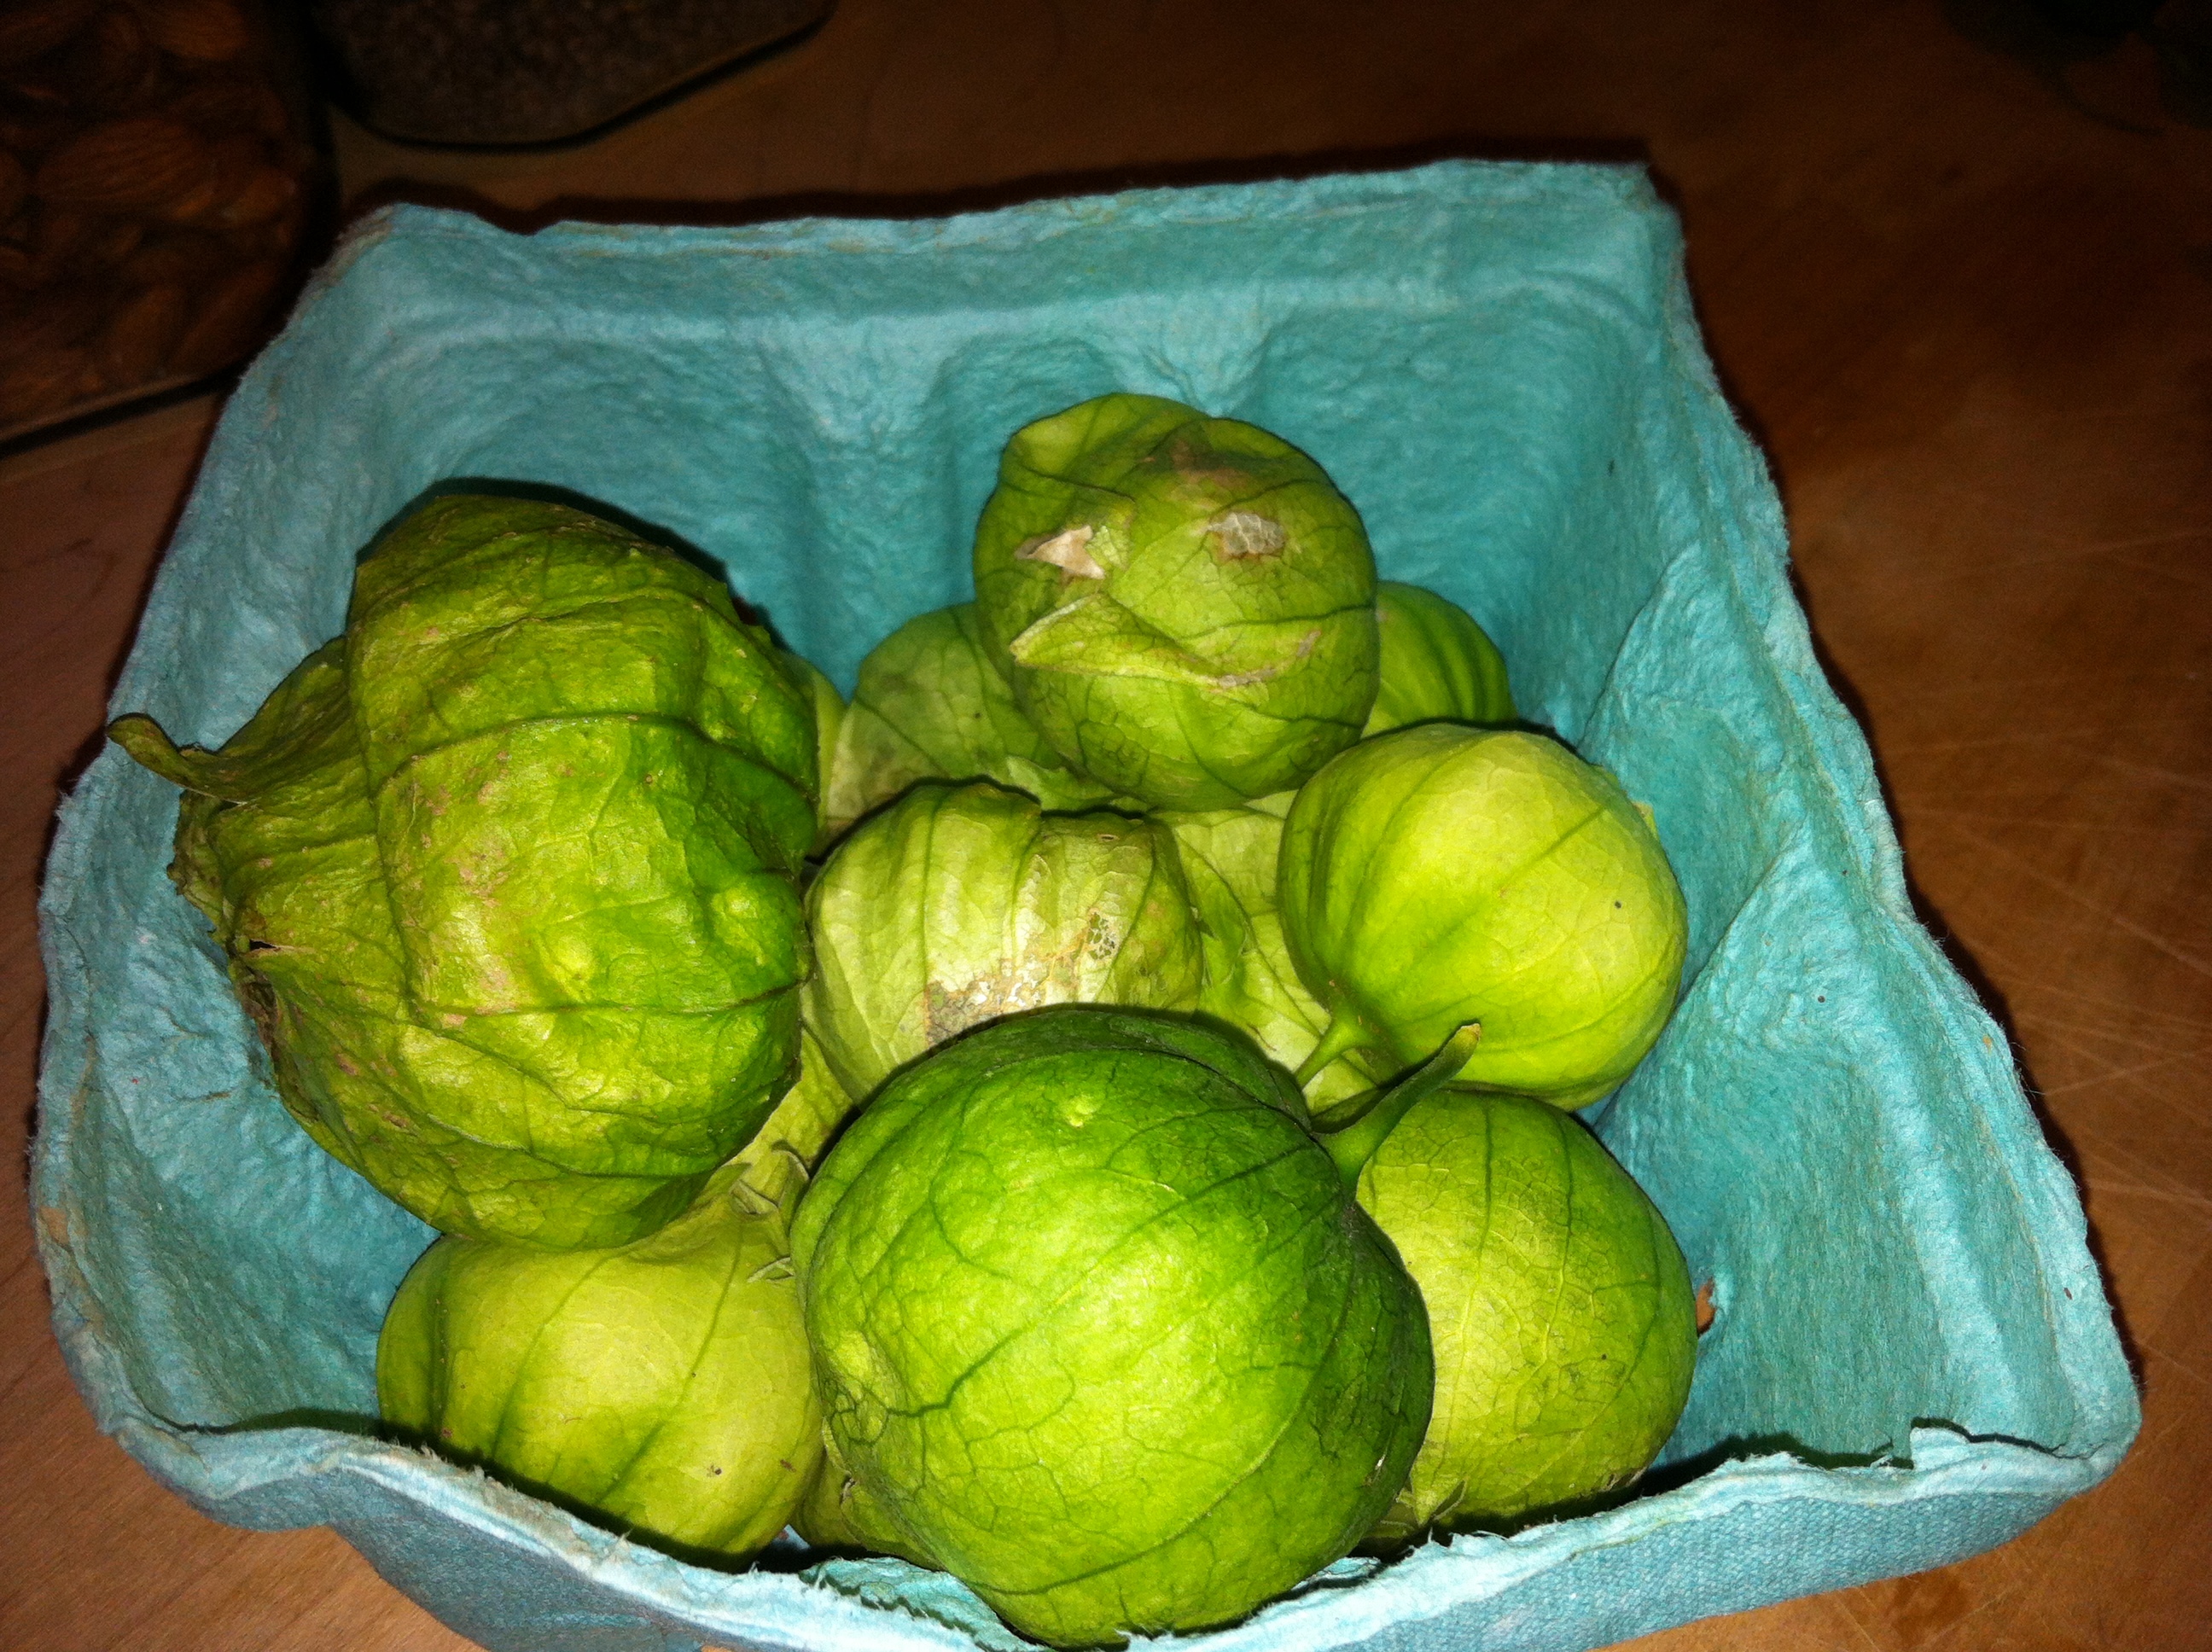
Tomatillo Madness

So what happened to the tomatillos? As many folks suggested, I prepared salsa verde, and was pleasantly surprised at how easy it was and downright tasty. No fear factor anymore, my little green friends. The technique I had seen down in Mexico was more complex, using a comal, and probably more authentic, too, but the end result of this recipe was delicious. I boiled the whole tomatillos, then used the hand blender to blend them with white onion, cilantro and jalapeno. No need to marginalize this because of its simplicity – it definitely worked.

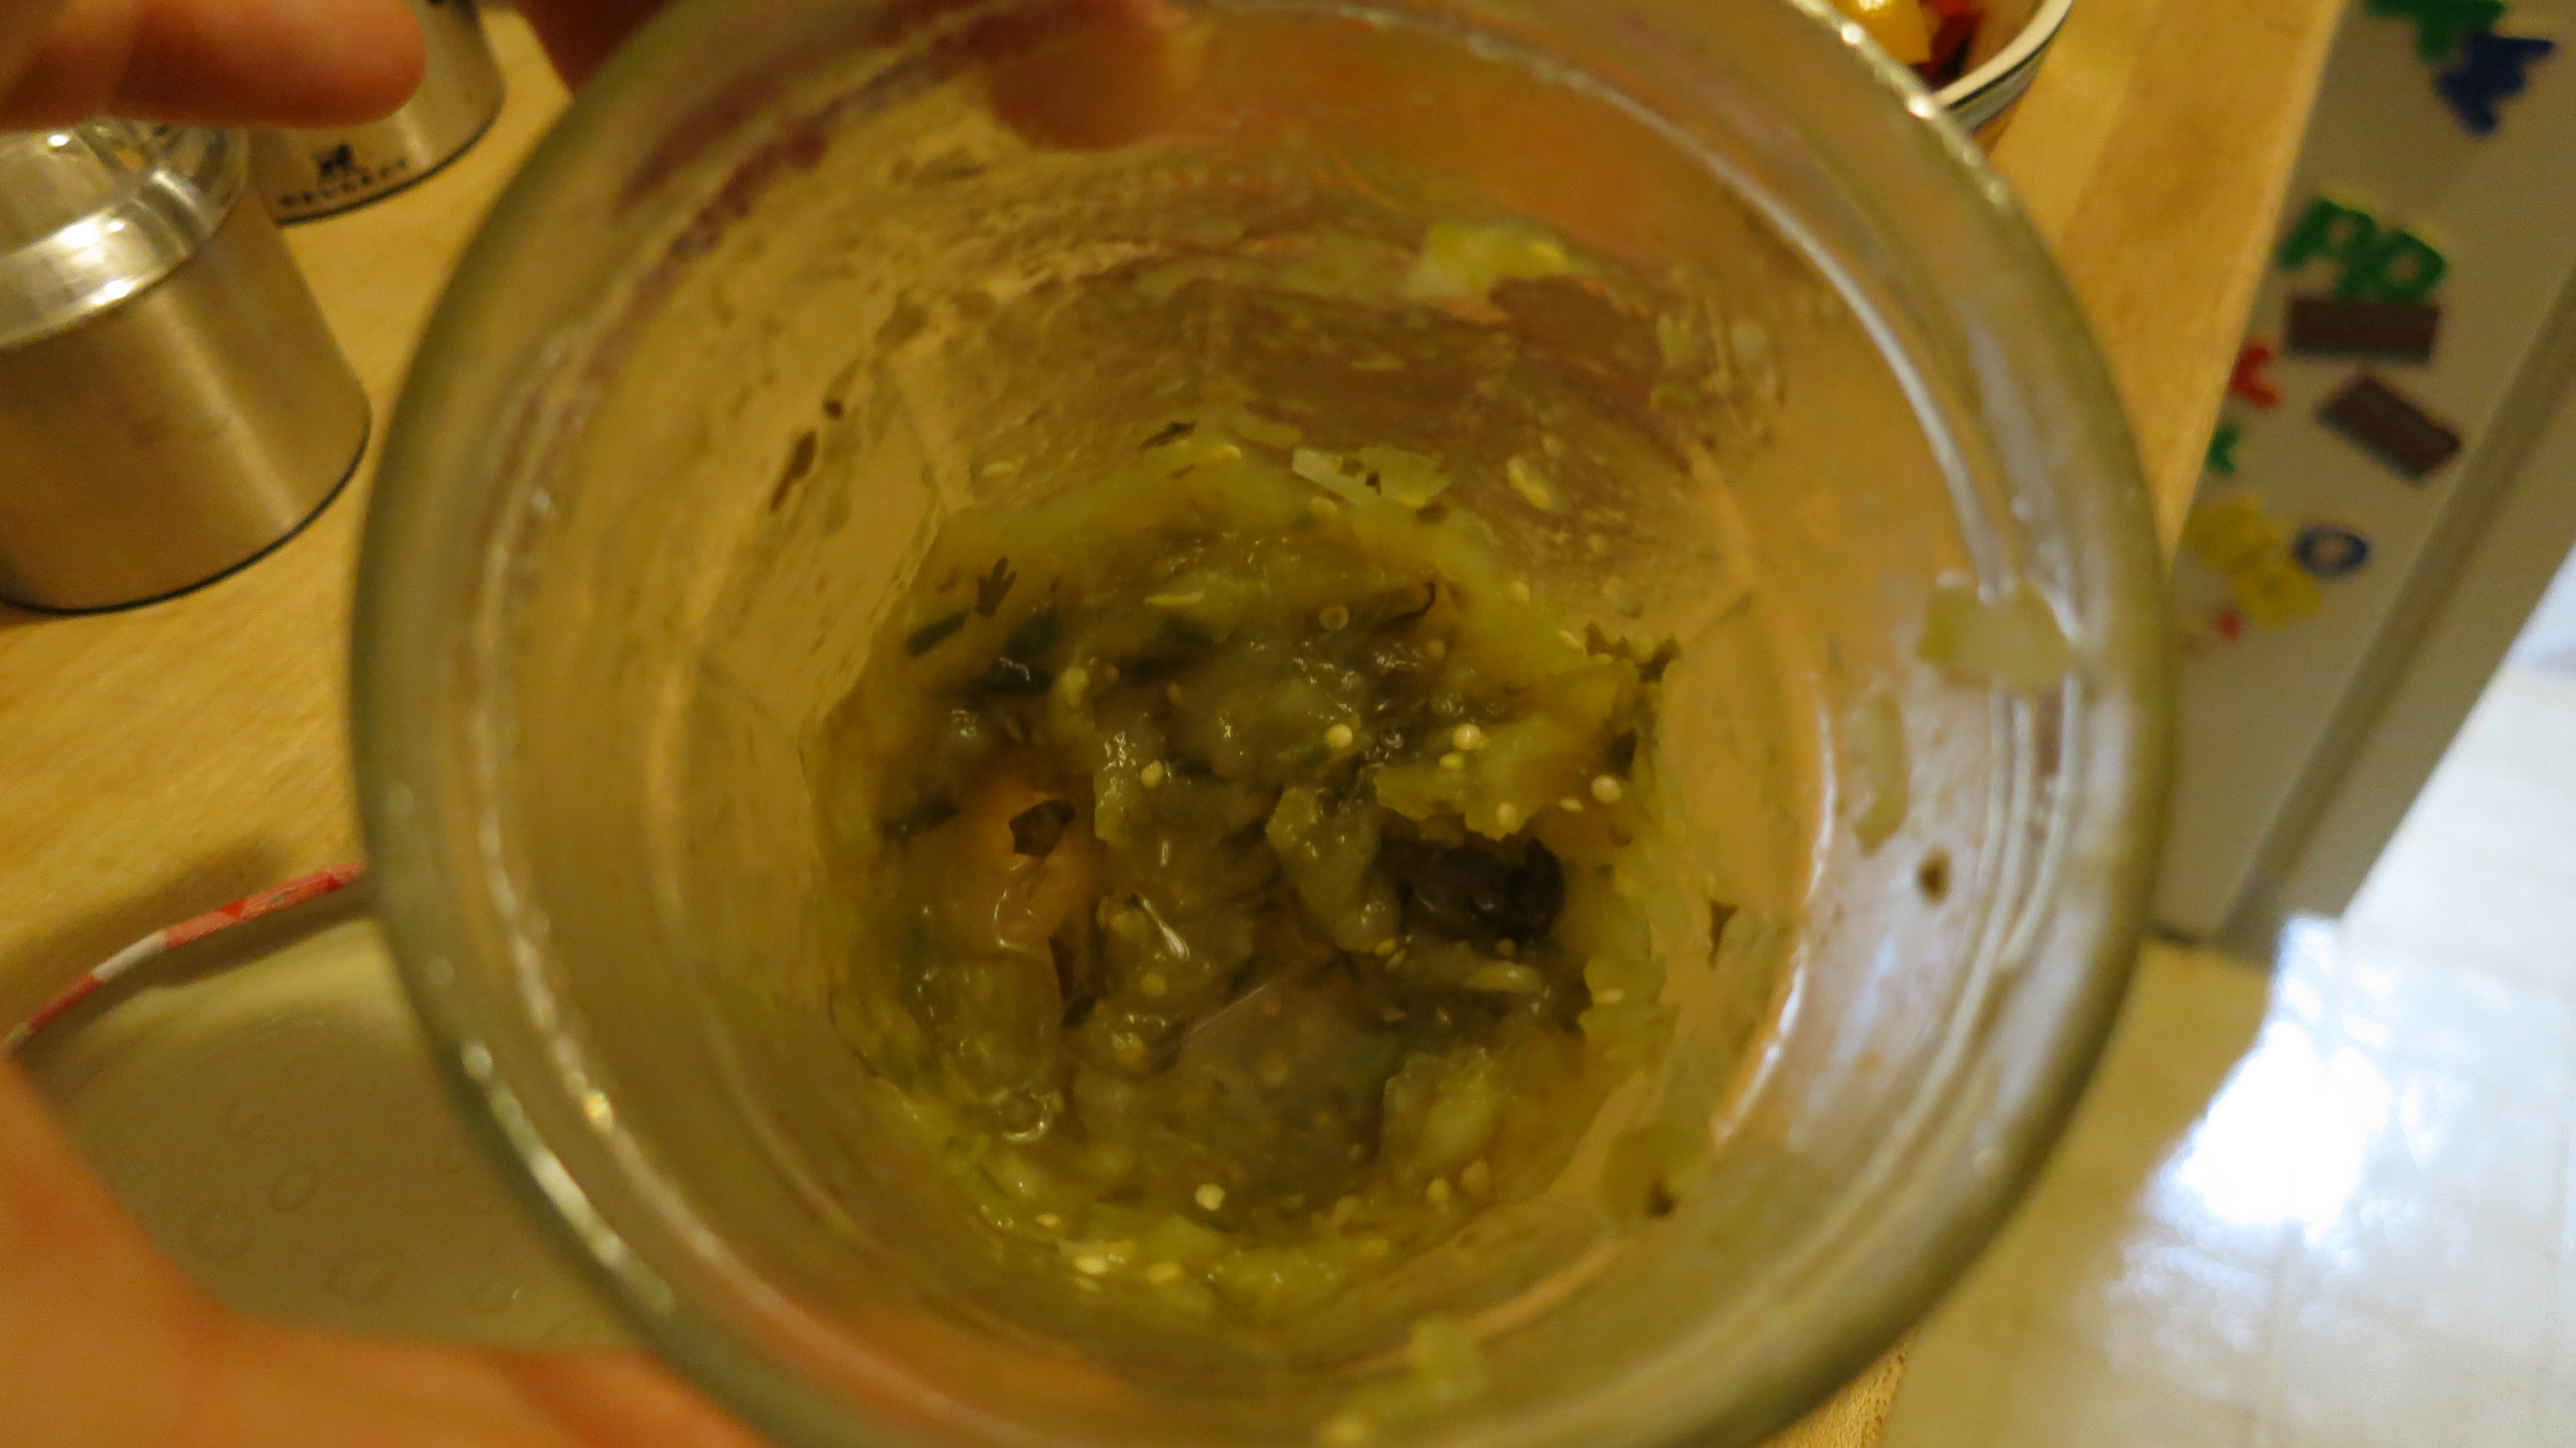
Looking to get a head start on things, I made the salsa verde Monday night in prep for Wednesday’s night menu inspired by Novagirl’s comment on shrimp tacos. Sad to say, the salsa verde has virtually disappeared by Wednesday afternoon. Uh-oh. I foolishly gave away 1/2 the batch thinking that it would never be consumed, but underestimated the addictive nature of salsa verde and tortilla chips.

Looking deeply in a glass jar: Salsa Verde (practically) all gone

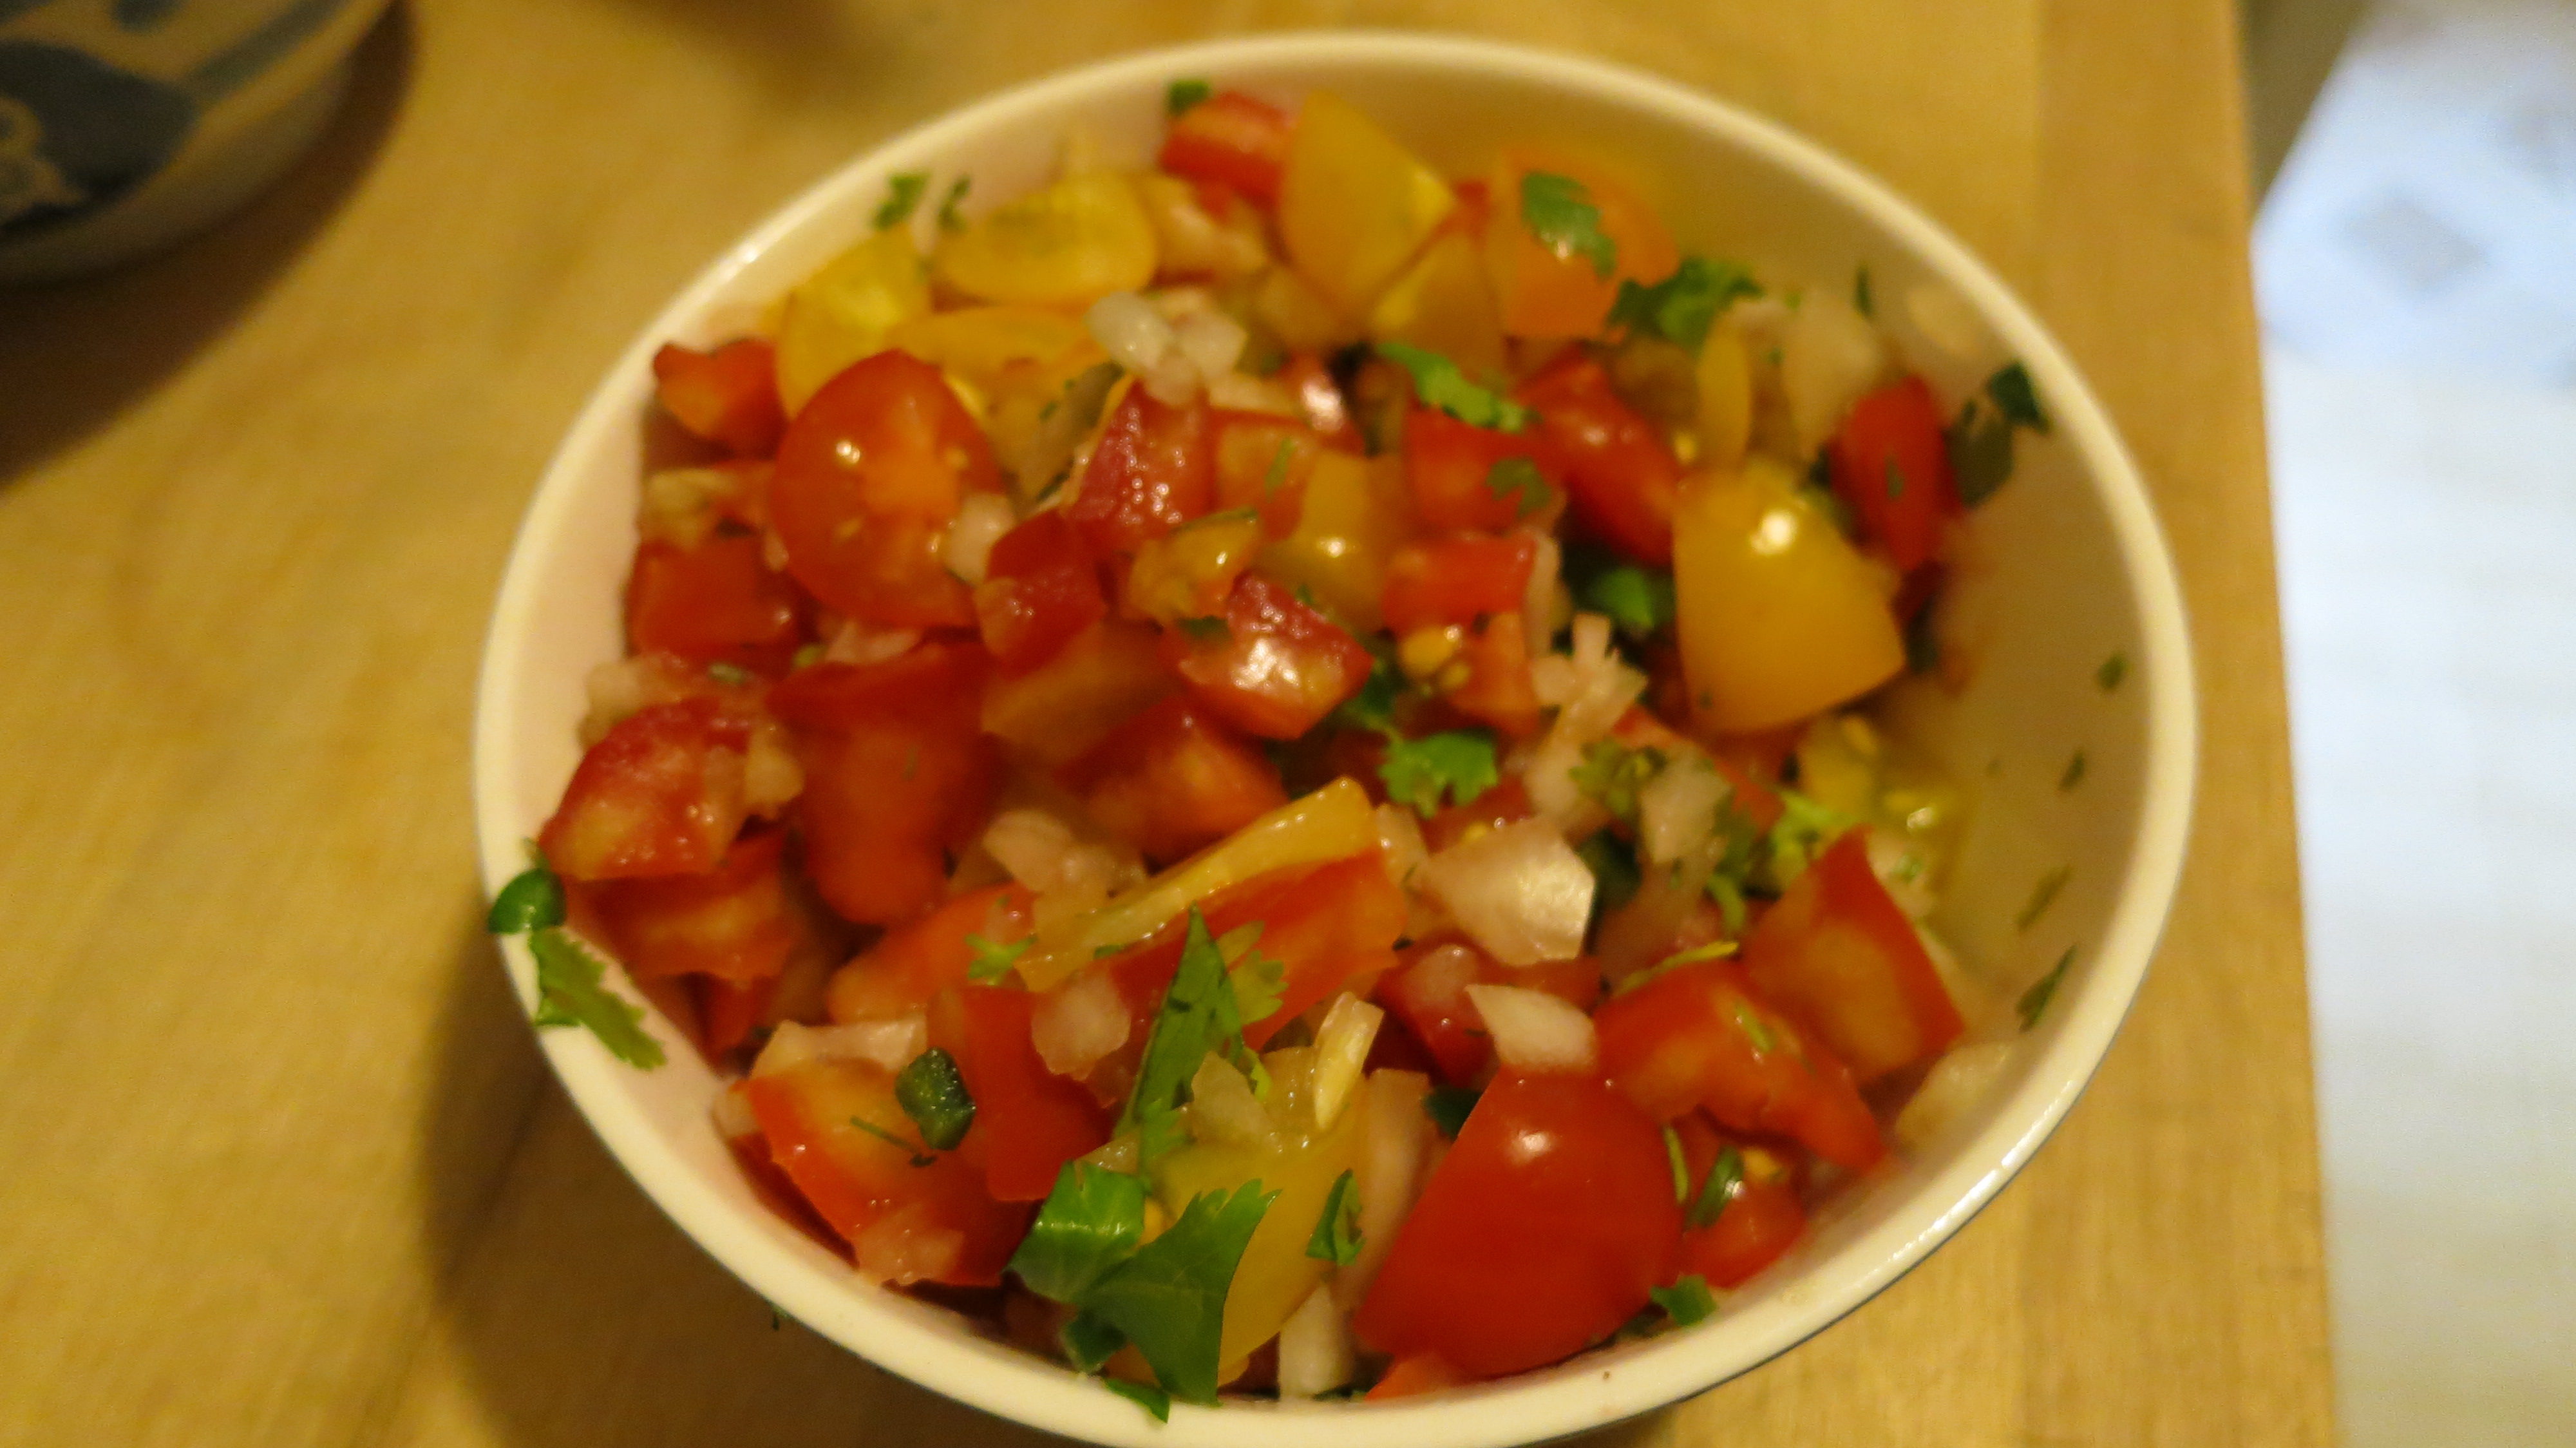
I am such a fan of salsa verde now that I would even outright purchase tomatillos to make it again. Yum. So, I also prepared Pico de Gallo to make up for the salsa verde shortage.  I chopped and seeded 2 small tomatoes, chopped 1/4 of a medium-sized white onion, 1/2 jalapeno pepper and a few sprigs of cilantro. Mixed them altogether and listo, fresh Pico de Gallo. Since I had done such an expert job of seeding the tomatoes, the salsa turned out a little dry, so I added a handful of chopped cherry tomatoes that I had on hand from my CSA pick-up. They worked like a charm and added some interesting, if nontraditional, color.

Pico de Gallo with heirloom tomatoes and yellow cherry tomatoes

What to drink tonight? Beer would be an obvious choice, but I was thinking of a glass of wine. This dish is a tough one because it has a lot going on, particularly the heat from the jalapenos in both salsas. I thought about the bottle of J Vineyards Russian River Valley Pinot Gris that I had chilled in the fridge. I decided to do some research before risking it and opening this bottle I’ve been saving for a year. I was thrilled to find a reco from Snooth.com for Oregon Pinot Gris (close enough!), suggesting medium-bodied, fruity whites. A rose’ would work, too, or Torrontes from Argentina. I like Snooth’s tag line: Drink Better Wines.

Looking forward to tasting: J Vineyards 2008 Russian River Valley Pinot Gris

I stumbled upon a similar taco recipe from Food & Wine for Shrimp tacos with Pickled Red Onion Salad  in a post on Blog Your Own Wine.  I’ll have to try that at some point, too.

In the meantime, off to pull all this together into dinner. Stay tuned,  Novagirl!

Ye Grande Olde Yakitori

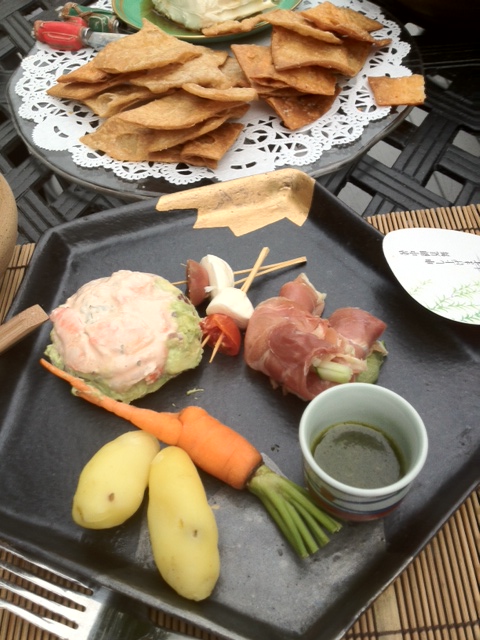
“Greetings from Nashville, Tennessee,” said my father-in-law in a recent email, attaching this tantalizing photo.

Yakitori by chef Chieko Hamado – Nashville, TN – July 2012

The colors and textures of this meal look fantastic, and I love the bamboo placemats as well. Steve, my father-in-law, enjoyed this eye-catching Yakitori at his friend Chieko Hamado’s home in Nashville, TN. I researched Yakitori and learned from Wikipedia that it can refer to any skewered foods. Here are some details about the meal as told by Steve, my father-in-law and roaming gourmand.

Organic home grown carrots, cold new potatoes, shrimp and mashed avocado with onion and cream cheese, couscous and tomato and onion salad, prosciutto wrapped around cucumber, miniature tomato mozzarella.  Korean style BBQ beef and Yakatori chicken.  Garlic and olive oil  sauce from ground green leaf like basil called beef steak leaf.

Take me to Tennessee, I say.  Steve, please chime in on anything I missed.

Pasta al Pesto Genovese per il Pranzo di Domenica, or Sunday lunch Italian-Style

A few days late, but wanted to share details on Sunday’s yummy lunch, prepared primarily from Saturday’s CSA pick-up. We made a delicious, traditional Pasta al Pesto Genovese. The traditional version is prepared with boiled potatoes and green beans in addition to your standard pesto. You use the same boiled water for the veggies as the pasta, giving the pasta another layer of flavor. I was inspired by a few things:

  • String beans, potatoes and garlic in our CSA stash
  • Basil plant in my garden growing like wild. Growing like wild for Western Massachusetts, not the Mediterranean, meaning it was about 6″ high, bright green and bushy, and in want of a haircut
  • My upcoming trip to the Italian seaside (please don’t hate me)

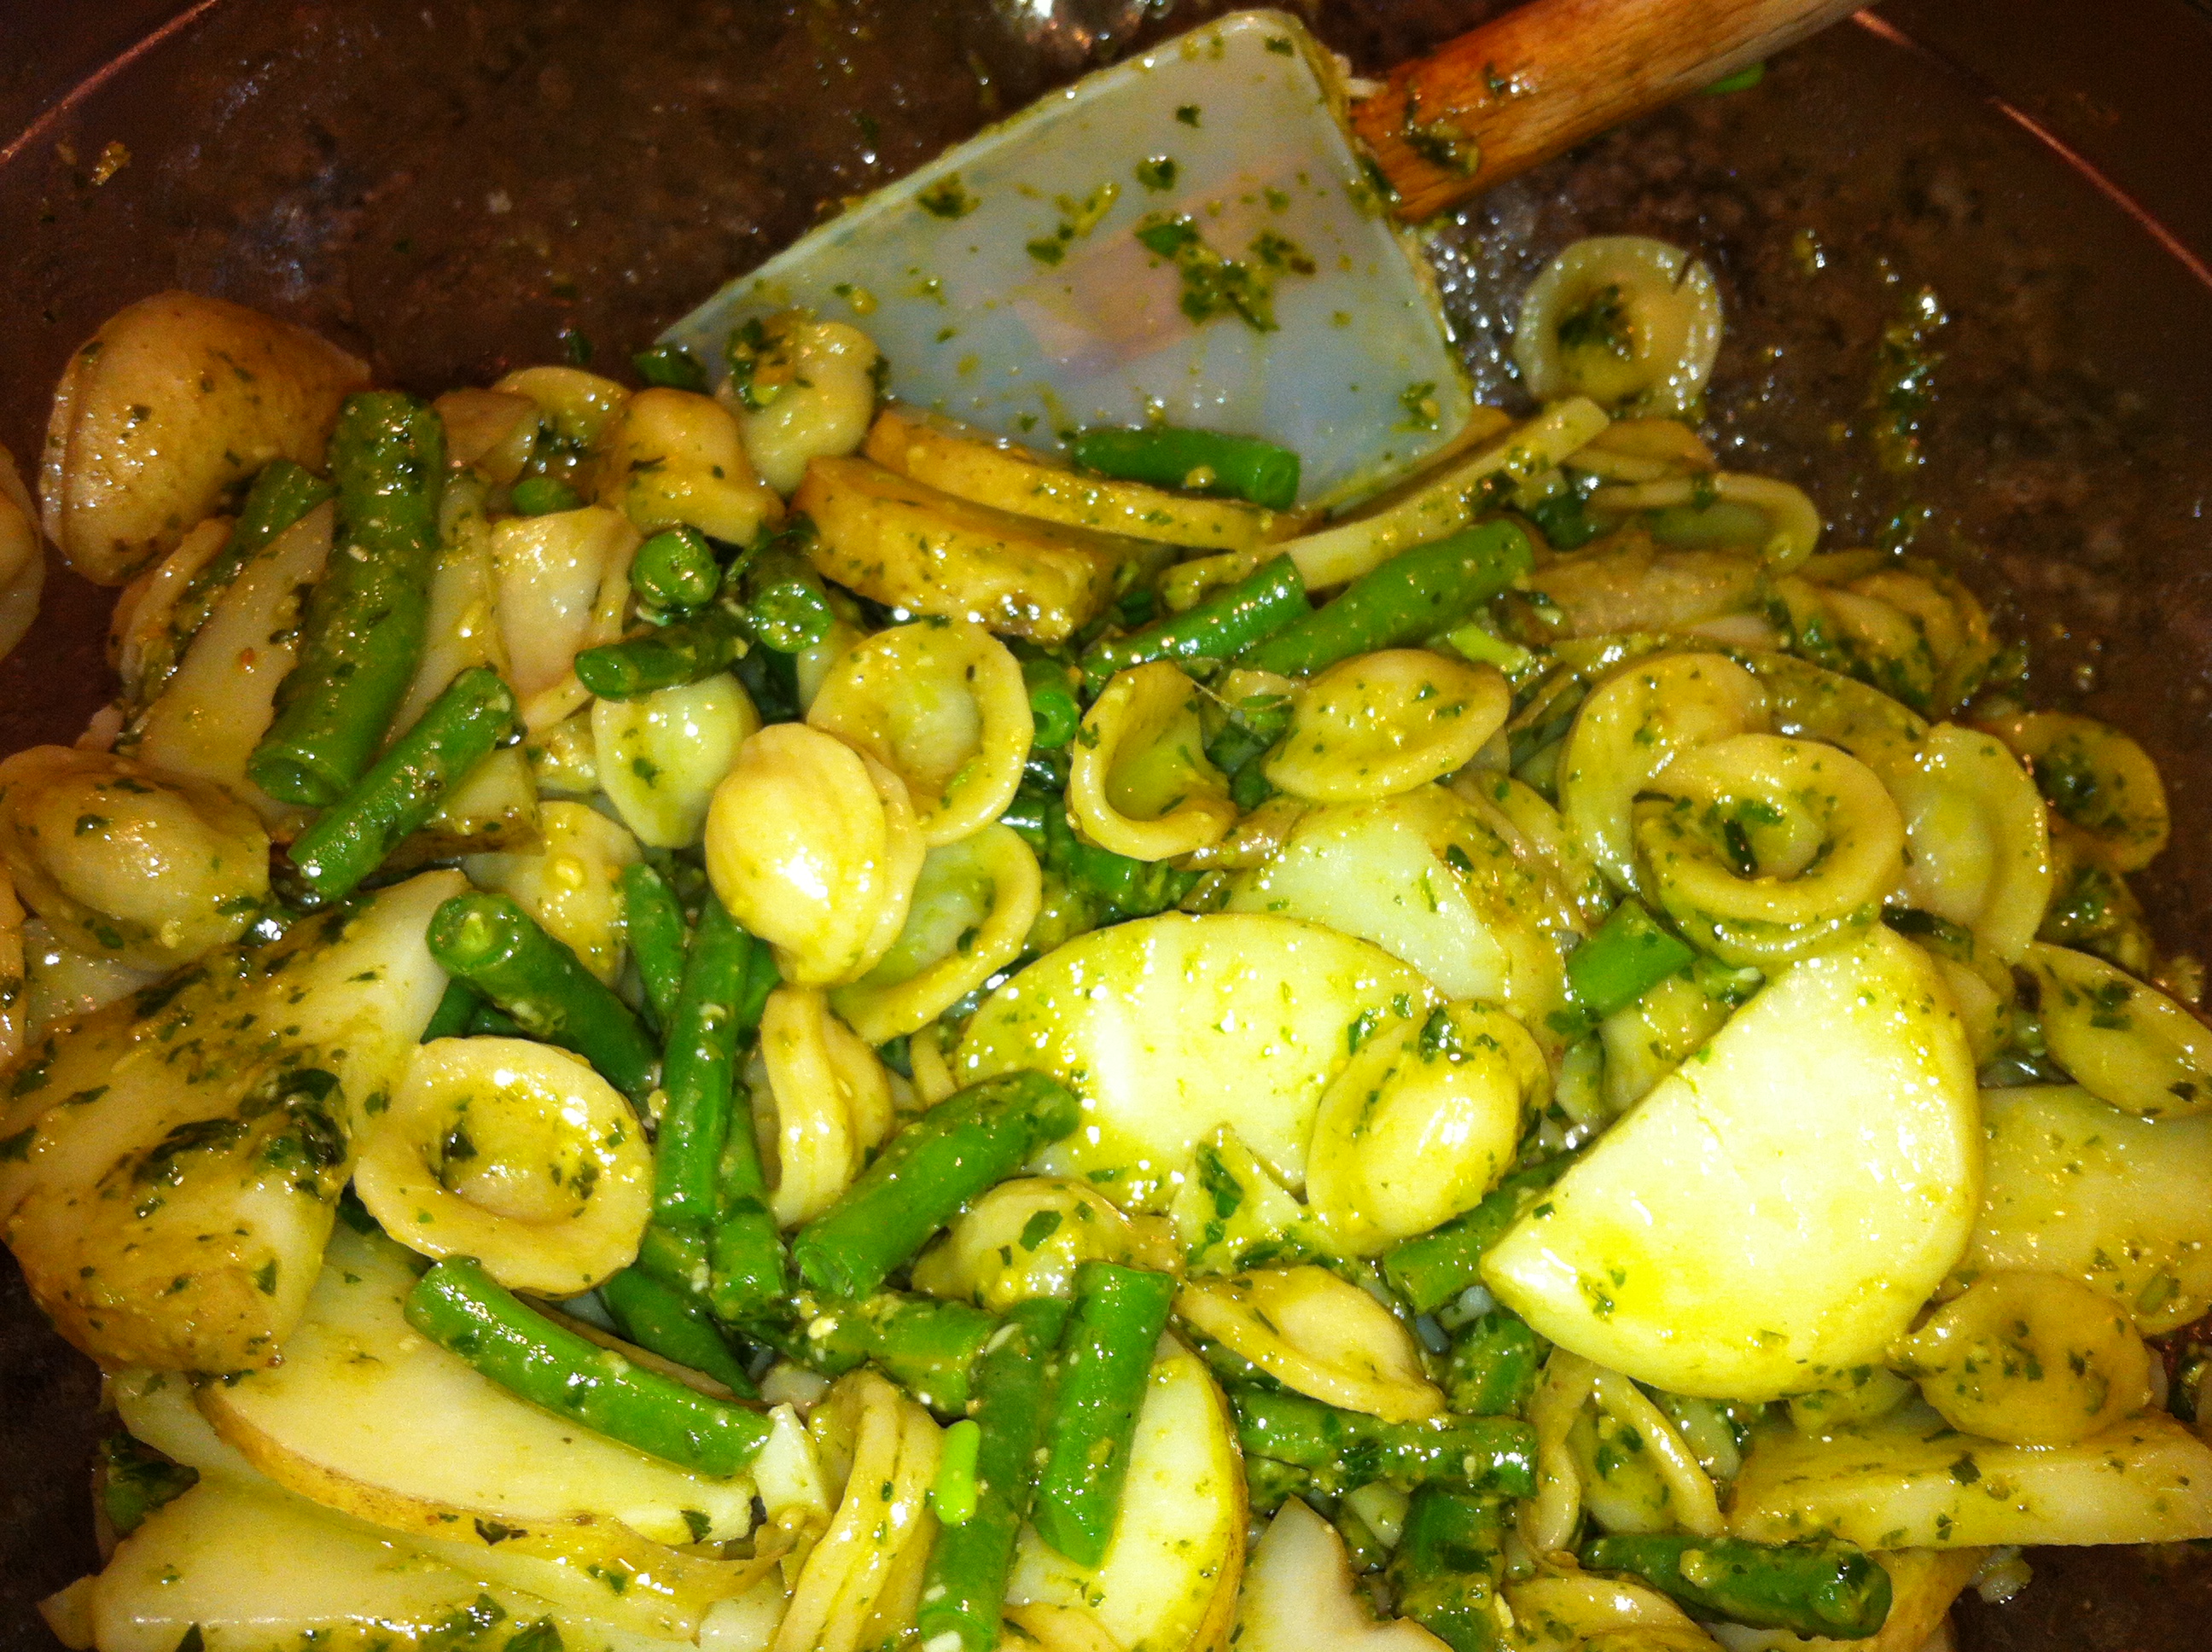
I’ve only had this dish in restaurants or at someone’s home and never prepared it on my own, so I was excited to give it a whirl. Here’s the final product:

Pasta al Pesto Genovese with local green beans, potatoes and pesto

It did not disappoint. Hubs and I loved it. We used orecchiette pasta (shaped like little ears) because  it would be easier for little Sam to eat than spaghetti, which would be the traditional pasta to use. Ironically, omnivorous Sam wanted nothing to do with the Pasta al Pesto lovingly prepared by his parents. Normally a big fan of pasta, I guess he’s just not that into pesto. His loss. Here’s the recipe for 4 servings

Pasta al Pesto Genovese

  • 2 medium new potatoes, sliced 1/4″ thick
  • 1/4 – 1/2 pound string beans, trimmed and cut into 2″ pieces
  • 1/2 pound spaghetti (or other long, thin pasta)
  • Pesto. Here is a basic recipe to follow (1/2 a batch should do, and you can keep the rest of the batch for another use)
  • 2-3 tablespoons reserved cooking liquid from the pasta

Instructions:

  • Fill a large pot halfway with water and bring to a boil. Salt generously and add potatoes. Cook until tender. Remove from pot with slotted spoon and set aside Some recipes instruct you to cook the potatoes whole, then slice them after they’ve been boiled. I think it is easier to start with the potatoes sliced so you don’t have to wait for them to cool later
  • Add string beans to the same pot of water. Cook until tender (not overcooked), and remove with slotted spoon and set aside.
  • Add pasta to water and cook according to directions on package. Test for doneness and reserve a few tablespoons of the cooking water when you drain the pasta.
  • Toss the pasta in a serving bowl with the pesto, potatoes, string beans and cooking liquid (as needed). Serve immediately.

Back to Project Blueberry: The deets

As I mentioned in an earlier post, Hubs and I have a 3 step plan for growing blueberries that we will implement this year for the 2013 season. 2013 will be our 5th season and 5th attempt at growing blueberries. The irony is that the Highbush Blueberry is native to our area and should be a piece of cake, right? Not so fast…

  1. Select sunny spot for blueberry patch. Seems obvious, I know, but we made a common mistake in year 1 of our new home and garden. We didn’t observe the amount of light in different areas of the garden, and how it changes during the season. We were also optimistic when the plant tags read ‘partial sun to full sun.’ So, after 2 different garden locations, we are planning for a spot with full sun and maximum sun exposure.
  2. Use optimal soil and measure pH. Our first year we planted the blueberries in the as-is reddish clay soil. We didn’t enrich it with compost or peat moss, or anything, and we didn’t measure the pH of the soil, which we deemed too fussy as blueberries are natives. Well, we should have and will do this next year.
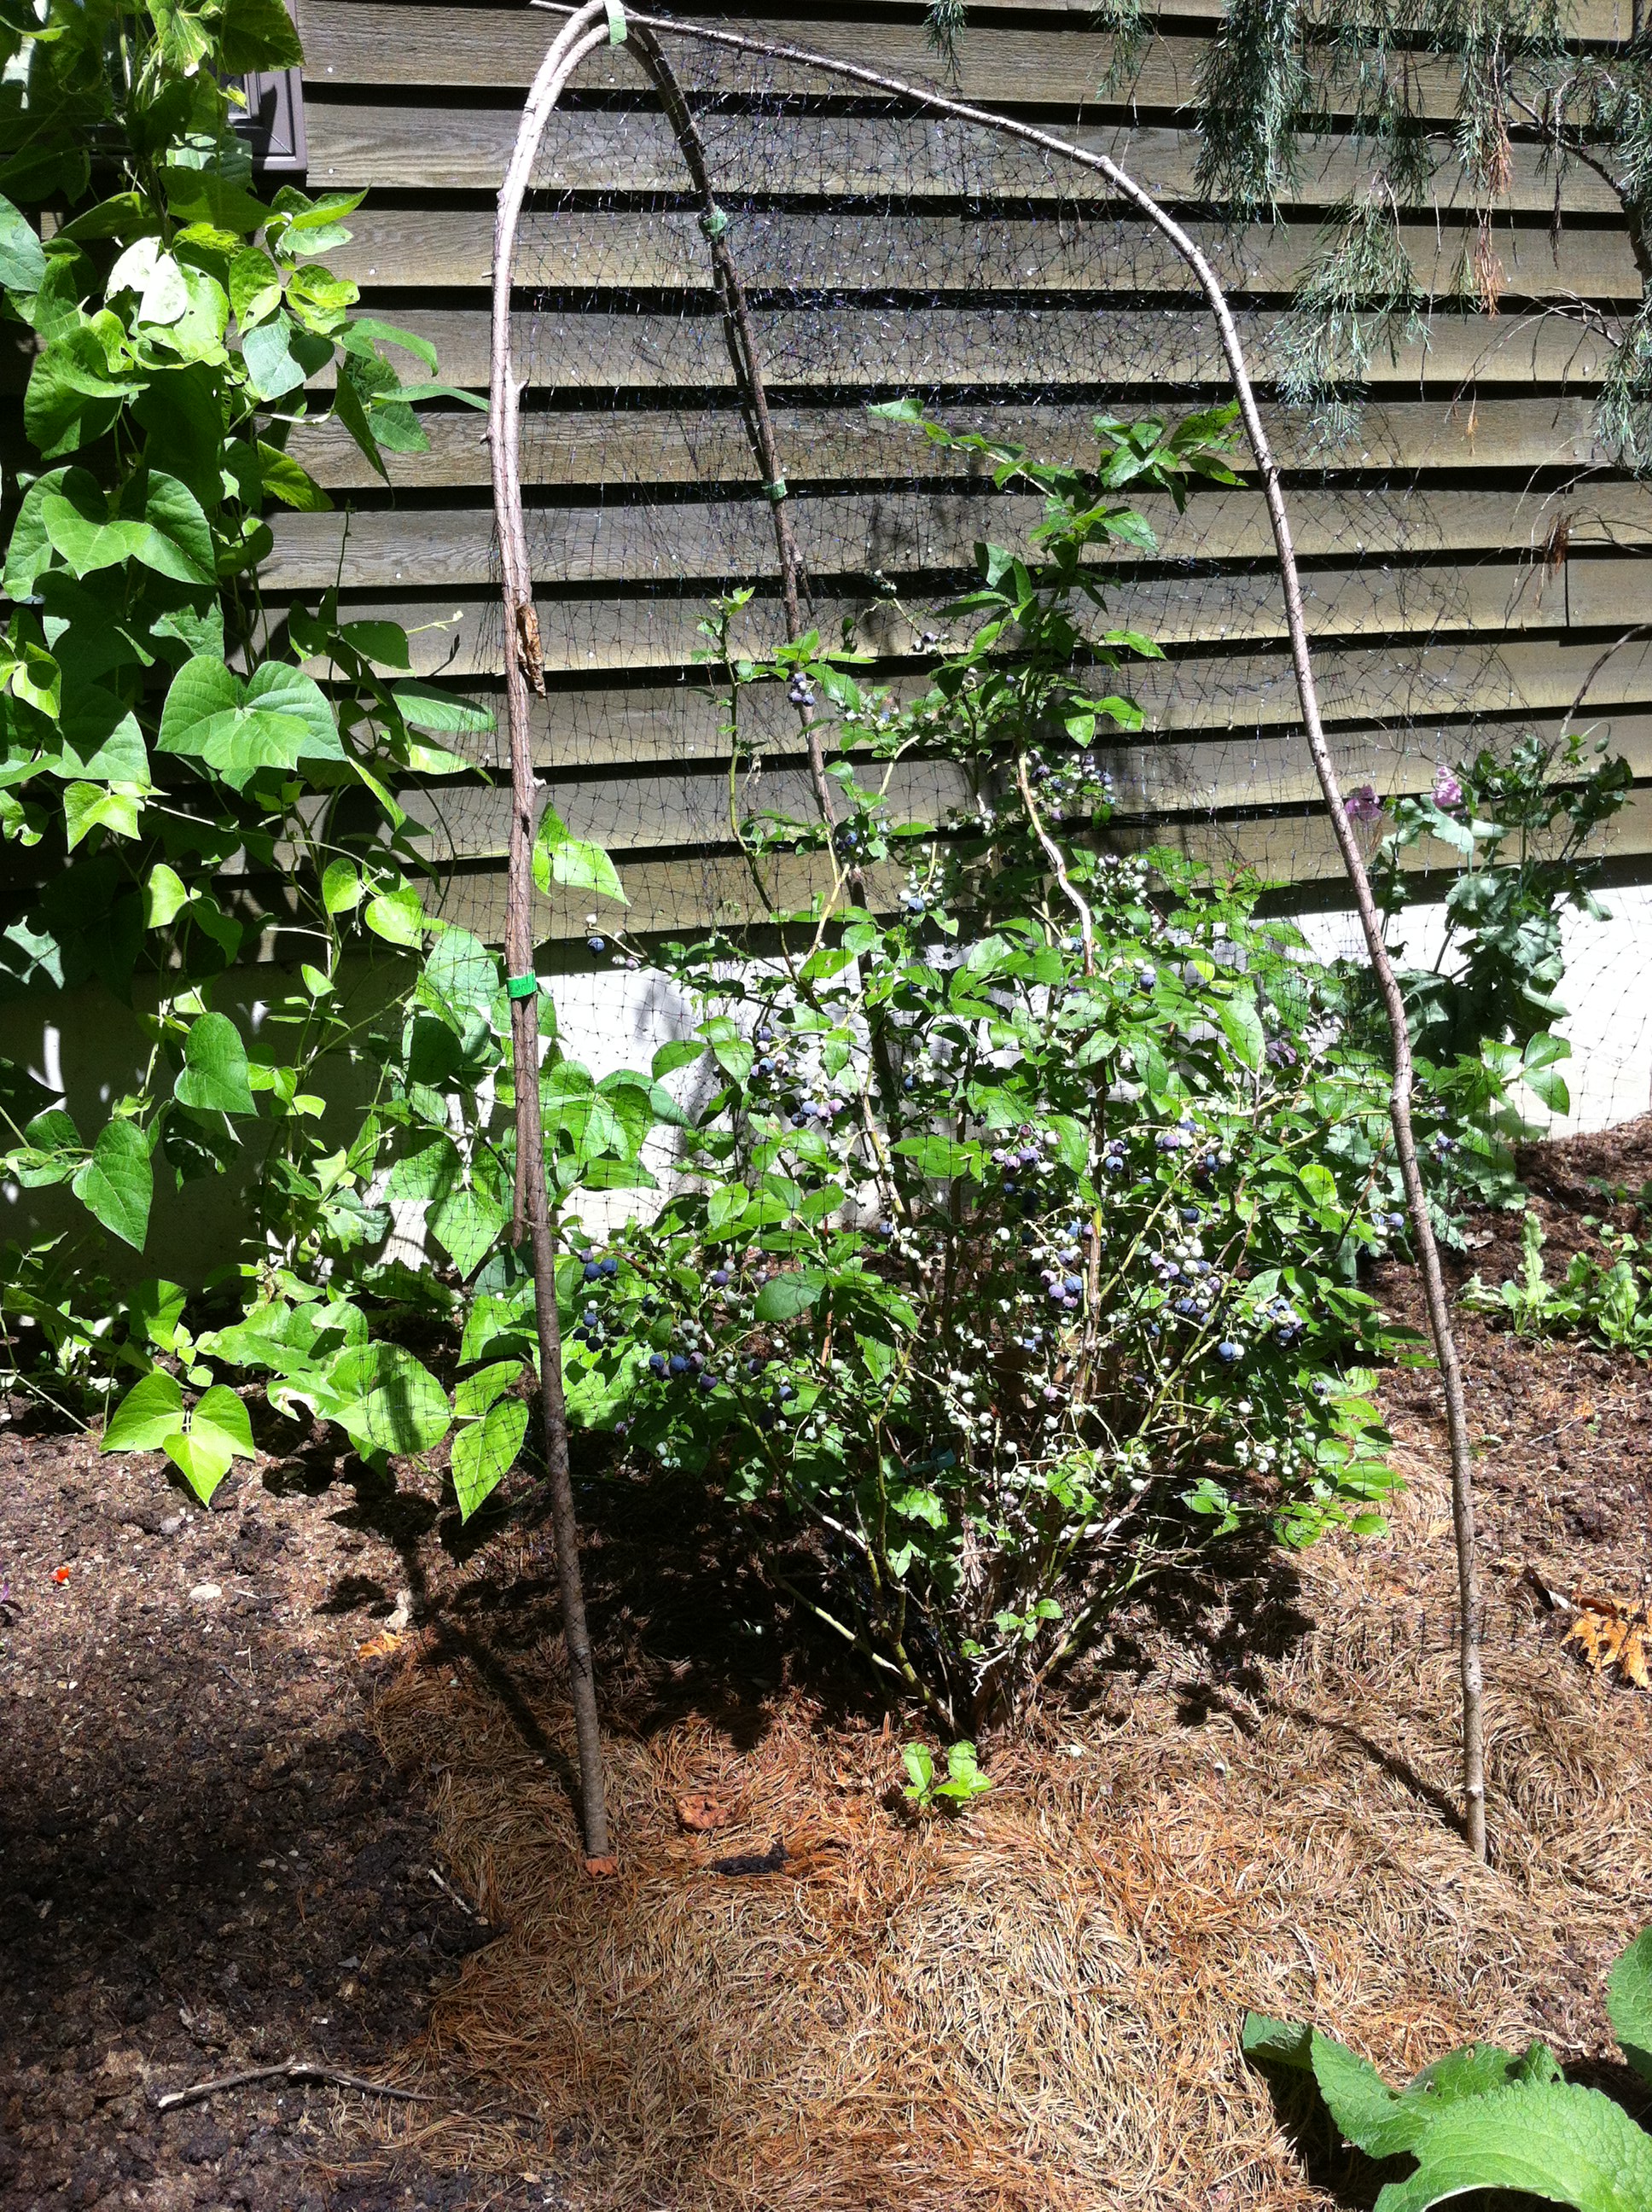
  3. Protect your investment. We will use netting and make it look pretty like our neighbors (see picture below). This year’s blueberry bushes were planted in a somewhat sunny spot in decent soil, but left unprotected.

Additional tips and suggestions welcome…

Protect your investment: Install blueberry netting to protect them from predators

Go USA! Sunday Night Dinner featuring Red, White and Blue

Hubs and I had a simple summer dinner tonight featuring our locally sourced goodies.

  • Early Corn Chowder served cold to start  the meal (left over from last night’s dinner). Tastes even better on day 2T
  • Arugula salad with Shaved Parmiggiano and Cherry Tomatoes, dressed in balsamic vinaigrette. The arugula was a treat from our friend Steve’s farm, Berkshire Bounty Farm, tomatoes from yesterday’s CSA pick-up
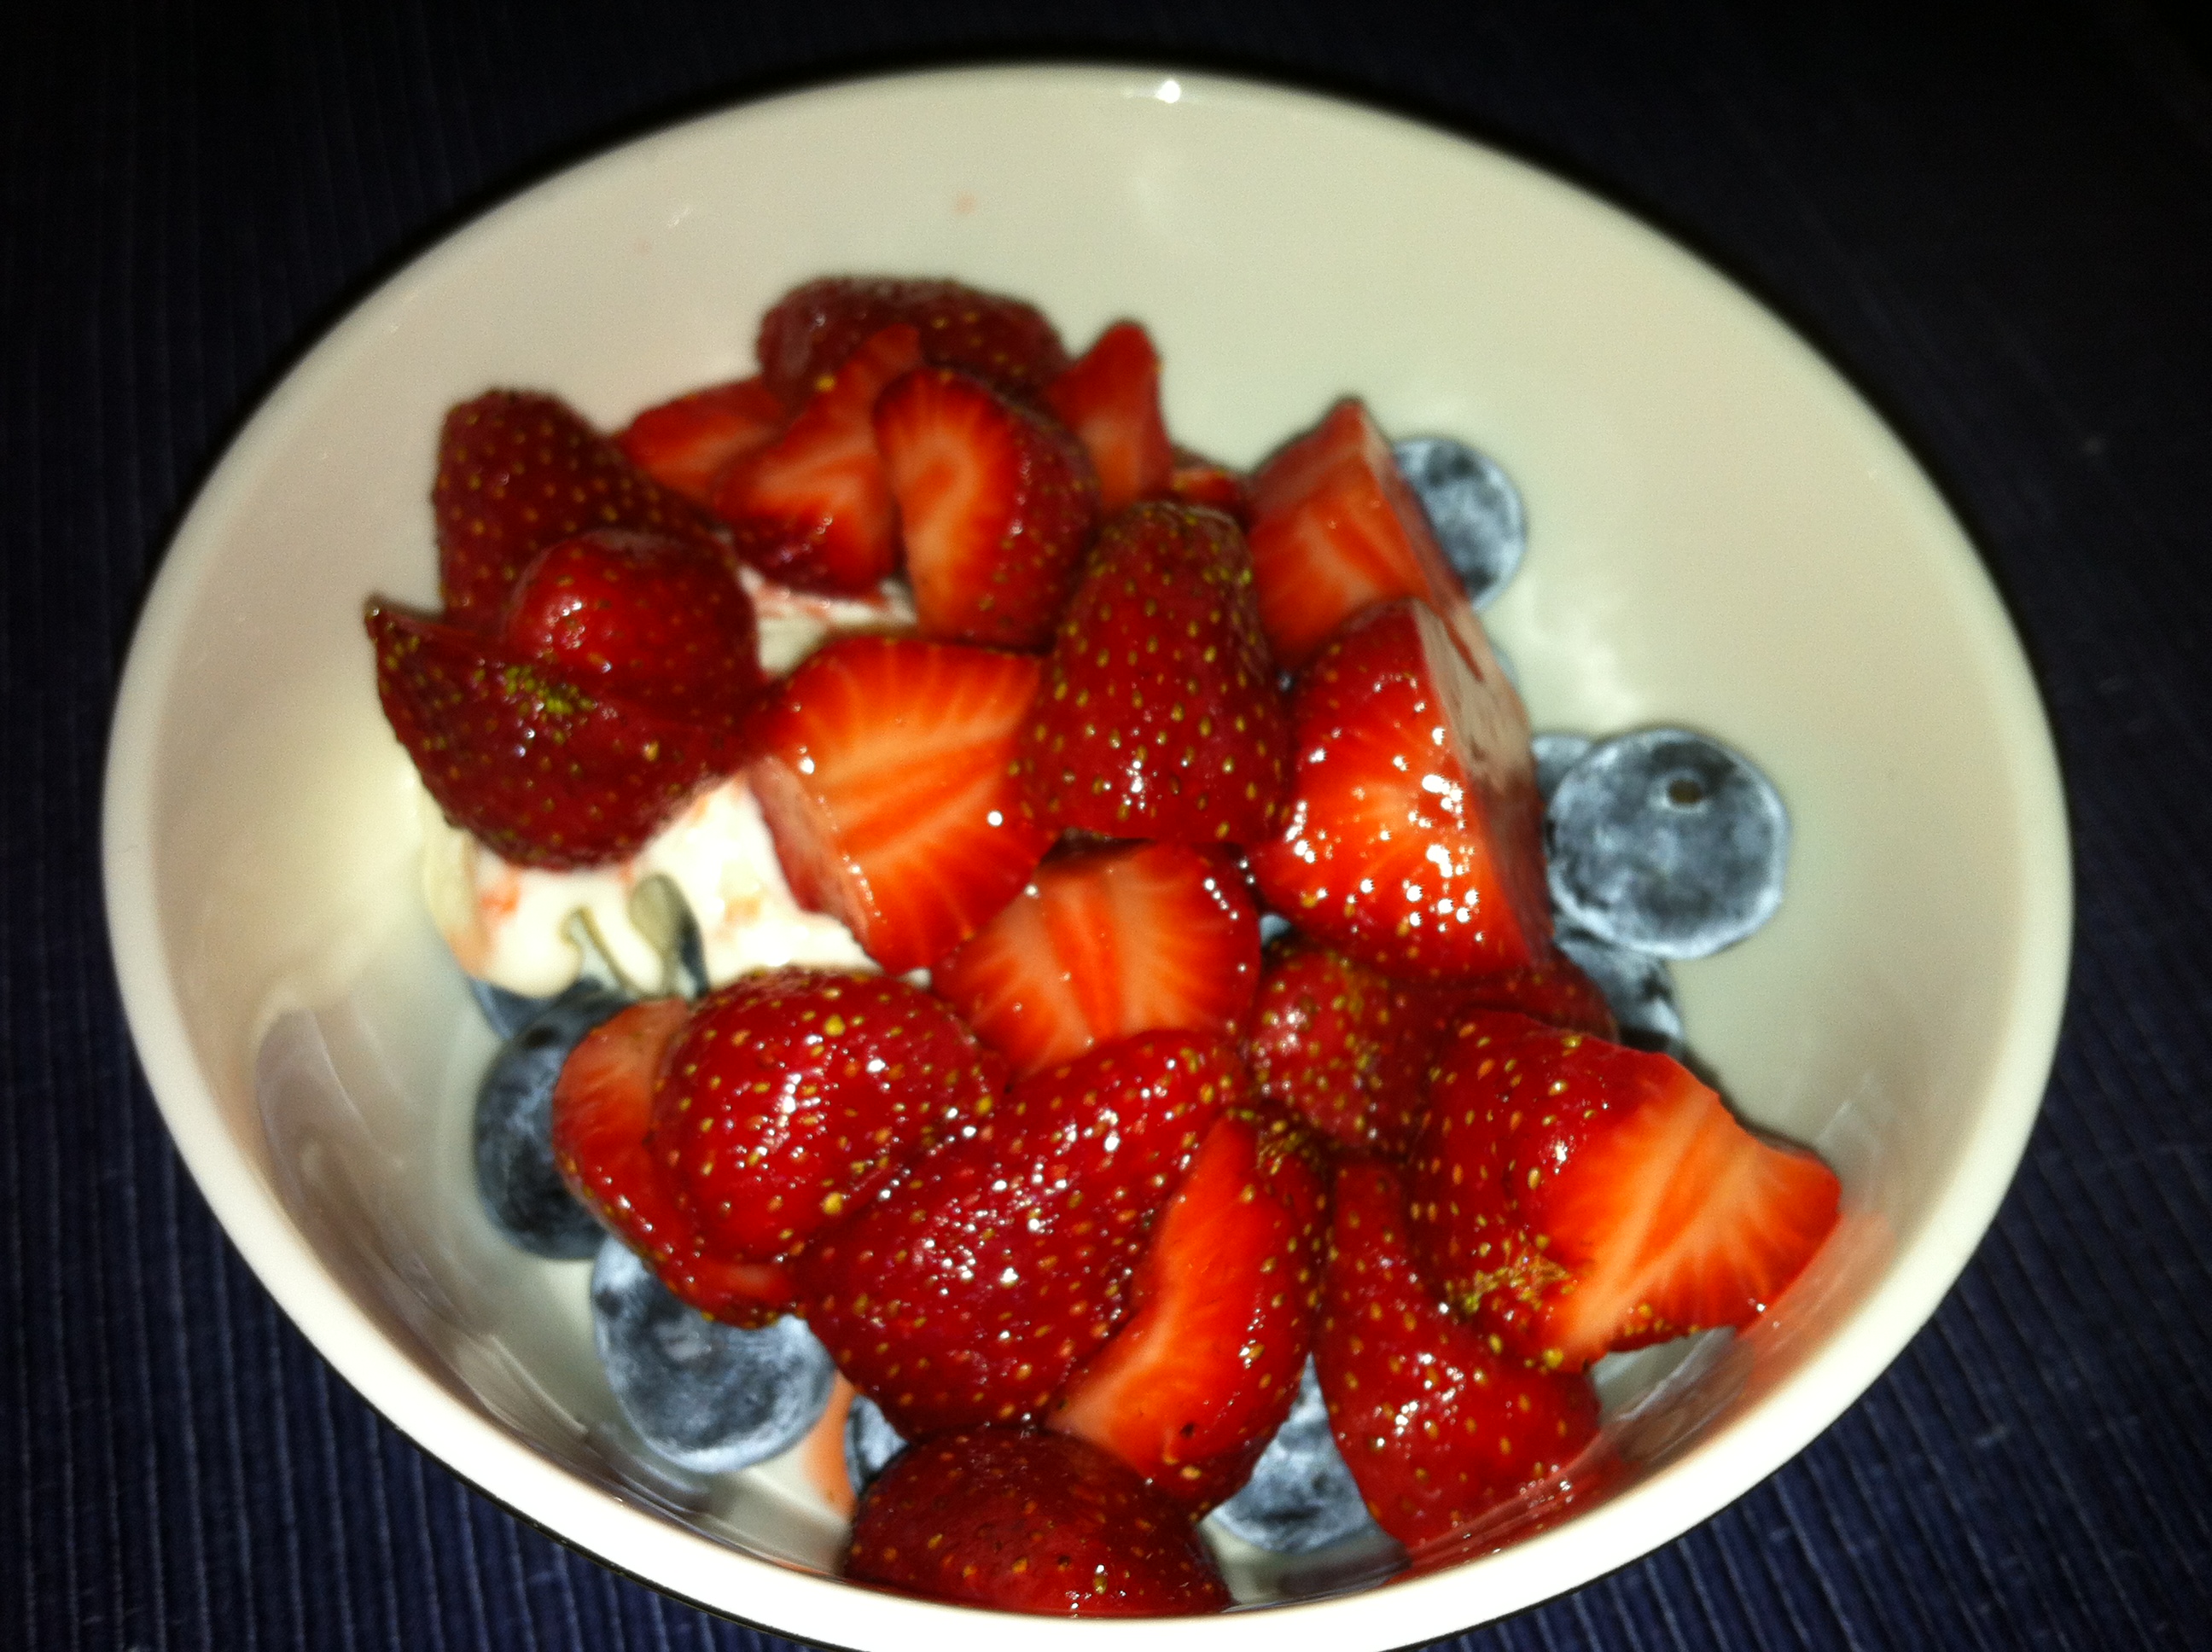
  • Finished off with Macerated Strawberries and Blueberries, pictured below. The strawberries were grown in our friend Nash’s greenhouse and the blueberries were local, though not certified organic. Add a scoop of vanilla ice cream and it’s heaven
  • Red, White and Blue: strawberries, blueberries and vanilla ice cream

    GO USA!!!

Grilled Trout with Tarragon

This grilled marinated trout recipe is so tasty and yummy, even carnivores find it irresistible. I found it in this handy cookbook that my in-laws Steve and Dorothy gave us a few years ago during a summer visit. It’s called the Big Book of Barbecuing and Grilling. There are some easy and worth-repeating recipe in this book by Hilaire Walden, and the spiral-bound format is also handy. The one critique I would give it is that the author feels compelled to present recipes about grilling anything and everything (as the title would suggest), but grilling is not the most convenient or suitable method for grilling anything and everything.

Big Book of Barbecuing and

GrillingTrout with Tarragon

  • 2 whole trout, about 12 oz each
  • 6 tbsp olive oil
  • 1 1/2 tbsp lemon juice
  • 2 shallots, minced
  • 1 garlic clove, minced
  • 1 tbsp fresh tarragon, chopped
  • 1 tbsp fresh flat leaf parsley, chopped
  • 1 tsp dijon mustard
  • 1 tsp soy sauce

Instructions:

  1. Make marinade by mixing all ingredients except trout together in bowl. Let sit for at least 30 min so that flavors can combine
  2. Rinse and pat dry the trout. Make 3 slashes on exterior of each side of the trout using the sharp point of a paring knife. Brush or rub the marinade liberally on the inside and outside of the trout, also into the slits. Place in a non-reactive dish, cover and allow to marinade for 1-2 hours.
  3. Prepare grill and make sure it is well oiled so fish will not stick. You can grill the trout directly on the grill, or in an oiled hinged basket [we grill directly on charcoal grill]. Wipe off excess marinade from fish and place on grill once very hot. Grill for about 6 min on each side, testing for doneness with a thin knife (should meet no resistance)
  4. Remove from grill and transfer to plates. Serve with lemon wedge and extra plate for guests to remove head and tail from fish.

We started Saturday night dinner with my Early Corn Chowder, followed by the Trout and mustard-y coleslaw on the side. The Chowder turned out great, too. And it tastes even better on day 2