Tomatillo Madness

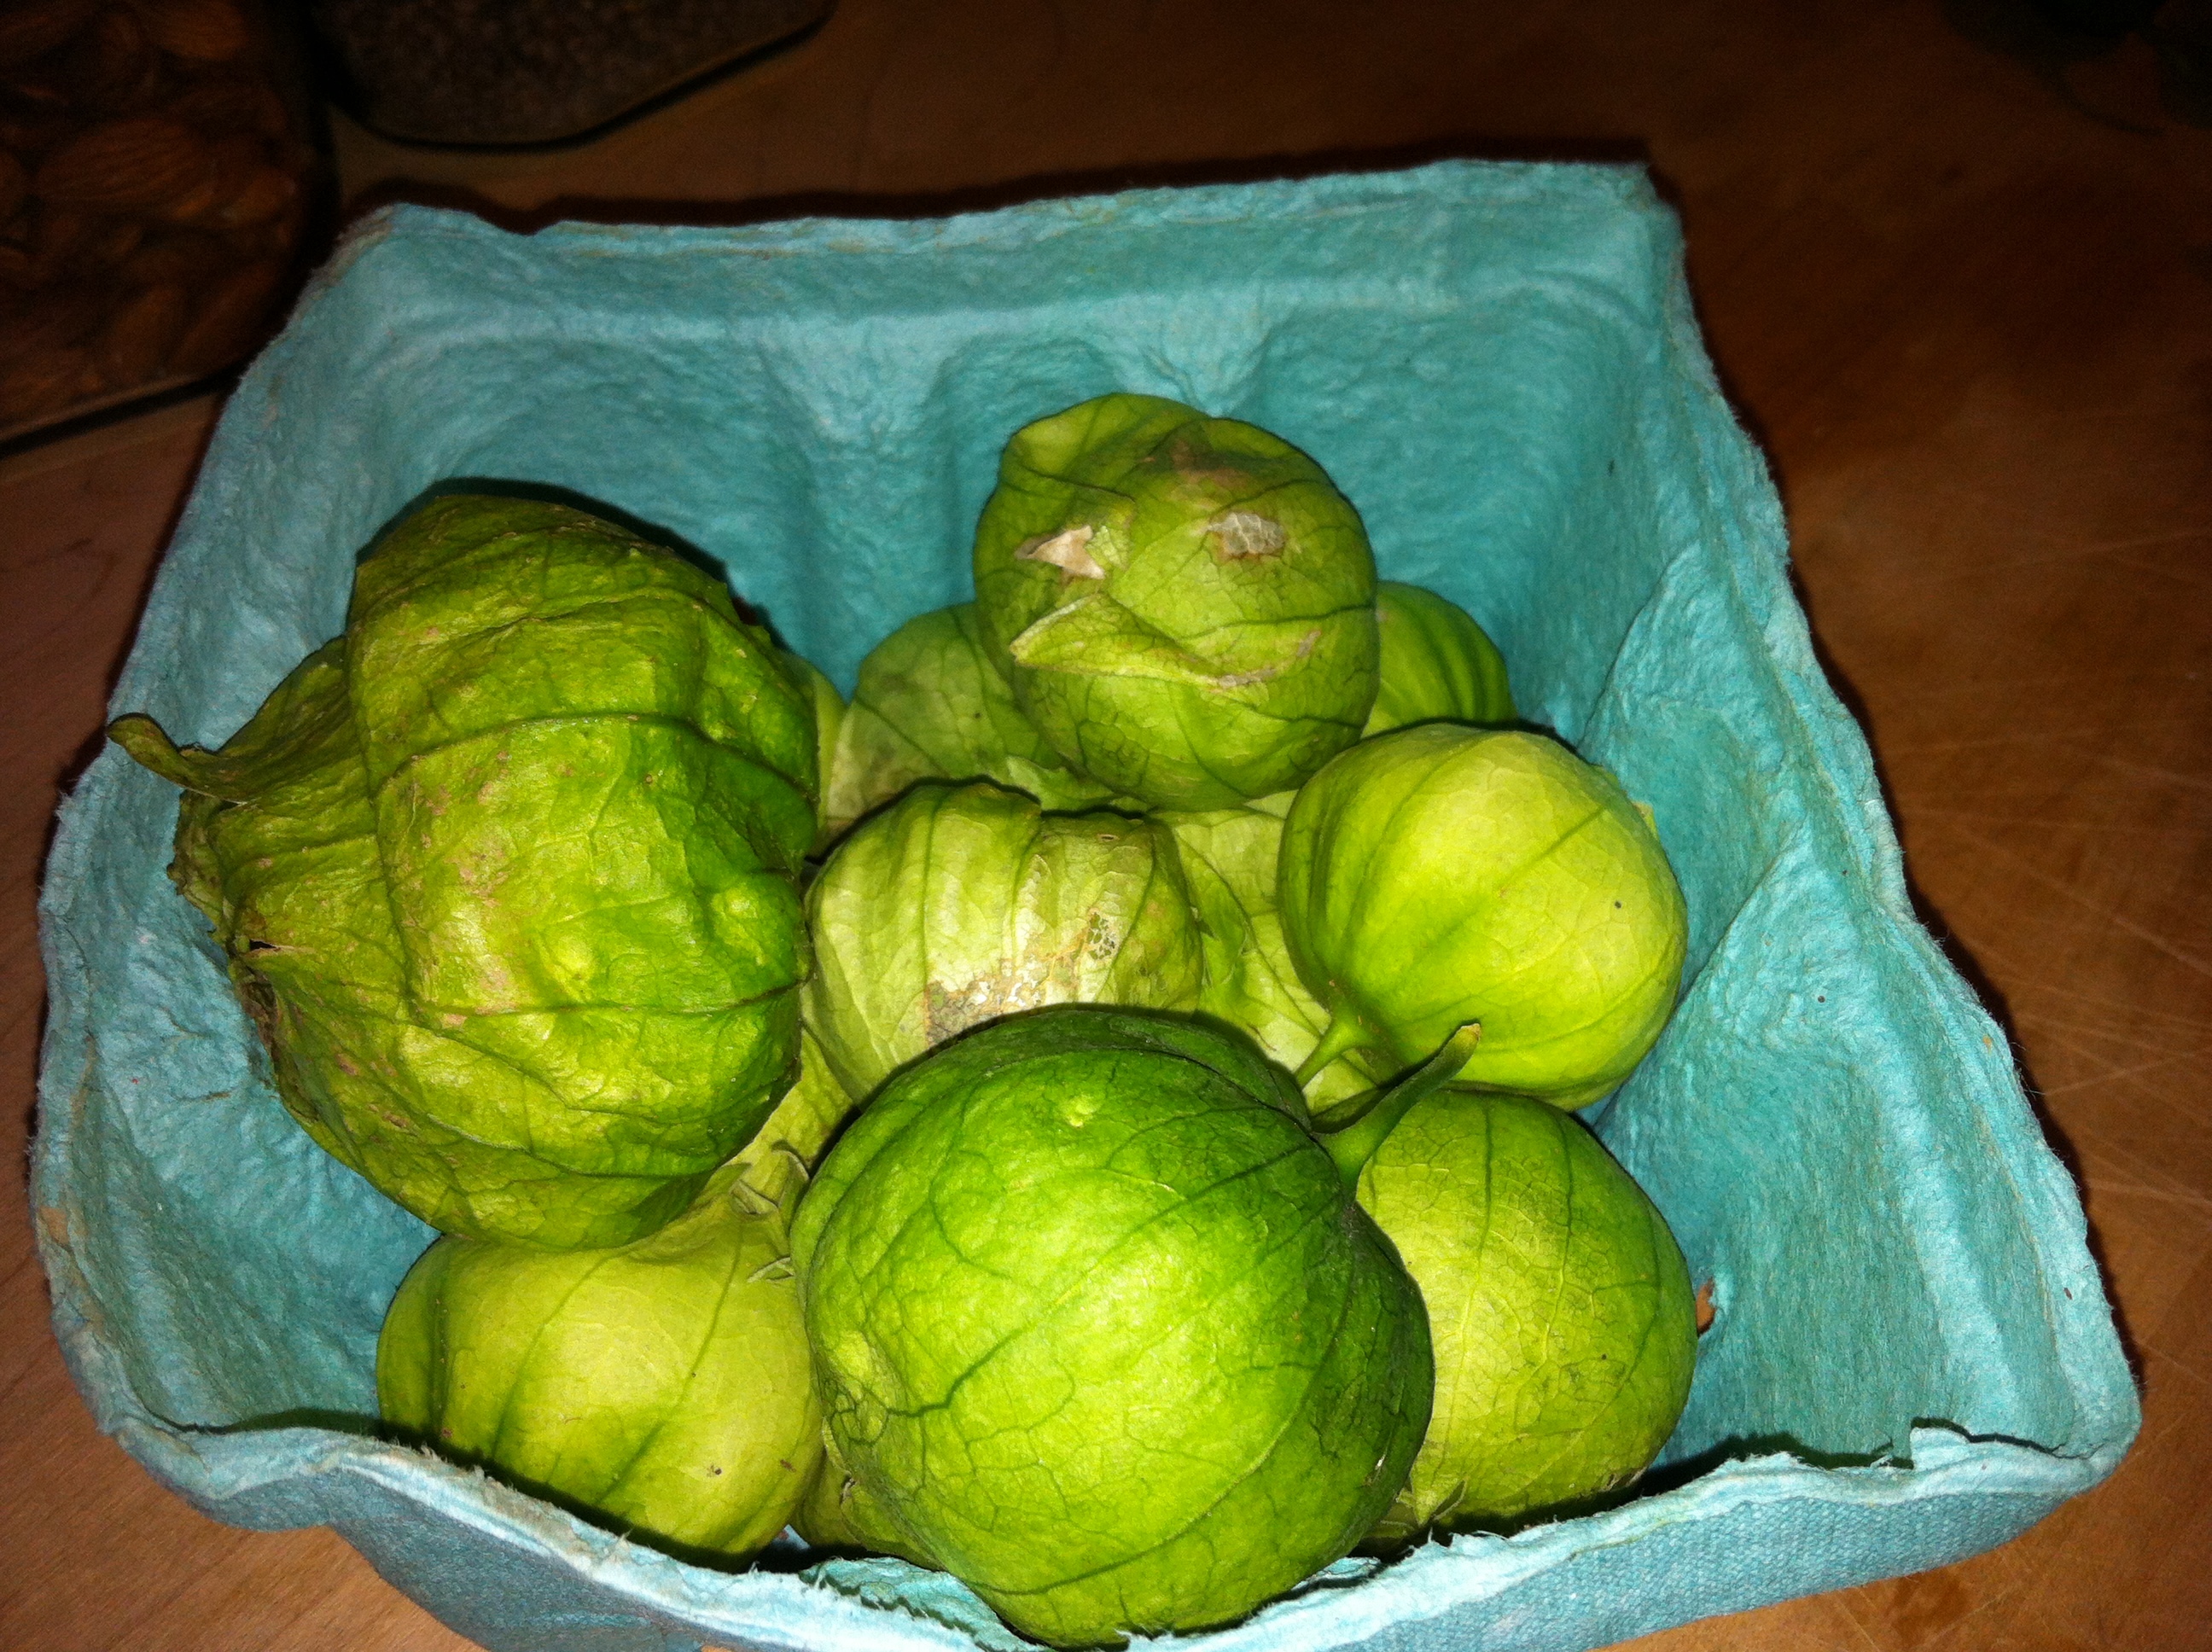
So what happened to the tomatillos? As many folks suggested, I prepared salsa verde, and was pleasantly surprised at how easy it was and downright tasty. No fear factor anymore, my little green friends. The technique I had seen down in Mexico was more complex, using a comal, and probably more authentic, too, but the end result of this recipe was delicious. I boiled the whole tomatillos, then used the hand blender to blend them with white onion, cilantro and jalapeno. No need to marginalize this because of its simplicity – it definitely worked.

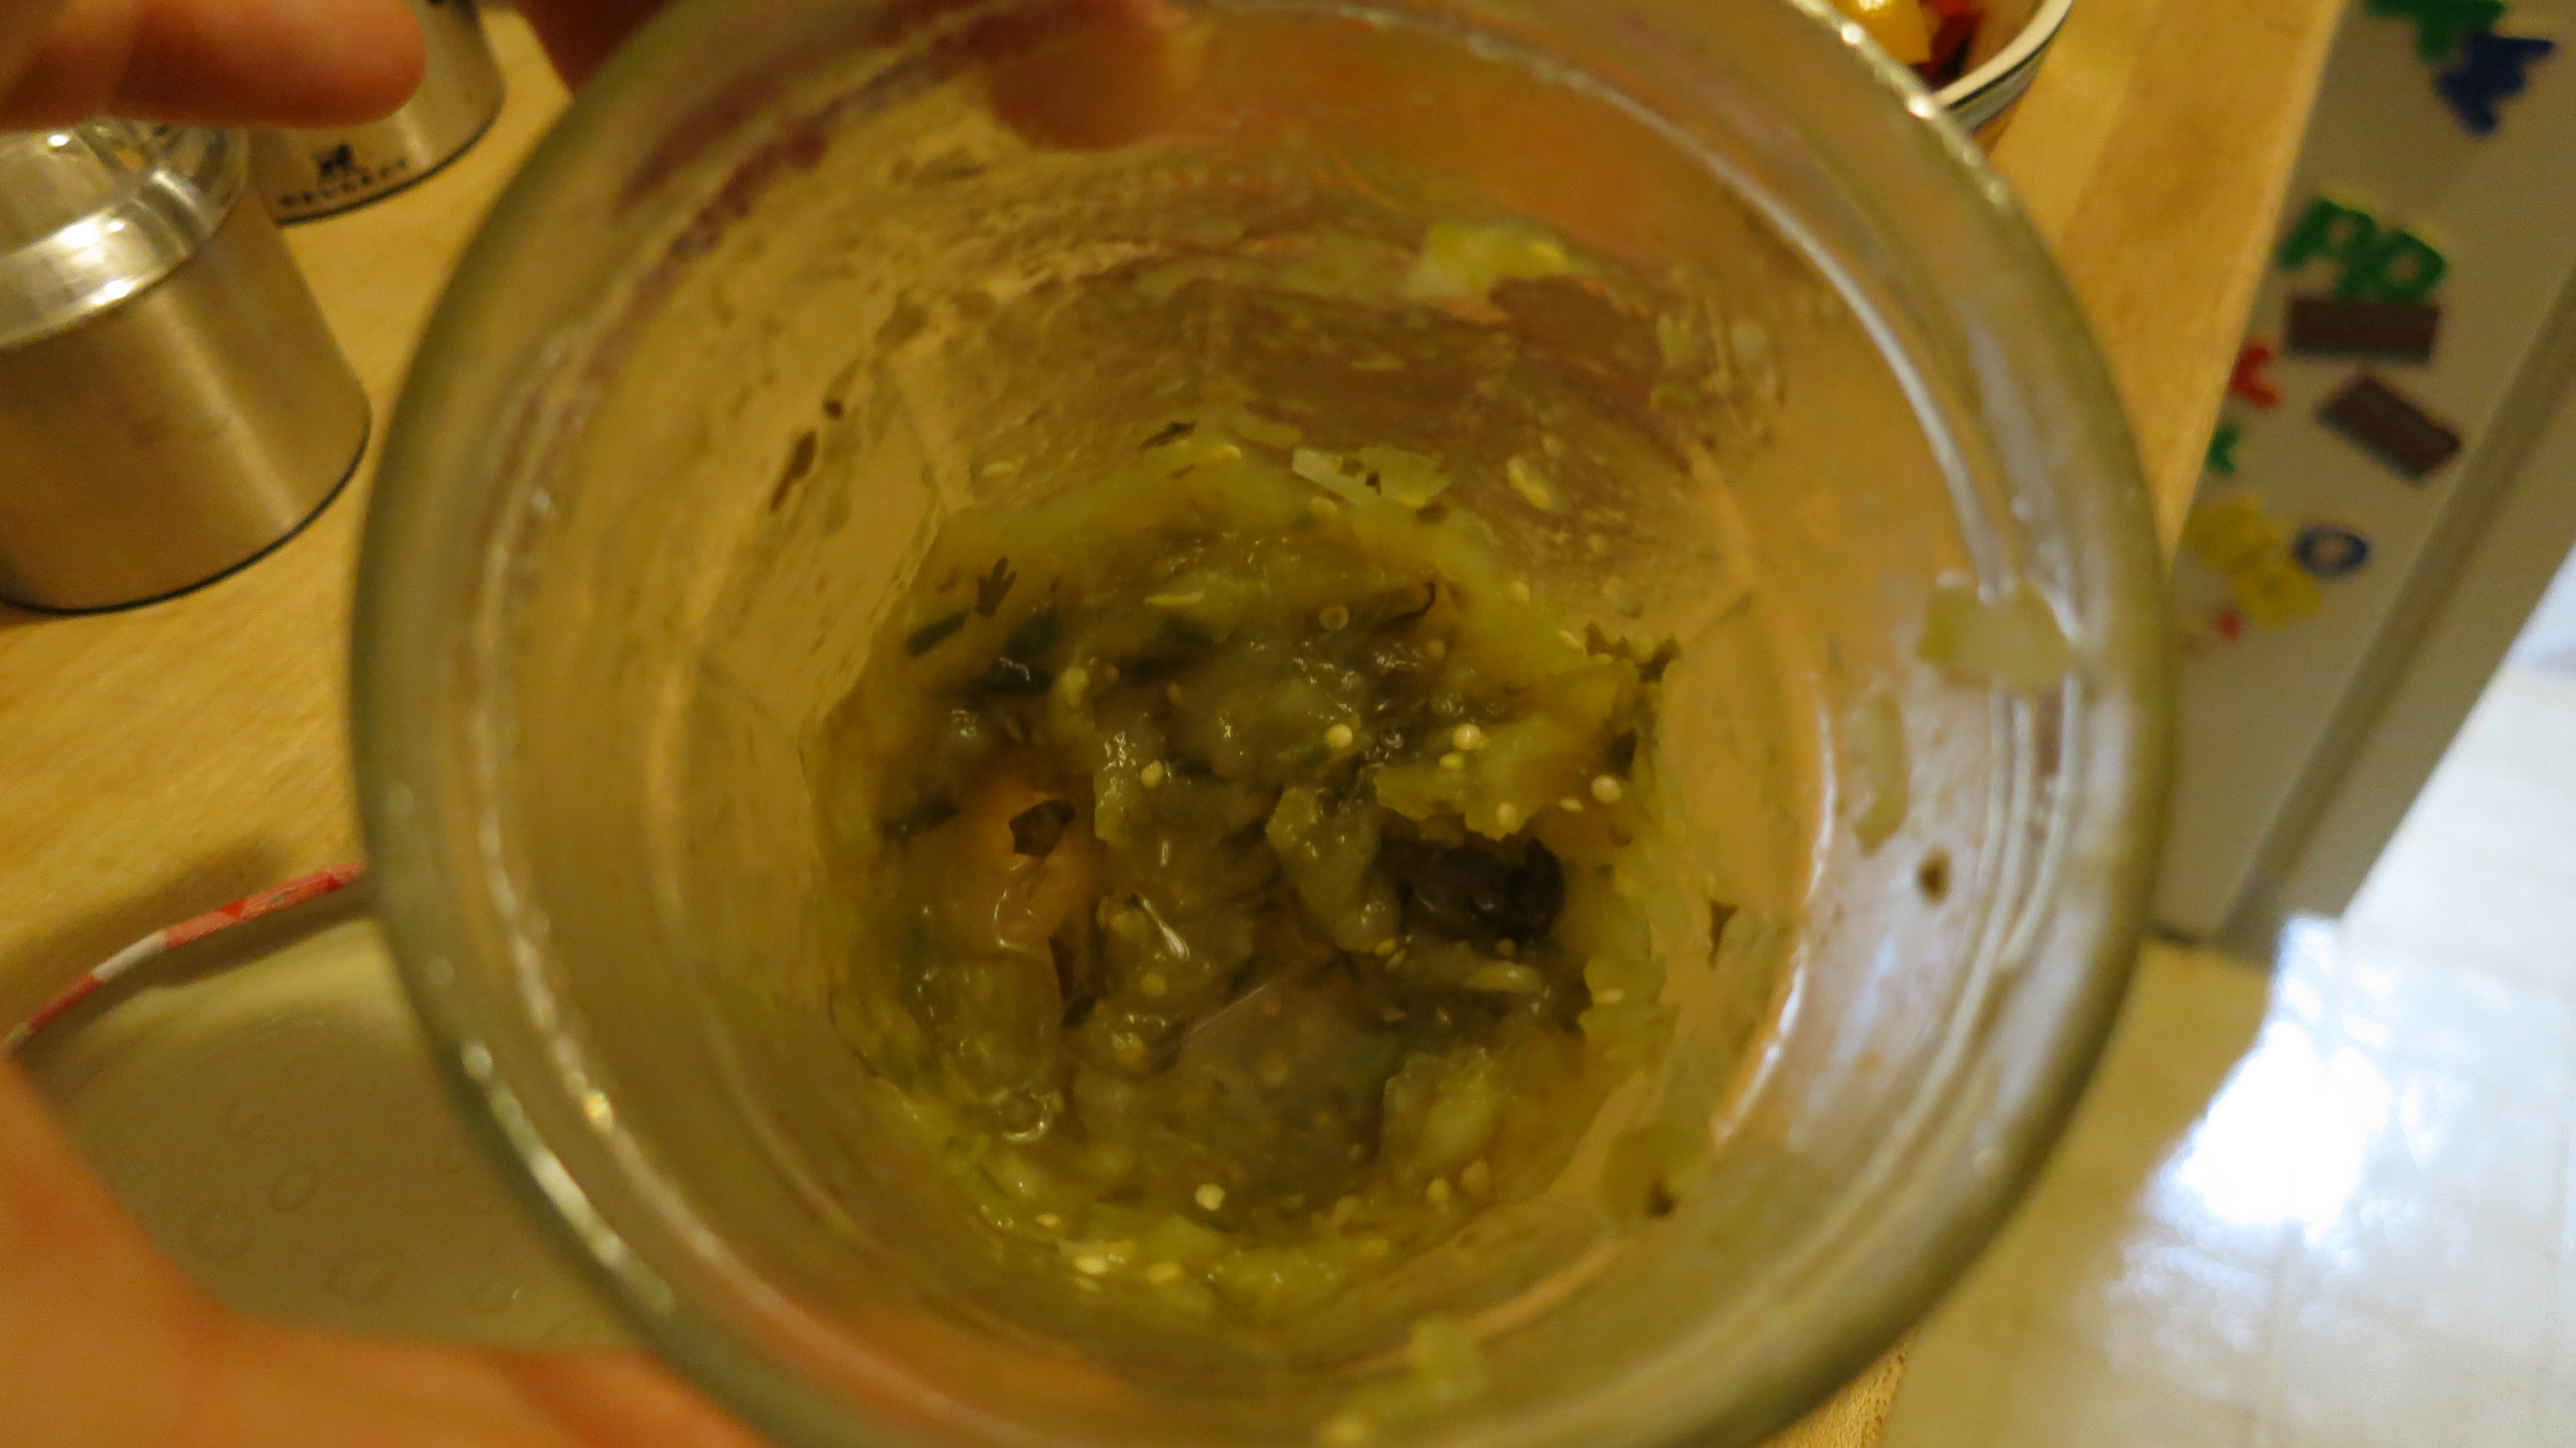
Looking to get a head start on things, I made the salsa verde Monday night in prep for Wednesday’s night menu inspired by Novagirl’s comment on shrimp tacos. Sad to say, the salsa verde has virtually disappeared by Wednesday afternoon. Uh-oh. I foolishly gave away 1/2 the batch thinking that it would never be consumed, but underestimated the addictive nature of salsa verde and tortilla chips.

Looking deeply in a glass jar: Salsa Verde (practically) all gone

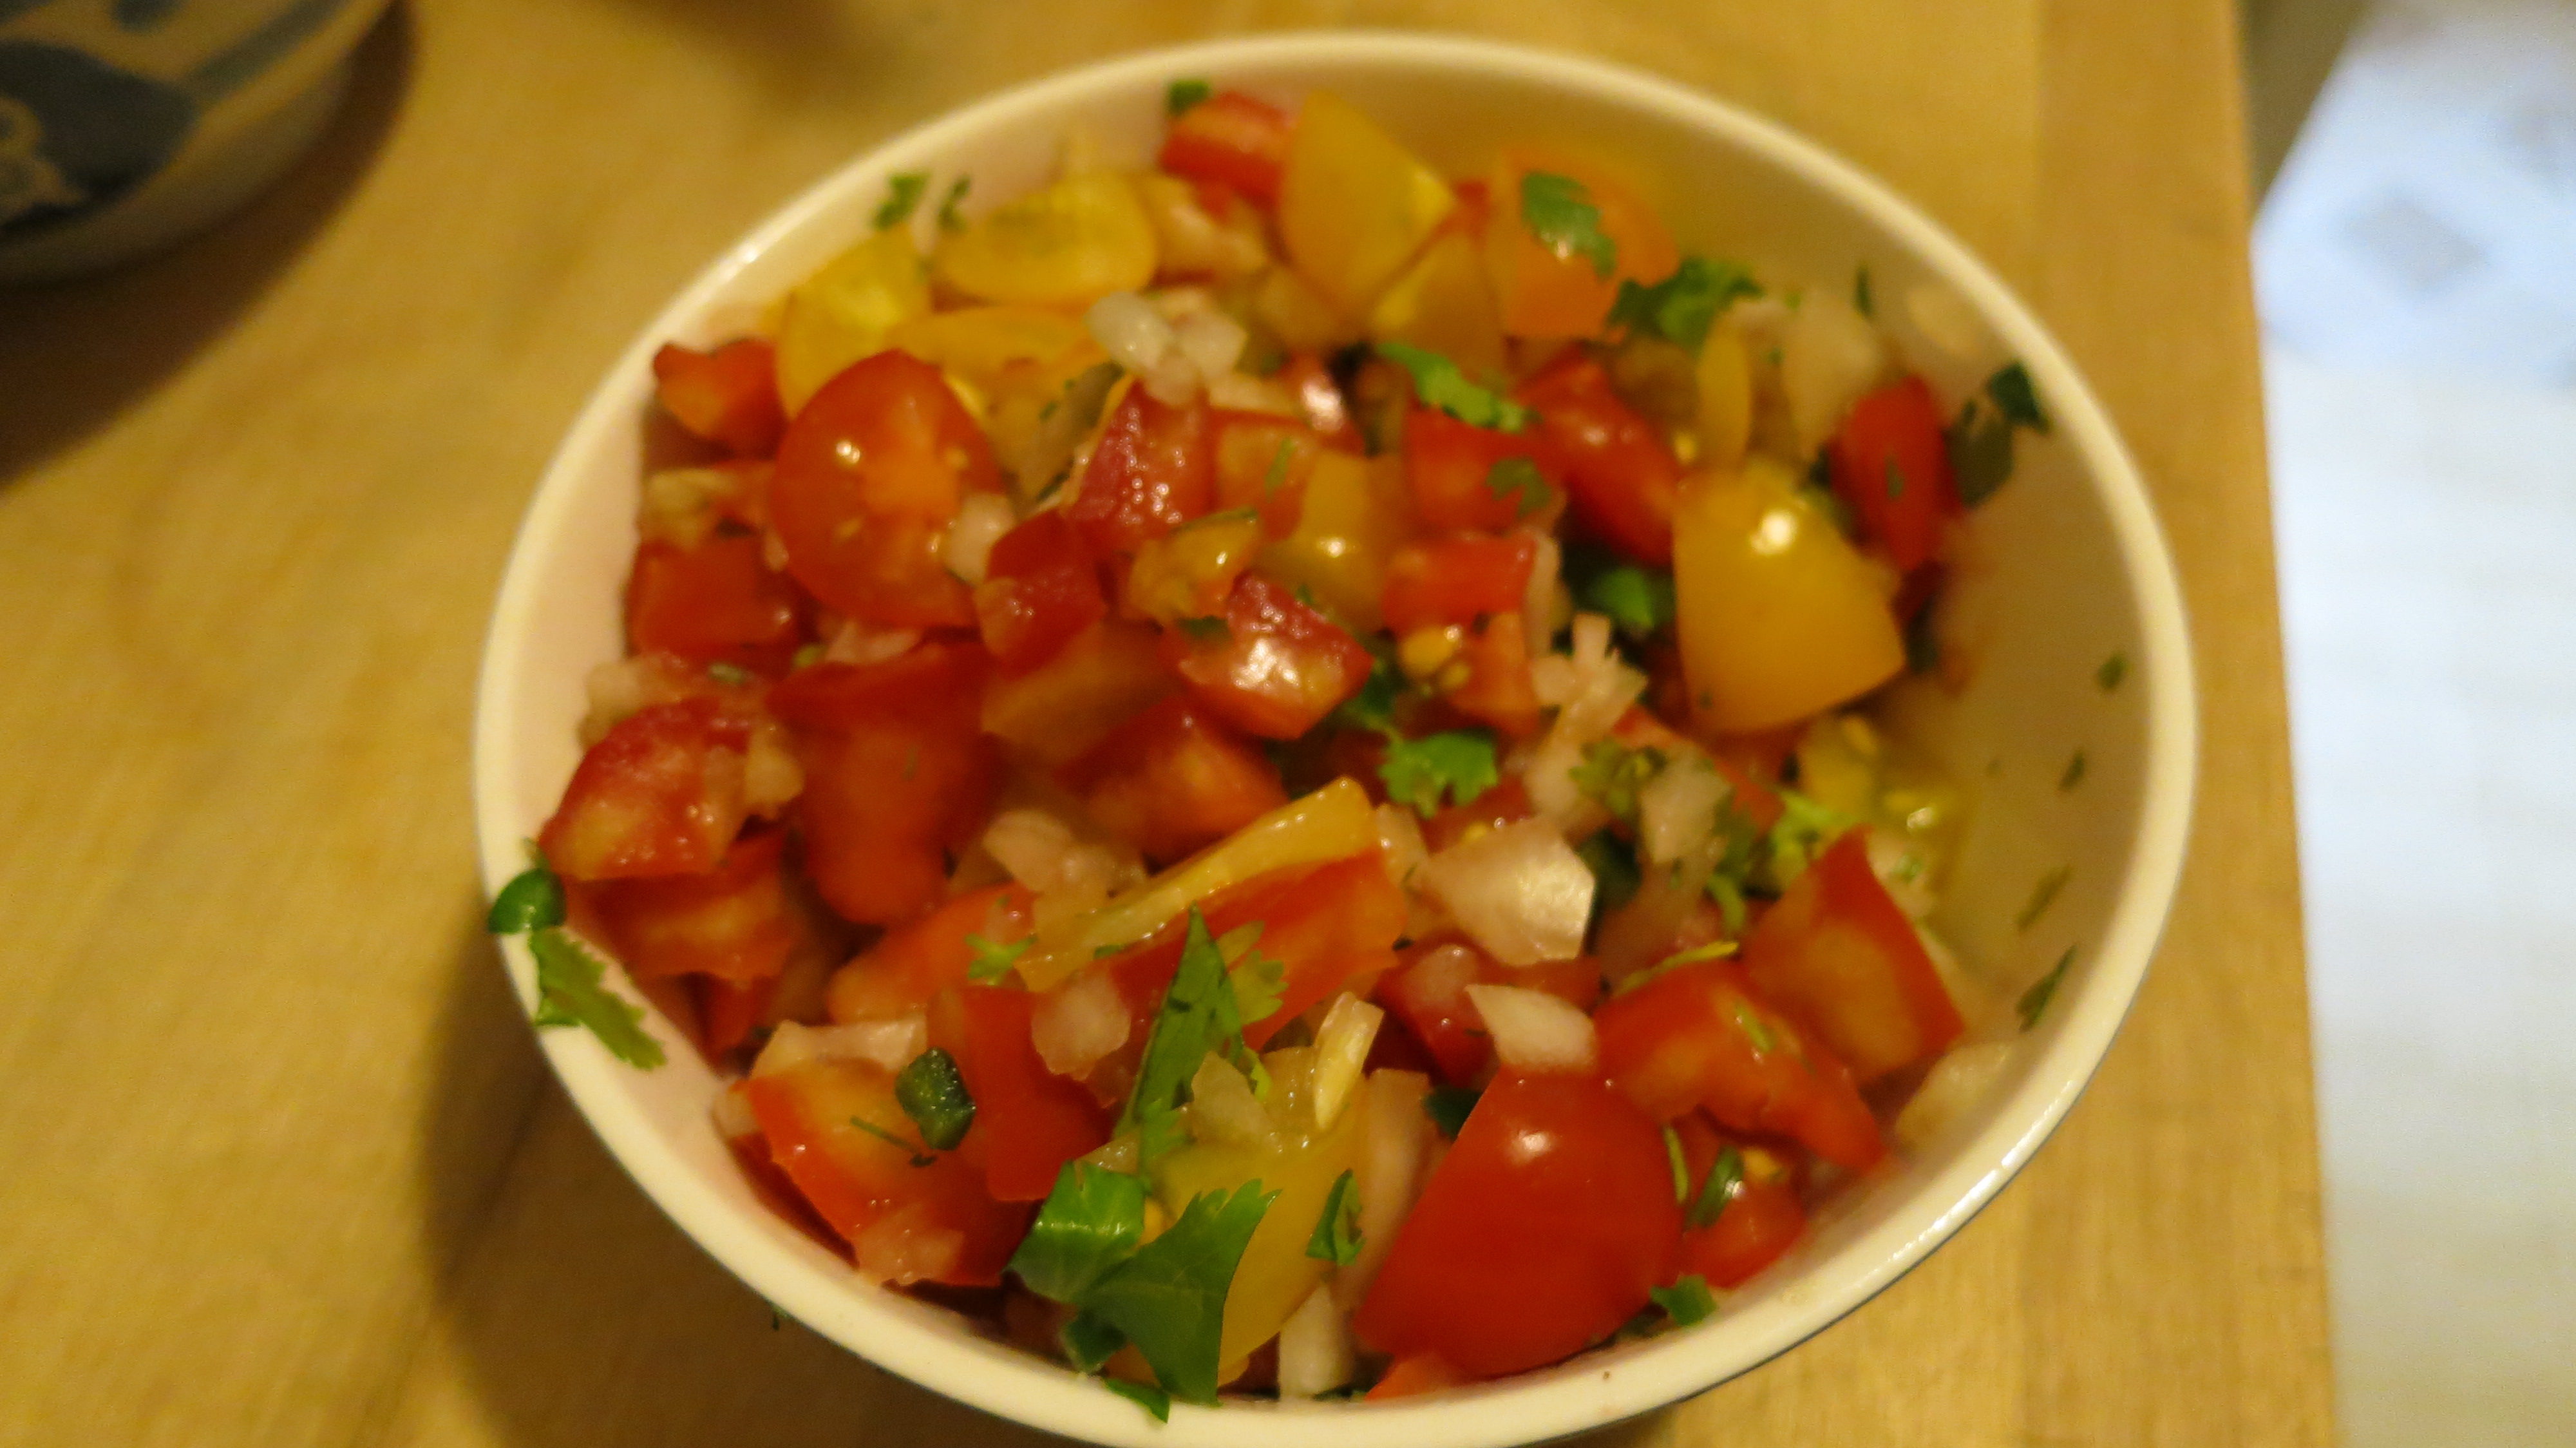
I am such a fan of salsa verde now that I would even outright purchase tomatillos to make it again. Yum. So, I also prepared Pico de Gallo to make up for the salsa verde shortage.  I chopped and seeded 2 small tomatoes, chopped 1/4 of a medium-sized white onion, 1/2 jalapeno pepper and a few sprigs of cilantro. Mixed them altogether and listo, fresh Pico de Gallo. Since I had done such an expert job of seeding the tomatoes, the salsa turned out a little dry, so I added a handful of chopped cherry tomatoes that I had on hand from my CSA pick-up. They worked like a charm and added some interesting, if nontraditional, color.

Pico de Gallo with heirloom tomatoes and yellow cherry tomatoes

What to drink tonight? Beer would be an obvious choice, but I was thinking of a glass of wine. This dish is a tough one because it has a lot going on, particularly the heat from the jalapenos in both salsas. I thought about the bottle of J Vineyards Russian River Valley Pinot Gris that I had chilled in the fridge. I decided to do some research before risking it and opening this bottle I’ve been saving for a year. I was thrilled to find a reco from Snooth.com for Oregon Pinot Gris (close enough!), suggesting medium-bodied, fruity whites. A rose’ would work, too, or Torrontes from Argentina. I like Snooth’s tag line: Drink Better Wines.

Looking forward to tasting: J Vineyards 2008 Russian River Valley Pinot Gris

I stumbled upon a similar taco recipe from Food & Wine for Shrimp tacos with Pickled Red Onion Salad  in a post on Blog Your Own Wine.  I’ll have to try that at some point, too.

In the meantime, off to pull all this together into dinner. Stay tuned,  Novagirl!

Pasta al Pesto Genovese per il Pranzo di Domenica, or Sunday lunch Italian-Style

A few days late, but wanted to share details on Sunday’s yummy lunch, prepared primarily from Saturday’s CSA pick-up. We made a delicious, traditional Pasta al Pesto Genovese. The traditional version is prepared with boiled potatoes and green beans in addition to your standard pesto. You use the same boiled water for the veggies as the pasta, giving the pasta another layer of flavor. I was inspired by a few things:

  • String beans, potatoes and garlic in our CSA stash
  • Basil plant in my garden growing like wild. Growing like wild for Western Massachusetts, not the Mediterranean, meaning it was about 6″ high, bright green and bushy, and in want of a haircut
  • My upcoming trip to the Italian seaside (please don’t hate me)

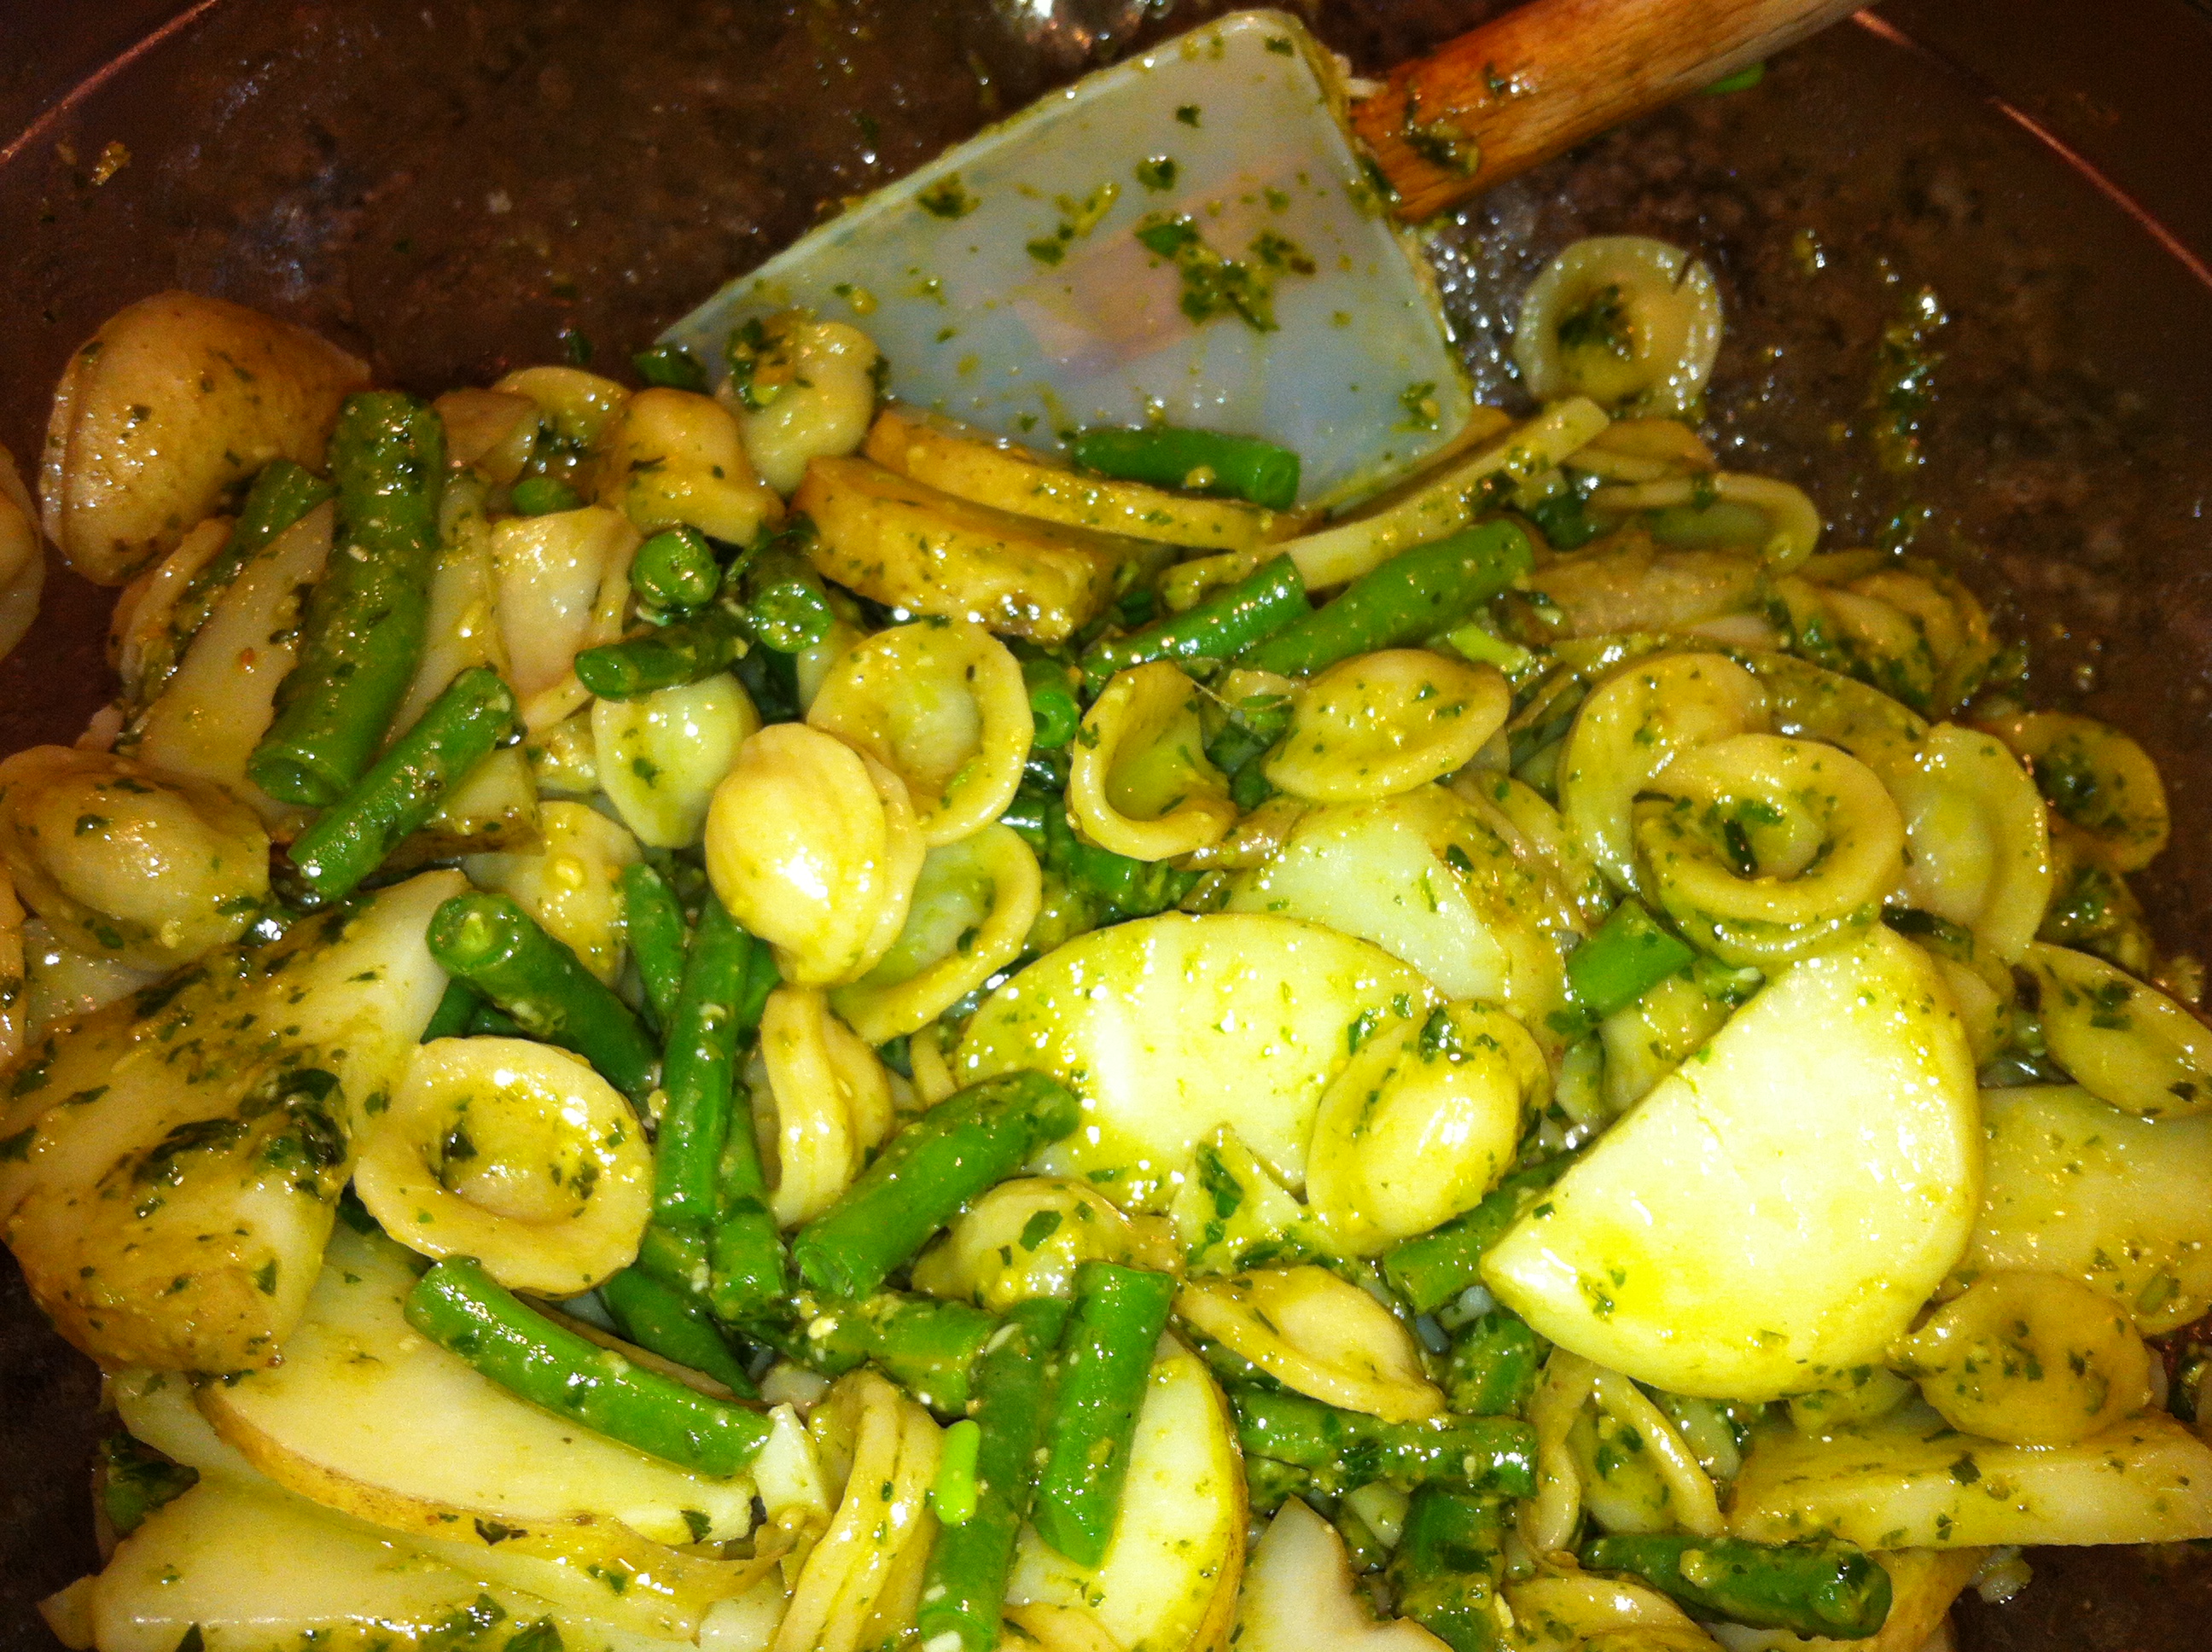
I’ve only had this dish in restaurants or at someone’s home and never prepared it on my own, so I was excited to give it a whirl. Here’s the final product:

Pasta al Pesto Genovese with local green beans, potatoes and pesto

It did not disappoint. Hubs and I loved it. We used orecchiette pasta (shaped like little ears) because  it would be easier for little Sam to eat than spaghetti, which would be the traditional pasta to use. Ironically, omnivorous Sam wanted nothing to do with the Pasta al Pesto lovingly prepared by his parents. Normally a big fan of pasta, I guess he’s just not that into pesto. His loss. Here’s the recipe for 4 servings

Pasta al Pesto Genovese

  • 2 medium new potatoes, sliced 1/4″ thick
  • 1/4 – 1/2 pound string beans, trimmed and cut into 2″ pieces
  • 1/2 pound spaghetti (or other long, thin pasta)
  • Pesto. Here is a basic recipe to follow (1/2 a batch should do, and you can keep the rest of the batch for another use)
  • 2-3 tablespoons reserved cooking liquid from the pasta

Instructions:

  • Fill a large pot halfway with water and bring to a boil. Salt generously and add potatoes. Cook until tender. Remove from pot with slotted spoon and set aside Some recipes instruct you to cook the potatoes whole, then slice them after they’ve been boiled. I think it is easier to start with the potatoes sliced so you don’t have to wait for them to cool later
  • Add string beans to the same pot of water. Cook until tender (not overcooked), and remove with slotted spoon and set aside.
  • Add pasta to water and cook according to directions on package. Test for doneness and reserve a few tablespoons of the cooking water when you drain the pasta.
  • Toss the pasta in a serving bowl with the pesto, potatoes, string beans and cooking liquid (as needed). Serve immediately.

Grilled Trout with Tarragon

This grilled marinated trout recipe is so tasty and yummy, even carnivores find it irresistible. I found it in this handy cookbook that my in-laws Steve and Dorothy gave us a few years ago during a summer visit. It’s called the Big Book of Barbecuing and Grilling. There are some easy and worth-repeating recipe in this book by Hilaire Walden, and the spiral-bound format is also handy. The one critique I would give it is that the author feels compelled to present recipes about grilling anything and everything (as the title would suggest), but grilling is not the most convenient or suitable method for grilling anything and everything.

Big Book of Barbecuing and

GrillingTrout with Tarragon

  • 2 whole trout, about 12 oz each
  • 6 tbsp olive oil
  • 1 1/2 tbsp lemon juice
  • 2 shallots, minced
  • 1 garlic clove, minced
  • 1 tbsp fresh tarragon, chopped
  • 1 tbsp fresh flat leaf parsley, chopped
  • 1 tsp dijon mustard
  • 1 tsp soy sauce

Instructions:

  1. Make marinade by mixing all ingredients except trout together in bowl. Let sit for at least 30 min so that flavors can combine
  2. Rinse and pat dry the trout. Make 3 slashes on exterior of each side of the trout using the sharp point of a paring knife. Brush or rub the marinade liberally on the inside and outside of the trout, also into the slits. Place in a non-reactive dish, cover and allow to marinade for 1-2 hours.
  3. Prepare grill and make sure it is well oiled so fish will not stick. You can grill the trout directly on the grill, or in an oiled hinged basket [we grill directly on charcoal grill]. Wipe off excess marinade from fish and place on grill once very hot. Grill for about 6 min on each side, testing for doneness with a thin knife (should meet no resistance)
  4. Remove from grill and transfer to plates. Serve with lemon wedge and extra plate for guests to remove head and tail from fish.

We started Saturday night dinner with my Early Corn Chowder, followed by the Trout and mustard-y coleslaw on the side. The Chowder turned out great, too. And it tastes even better on day 2

Extreme Weather and Corn

Ever heard of “Early Drought Corn”? Well, that’s what we picked up today at the Farm. Unfamiliar phrase to me as well, but the result of all the intense heat and sun combined with below average rainfall means that the first corn cobs of the season are small, not super flavorful and even kind of ugly.

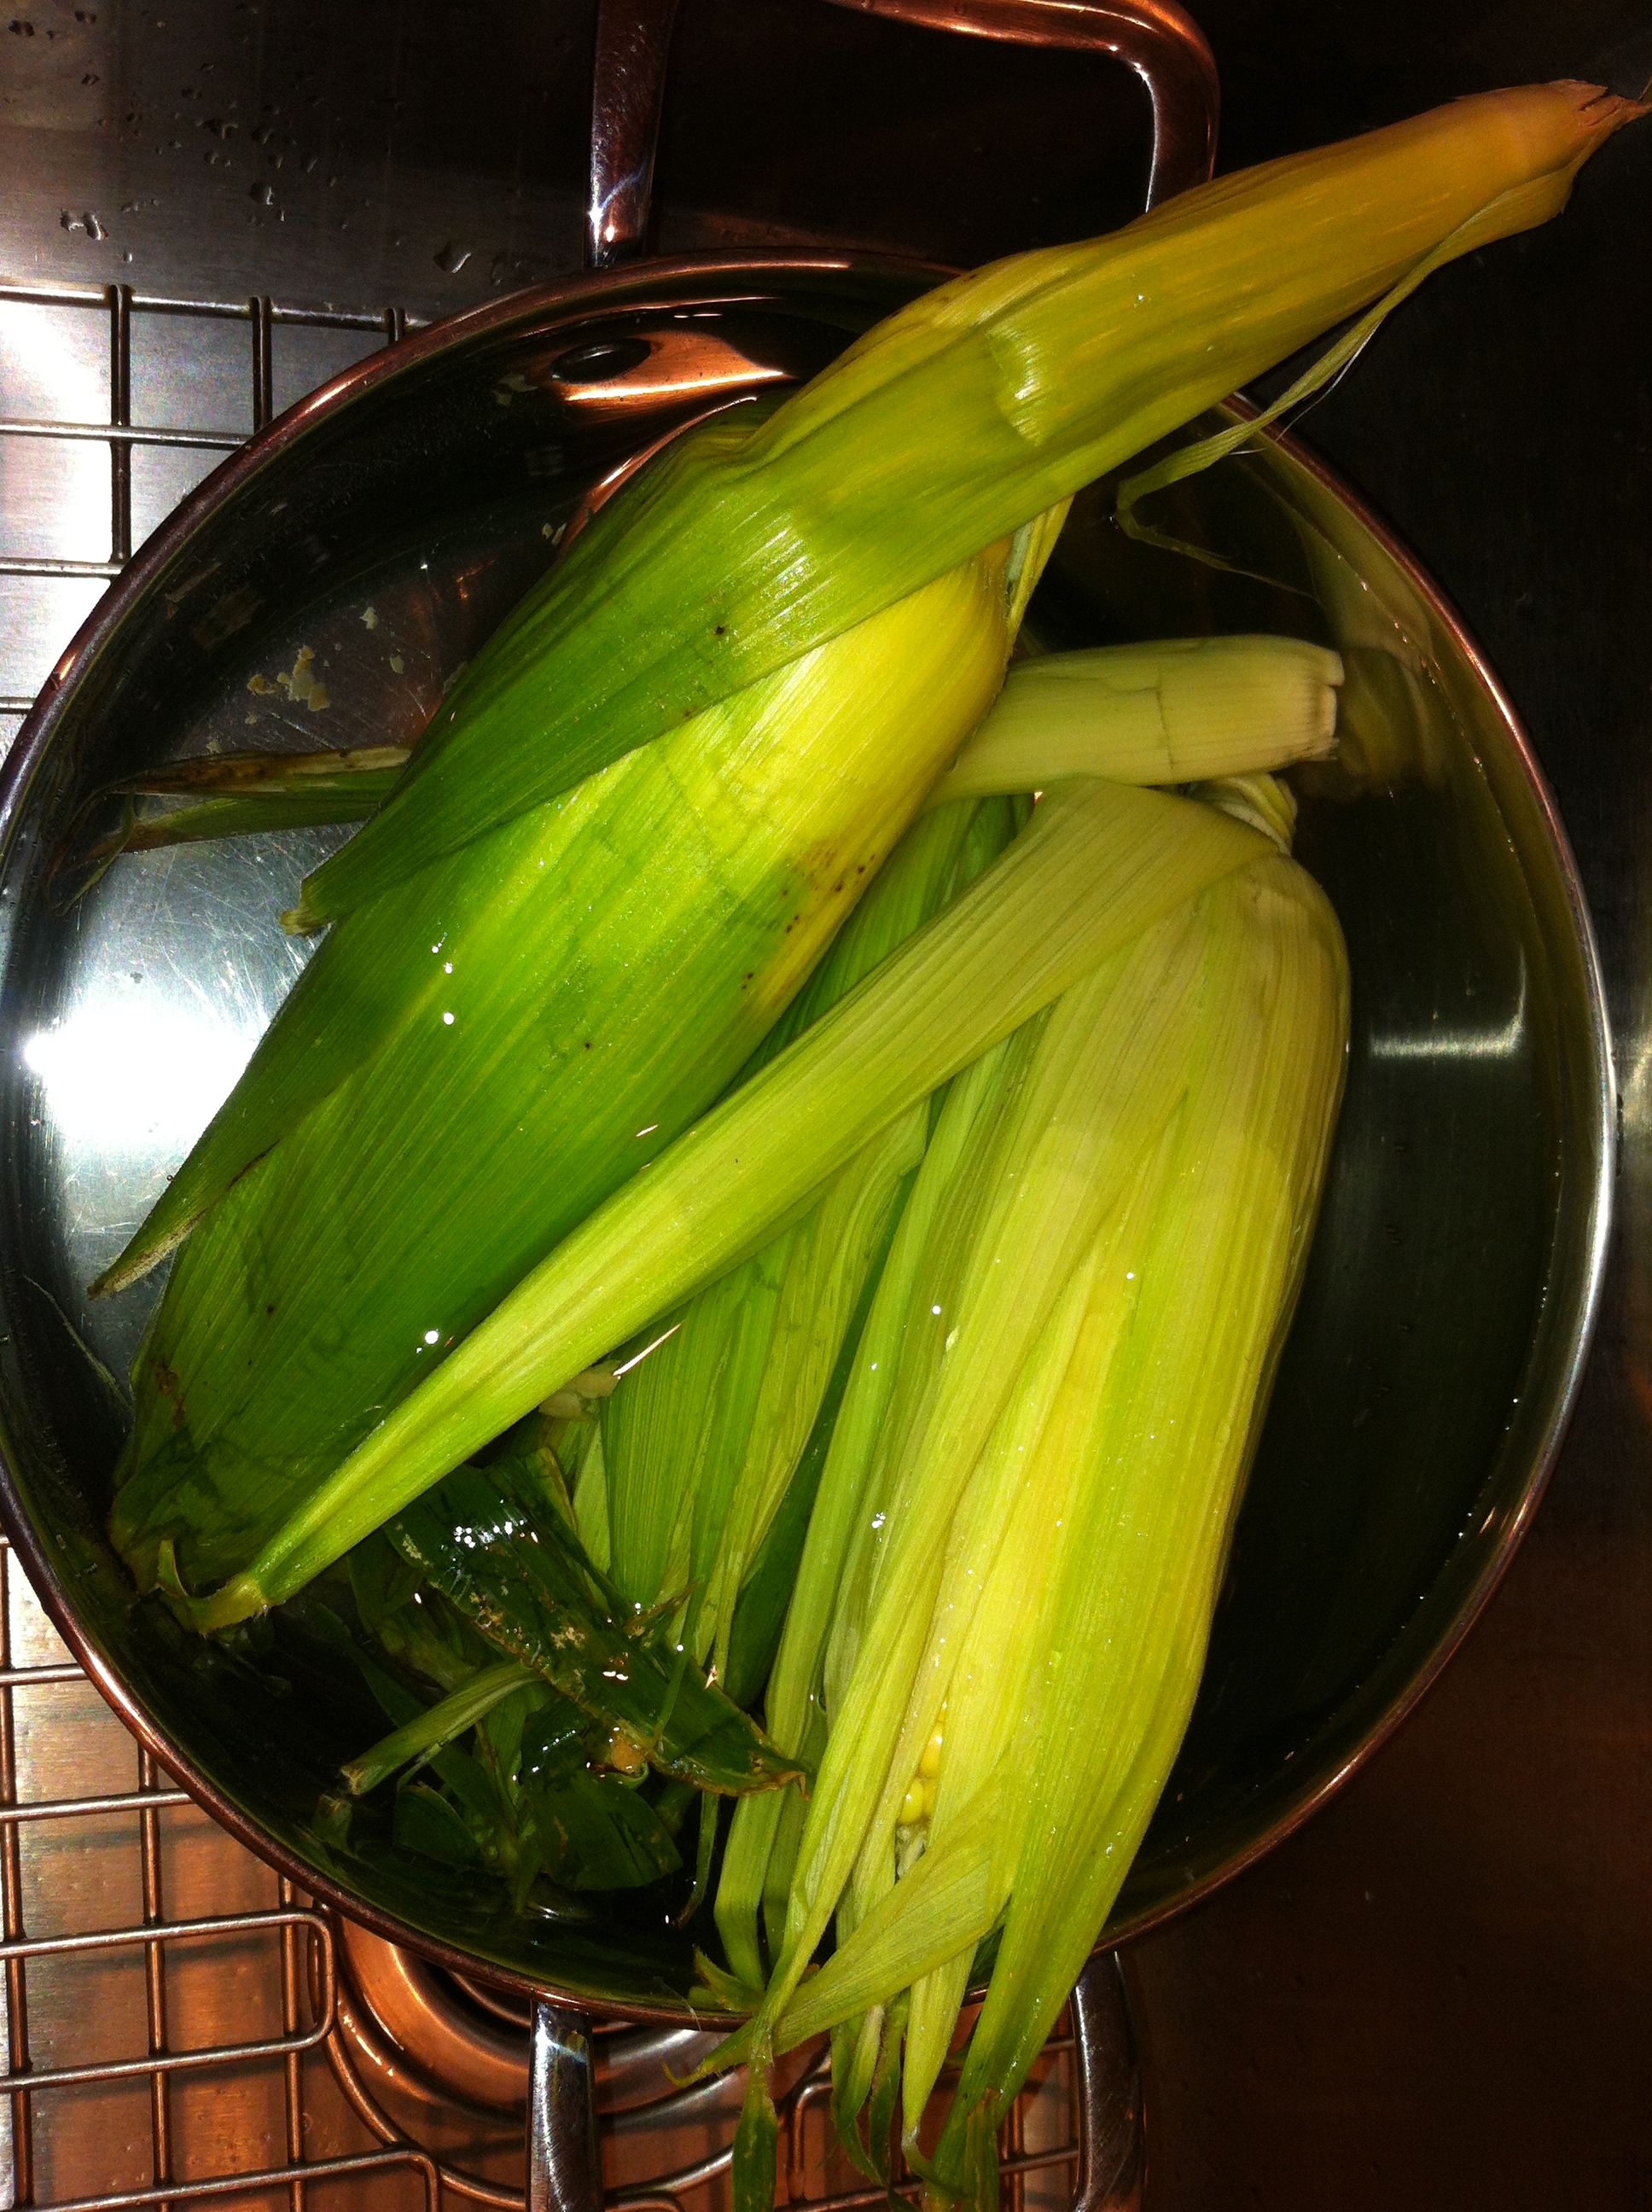
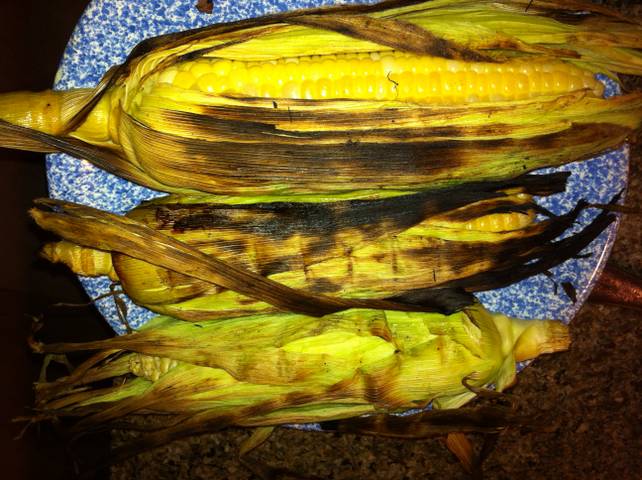
We had our first of the season local corn on the cob last night purchased from the Amenia Farmers Market in Dutchess County, NY. We soaked the ears, grilled them and then slathered them with butter, salt and pepper. They were good, not great.

Prepping for the grill: soaking the corn on the cob, silks removed

Fresh off the grill, grilled corn on the cob still wearing their husks

Finished product: slathered in butter, salt and pepper and ready to go

Today’s haul of 8 ears from Wolfe Spring Farm had a similarly undernourished look to last night’s, so we decided better to cook with them than feature them in all their glory ‘naked’ on the cob. I decided on a corn chowder and combined 2 recipes to make my own: this recipe from Mark Bittman’s Minimalist column and this recipe from the Red Cat Cookbook. I like Bittman’s recipe because he makes a rustic ‘broth’ from the corn cobs and I like the Red Cat’s recipe because they add a little heat. Here’s my adaptation.

Early Corn Chowder

  • 6-8 ears corn
  • 1 tablespoon butter
  • 1 medium onion, chopped
  • 1 shallot [I used this because we have them from today’s CSA pick-up, but not necessary]
  • 4 medium new potatoes, peeled and chopped into 1/2 cubes
  • 2 dried peppers
  • Salt and freshly ground black pepper
  • 2-3 small tomatoes cored and seeds removed, optional [I used them as I had tomatoes in my pick-up, but not necessary]
  • 1 cup milk
  • handful of fresh chives, optional

Instructions: 

1. Shuck the corn and use a paring knife to strip the kernels into a bowl. Put the cobs in a pot with 6-8 cups water; bring to a boil, cover, and simmer for 10-20 minutes.

2. Melt the butter in a large saucepan or soup pot and turn the heat to medium-high. When the butter melts, add the onion and shallots, along with a sprinkling of salt and pepper. Cook, stirring occasionally, until the onion softens, about 5 minutes; then add the potatoes and saute another 5 minutes; add the tomatoes if you’re using them and cook, stirring, for another minute or two. Add the dried peppers, crushing them if you like more heat.

3. After the corn cobs have cooked for at least 10 minutes, strain the liquid into the onion-potato mixture. Bring to a boil, then turn the heat down so the mixture simmers. When the potatoes are tender, about 10 minutes, add the corn kernels and milk and heat through. Taste and adjust seasoning if necessary. Can be prepared in advance and served at room temperature or chilled. If you like a creamier soup, you can puree the soup partially with a stick blender, and/or use 1/2 cup of heavy cream in place of 1/2 cup of the milk. Garnish with the chives, and serve.

It’s still early days for the corn season. Please share your favorite recipes, too.

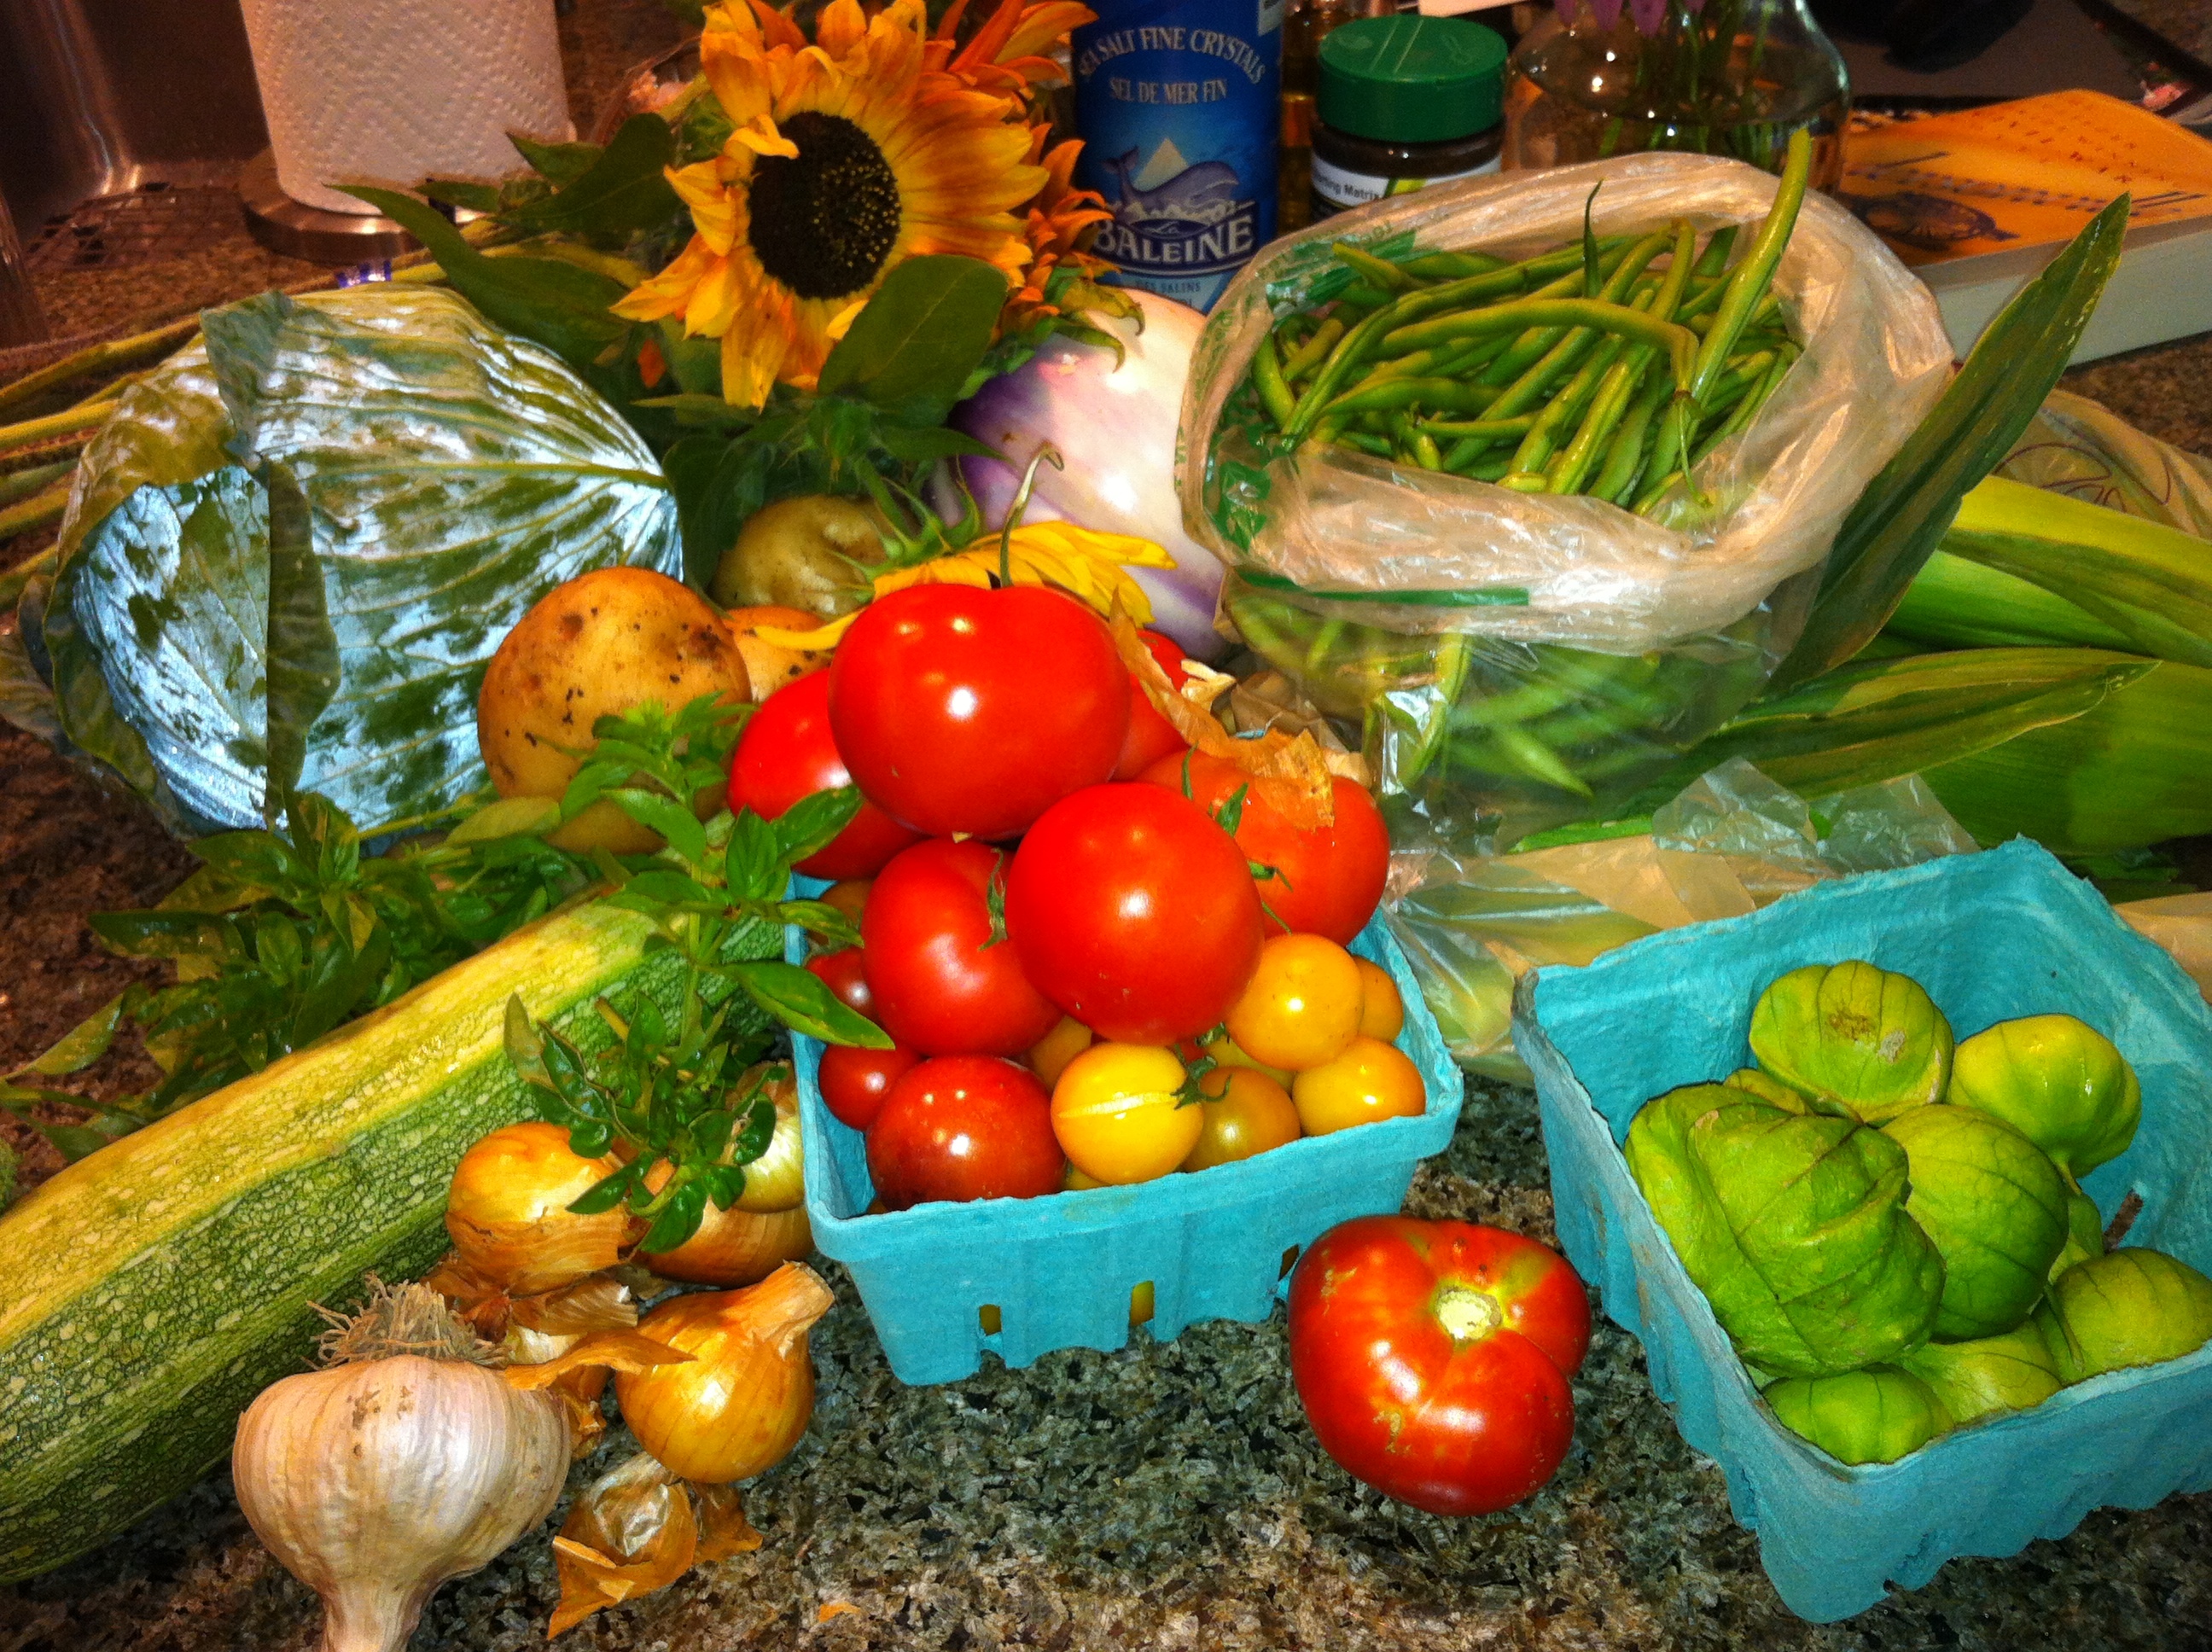
American Classics: CSA Pick-up 7/28/12

This veritable bounty will be transformed into:
– Tangy mustard coleslaw – use cabbage
Corn chowder use corn, potatoes, tomatoes, shallots
Spaghetti al pesto genovese (ok, this isn’t an American Classic. Realized that after I published. Oops) – use string beans, potatoes, garlic and basil (from our garden and Wolfe Spring)

And more…stay tuned

20120728-112846.jpg

Monday, Monday – What’s for Dinner?

I always feel like I have to eat virtuously early in the week as things do start to slide downhill as the weekend approaches. Tonight I’ll make another favorite, particularly in warm weather – Seared Tuna with Shallot Gremolata. This is an easy and tasty recipe from a Williams Sonoma cookbook called “Weeknight Fresh + Fast” by Kristine Kidd. This recipe will take no more than 15 minutes from start to finish, not including the time to purchase fresh tuna steaks. Props to my dear friend Lauren for giving me this book as a gift last year.

As an aside, this is a great cookbook that takes a unique approach to categorizing recipes. All recipes are bucketed by season and feature seasonal ingredients.This recipe is ironically in the “Winter” section, but seasonality is linked to location, right?  It’s the citrus used in the recipe that places it in the “Winter” section, but since lemons and oranges never grow in NY without extraordinary efforts, I have no qualms about making this in July. Plus, I’ll use a few ingredients from my CSA pick up and garden.

Tuna with Shallot Gremolata recipe adapted  by me from Weeknight Fresh + Fast. Serves 2

  • 2 tuna steaks, about 6 ounces each (sushi grade tuna preferred)
  • 1 teaspoon mustard seeds
  • 1 teaspoon ground fennel seeds (use a mortar and pestle)
  • 1 lemon
  • few tablespoons chopped flat leaf parsley (from my herb garden)
  • 1 small minced shallot (from CSA Pick-up)
  • 2 teaspoons olive oil

Instructions: Mix together mustard seeds and fennel seeds and press into both sides of tuna steaks. Sprinkle with salt and pepper

Prepare gremolata: zest lemon in a bowl and add chopped parsley and shallot. Add a drizzle of olive oil to moisten the mixture. Gremolata done.

Prepare tuna steaks: Lightly coat a nonstick pan or cast iron pan with olive oil and heat over medium  to medium-high heat. Once hot, add the tuna steaks and cook 2-3 min per side depending on thickness of steak. I like to leave it very rare, or pink, in the middle. Sprinkle with gremolata and serve immediately

—–

You will have gremolata left over. Consider this a bonus – save it in the fridge and use it on other grilled dishes. It will stay for a few days.

On the side: You can serve this with any starch, or a light salad of fennel, red onion slices and orange slices. I love the fennel salad, but hubs never touches it, so I’m not bothering tonight.

We will have steamed haricot verts with a mustard vinaigrette and grilled bread rubbed with garlic and a hint of tomato (pan con tomate for you Spanish foodies)

Many Dishes, 1 Delicious Entree: CSA pick-up 7/21/12


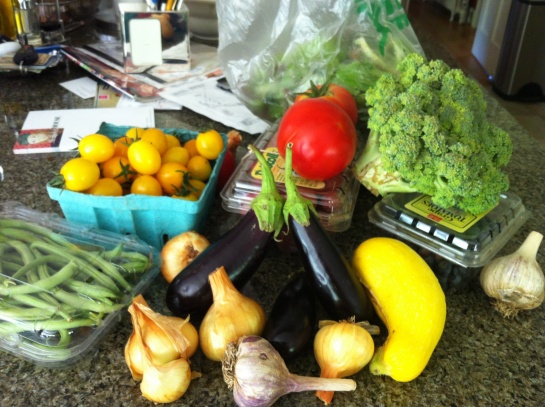
We had several exciting adventures yesterday: a real bounty pick-up at Wolfe Spring Farm, took in the annual New Marlborough Garden, and received a tasty, unexpected homemade treat from our neighbor Dan Doern (more on that later). Let’s focus on the CSA pick-up and ensuing kitchen chaos.  As a refresher, we picked up the following:

And we had a bonus: U-pick ’em blueberries. June lifted the netting off the blueberry bushes and let us have at ’em. We picked almost a pint, unsure of how much Sam consumed along the way.

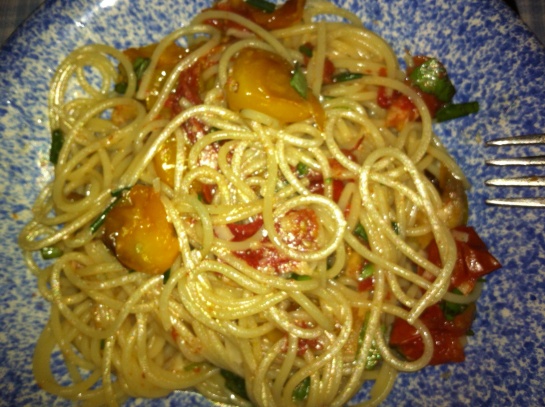
Hubs and I were excited to see the yellow cherry tomatoes in the basket and he suggested a great recipe that we’ve made several times –  Spaghettini with Roasted Cherry Tomatoes, Garlic and Fresh Herbs. It’s a little counter-intuitive because you have to heat up the kitchen roasting the tomatoes, which stinks in the middle of summer, and it’s also best served at room temperature. But let me tell you, it’s worth the effort (and the heat). You slow roast the tomatoes with a bunch of garlic cloves and it makes a sweet, savory sauce with deep, rich flavors. You will not be disappointed.  I can’t remember where I originally found the recipe, and I’ve seen a bunch of variations online, so I’ll include my own adaptation.

Instructions for 1 Delicious Entree: Preheat oven to 375 degrees. Toss 1-2 quarts of cherry tomatoes with 2 tablespoons olive oil in a 9X11″ baking dish (pyrex or ceramic preferred). Throw in 6-12 smashed cloves of garlic, healthy dash of kosher salt, few grinds of black pepper, and 2-3 dried hot peppers if you like some heat. Some recipes tell you to halve the tomatoes, but it is not necessary. Putting them in whole saves time, and has no impact on the final product.

Roast in 375 degree oven for 30-40 minutes. The tomatoes should get wrinkly and start to caramelize. You may need an additional 5-10 minutes depending on your oven. Give the pan a shake 1 or 2 times while baking, but otherwise leave unattended. Remove from oven and let cool. The tomatoes will have released some juices and you should have a beautiful chunky sauce.

Chop up a handful of fresh basil and any other herbs you may have on hand. I used fresh chives. Grate 1/4 cup parmiggiano to mix with pasta and sauce.

Prepare spaghettini as directed on package for 2 – 4 people. Once ready, drain water or scoop out with pasta server and add directly to pan of tomato sauce. Toss in chopped herbs and grated cheese. Transfer to serving bowl or serve directly into bowls. Yum!

You can also use the sauce for a take-off on bruschetta. We had some leftover last night and used it to make mini-pizzas for lunch. Sam loved them.

 The Rest of the Basket:  As I had written on Friday, I really wanted to make vegetable fritters. But, alas the contents of my basket did not comply. No beets, no leaks, no luck. Might try ’em this week with some produce purchased from the green market in town. Back to the basket.

For the salad greens, I have a ritual. I wash, spin and crisp them as soon as I get home. One downside is that it is far more labor intensive than buying a bag of ready washed greens, but hey, where’s the fun in that? We had mixed greens with our pasta last night and have lots more left.

I steamed the broccoli and the haricot verts, and stored them separately. We’ve already eaten some with a mustardy vinaigrette, and the nice thing about having them already cooked is that they are ready to go, as Julia Moskin advised.

So, all that sounds kind of humdrum. I wanted to do something interesting with the eggplant and felt I could let my creative juices flow because I don’t have to cater to hubs’s tastes on this one. He won’t go near eggplant. I felt an itch to attempt an Eggplant with Miso dressing recipe. I loosely followed this recipe, first roasting the sliced eggplant in the oven and then tossing it in the dressing. I admit I did not love the dressing. Perhaps it was the miso. Or perhaps I had no idea what I was doing as it was my first time ever cooking with miso paste. I had a jar of fermented bean miso in the fridge and cracked it open for the first time. I’m willing to try this again as I wasn’t fully satisfied with it – too salty, earthy tasting – but then again, I’m not great with eggplant dishes to begin with.

Anyone else ever try this? Or something similar?


Bye Bye Birds Eye

20120707-061058.jpg
Have I mentioned that my CSA is awesome? Not only do I have the privilege of picking up a basket of thoughtfully grown and selected organic veggies every week, but June and Jim Wolfe also invite you to their house for workshops on preserving, pickling and conserving. Awesome!

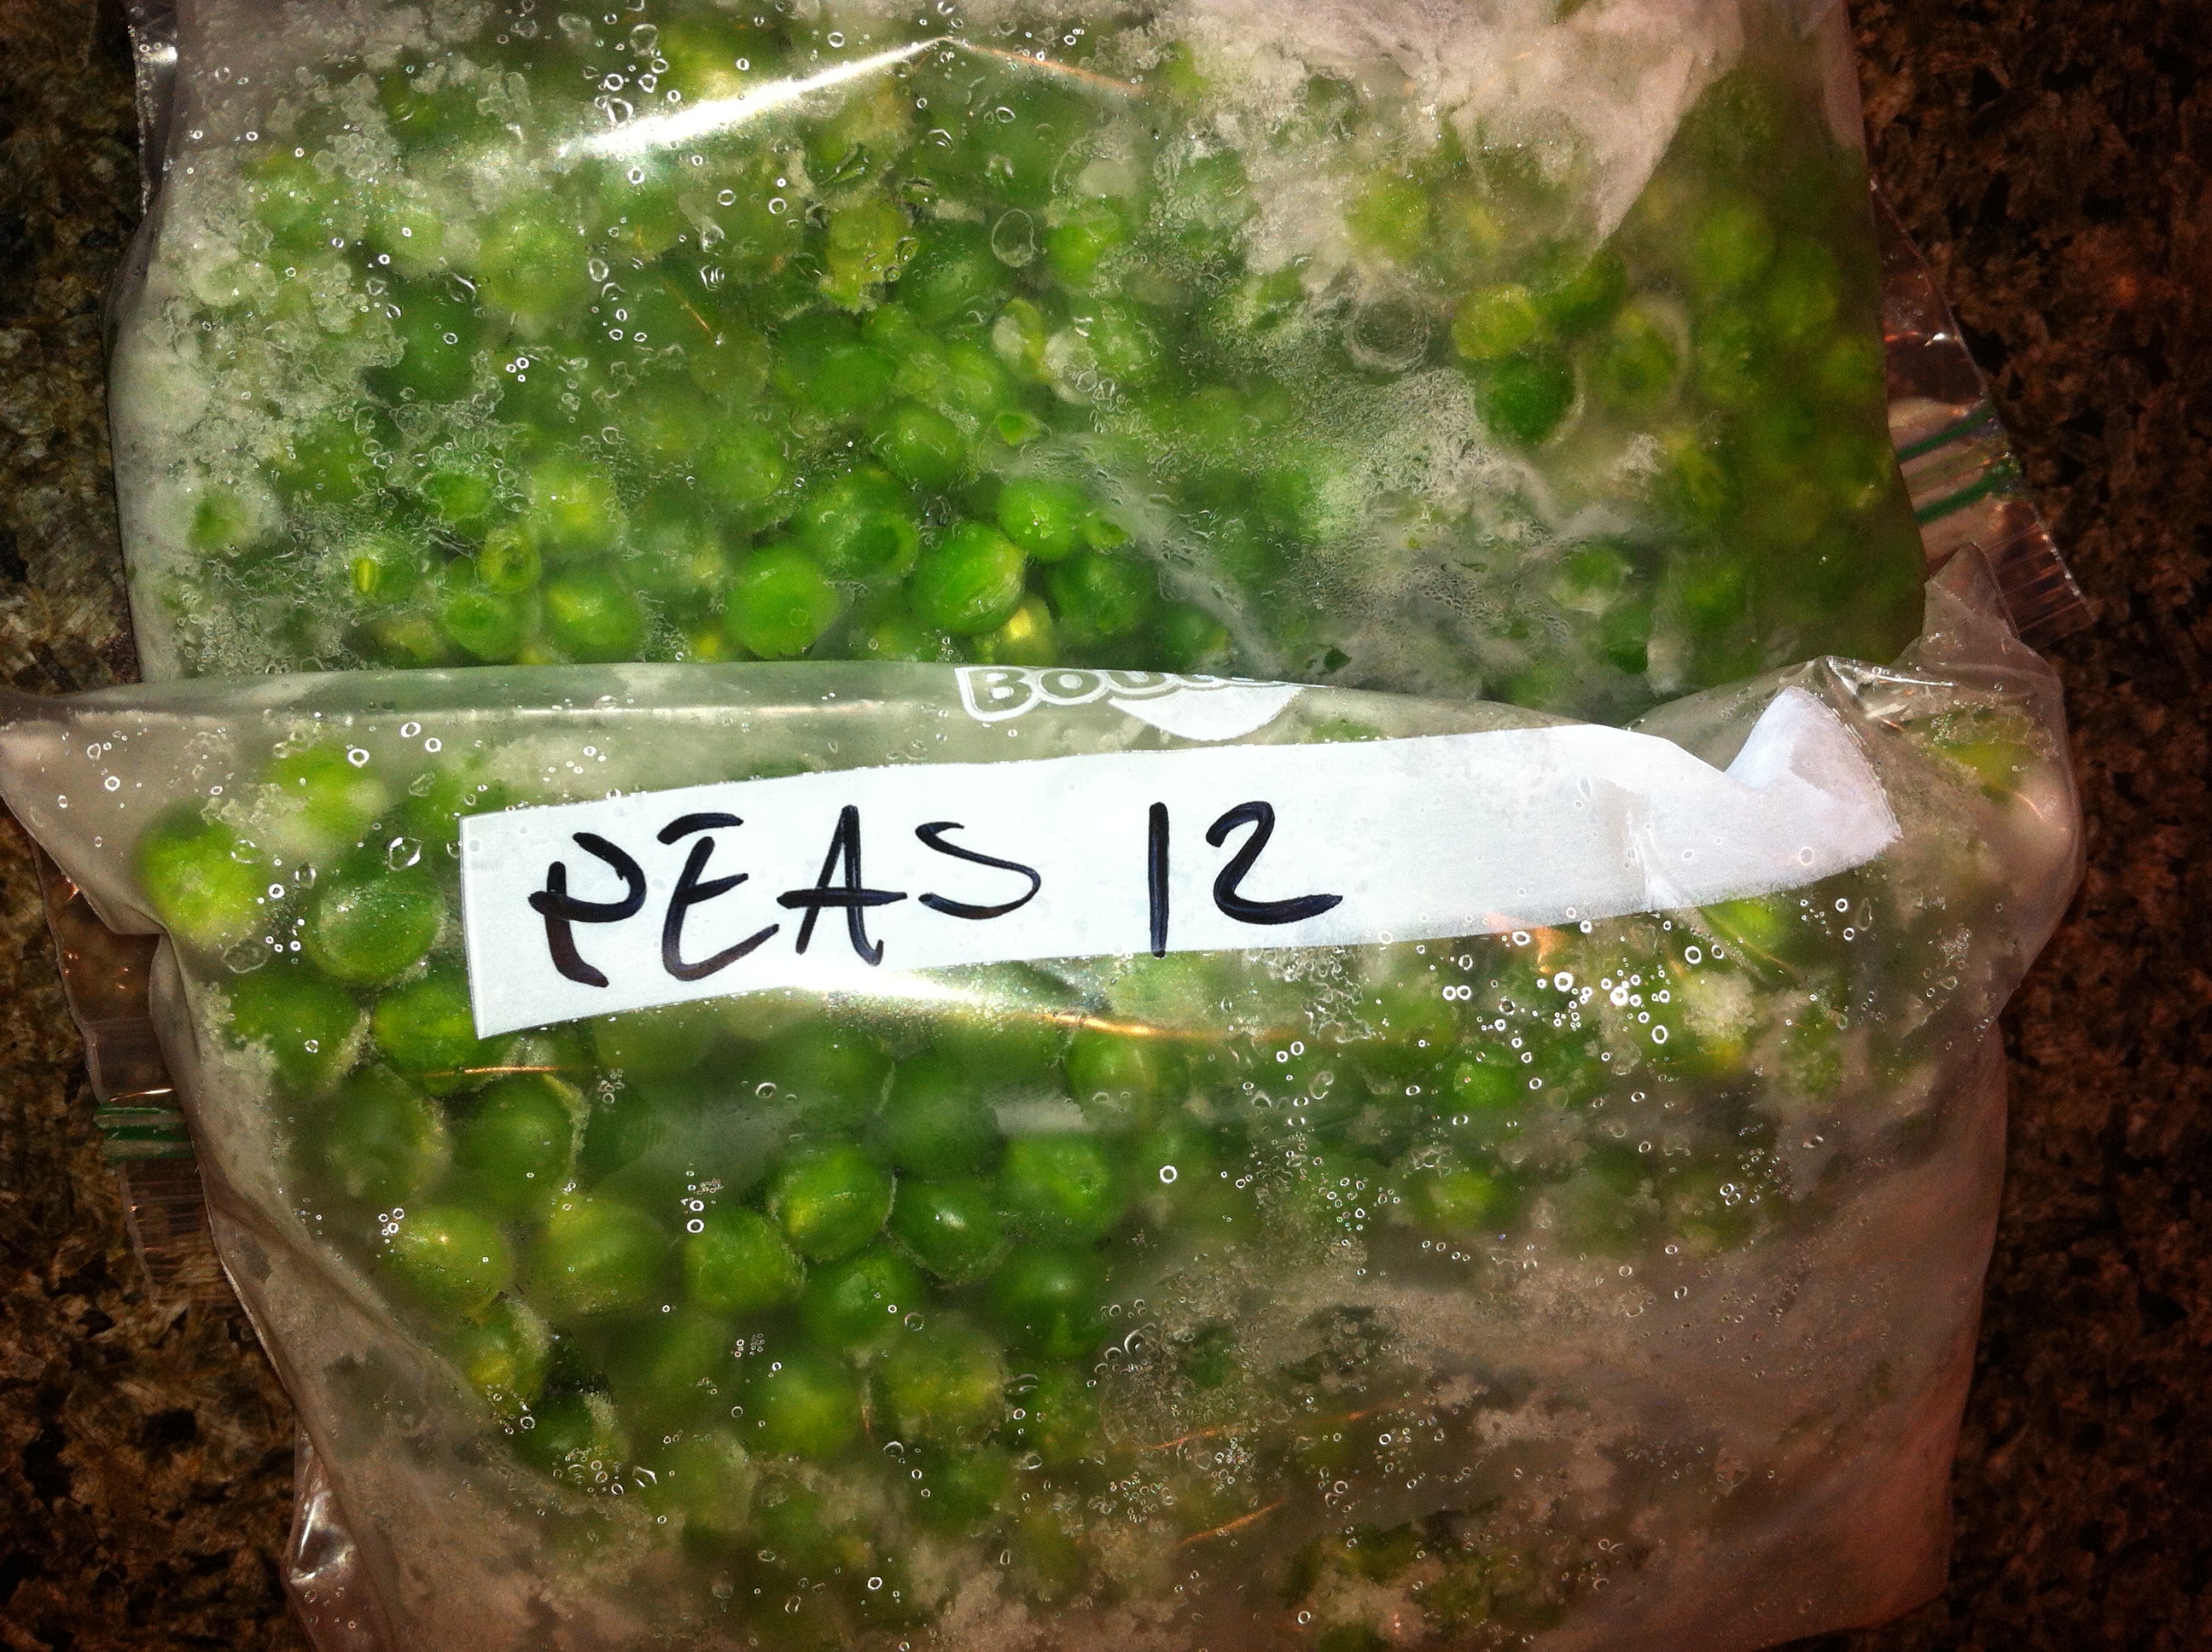
June hosted a workshop on freezing fresh peas last night. We ran through the whole arc in about an hour. We started in the field picking peas, moved to the porch to shell the peas, and then on to the conservation part. I dragged my good friend Peggy Carrington with me and we had a great time chit chatting on the porch with other members of the CSA and June’s family. Did you know you can make a potable alcoholic beverage out of pea pods?

Back to freezing peas. Surprisingly easy and no special equipment requires. Here’s what you need to get started:
Fresh peas
Pot of Boiling water
Wire mesh colander
Tongs
Bowl of cold water
Ziplock freezer bags
Measuring cup

Once you have shelled the peas, measure 1 or 2 cups of peas and place in mesh colander (quantity is up to you). Immerse colander in boiling water for 1 minute. Use tongs to remove colander and then place in cold water bath for 1 minute. Remove from water, shake off excess water and place peas in ziplock bag. Remove air from bag and seal. Write date and quantity on exterior of bag and your peas are ready for the freezer. Repeat until all peas are bagged and freezer ready.
Use as you would store-bought frozen peas

Bye bye Birds Eye

Inspiration from India by way of Texas and NJ

Tonight’s dinner was inspired by a generous gift from a colleague of my husband’s. Mangoes. A delicacy in India, grown in Texas, purchased in New Jersey and kindly shared with us in New York. Super fresh and ripe, succulent and juicy, but not local. Uh-oh.

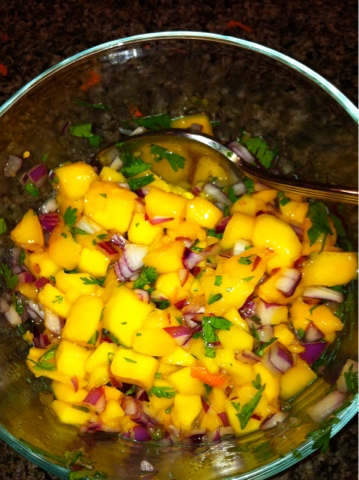
I wanted to use the mangoes in a recipe and landed on a trusted favorite. Grilled swordfish and Mango Relish. The mango relish is a simple recipe from Mark Bittman (one of my Food Idols – see post from 6/27/12). The swordfish can be subsisted with other fish steaks, or grilled chicken.Here’s the recipe for the mango relish/salsa.Mango Relish 
– 1 ripe mango cubed into 1/2″ cubes
– 1/4 cup chopped red onion
– juice from 1 lime
– 1 dried hot pepper or Cheyenne pepper powder
– 2 tbsp chopped cilantro
– kosher salt
– ground black pepper

For the swordfish:
-2 swordfish steaks or fillets, 6-8 ounces each
– 1 tablespoon olive oil

Instructions for the Mango Relish: mix all relish ingredients together in a non-reactive bowl, careful not to mush mango too much. Relish should be chunky. Can be prepared in advance and chilled.

For swordfish: Heat grill or grill pan. Rub olive oil on swordfish and sprinkle with salt and pepper. Grill on hot grill about 3 min on each side. Serve with relish on the side and slice of lime. Can use grill pan on stove top instead of grill.