Truly Tasty Kale Salad: Hubs Approved

Hello Friends,

It has been far too long since my last post and I have missed you. I have been keeping some real keeper recipes from you these past few months, and I apologize for that. Let me start with the Truly Tasty Kale Salad. We all know that kale is a superfood, nutrient-dense and packed with antioxidants.

Courtesy of UNH

Kale Salad Infographic

We are supposed to devour it by the pound to stay young, fit and healthy. But the honest truth is that it is hard to love. You can’t just cut it up and eat it like a carrot or bell pepper, or treat it like a handful of baby greens dressed in a delicious olive oil, balsamic vinaigrette. It requires some effort to make it palatable, and the mere hype factor has caused some to disavow it. I’ve turned it into a snack before, making crispy spicy chips, and used it as a sidebar ingredient in a veggie quinoa salad.

So I truly felt compelled to share this recipe because it features kale front and center. The Truly Tasty Kale Salad has only a handful of ingredients, takes about 15 minutes to prepare and deserves a spot on your dinner table, either as the main attraction, or as a hearty first course. Here’s why: even Hubs likes it. He said so.

3 kale salad tips for you I’ve picked up after perfecting this recipe:

  • Chop up the kale very finely. Abuse it. It can take it.
  • Use more dressing than you would for a normal salad. The recipe below is for 2 servings. You won’t be sorry.
  • Dress the salad and let sit with dressing 10-30 minutes before serving (usually a big no-no as it wilts ALL OTHER PUNY GREENS)

TRULY TASTY KALE SALAD

  • 6 ounces kale, or roughly half a bunch
  • 1/4 cup walnuts (or toasted almonds, hazlenuts if you have on hand)
  • 1/4 cup shredded parmiggiano or pecorino romano
  • 4 tablespoons olive oil
  • 1 1/2 tablespoons white wine vinegar
  • 1 tablespoon smooth Dijon mustard
  • 1 1/2 teaspoons honey
  • Kosher salt and freshly ground black pepper to taste
  • Croutons (optional)

Instructions

  1. Roughly chop walnuts (or almonds or hazelnuts) and lightly toast in a pan for 2-4 minutes until slightly colored and set aside. Don’t leave them unattended – they can burn easily. I speak from experience.
  2. Remove spines from kale by either pulling off leaves from center spine or using a paring knife. I find it easier to rip off the leaves, and then wash and dry leaves. If you have a different method, that’s fine. Once you have clean, dry kale leaves, get out your chef’s knife and start finely chopping the kale. Start by rolling the leaves and slicing it up in a ribbons. Then turn your ribbons 90 degrees and chop some more. You want the kale thoroughly chopped into small squares. Place in salad bowl.
  3. Make the dressing. Combine the olive oil, vinegar, mustard, honey and salt and pepper. Use a whisk to emulsify the dressing. Taste for salt and pepper and adjust as needed. Now you are ready to assemble. Combine the dressing, shredded cheese, nuts and croutons (if using). Toss well. Set aside for at least 10 minutes, more if you have the time. Toss again before serving and enjoy.
  4. Happy eating!

This recipe was inspired by Smitten Kitchen’s Deb Perelman kale salad recipe. She is not one to kowtow to health foods fad, and her writing has yet to fail me. Her new cookbook is the bomb.

Wednesday Night and What’s for Dinner? Roasted Korean-style Cod

This is my second try for this easy and super-tasty recipe for Korean-style Roasted Cod. It is the umami flavors from the sauce that make this dish stand out – reminds me a little of the chili-lime dipping sauce I recommended for the delicata squash, but with more depth. You can make this meal in 20 minutes flat, if you have leftover rice, so perfect for a weeknight. The only caveat is that the original recipe calls for black cod, which can be very expensive, as well as hard to find. I suggest using regular cod as a substitute, which is easy to find in the northeast of the US, or any other dense, white-flesh fish. You can check here for substitutes.
The recipe hails from Weeknight Fresh & Fast cookbook by Kristine Kidd, which I have referenced before. The cookbook has really surprised me with the number of original, flavorful recipes it contains, all fast & fresh, as it’s title claims.  Sadly, I did not get any photos of this meal as it disappeared off the plate too fast. Ha!
Korean-style Roasted Cod Ingredients
1 tablespoon Olive oil
1 large shallot, minced
2 teaspoons fresh ginger, peeled and minced
1 1/2 teaspoons jalapeno pepper, minced
1/3 cup low-sodium soy sauce
1/4 cup brown sugar, firmly packed
3 tablespoons rice vinegar
2 tablespoons water
1 tablespoon Asian sesame oil
4 black cod fillets (I used Chilean sea bass, but you could use any dense white-fleshed fish. Black cod is very hard to find)
2 Green Onions, white and green parts, sliced
Brown or white rice (optional)
Directions

  • I recommend serving on a bed of brown or white rice. Prepare rice according to directions, or use leftover rice.
  • Preheat the oven to 400 degrees. In a small saucepan over medium heat, warm the olive oil. Add the shallot, ginger, and chile, and saute until tender, about 3 minutes. Add the soy sauce, sugar, vinegar, and water, and simmer until the mixture is reduced to 3/4 cup (6 fl oz/ 180 ml), about 6 minutes. Remove from the heat and stir in the sesame oil. Set aside a small amount of the sauce for brushing.
  • Brush a small baking pan with olive oil, and place the fish, skin side down, in the pan. Brush the fish with the reserved sauce. Roast until just cooked through, about 10 minutes. Scoop rice onto plates (if using), and transfer the fish to plates, sprinkle with green onions, and serve right away, passing the remaining sauce alongside.
  Fellow blogger Sofull Sista also wrote about her affection for this recipe.

Red Cat Pepper Pasta Back Again

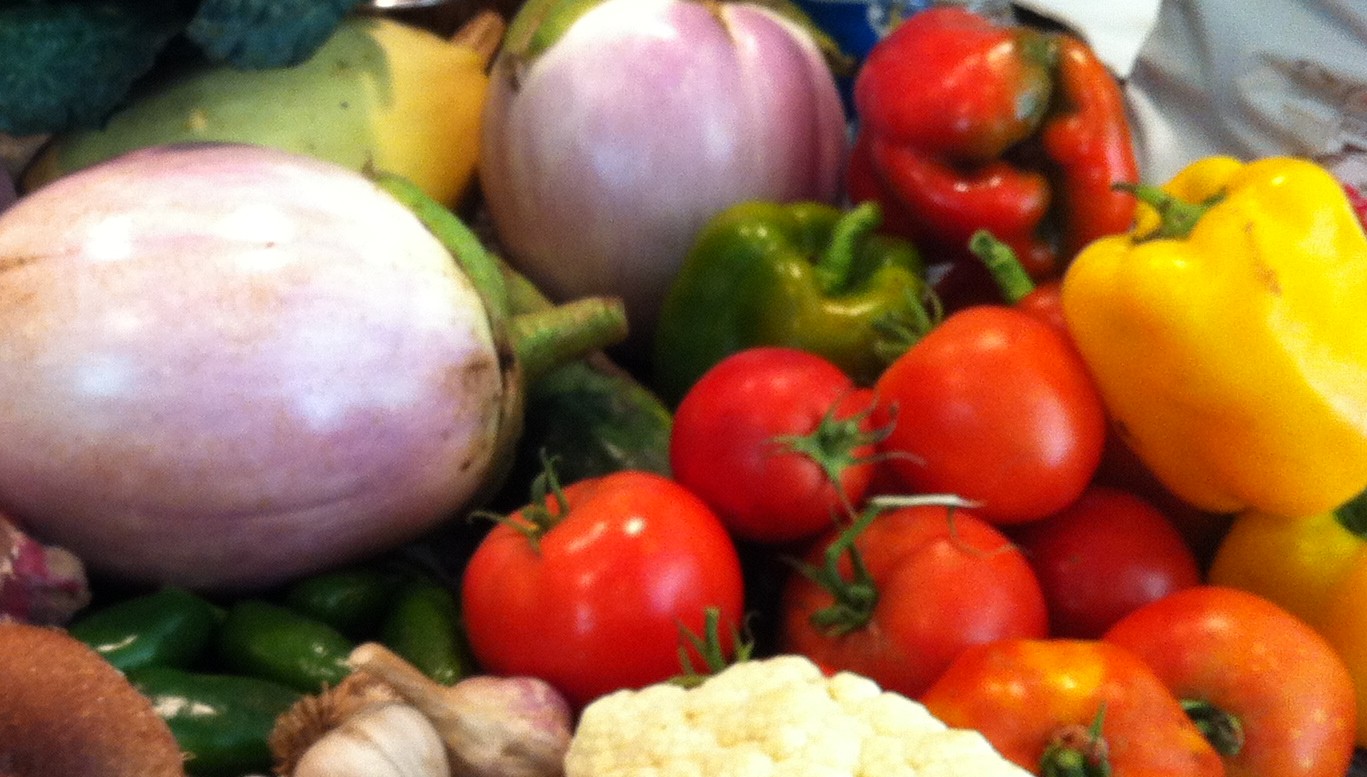
In case you didn’t notice, there are a LOT of peppers in this picture

CSA Pick-up 9/22/12. Extreme close up of peppers (bell peppers and jalapenos)

What’s a gal to do with these beauties? I’m all good on the “putting up” front. I’ve got more frozen julienned yellow, red, and green bell peppers than I know what to do with from previous pick-ups.  I thought back to a recipe from the Red Cat restaurant cookbook that Hubs and I used to prepare somewhat regularly. We also used to be Red Cat regulars and remain big fans.

Red Cat cookbook

The recipe for Bucatini with Peppers and Anchovies was salty, savory and full of texture, but always a little greasy.  The recipe also called for Italian frying peppers, which I would never have on hand and would inevitably require a special trip to the store.  Over the years, I’ve also tried to prepare  meals with  protein as the centerpiece, rather than carbohydrates. So the recipe fell to the wayside. But I thought about dusting it off and refreshing it with some of my surplus CSA ingredients.

Here’s how I updated it: I substituted fresh bell peppers for the frying peppers and used a fresh jalapeno in place of the dried chili flakes to add heat. Oh, and I used spaghettini instead of bucatini – bucatini are a long, tubular pasta shape and generally a specialty pasta. I also used less panko than the recipe called for. This, combined with the juicy bell peppers made for a moister dish than previous attempts. This recipe is going back in the rotation, with my recent updates. One tip: don’t be afraid of the anchovies. They lend flavor, saltiness and depth to the sauce. The dish does NOT taste fishy at all. Ask Hubs.

Ingredients:

200 grams of spaghettini, or other long, thin pasta that you have on hand
3 tablespoons of olive oil
3 medium cloves garlic, thinly sliced
6 anchovy fillets, minced
2 large red, orange and/or yellow bell peppers, stemmed, seeded and thinly sliced lengthwise
4-5  pepperoncini  (the chartreuse-colored, jarred peppers you find in the grocery), sliced horizontally
1 jalapeno, stemmed, seeded and minced
1/4 cup panko, or dried bread crumbs
1/4 cup grated Parmiggiano
Pinch crushed red pepper flakes (about 1/8 teaspoon)
Handful chopped parsley
1/2 lemon

Directions:

Cook the pasta according to the package directions to al dente doneness.

Meanwhile, heat the oil in a wide, deep, heavy saute pan over medium-high heat. Add the garlic and anchovies and cook for about 3 minutes, mashing the anchovies until they disintegrate. Add the bell peppers and jalapeno and cook for about 3 minutes, stirring, until the peppers soften. Add the pepperoncini, stir and remove the pan from the heat.

In a small bowl, combine the bread crumbs, Parmesan cheese, pepper flakes and parsley.

When the pasta is nearly done, reserve 1/2 cup of pasta water. I recommend using a glass measure cup, because it has a handle and you can scoop up the water easily without burning yourself. When pasta is al dente, drain it and add it to the pan with the anchovy and pepper mixture. Add half of the the bread crumb mixture, along with a splash of the pasta water. Squeeze the lemon half over the pan, using a small strainer or your hand to catch any seeds, and toss to combine.

Divide the pasta among shallow serving bowls. Top with remaining bread crumb mixture and serve. Add a splash of olive oil if pasta is dry.

Yield: 2 generous servings


Copycats

“There are no original ideas….”

is the perfect lead-in for this post. I’ve been itching to try Dan’s Baba Ghanoush recipe since he mentioned it a few weeks ago in his post. I picked up 3 beautiful Sicilian eggplants on Saturday at the Farm and had them earmarked for the Babah, as Dan calls it.

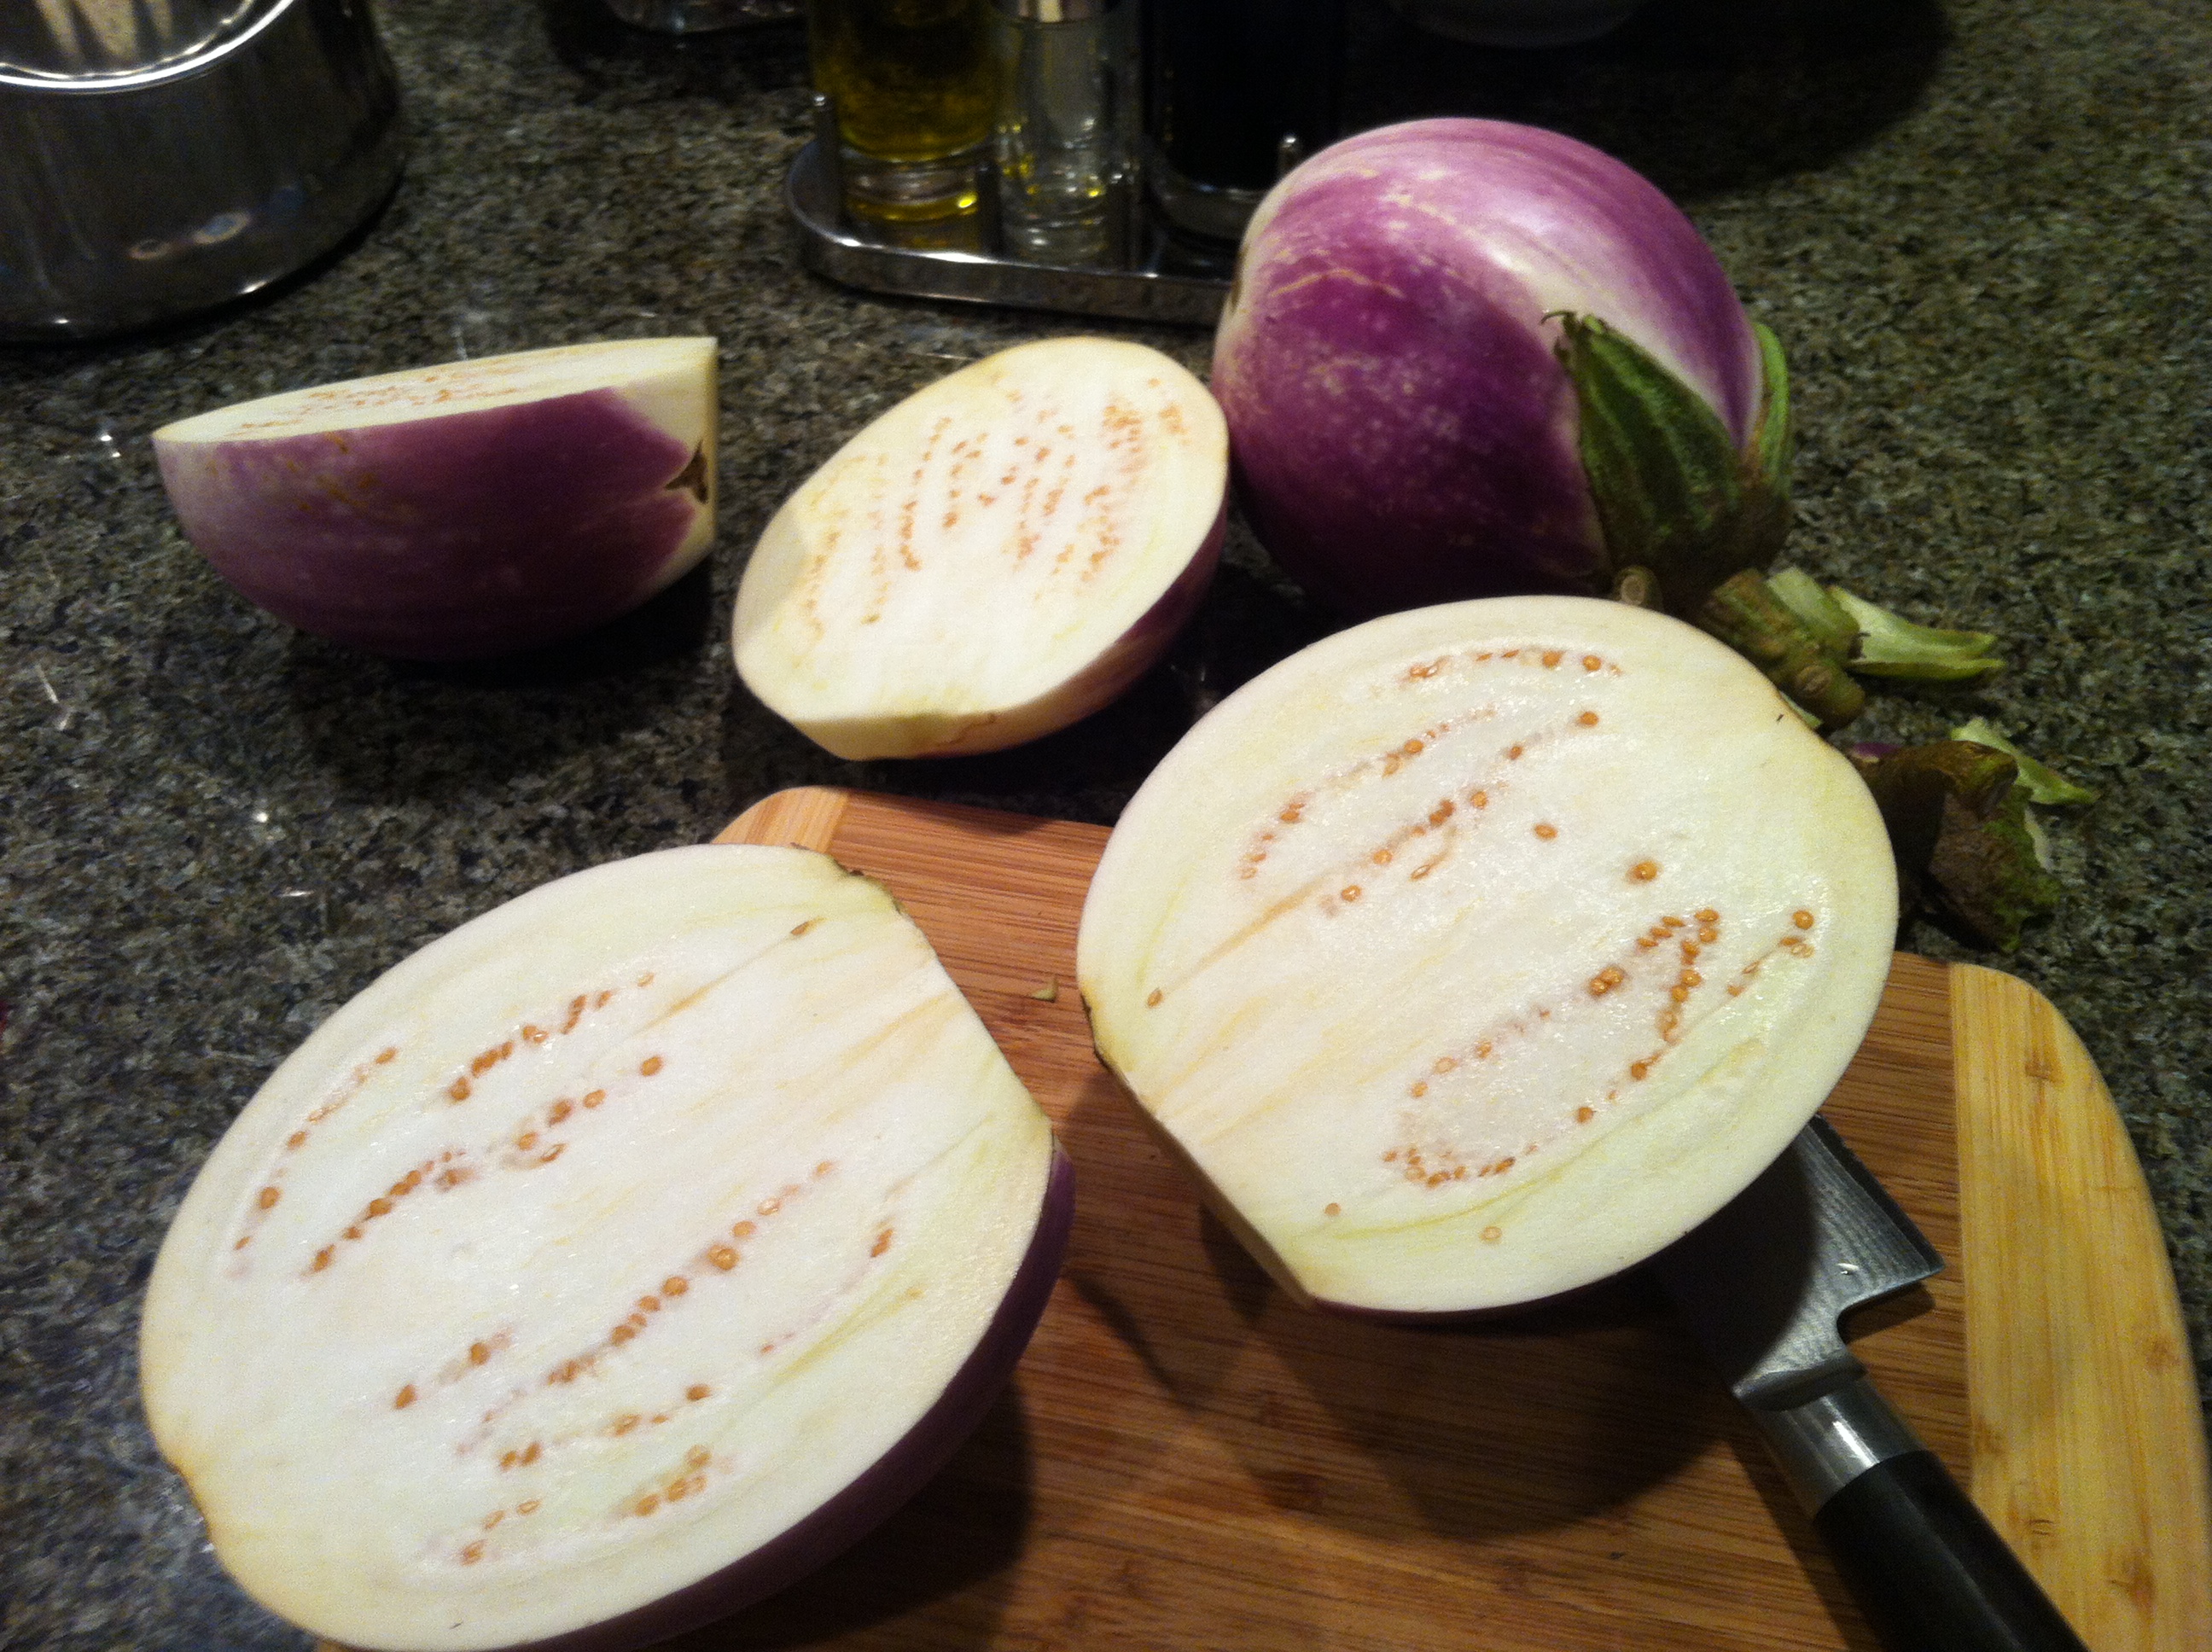
Sicilian eggplants getting ready for the oven

I had hoped to prepare them on the grill to ensure the yummy smokiness Dan wrote about. But alas the weather did not cooperate with said plan and I wound up roasting them in the oven. I will readily admit that I am NOT experienced with eggplant prep, so I had to do some research in addition to following Dan’s recipe. Eggplant and I are not simpatico.

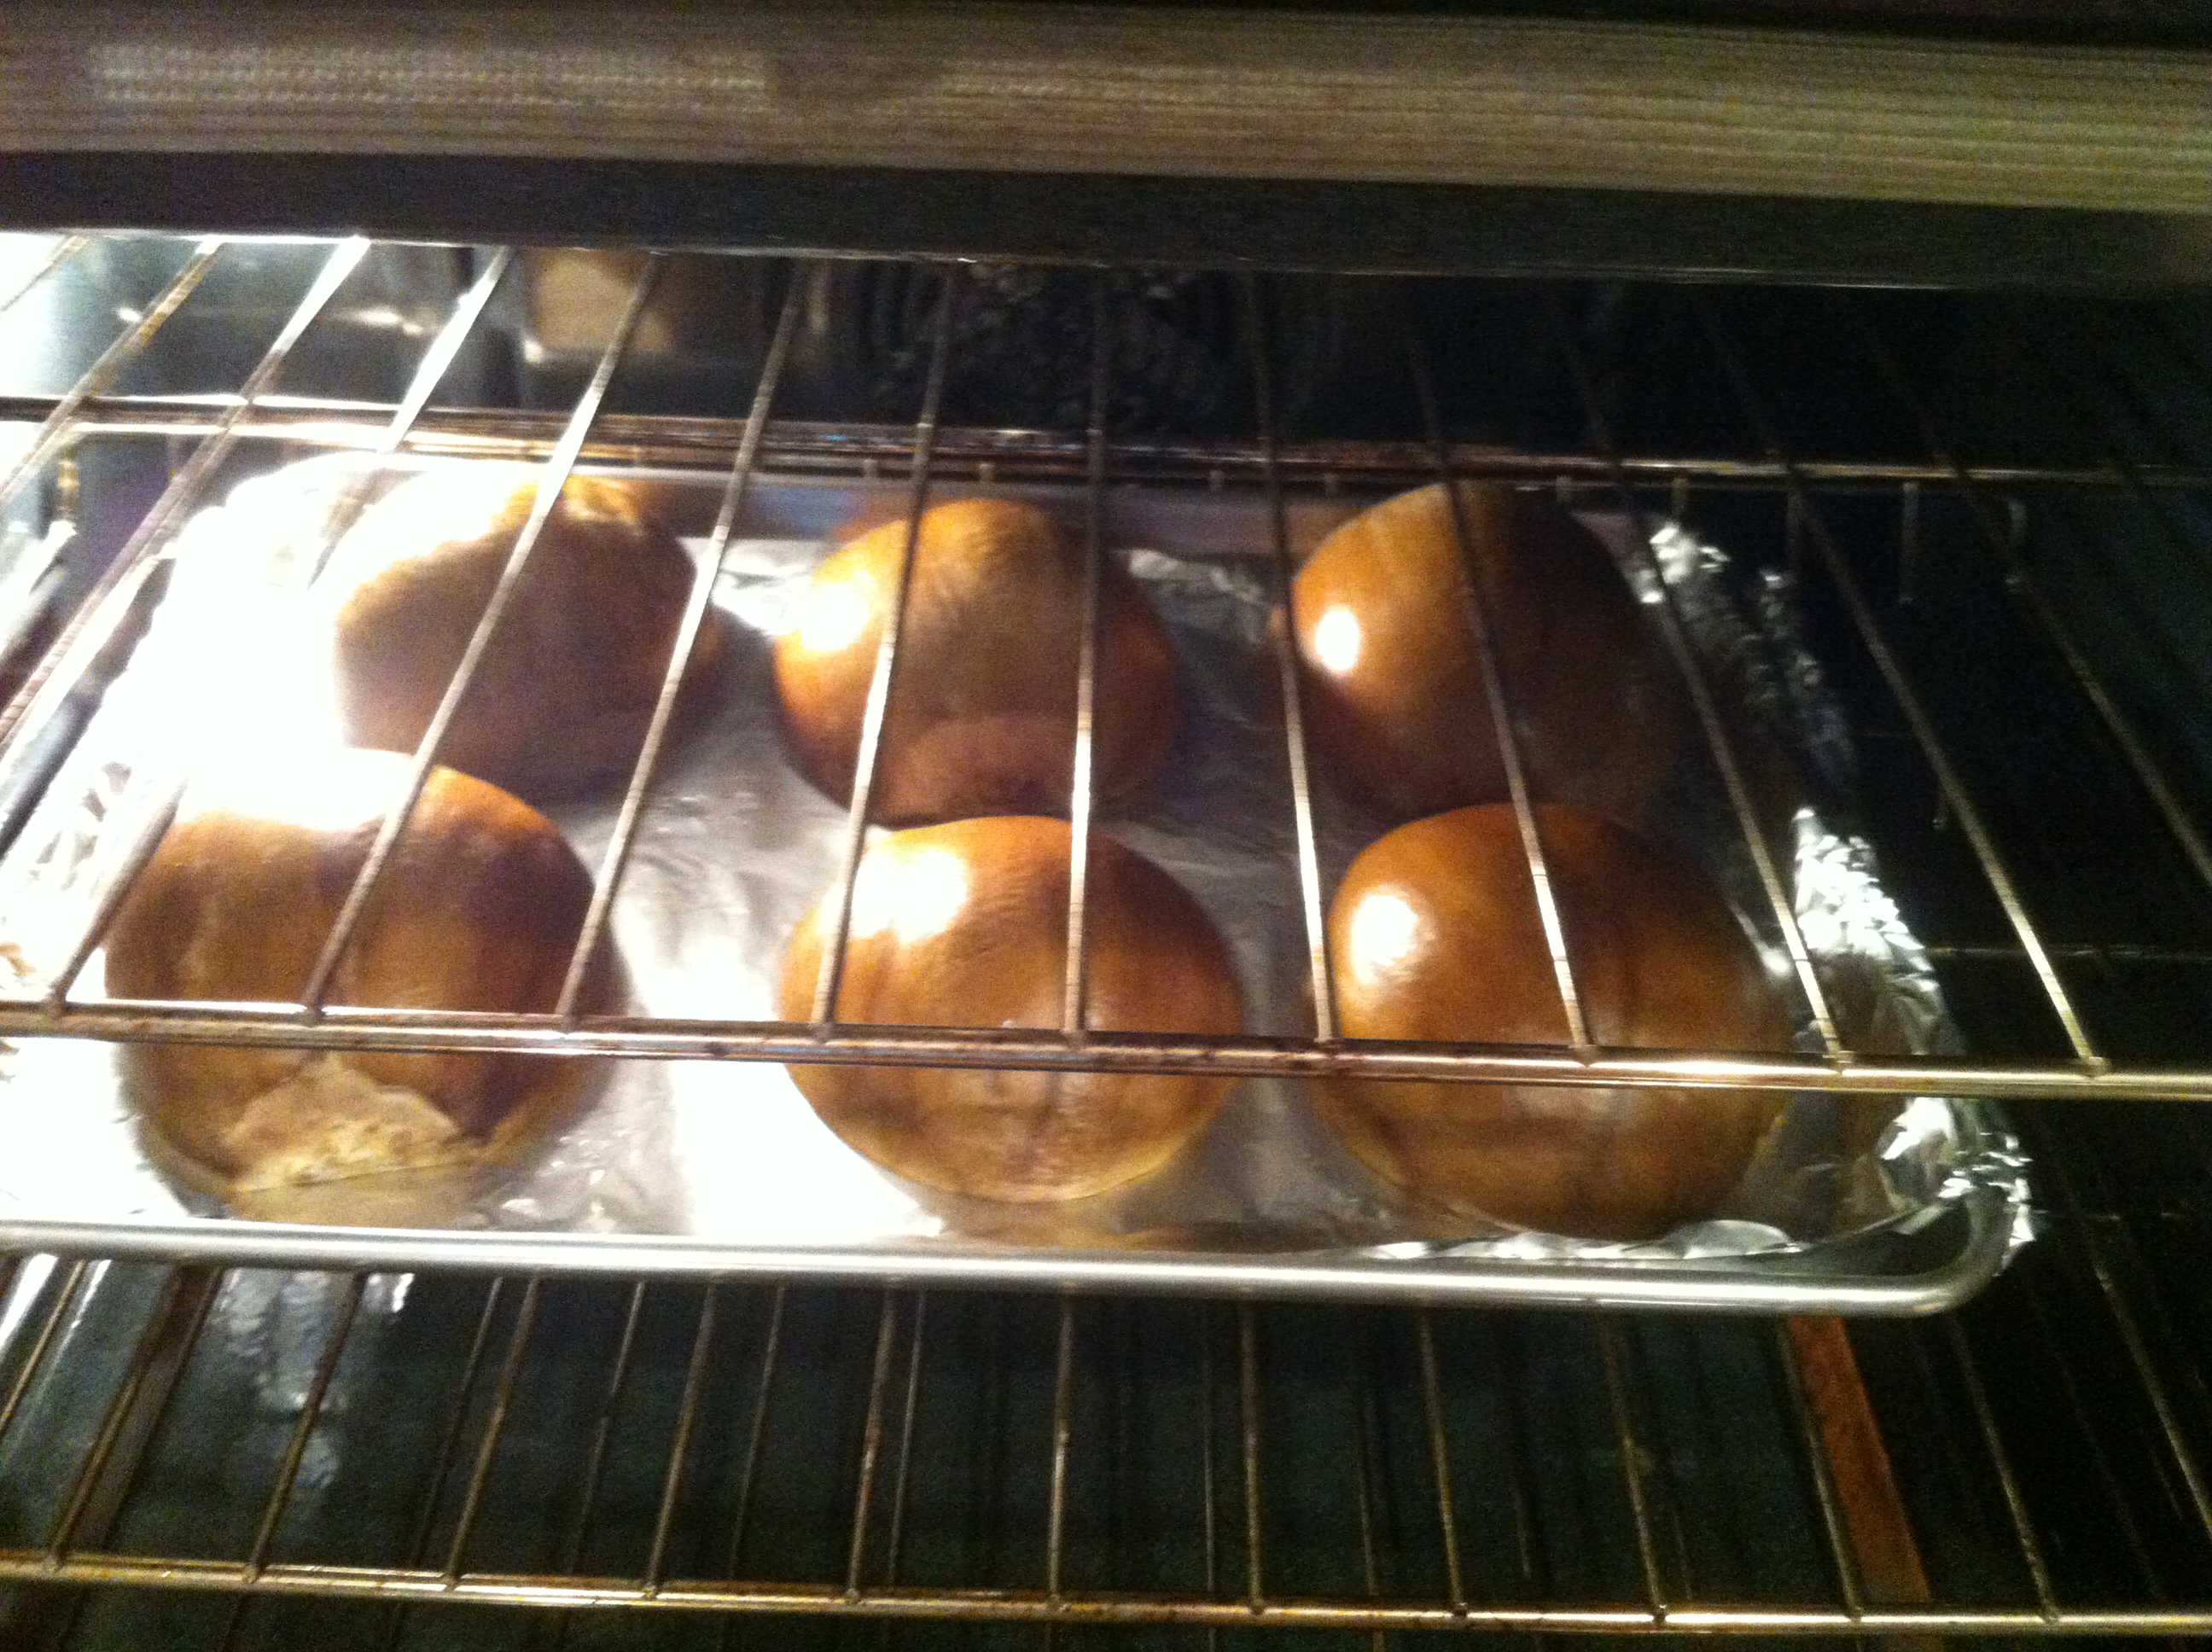
You hear a lot about bitterness in eggplants, and the need to salt and/or drain them as part of the preparation process. Large seeds are typically an indicator of bitterness. Since these eggplants were super fresh and had small seeds (see photo above), I chose to skip salting and draining them. I lined a baking sheet with foil, and rubbed it with a small amount of olive oil. For the eggplants, I cut off the tops and sliced them in half, scored the flesh side, placed them on the baking sheet and roasted at 475F for about 35-40 minutes.

Roasting eggplants, like buns in the oven

I let the eggplants cool and then followed the recipe from Claudia Roden’s  “The New Book Of Middle Eastern Cooking.” I wound up doubling the recipe because I had about 4 pounds of eggplant. As an aside, I felt quite diligent because I used my recently purchased Escali scale to weight them in advance. Handy purchase.

Verdict: Very tasty eggplant dish, absolutely no bitterness, so good call not to salt/drain.

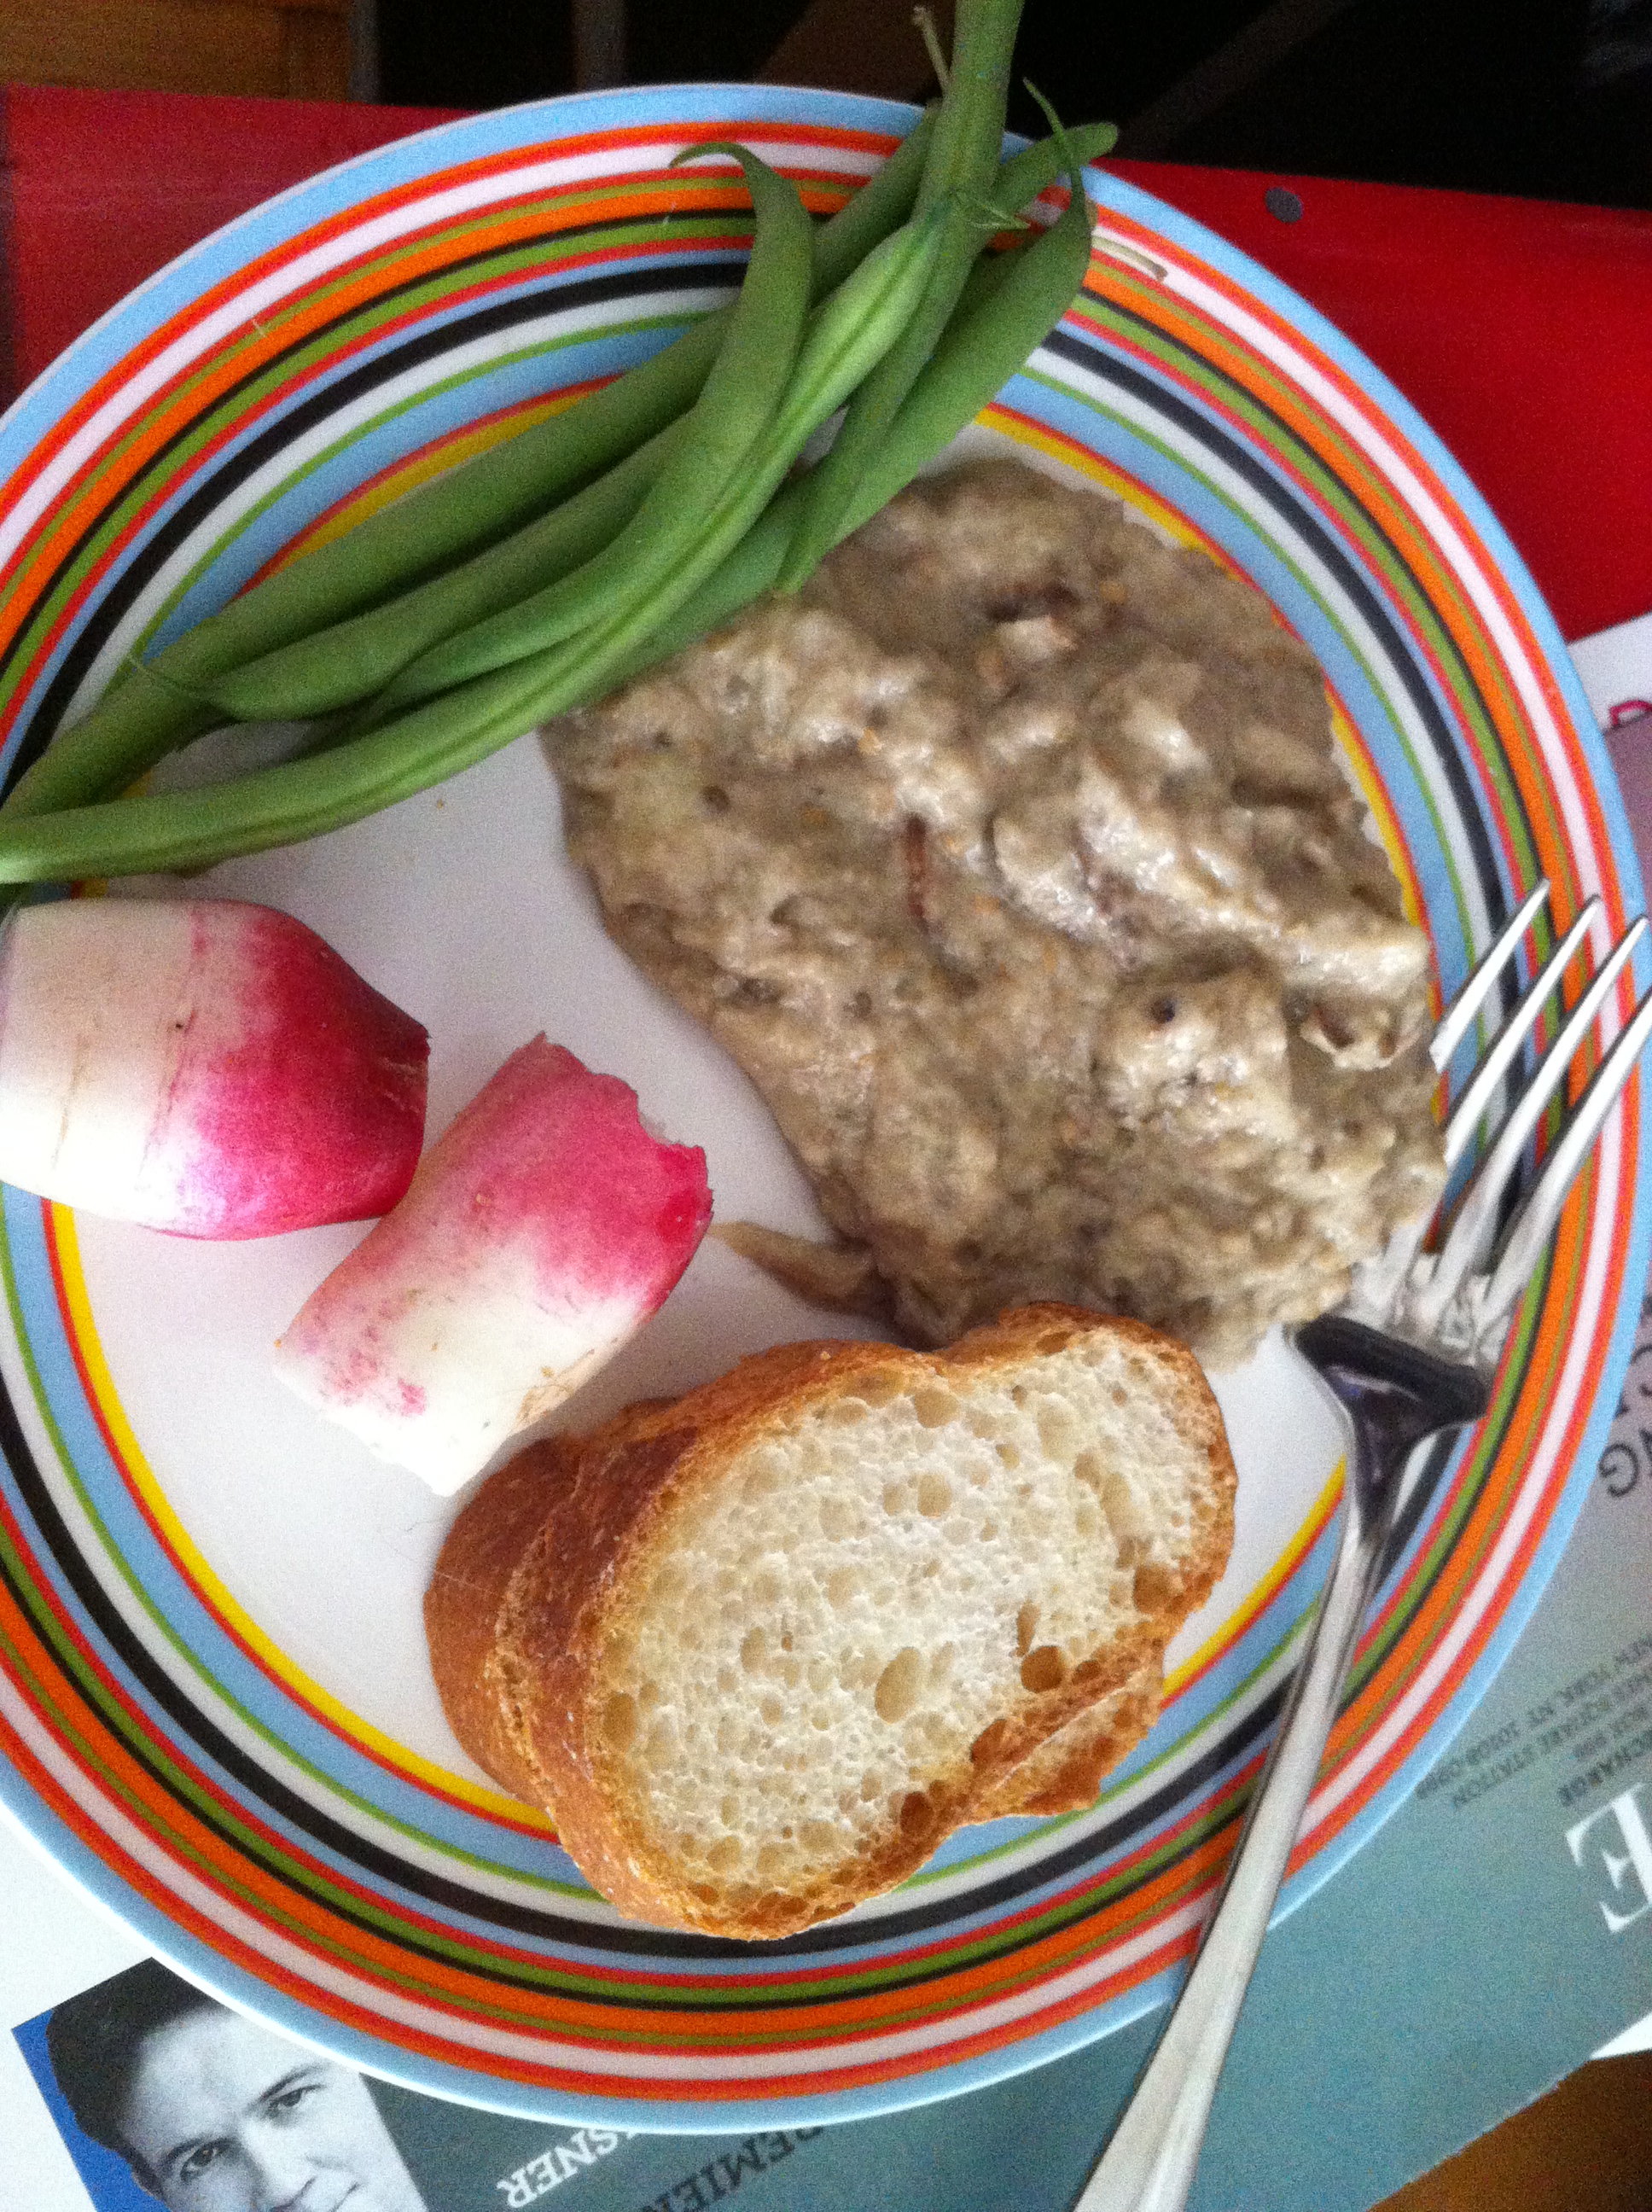
Today’s Lunch: Raw veggies, sliced baguette and homemade Babah Ghanoush

But I didn’t achieve the much-desired smokiness that comes with grilling. I read on The Shiksa’s blog that you CAN achieve that smokiness in the oven if you roast a few minutes longer than you think you need to. Must try that next time. Eggplant and I will become BFF.

Baby got Babah

OK, OK, OK, I know Deblog is back but a promise is a promise. I made some of this from awesome WSF eggplants and it was a huge hit with some very recherché NYC types. You can get the tahini at most major supermarkets. If you are lucky enough to live in Brooklyn Heights or Cobble Hill, you can get it at Sahadi. Up here in the ‘shires. its available at Guidos and the gourmet shop on north Route 7 near the Kmart (no snickering you manhattanites out there) In mahn-hadtdtdun its available here and there. Its an important component so don’t try this at home without it. I’ve pdf’d the page from Claudia Roden’s The New Book Of Middle Eastern Cooking. Click on the word “baba” to see the recipe. Enjoy it with crostini, crackers, pita or on tomatoes.

Baba

Vegetables and Trickery

I had absolutely no plans for Friday night dinner. I vaguely thought we’d pick up something ready to go for dinner and relished the absolute lack of planning. While in the car, we made a pit stop at the Farmer’s Market in Sheffield, MA, in search of inspiration for our meal. I was conscious not to be tempted by the wares on display and splurge the night before our CSA Pick-up, and focus only on the meal at hand. I also knew what we had in the house

  • 1 v large zucchini
  • 1/4 head of cabbage
  • Potatoes galore
  • Eggs

Pretty limited selection, I know. We picked up a few ears of corn from a trusted farmer and had hopes that it would be tastier than last week’s. Hubs and I talked over a tomato salad and looked around for some, but only “paste tomatoes” were on display.  Still early in the season, said Dominic and his crew from Moon in the Pond Farm. A vague idea started forming in my mind about zucchini fritters or some kind of veg pancake. I suggested it to Hubs and he looked nonplussed.

I hit the books when we got home and offered a few suggestions based on an old copy of Bon Appetit and my handy How to Cook Everything Vegetarian cookbok by, you guessed it, my food idol Mark Bittman. I suggested this recipe for Shaved Zucchini with Parmesan and Pine Nuts to Hubs. He scoffed – too obvious a use of zucchini, a verboten vegetable. I then suggested some fritter recipes and we settled on Korean Style Crispy Vegetable Pancakes. The fact that the recipe name contained the words “pancake” and “crispy” helped sell it.

Vegetable Trickery: Korean Style Crispy Vegetable Pancake

I followed the recipe with the exception of using rice flour, which I didn’t have on a hand. I halved the recipe and it made 2 large pancakes. My first pancake did not turn out as crispy and I considered it my “tester” pancake, a phrase coined by Hubs. The second pancake is pictured above. I used about a cup of shredded zucchini, a healthy handful of thinly shredded cabbage, as well as a carrot, scallions and chives from the garden.

So that’s where the trickery comes in. You couldn’t individually identify the zucchini or cabbage, but they were in there. On their own, these ingredients would never fly in our house, but mixed into a dish with the word “pancake” in it, I could get away with it. There are a bunch of food writers out there proposing recipes like this all the time, especially for kids.  Things like stashing sweet potatoes in muffins, not to name names [Jessica Seinfeld], but I’m generally not a proponent of this method. I want ingredients to shine and for the people I’m cooking for to know what they are eating. But I mention it here because you could put almost any veg in this dish, serve it with dipping sauce and it would be roundly praised.

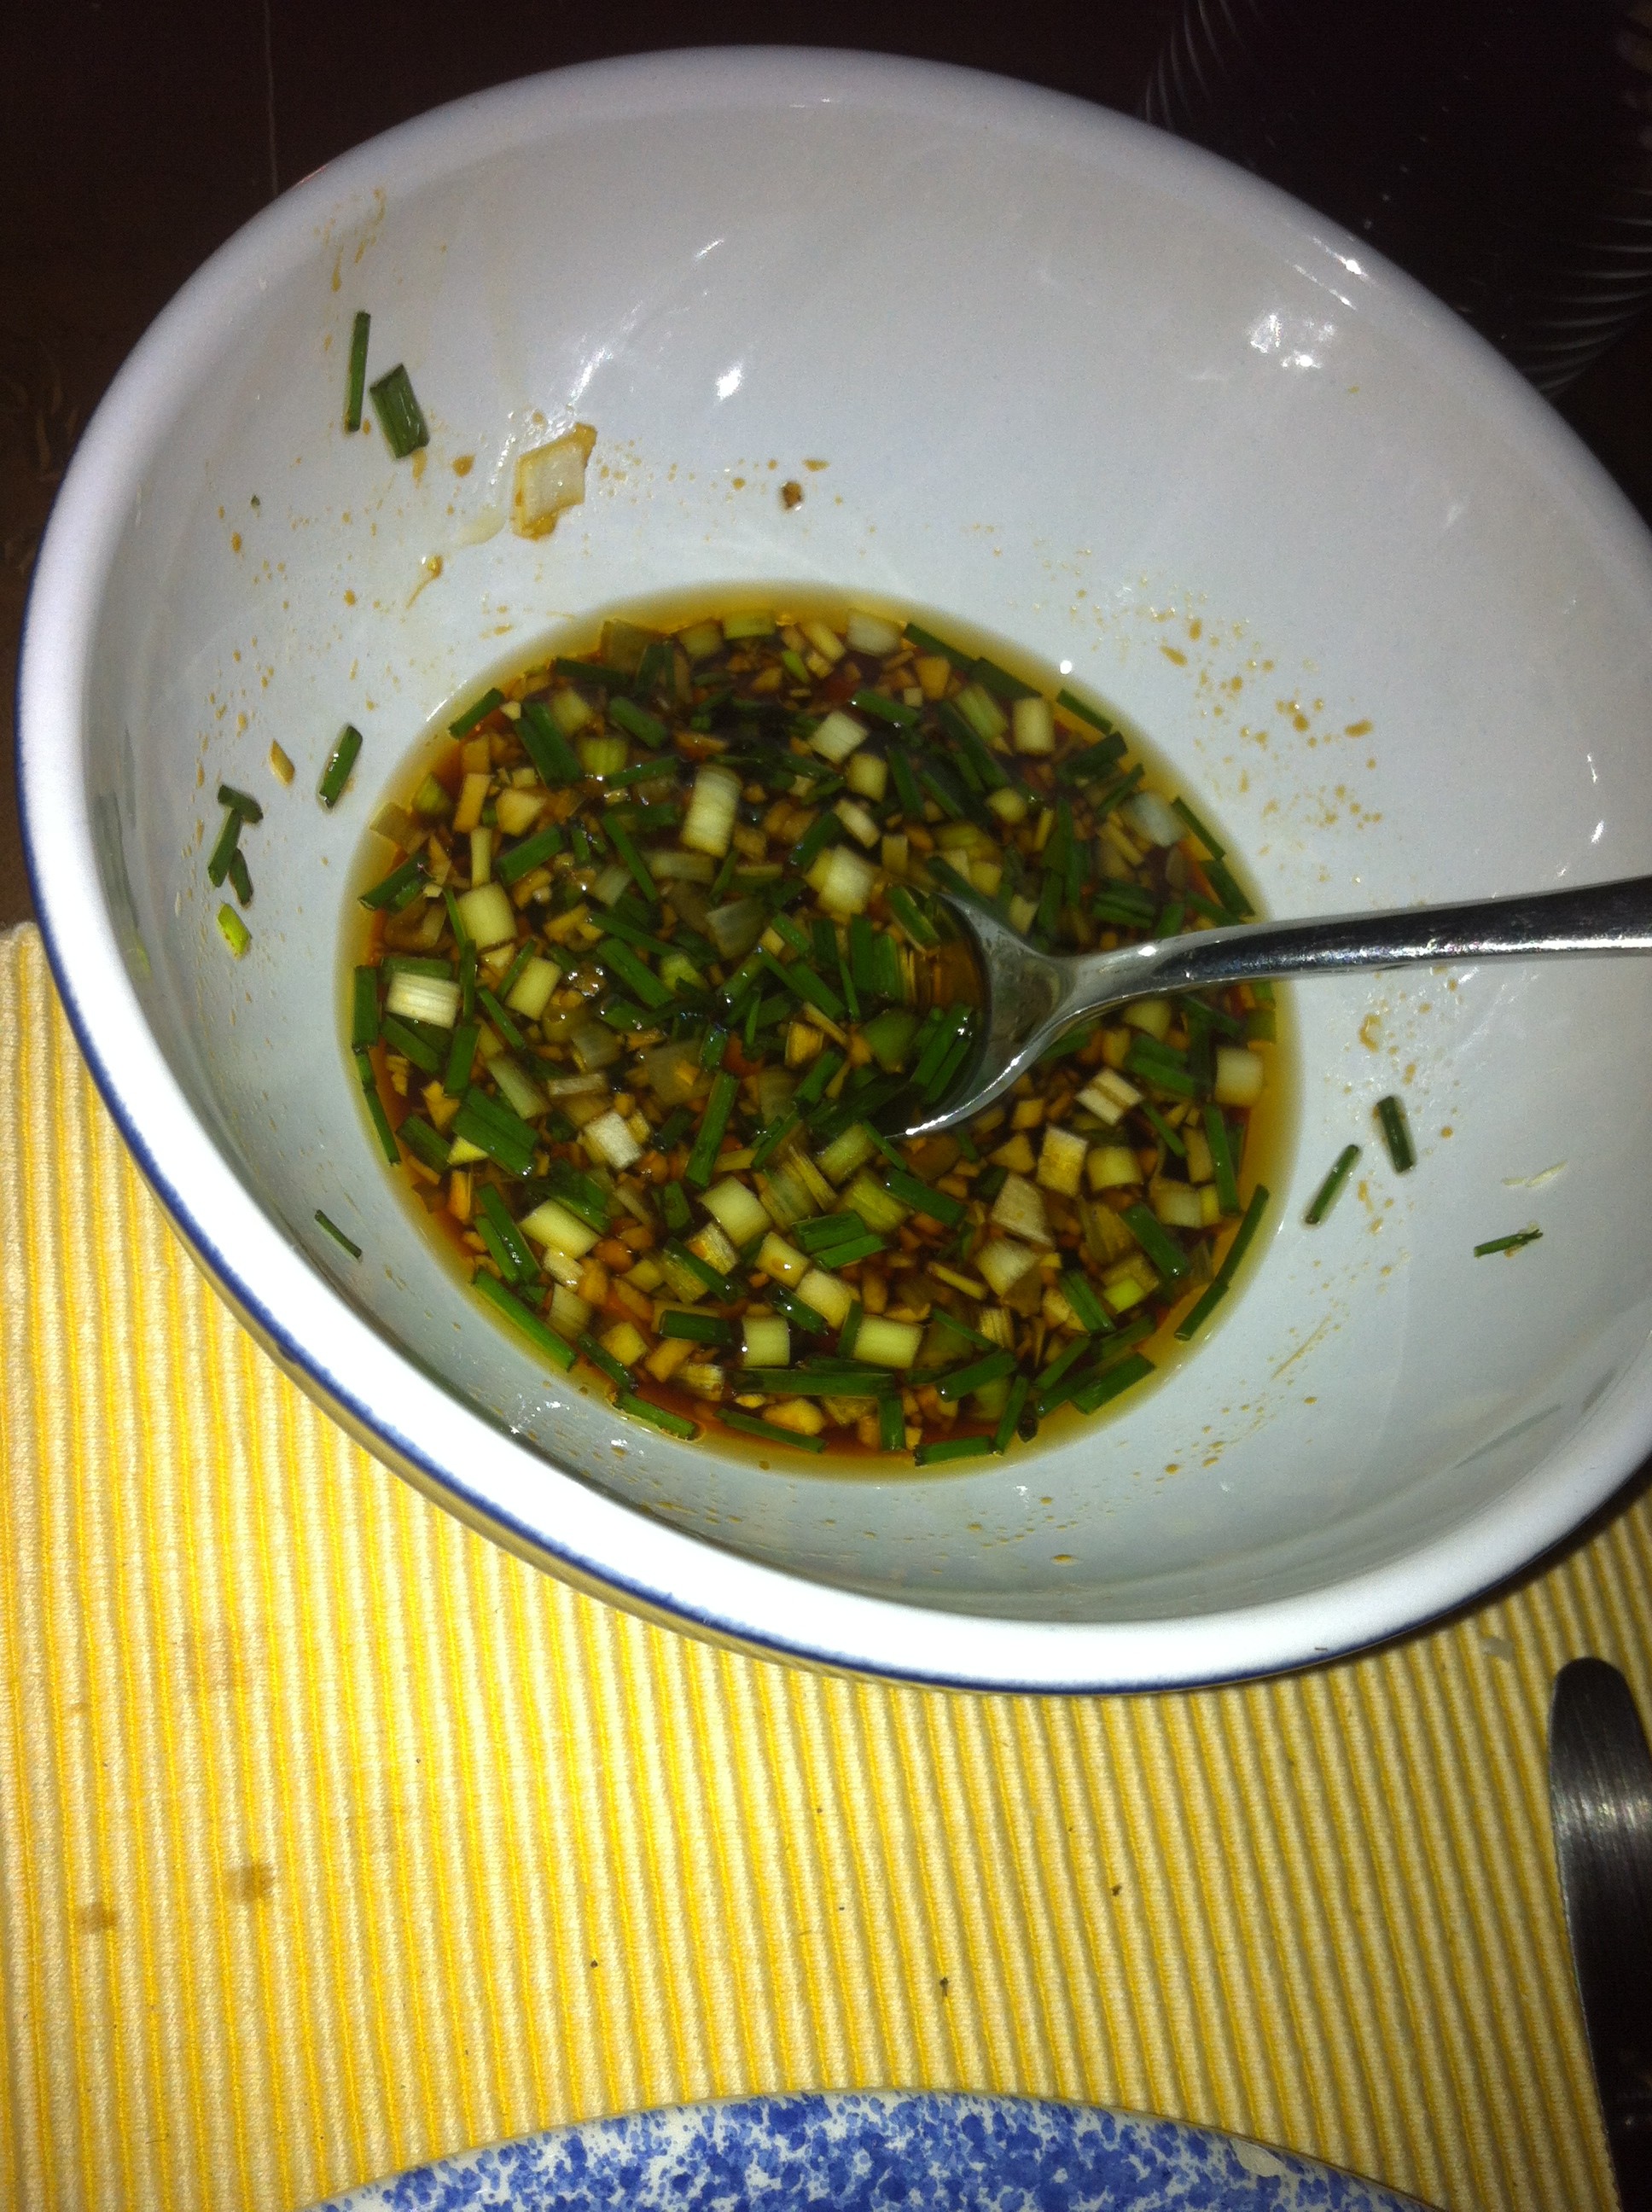
Scallion Ginger dipping sauce

Final word from Hubs: “Pretty good for an impromptu meal.” I would definitely make the Crispy Pancakes again, using rice flour as Bittman recommends. We also had corn on the cob and some mixed greens. The corn was sweet and succulent, with even rows of ears. As it should be.

Grilled Trout with Tarragon

This grilled marinated trout recipe is so tasty and yummy, even carnivores find it irresistible. I found it in this handy cookbook that my in-laws Steve and Dorothy gave us a few years ago during a summer visit. It’s called the Big Book of Barbecuing and Grilling. There are some easy and worth-repeating recipe in this book by Hilaire Walden, and the spiral-bound format is also handy. The one critique I would give it is that the author feels compelled to present recipes about grilling anything and everything (as the title would suggest), but grilling is not the most convenient or suitable method for grilling anything and everything.

Big Book of Barbecuing and

GrillingTrout with Tarragon

  • 2 whole trout, about 12 oz each
  • 6 tbsp olive oil
  • 1 1/2 tbsp lemon juice
  • 2 shallots, minced
  • 1 garlic clove, minced
  • 1 tbsp fresh tarragon, chopped
  • 1 tbsp fresh flat leaf parsley, chopped
  • 1 tsp dijon mustard
  • 1 tsp soy sauce

Instructions:

  1. Make marinade by mixing all ingredients except trout together in bowl. Let sit for at least 30 min so that flavors can combine
  2. Rinse and pat dry the trout. Make 3 slashes on exterior of each side of the trout using the sharp point of a paring knife. Brush or rub the marinade liberally on the inside and outside of the trout, also into the slits. Place in a non-reactive dish, cover and allow to marinade for 1-2 hours.
  3. Prepare grill and make sure it is well oiled so fish will not stick. You can grill the trout directly on the grill, or in an oiled hinged basket [we grill directly on charcoal grill]. Wipe off excess marinade from fish and place on grill once very hot. Grill for about 6 min on each side, testing for doneness with a thin knife (should meet no resistance)
  4. Remove from grill and transfer to plates. Serve with lemon wedge and extra plate for guests to remove head and tail from fish.

We started Saturday night dinner with my Early Corn Chowder, followed by the Trout and mustard-y coleslaw on the side. The Chowder turned out great, too. And it tastes even better on day 2

Extreme Weather and Corn

Ever heard of “Early Drought Corn”? Well, that’s what we picked up today at the Farm. Unfamiliar phrase to me as well, but the result of all the intense heat and sun combined with below average rainfall means that the first corn cobs of the season are small, not super flavorful and even kind of ugly.

We had our first of the season local corn on the cob last night purchased from the Amenia Farmers Market in Dutchess County, NY. We soaked the ears, grilled them and then slathered them with butter, salt and pepper. They were good, not great.

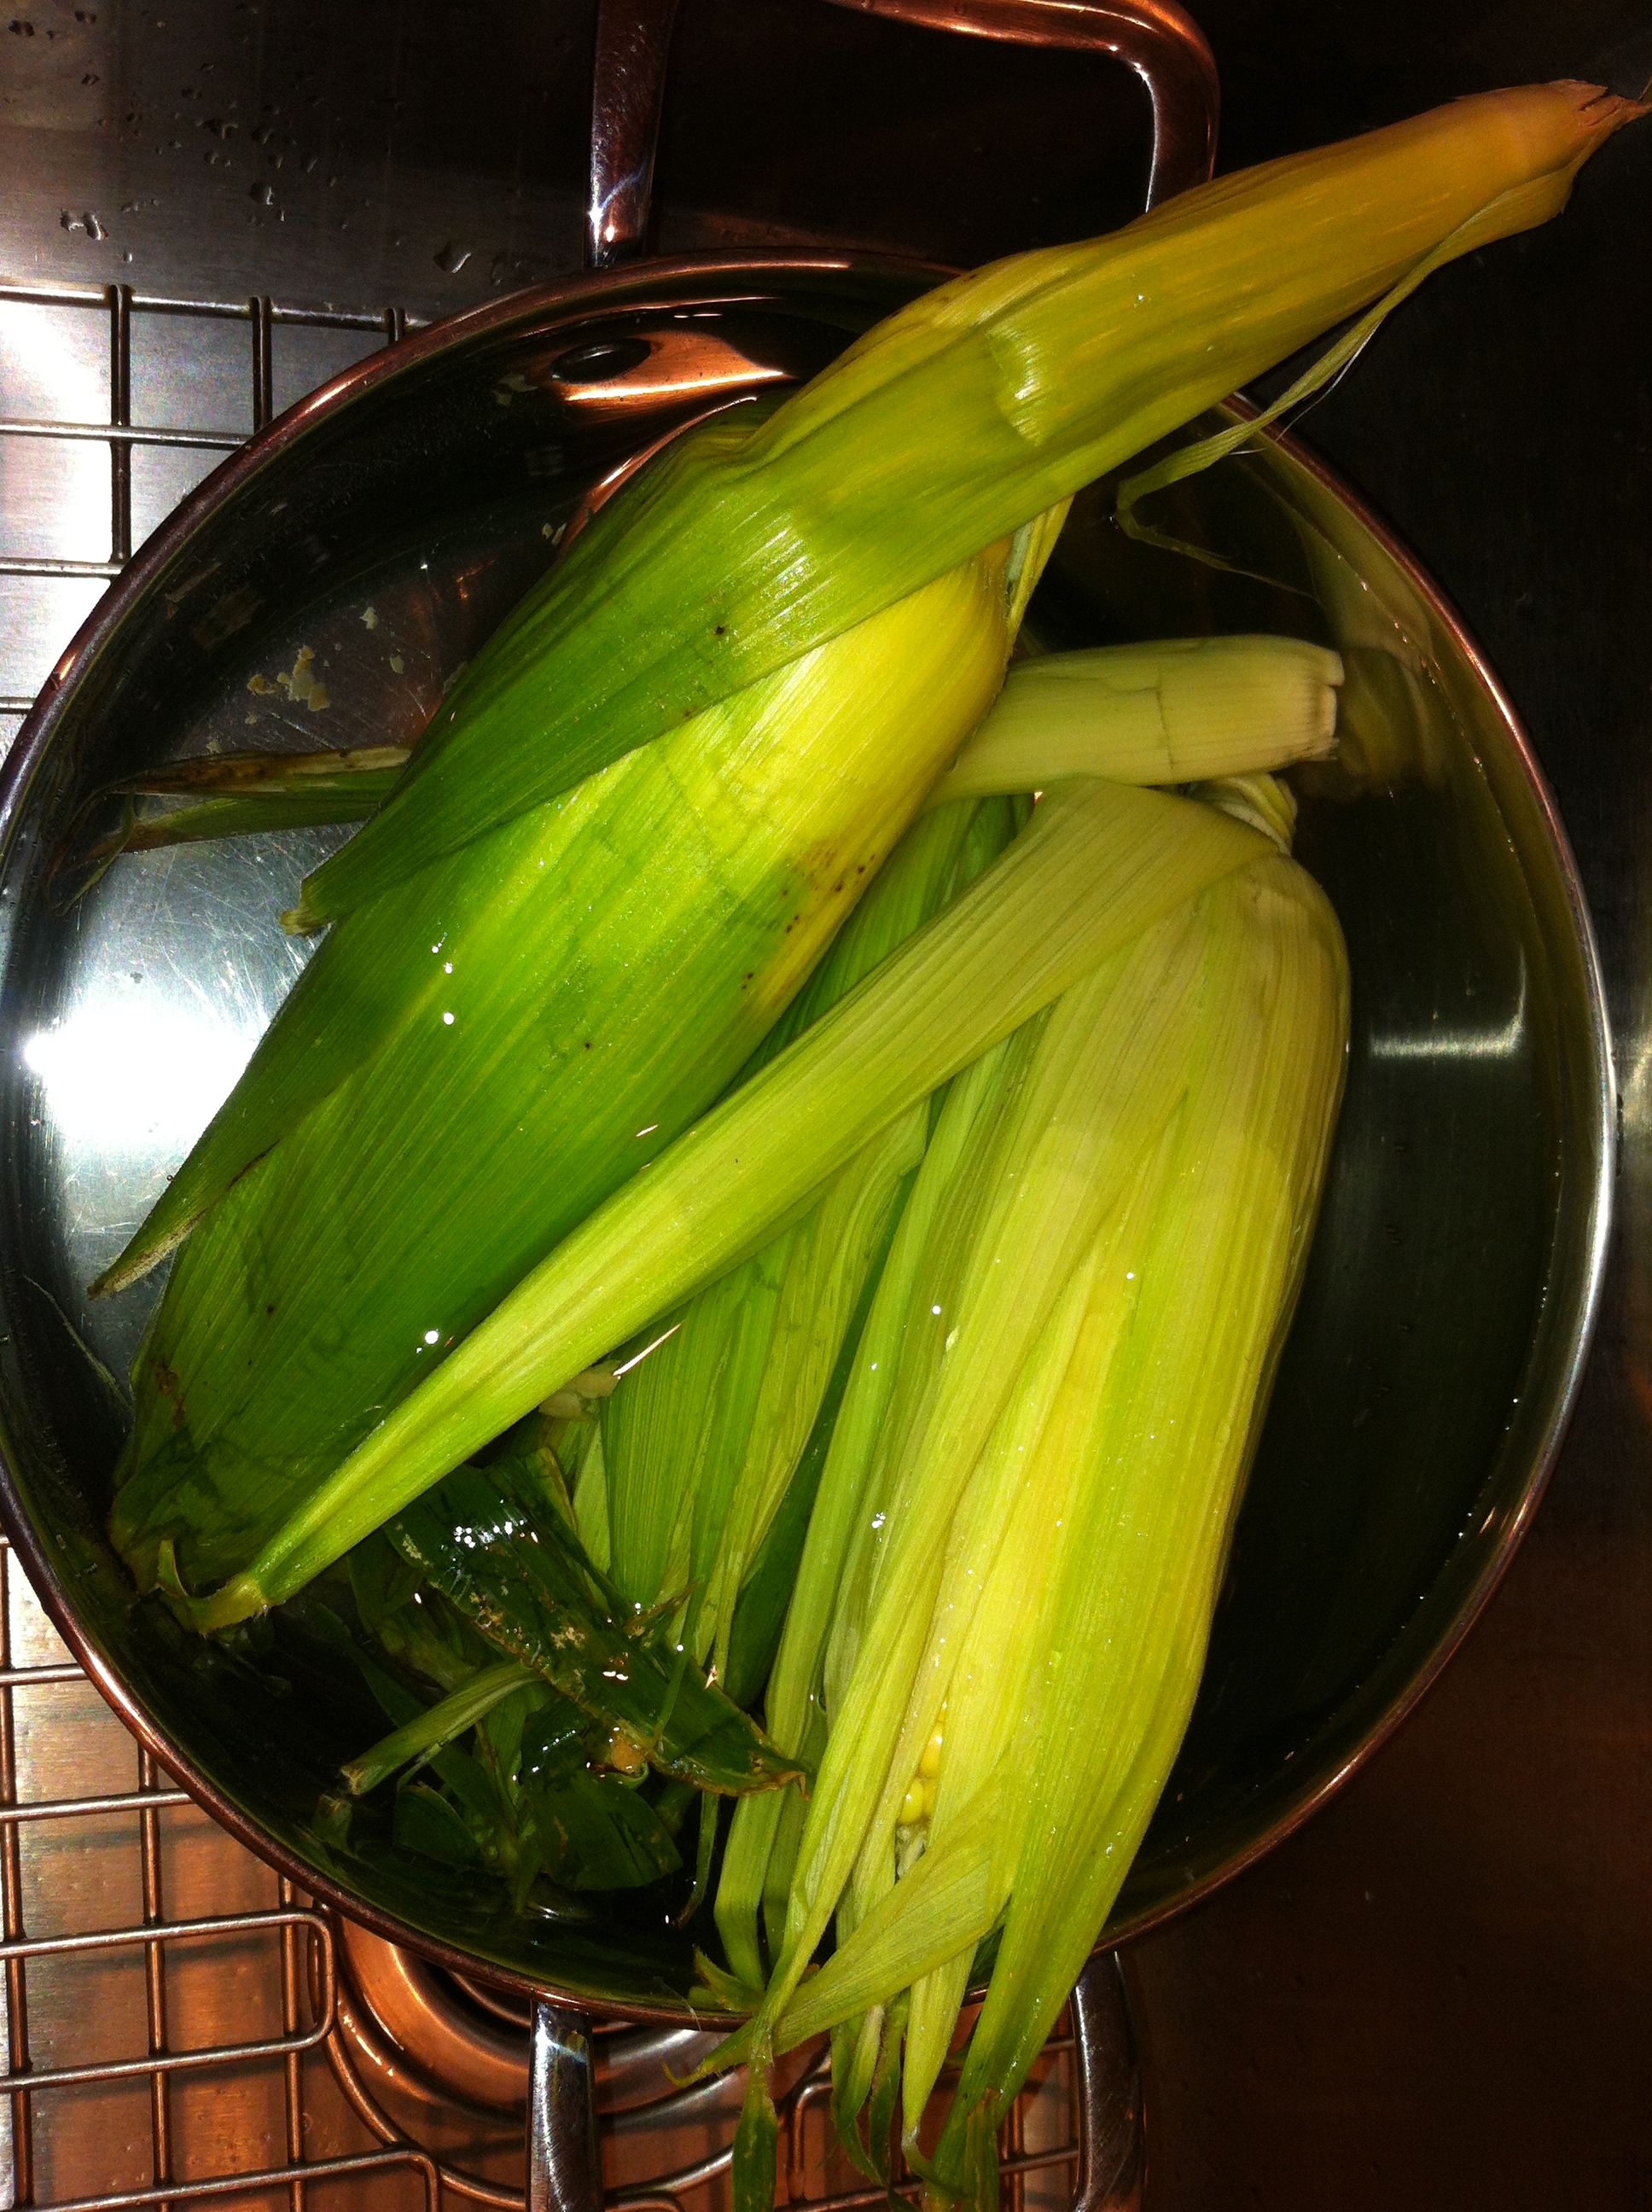
Prepping for the grill: soaking the corn on the cob, silks removed

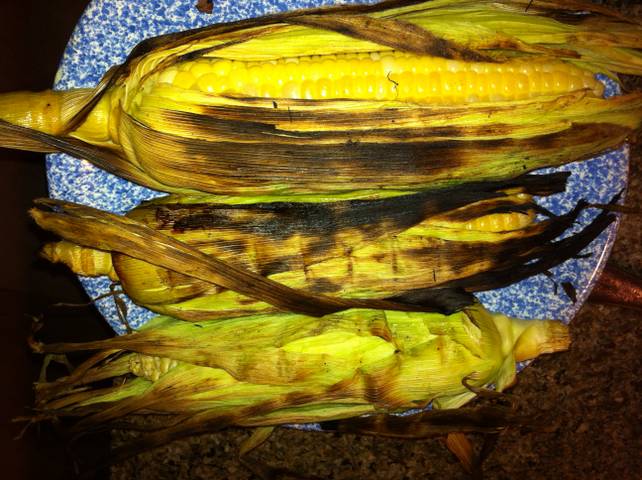
Fresh off the grill, grilled corn on the cob still wearing their husks

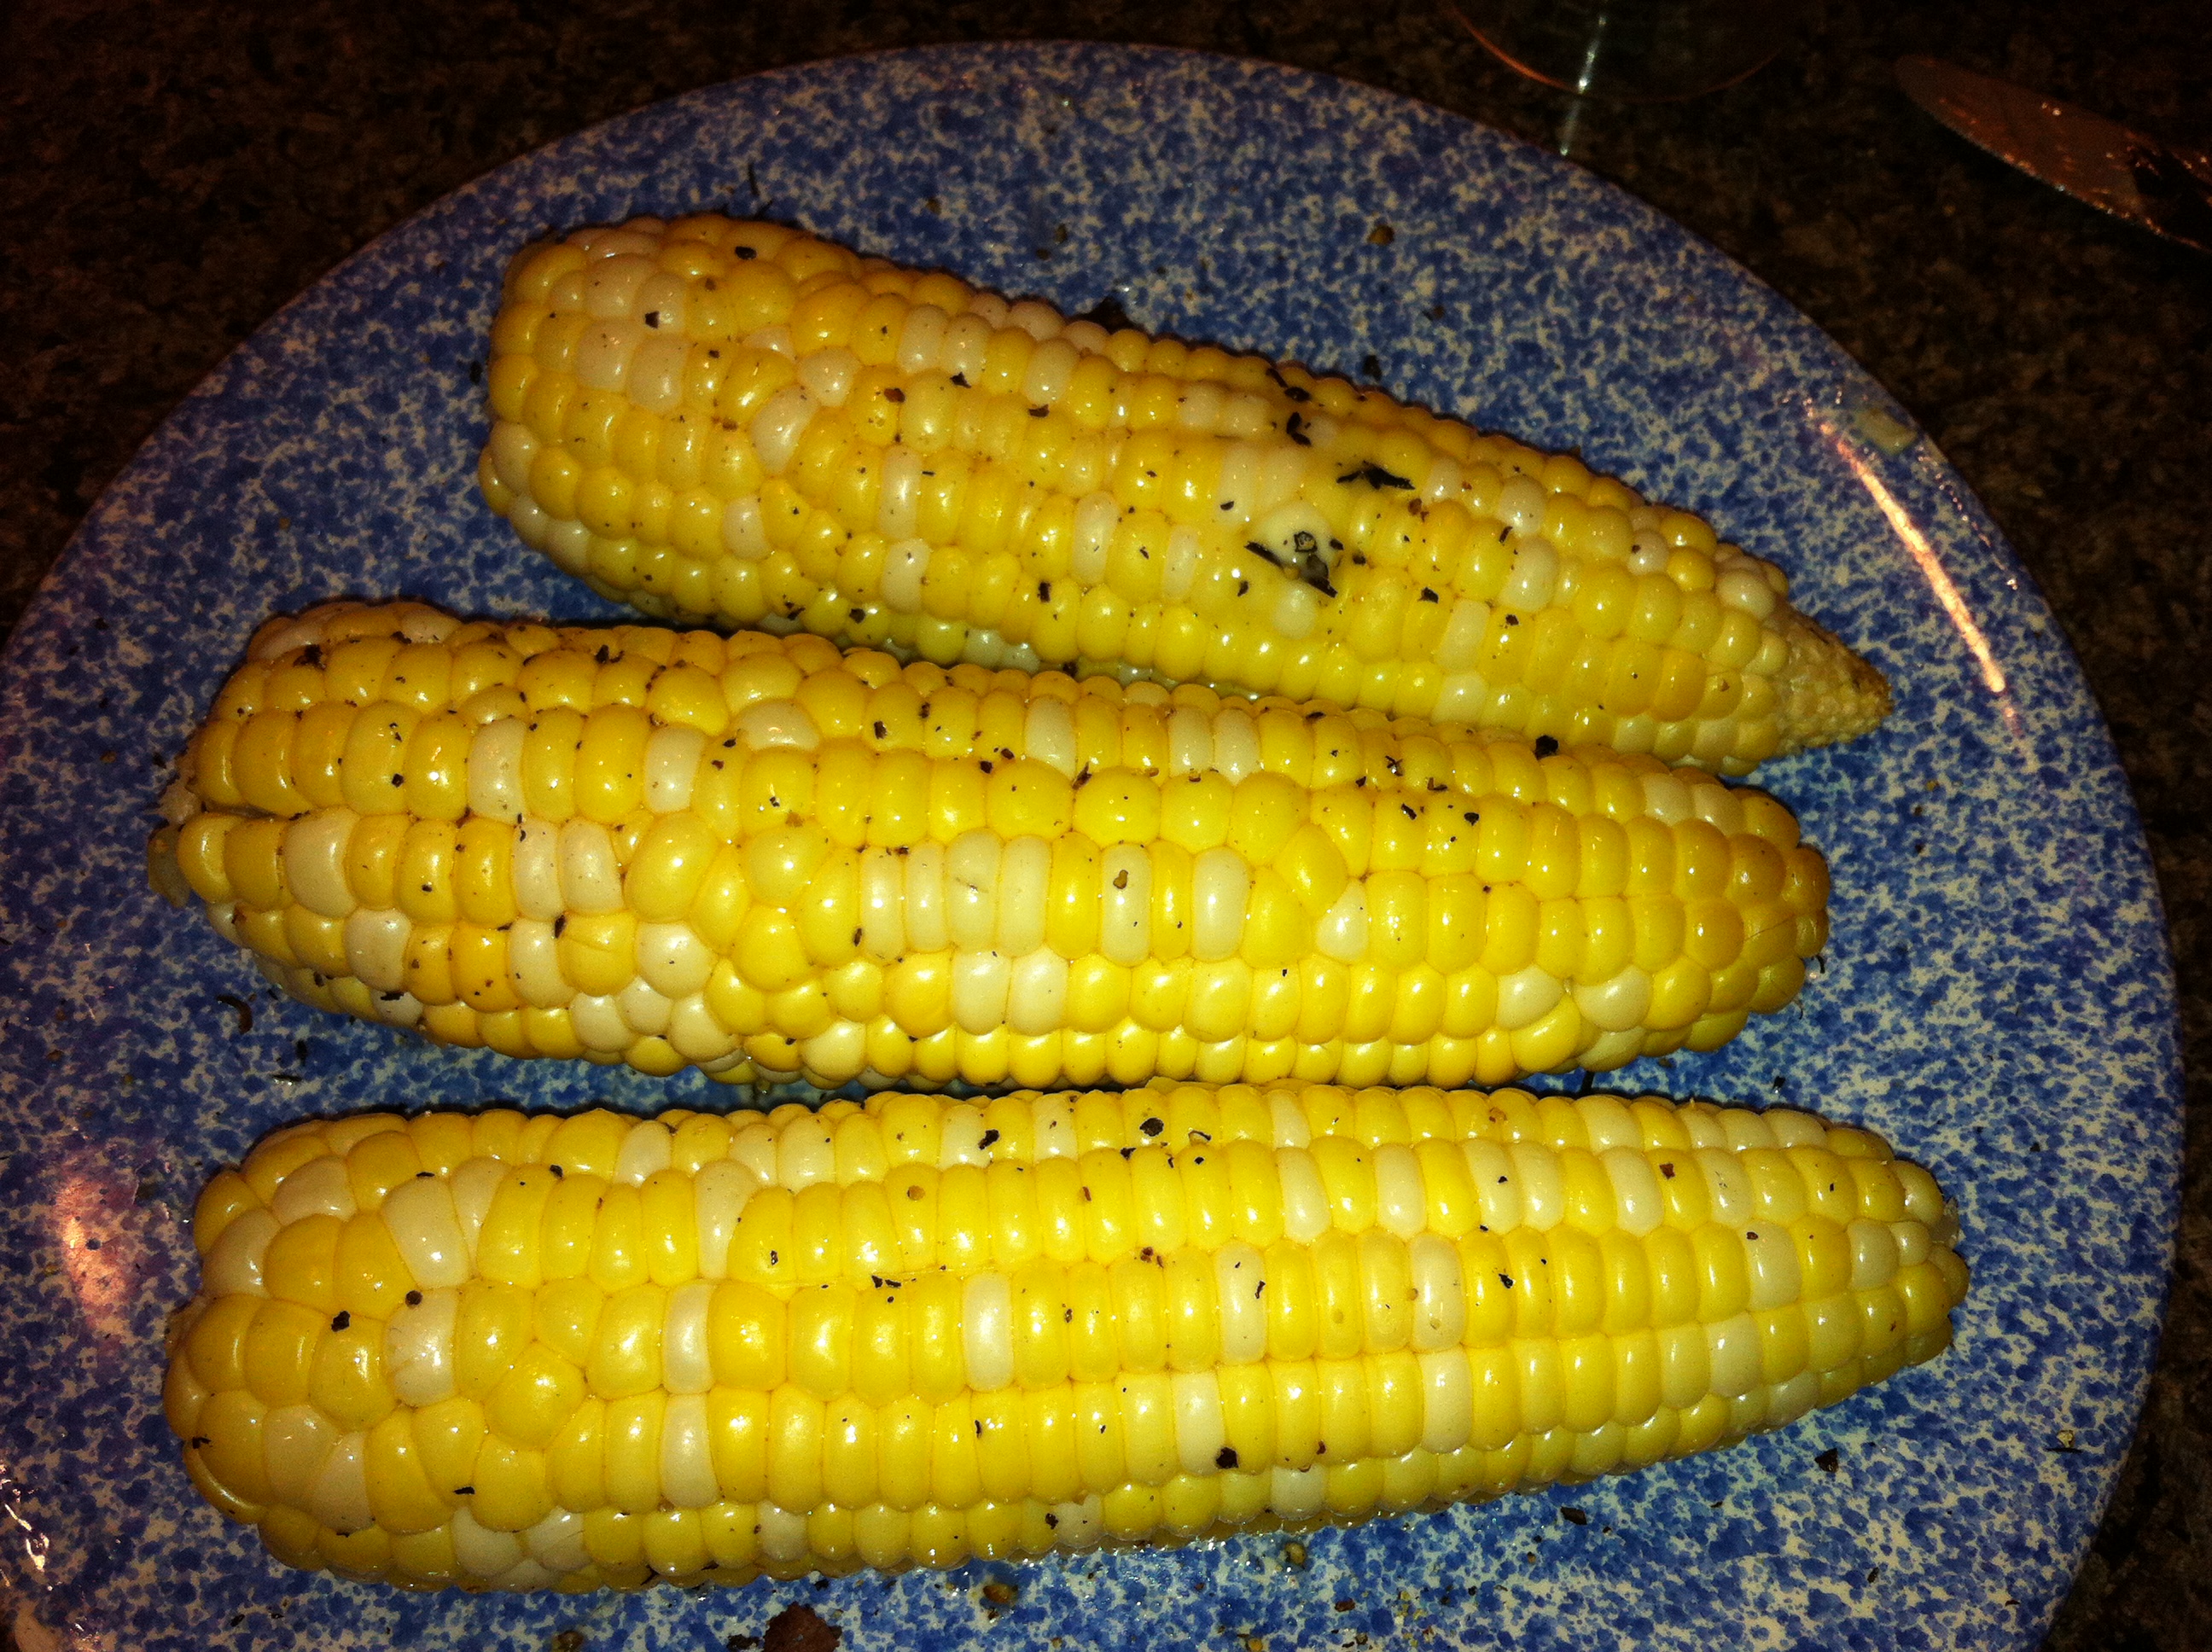
Finished product: slathered in butter, salt and pepper and ready to go

Today’s haul of 8 ears from Wolfe Spring Farm had a similarly undernourished look to last night’s, so we decided better to cook with them than feature them in all their glory ‘naked’ on the cob. I decided on a corn chowder and combined 2 recipes to make my own: this recipe from Mark Bittman’s Minimalist column and this recipe from the Red Cat Cookbook. I like Bittman’s recipe because he makes a rustic ‘broth’ from the corn cobs and I like the Red Cat’s recipe because they add a little heat. Here’s my adaptation.

Early Corn Chowder

  • 6-8 ears corn
  • 1 tablespoon butter
  • 1 medium onion, chopped
  • 1 shallot [I used this because we have them from today’s CSA pick-up, but not necessary]
  • 4 medium new potatoes, peeled and chopped into 1/2 cubes
  • 2 dried peppers
  • Salt and freshly ground black pepper
  • 2-3 small tomatoes cored and seeds removed, optional [I used them as I had tomatoes in my pick-up, but not necessary]
  • 1 cup milk
  • handful of fresh chives, optional

Instructions: 

1. Shuck the corn and use a paring knife to strip the kernels into a bowl. Put the cobs in a pot with 6-8 cups water; bring to a boil, cover, and simmer for 10-20 minutes.

2. Melt the butter in a large saucepan or soup pot and turn the heat to medium-high. When the butter melts, add the onion and shallots, along with a sprinkling of salt and pepper. Cook, stirring occasionally, until the onion softens, about 5 minutes; then add the potatoes and saute another 5 minutes; add the tomatoes if you’re using them and cook, stirring, for another minute or two. Add the dried peppers, crushing them if you like more heat.

3. After the corn cobs have cooked for at least 10 minutes, strain the liquid into the onion-potato mixture. Bring to a boil, then turn the heat down so the mixture simmers. When the potatoes are tender, about 10 minutes, add the corn kernels and milk and heat through. Taste and adjust seasoning if necessary. Can be prepared in advance and served at room temperature or chilled. If you like a creamier soup, you can puree the soup partially with a stick blender, and/or use 1/2 cup of heavy cream in place of 1/2 cup of the milk. Garnish with the chives, and serve.

It’s still early days for the corn season. Please share your favorite recipes, too.

Monday, Monday – What’s for Dinner?

I always feel like I have to eat virtuously early in the week as things do start to slide downhill as the weekend approaches. Tonight I’ll make another favorite, particularly in warm weather – Seared Tuna with Shallot Gremolata. This is an easy and tasty recipe from a Williams Sonoma cookbook called “Weeknight Fresh + Fast” by Kristine Kidd. This recipe will take no more than 15 minutes from start to finish, not including the time to purchase fresh tuna steaks. Props to my dear friend Lauren for giving me this book as a gift last year.

As an aside, this is a great cookbook that takes a unique approach to categorizing recipes. All recipes are bucketed by season and feature seasonal ingredients.This recipe is ironically in the “Winter” section, but seasonality is linked to location, right?  It’s the citrus used in the recipe that places it in the “Winter” section, but since lemons and oranges never grow in NY without extraordinary efforts, I have no qualms about making this in July. Plus, I’ll use a few ingredients from my CSA pick up and garden.

Tuna with Shallot Gremolata recipe adapted  by me from Weeknight Fresh + Fast. Serves 2

  • 2 tuna steaks, about 6 ounces each (sushi grade tuna preferred)
  • 1 teaspoon mustard seeds
  • 1 teaspoon ground fennel seeds (use a mortar and pestle)
  • 1 lemon
  • few tablespoons chopped flat leaf parsley (from my herb garden)
  • 1 small minced shallot (from CSA Pick-up)
  • 2 teaspoons olive oil

Instructions: Mix together mustard seeds and fennel seeds and press into both sides of tuna steaks. Sprinkle with salt and pepper

Prepare gremolata: zest lemon in a bowl and add chopped parsley and shallot. Add a drizzle of olive oil to moisten the mixture. Gremolata done.

Prepare tuna steaks: Lightly coat a nonstick pan or cast iron pan with olive oil and heat over medium  to medium-high heat. Once hot, add the tuna steaks and cook 2-3 min per side depending on thickness of steak. I like to leave it very rare, or pink, in the middle. Sprinkle with gremolata and serve immediately

—–

You will have gremolata left over. Consider this a bonus – save it in the fridge and use it on other grilled dishes. It will stay for a few days.

On the side: You can serve this with any starch, or a light salad of fennel, red onion slices and orange slices. I love the fennel salad, but hubs never touches it, so I’m not bothering tonight.

We will have steamed haricot verts with a mustard vinaigrette and grilled bread rubbed with garlic and a hint of tomato (pan con tomate for you Spanish foodies)