Grilled Trout with Tarragon

This grilled marinated trout recipe is so tasty and yummy, even carnivores find it irresistible. I found it in this handy cookbook that my in-laws Steve and Dorothy gave us a few years ago during a summer visit. It’s called the Big Book of Barbecuing and Grilling. There are some easy and worth-repeating recipe in this book by Hilaire Walden, and the spiral-bound format is also handy. The one critique I would give it is that the author feels compelled to present recipes about grilling anything and everything (as the title would suggest), but grilling is not the most convenient or suitable method for grilling anything and everything.

Big Book of Barbecuing and

GrillingTrout with Tarragon

  • 2 whole trout, about 12 oz each
  • 6 tbsp olive oil
  • 1 1/2 tbsp lemon juice
  • 2 shallots, minced
  • 1 garlic clove, minced
  • 1 tbsp fresh tarragon, chopped
  • 1 tbsp fresh flat leaf parsley, chopped
  • 1 tsp dijon mustard
  • 1 tsp soy sauce

Instructions:

  1. Make marinade by mixing all ingredients except trout together in bowl. Let sit for at least 30 min so that flavors can combine
  2. Rinse and pat dry the trout. Make 3 slashes on exterior of each side of the trout using the sharp point of a paring knife. Brush or rub the marinade liberally on the inside and outside of the trout, also into the slits. Place in a non-reactive dish, cover and allow to marinade for 1-2 hours.
  3. Prepare grill and make sure it is well oiled so fish will not stick. You can grill the trout directly on the grill, or in an oiled hinged basket [we grill directly on charcoal grill]. Wipe off excess marinade from fish and place on grill once very hot. Grill for about 6 min on each side, testing for doneness with a thin knife (should meet no resistance)
  4. Remove from grill and transfer to plates. Serve with lemon wedge and extra plate for guests to remove head and tail from fish.

We started Saturday night dinner with my Early Corn Chowder, followed by the Trout and mustard-y coleslaw on the side. The Chowder turned out great, too. And it tastes even better on day 2

Extreme Weather and Corn

Ever heard of “Early Drought Corn”? Well, that’s what we picked up today at the Farm. Unfamiliar phrase to me as well, but the result of all the intense heat and sun combined with below average rainfall means that the first corn cobs of the season are small, not super flavorful and even kind of ugly.

We had our first of the season local corn on the cob last night purchased from the Amenia Farmers Market in Dutchess County, NY. We soaked the ears, grilled them and then slathered them with butter, salt and pepper. They were good, not great.

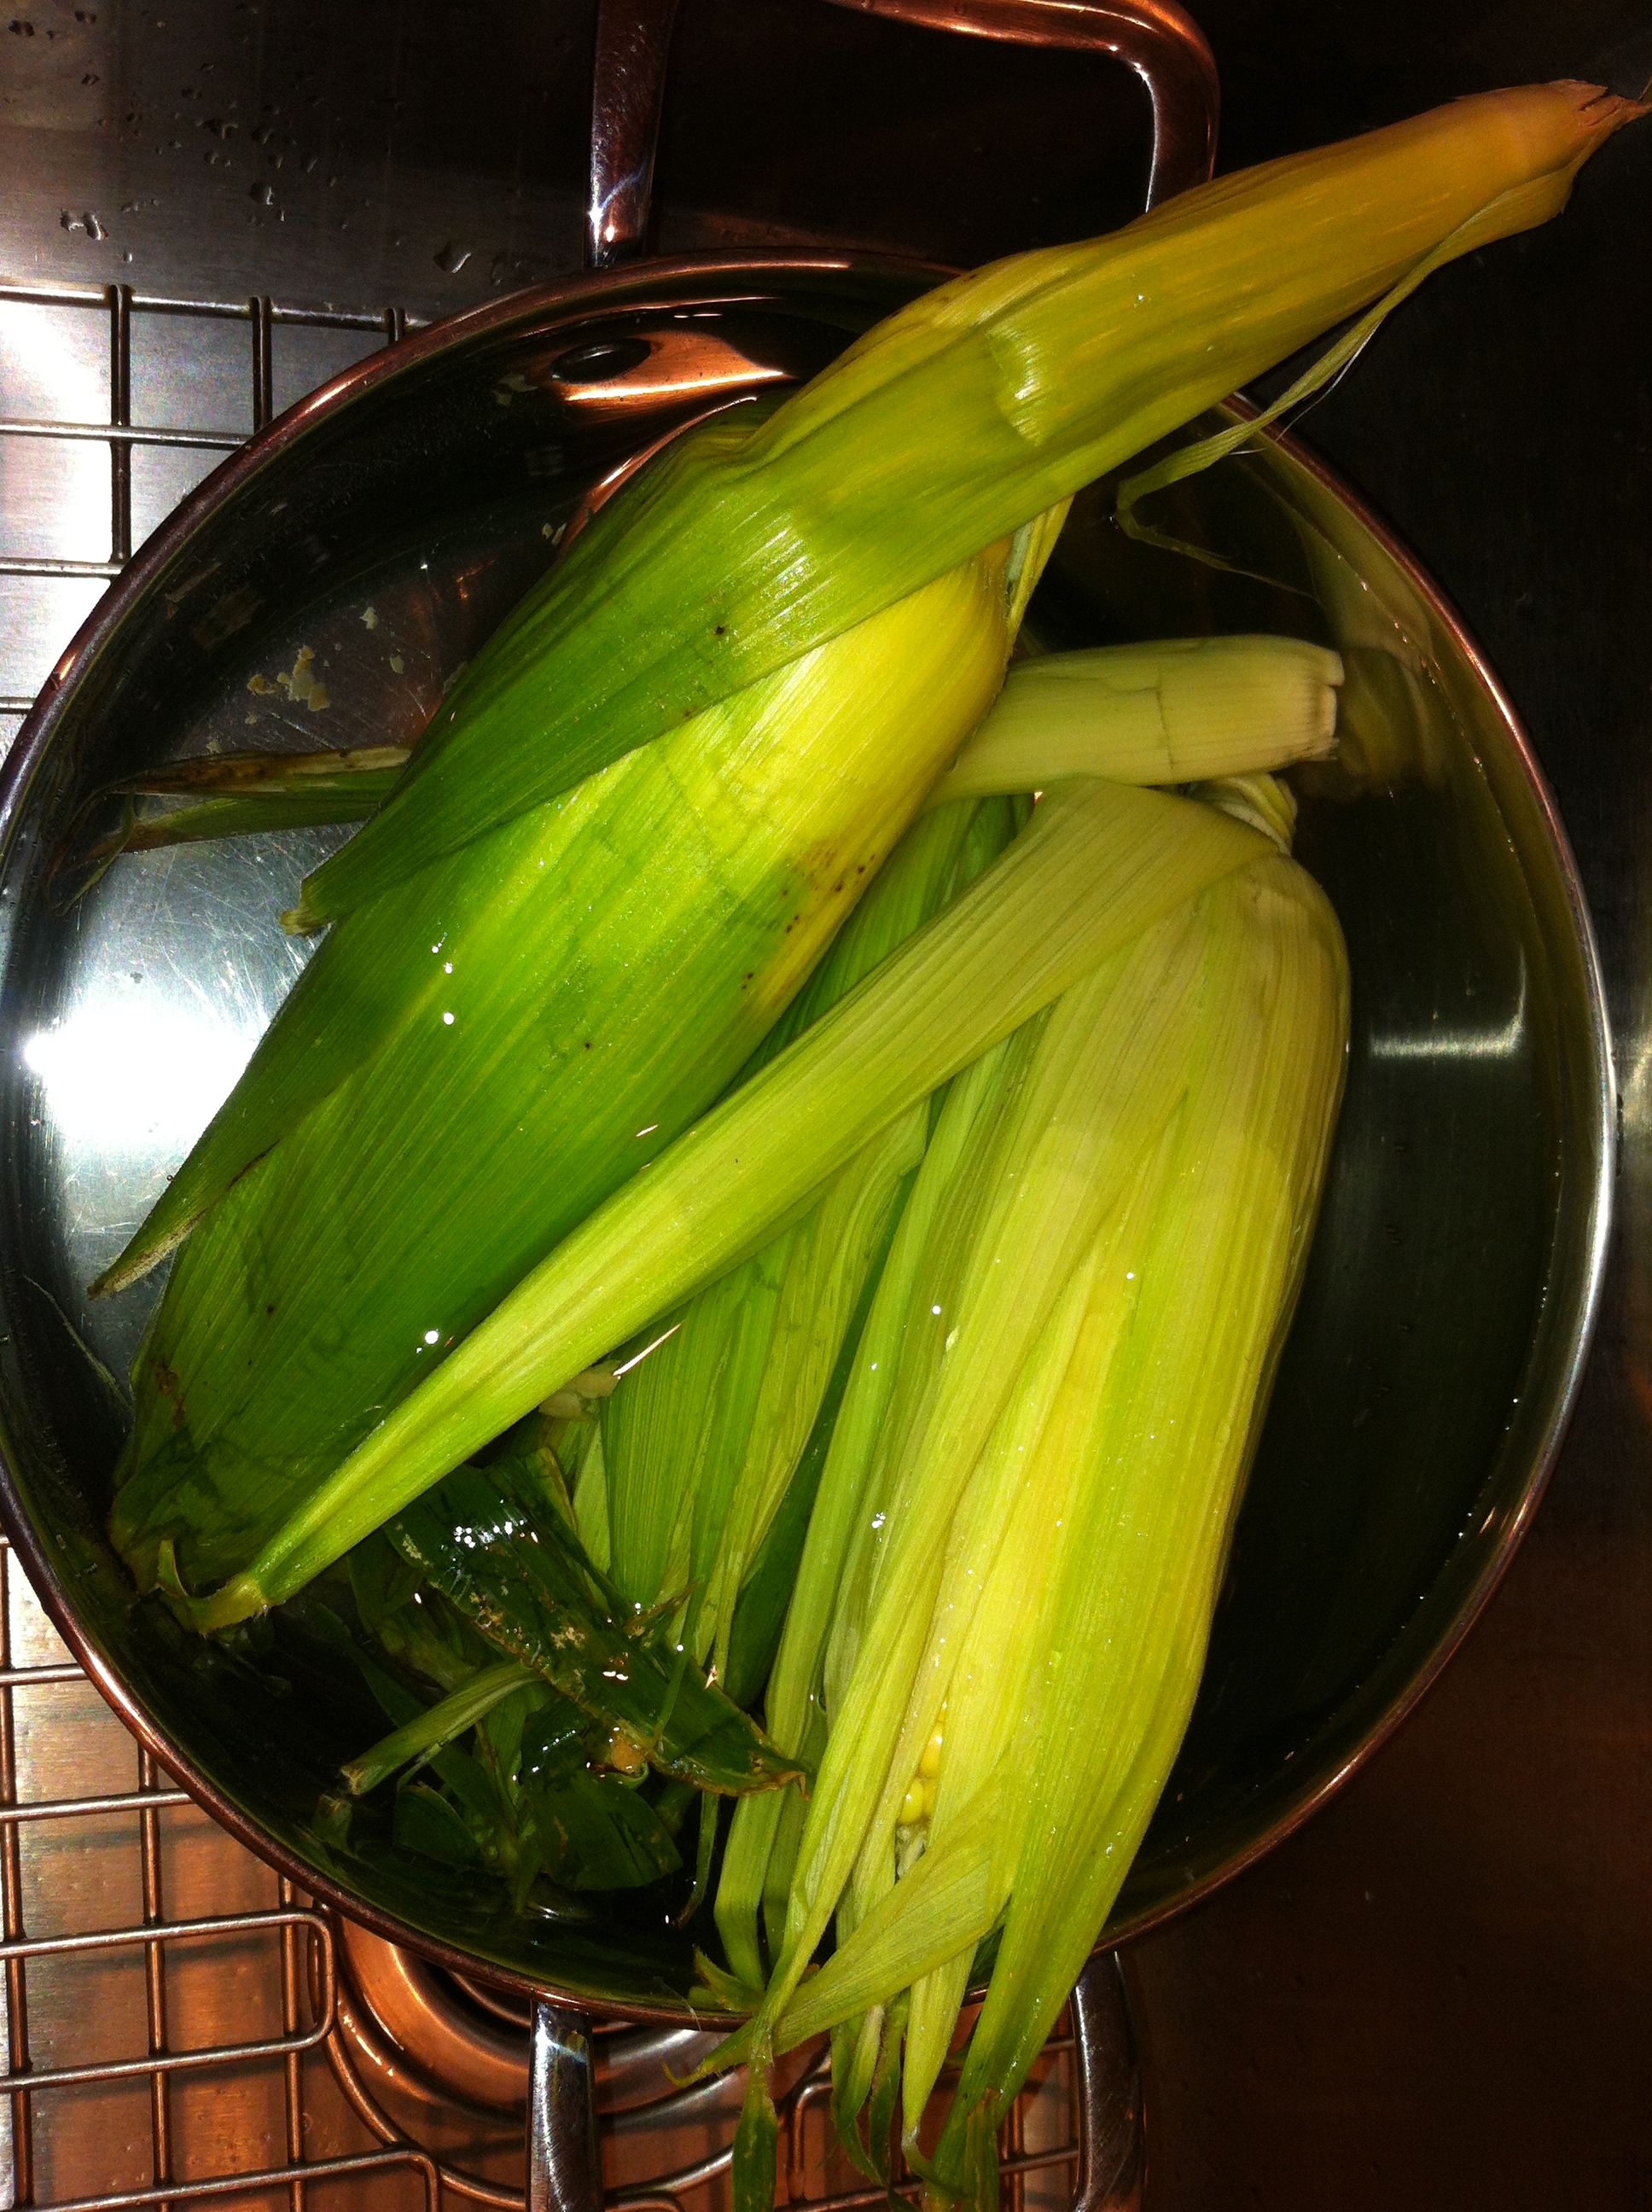
Prepping for the grill: soaking the corn on the cob, silks removed

Fresh off the grill, grilled corn on the cob still wearing their husks

Finished product: slathered in butter, salt and pepper and ready to go

Today’s haul of 8 ears from Wolfe Spring Farm had a similarly undernourished look to last night’s, so we decided better to cook with them than feature them in all their glory ‘naked’ on the cob. I decided on a corn chowder and combined 2 recipes to make my own: this recipe from Mark Bittman’s Minimalist column and this recipe from the Red Cat Cookbook. I like Bittman’s recipe because he makes a rustic ‘broth’ from the corn cobs and I like the Red Cat’s recipe because they add a little heat. Here’s my adaptation.

Early Corn Chowder

  • 6-8 ears corn
  • 1 tablespoon butter
  • 1 medium onion, chopped
  • 1 shallot [I used this because we have them from today’s CSA pick-up, but not necessary]
  • 4 medium new potatoes, peeled and chopped into 1/2 cubes
  • 2 dried peppers
  • Salt and freshly ground black pepper
  • 2-3 small tomatoes cored and seeds removed, optional [I used them as I had tomatoes in my pick-up, but not necessary]
  • 1 cup milk
  • handful of fresh chives, optional

Instructions: 

1. Shuck the corn and use a paring knife to strip the kernels into a bowl. Put the cobs in a pot with 6-8 cups water; bring to a boil, cover, and simmer for 10-20 minutes.

2. Melt the butter in a large saucepan or soup pot and turn the heat to medium-high. When the butter melts, add the onion and shallots, along with a sprinkling of salt and pepper. Cook, stirring occasionally, until the onion softens, about 5 minutes; then add the potatoes and saute another 5 minutes; add the tomatoes if you’re using them and cook, stirring, for another minute or two. Add the dried peppers, crushing them if you like more heat.

3. After the corn cobs have cooked for at least 10 minutes, strain the liquid into the onion-potato mixture. Bring to a boil, then turn the heat down so the mixture simmers. When the potatoes are tender, about 10 minutes, add the corn kernels and milk and heat through. Taste and adjust seasoning if necessary. Can be prepared in advance and served at room temperature or chilled. If you like a creamier soup, you can puree the soup partially with a stick blender, and/or use 1/2 cup of heavy cream in place of 1/2 cup of the milk. Garnish with the chives, and serve.

It’s still early days for the corn season. Please share your favorite recipes, too.

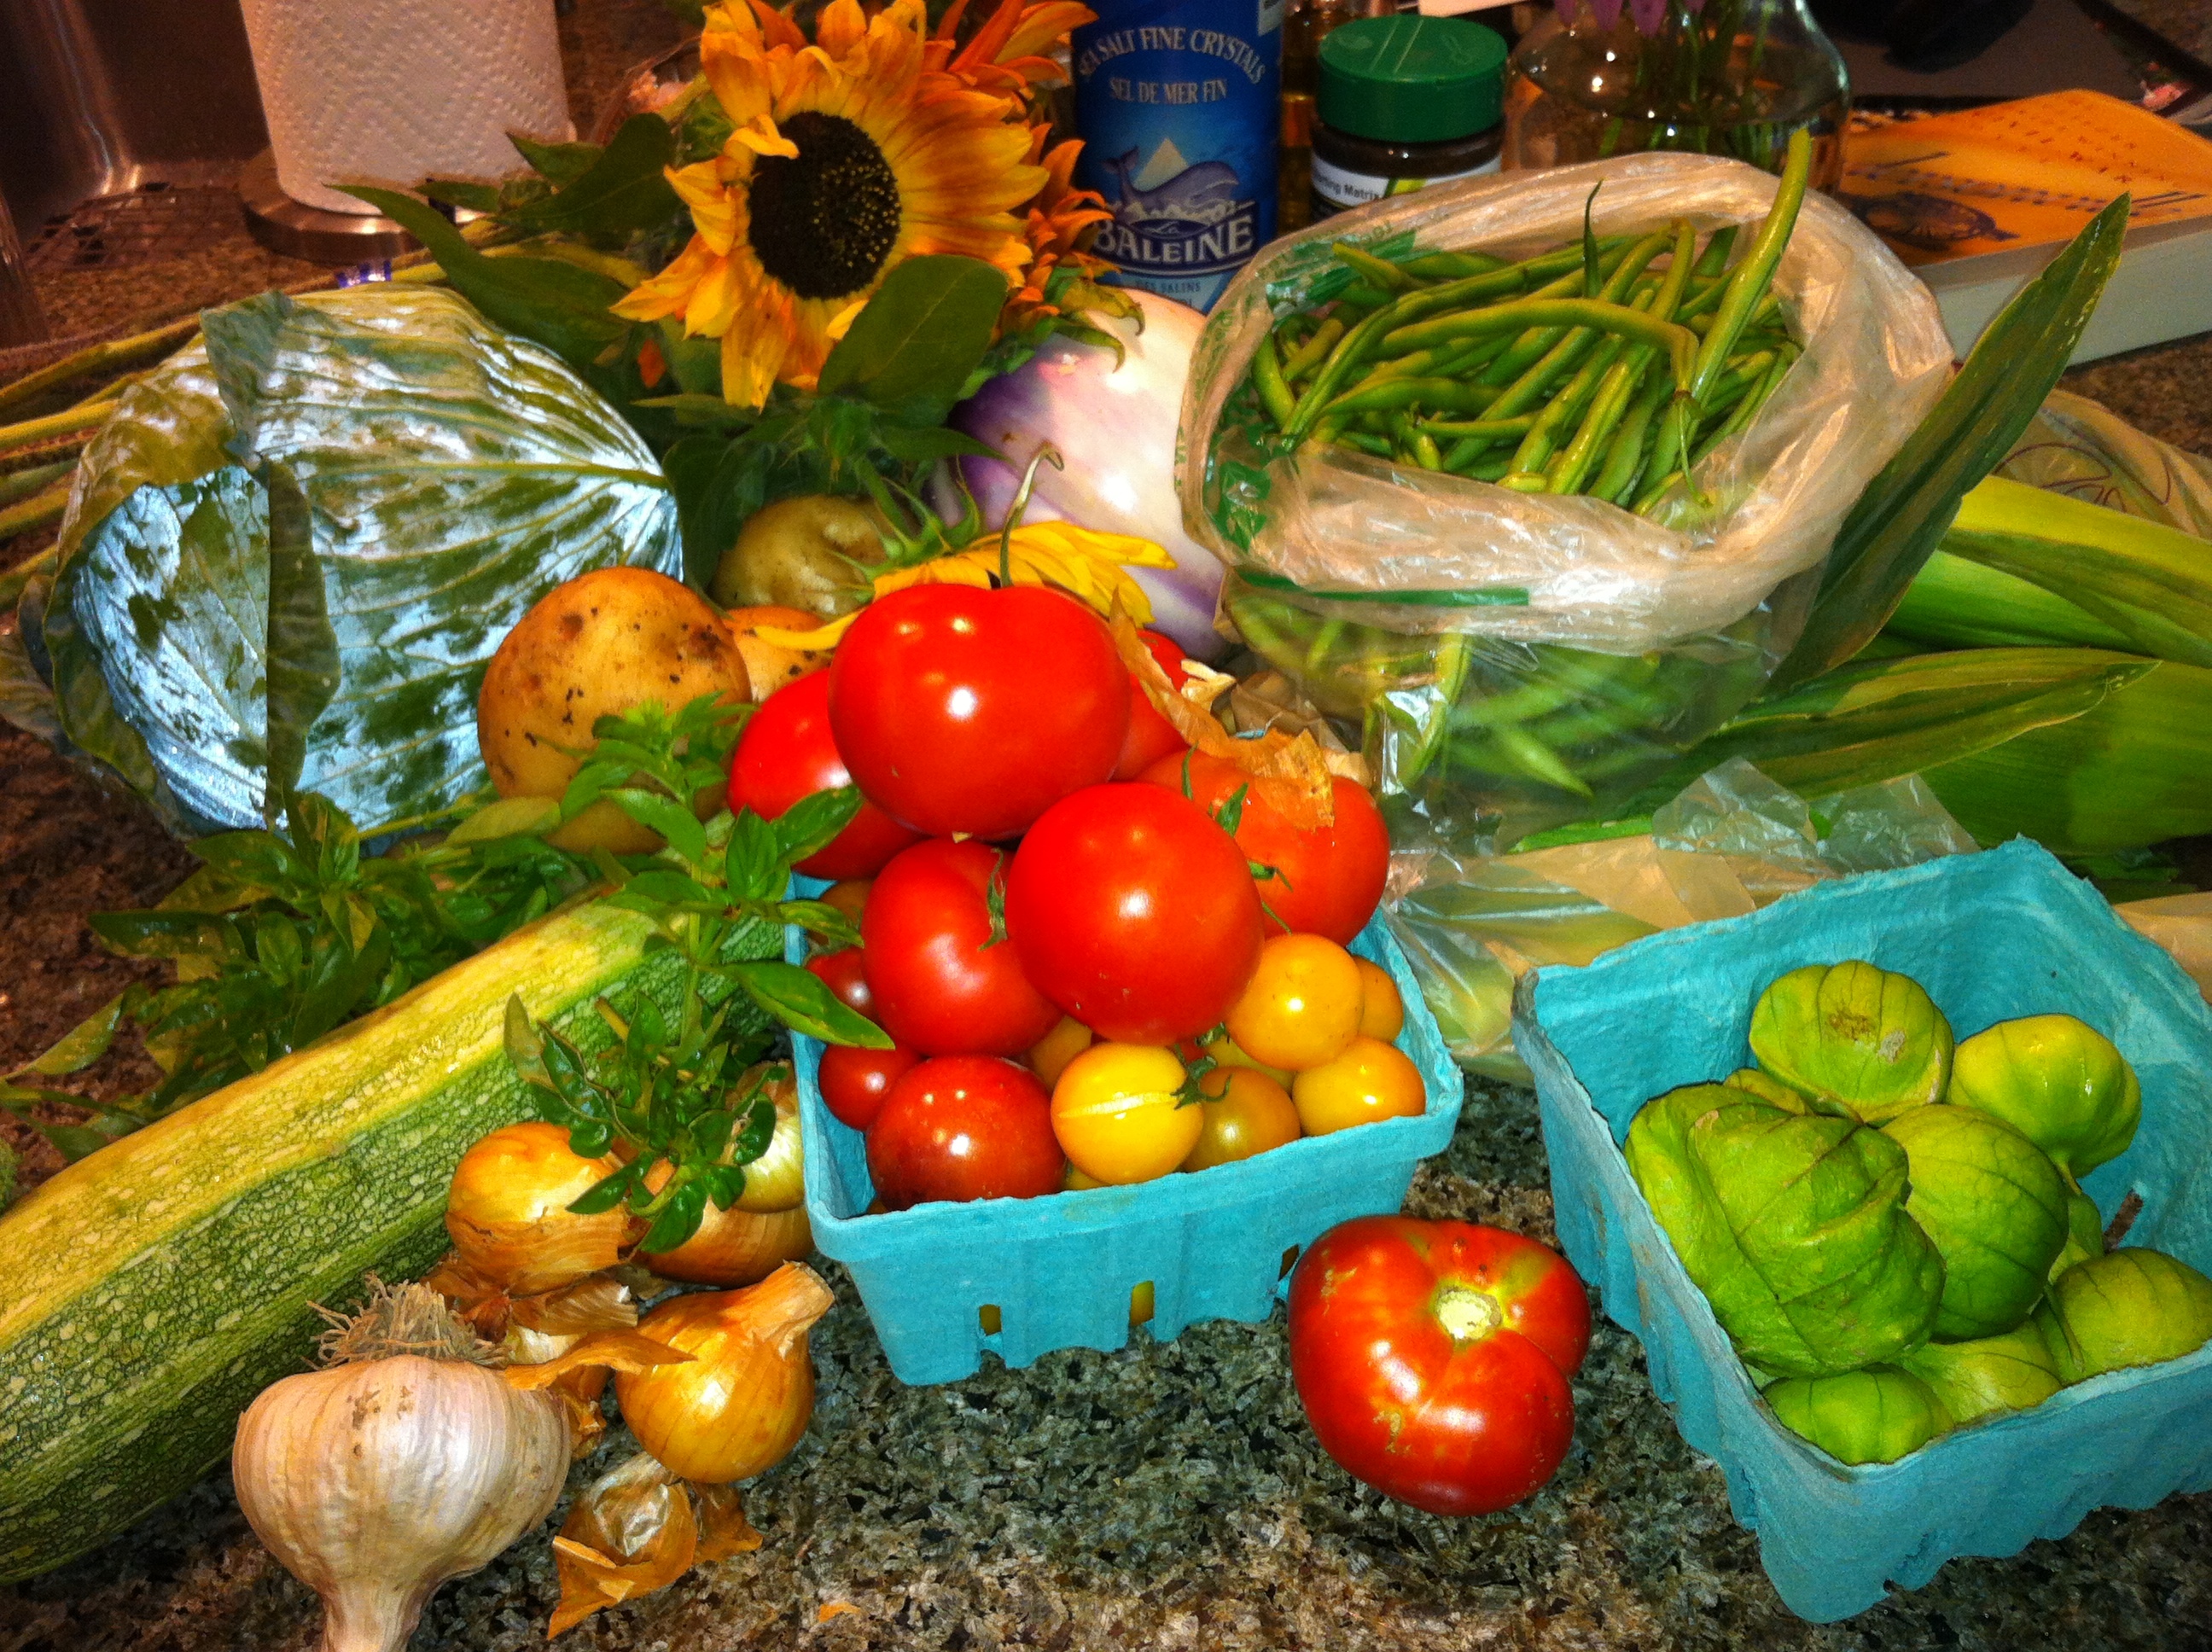
American Classics: CSA Pick-up 7/28/12

This veritable bounty will be transformed into:
– Tangy mustard coleslaw – use cabbage
Corn chowder use corn, potatoes, tomatoes, shallots
Spaghetti al pesto genovese (ok, this isn’t an American Classic. Realized that after I published. Oops) – use string beans, potatoes, garlic and basil (from our garden and Wolfe Spring)

And more…stay tuned

20120728-112846.jpg

Lobster and Friends

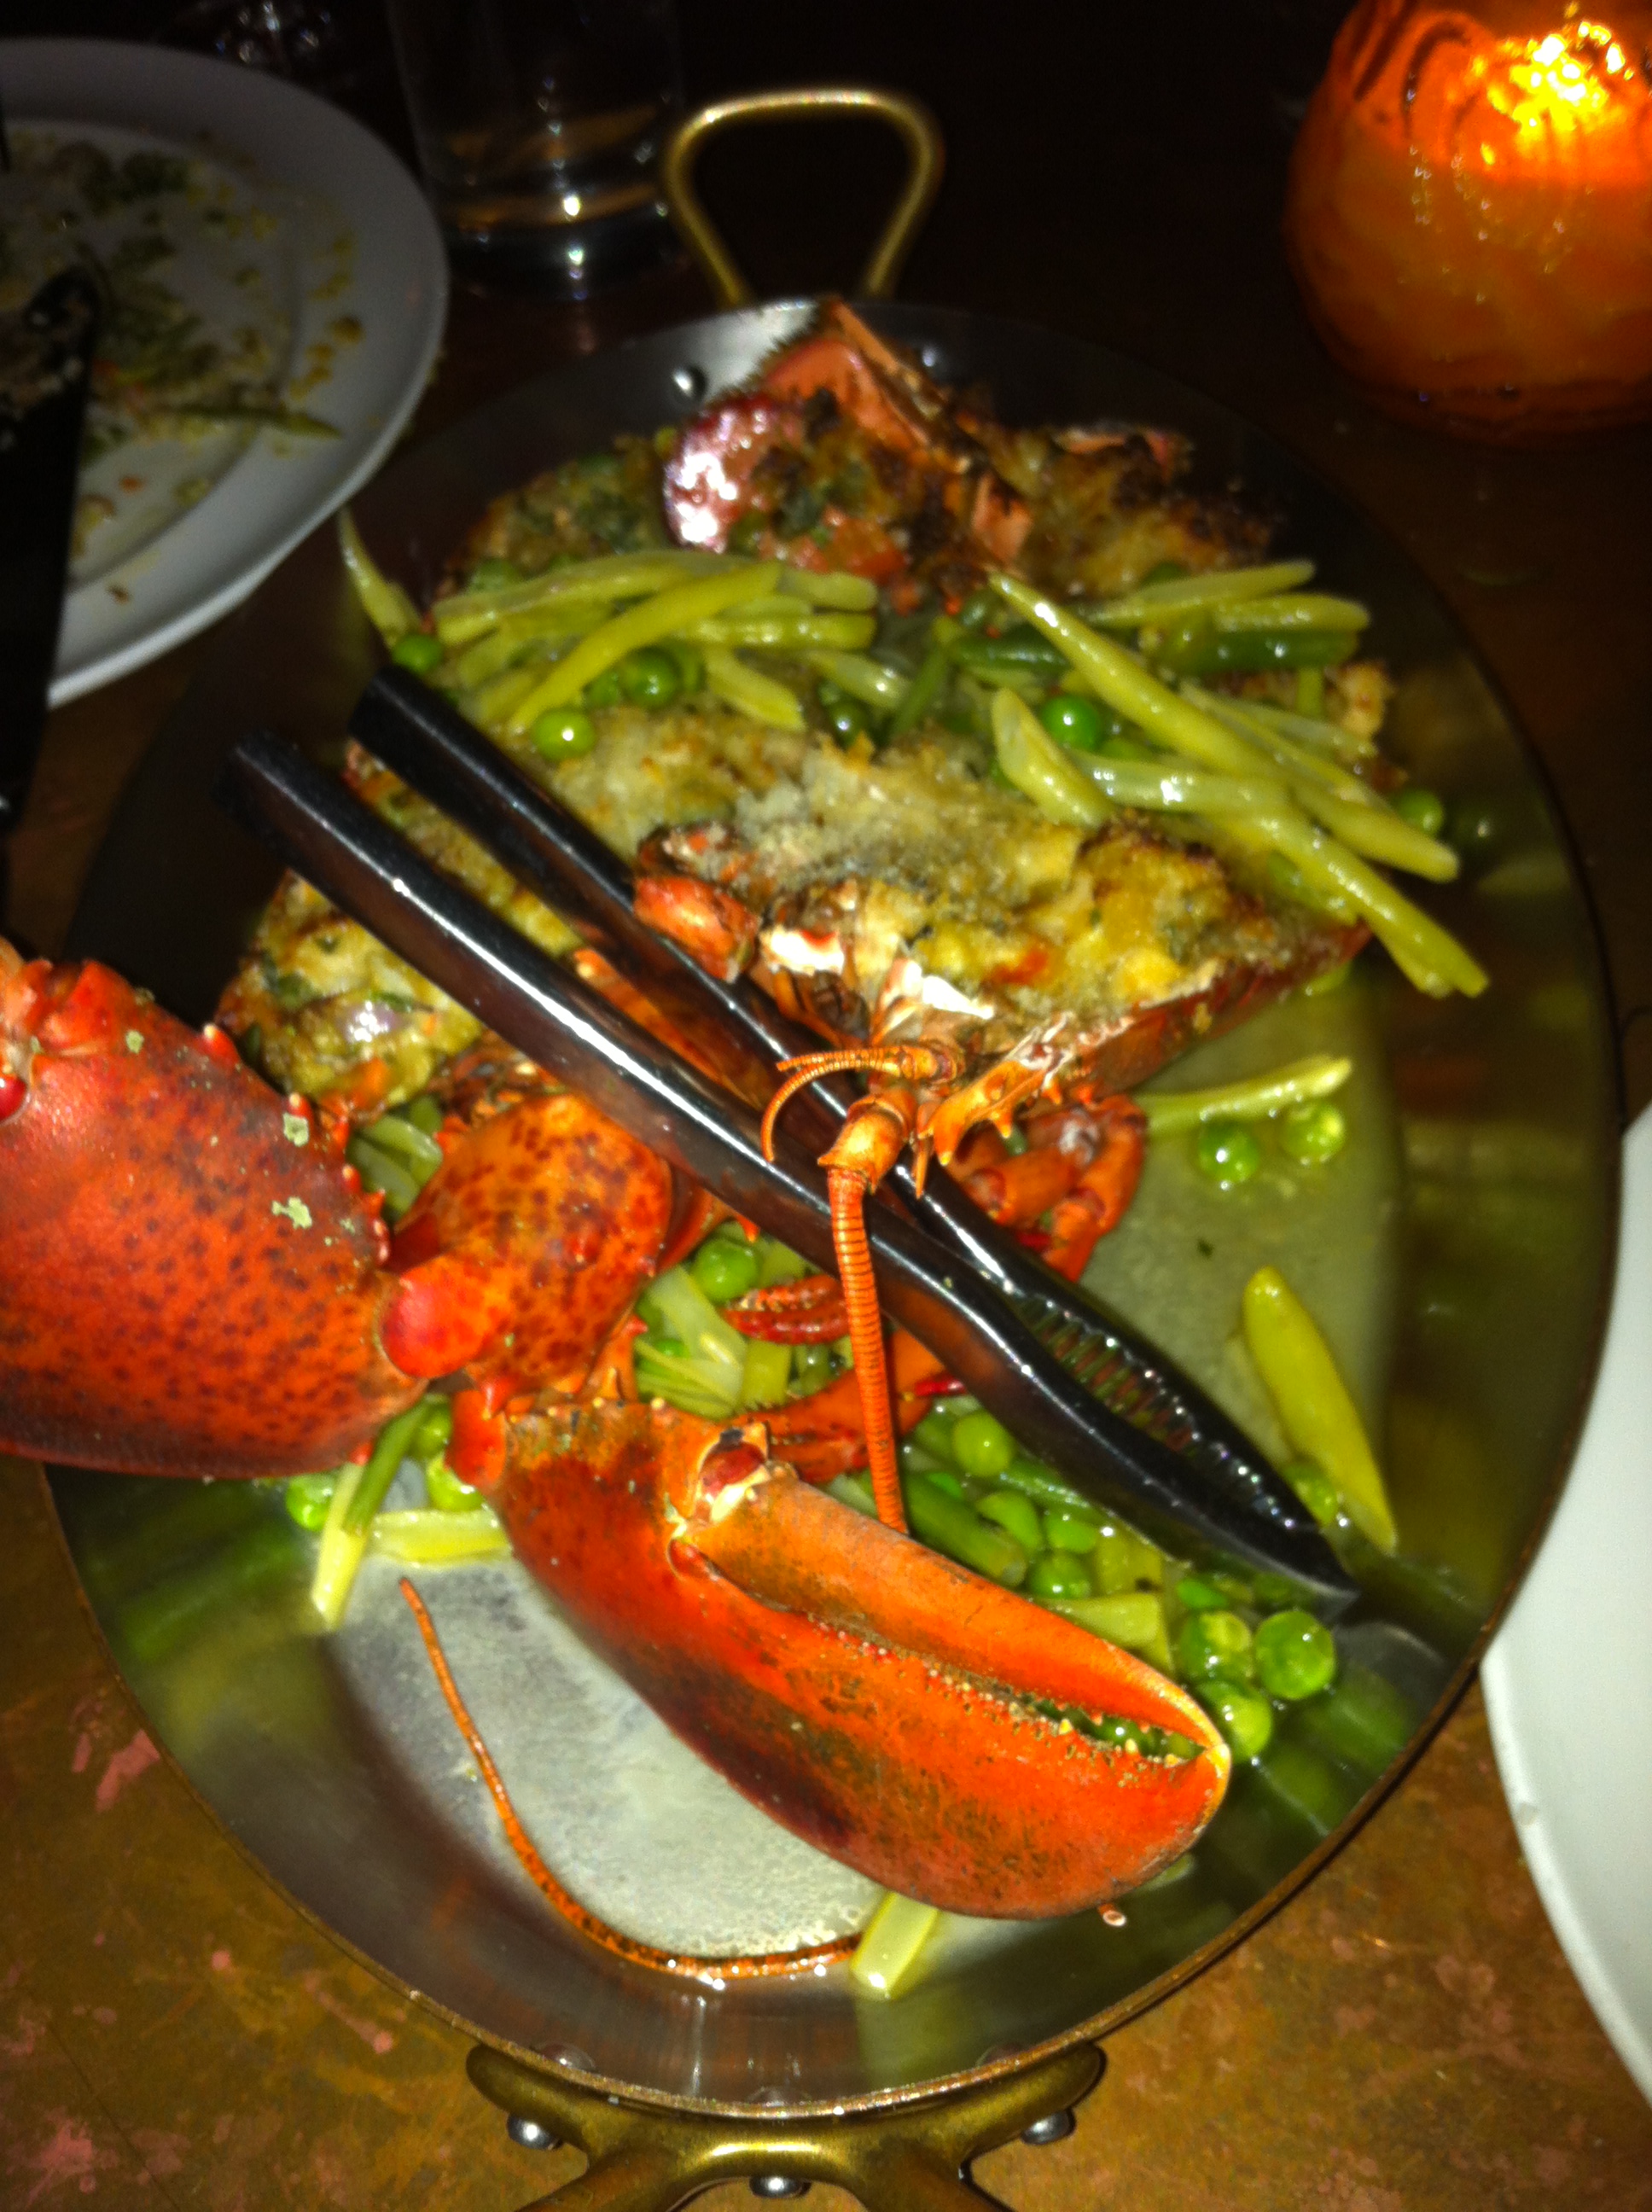
Had a fun dinner out last night with Hubs and dear friend Luiz Biagiotti visiting from Sao Paolo. In the midst of a thunderstorm, we waited and waited for a table at the John Dory Oyster Bar. Happening spot, but the no reservations policy can be a drag. Apart from the great company, the highlight of the meal was this eye catching Lobster Thermidor.

Lobster Thermidor at John Dory Oyster Bar

I had never tried this dish before, so I was excited to find a willing partner in crime with Luiz. Lobster Thermidor has such a great old school ring to it – feels like a dish one would eat on a Pullman car back in the day when rail travel was civilized and elegant. Apart from being easy on the eyes, this dish was rich and very flavorful. The lobster meat from the tail had previously been removed, sauteed with a cream sauce, then replaced and sprinkled with bread crumbs and broiled. According to Wikepedia, the traditional French preparation also includes melted Gruyere cheese on top, so I guess this was a “lighter” version.

My thoughts: The lobster meat from the tail was very tasty – cream and bread crumbs added to already sumptuous lobster meat, how could you go wrong?? And I loved the  veggies in the skillet. They prepared fresh English peas and white green beans in a tasty butter sauce. The one critique I’d give is that the lobster meat itself was a tad overcooked. When we cracked open the claws to get to the rest of the good stuff, the lobster was rubbery and not worth the effort. The staff at theJohn Dory also neglected to give us tiny forks to scoop out the claw meat. Maybe they knew…Sorry, John Dory. Nonetheless, it was a festive departure from your standard boiled lobster.

By the way, did you know there is an overstock of lobster this season? It’s selling for $3.99/lb in Maine, perhaps less even now.

More on Growing Blueberries – Hopefully NOT for the Birds

This is my favorite time of year for fruit. Blueberries are just coming into season and local peaches and various stone fruit are all in abundance in the northeast. Yes, we can purchase these year-round, but the local peaches, plums, nectarines all taste so much better than the ones that come out of cold storage. And blueberries can be downright watery at other times of the year, too. So, knowing they are local and seasonal makes me feel better on a morale level and smug on an intellectual level. But let’s be honest, I just prefer the taste.

Local Peaches Purchased July 26, 2012

I visited a greenmarket this morning and the farm stand had plums in every color under the sun – from varying shades of the traditional purple, to yellow to red to pink.  These 2 lonely fellows are all that remain from 2 pounds of mixed plums and peaches purchased this morning,. Here they are in all their glory – small, uneven in shape and even a little bruised. As you can see, they look nothing like the perfect specimens (in appearance only!) available year-round at the market, and thankfully don’t resemble them in taste either. Yum!

So, let’s talk about growing blueberries. Hubs and I have made 4 attempts so far in 4 years to grow blueberries on our own. And 4 failures. Kinda sad for a bush and fruit that are native to our region, don’t you think?  We were lulled into thinking they didn’t need much sun because they’re natives (wrong), we were careless in the soil we planted them in, and most recently, we had signs of success, but then failed to protect. Back in May we had little green berries growing beautifully on our 2 humble bushes. But they proved to be irresistible for the bird population and were gone before they had a chance to turn from green to red to pink to blue. Foiled again. But now we’ve got a 3 step plan and gosh darnit, 2013 will be our year for backyard blueberries. I hope…

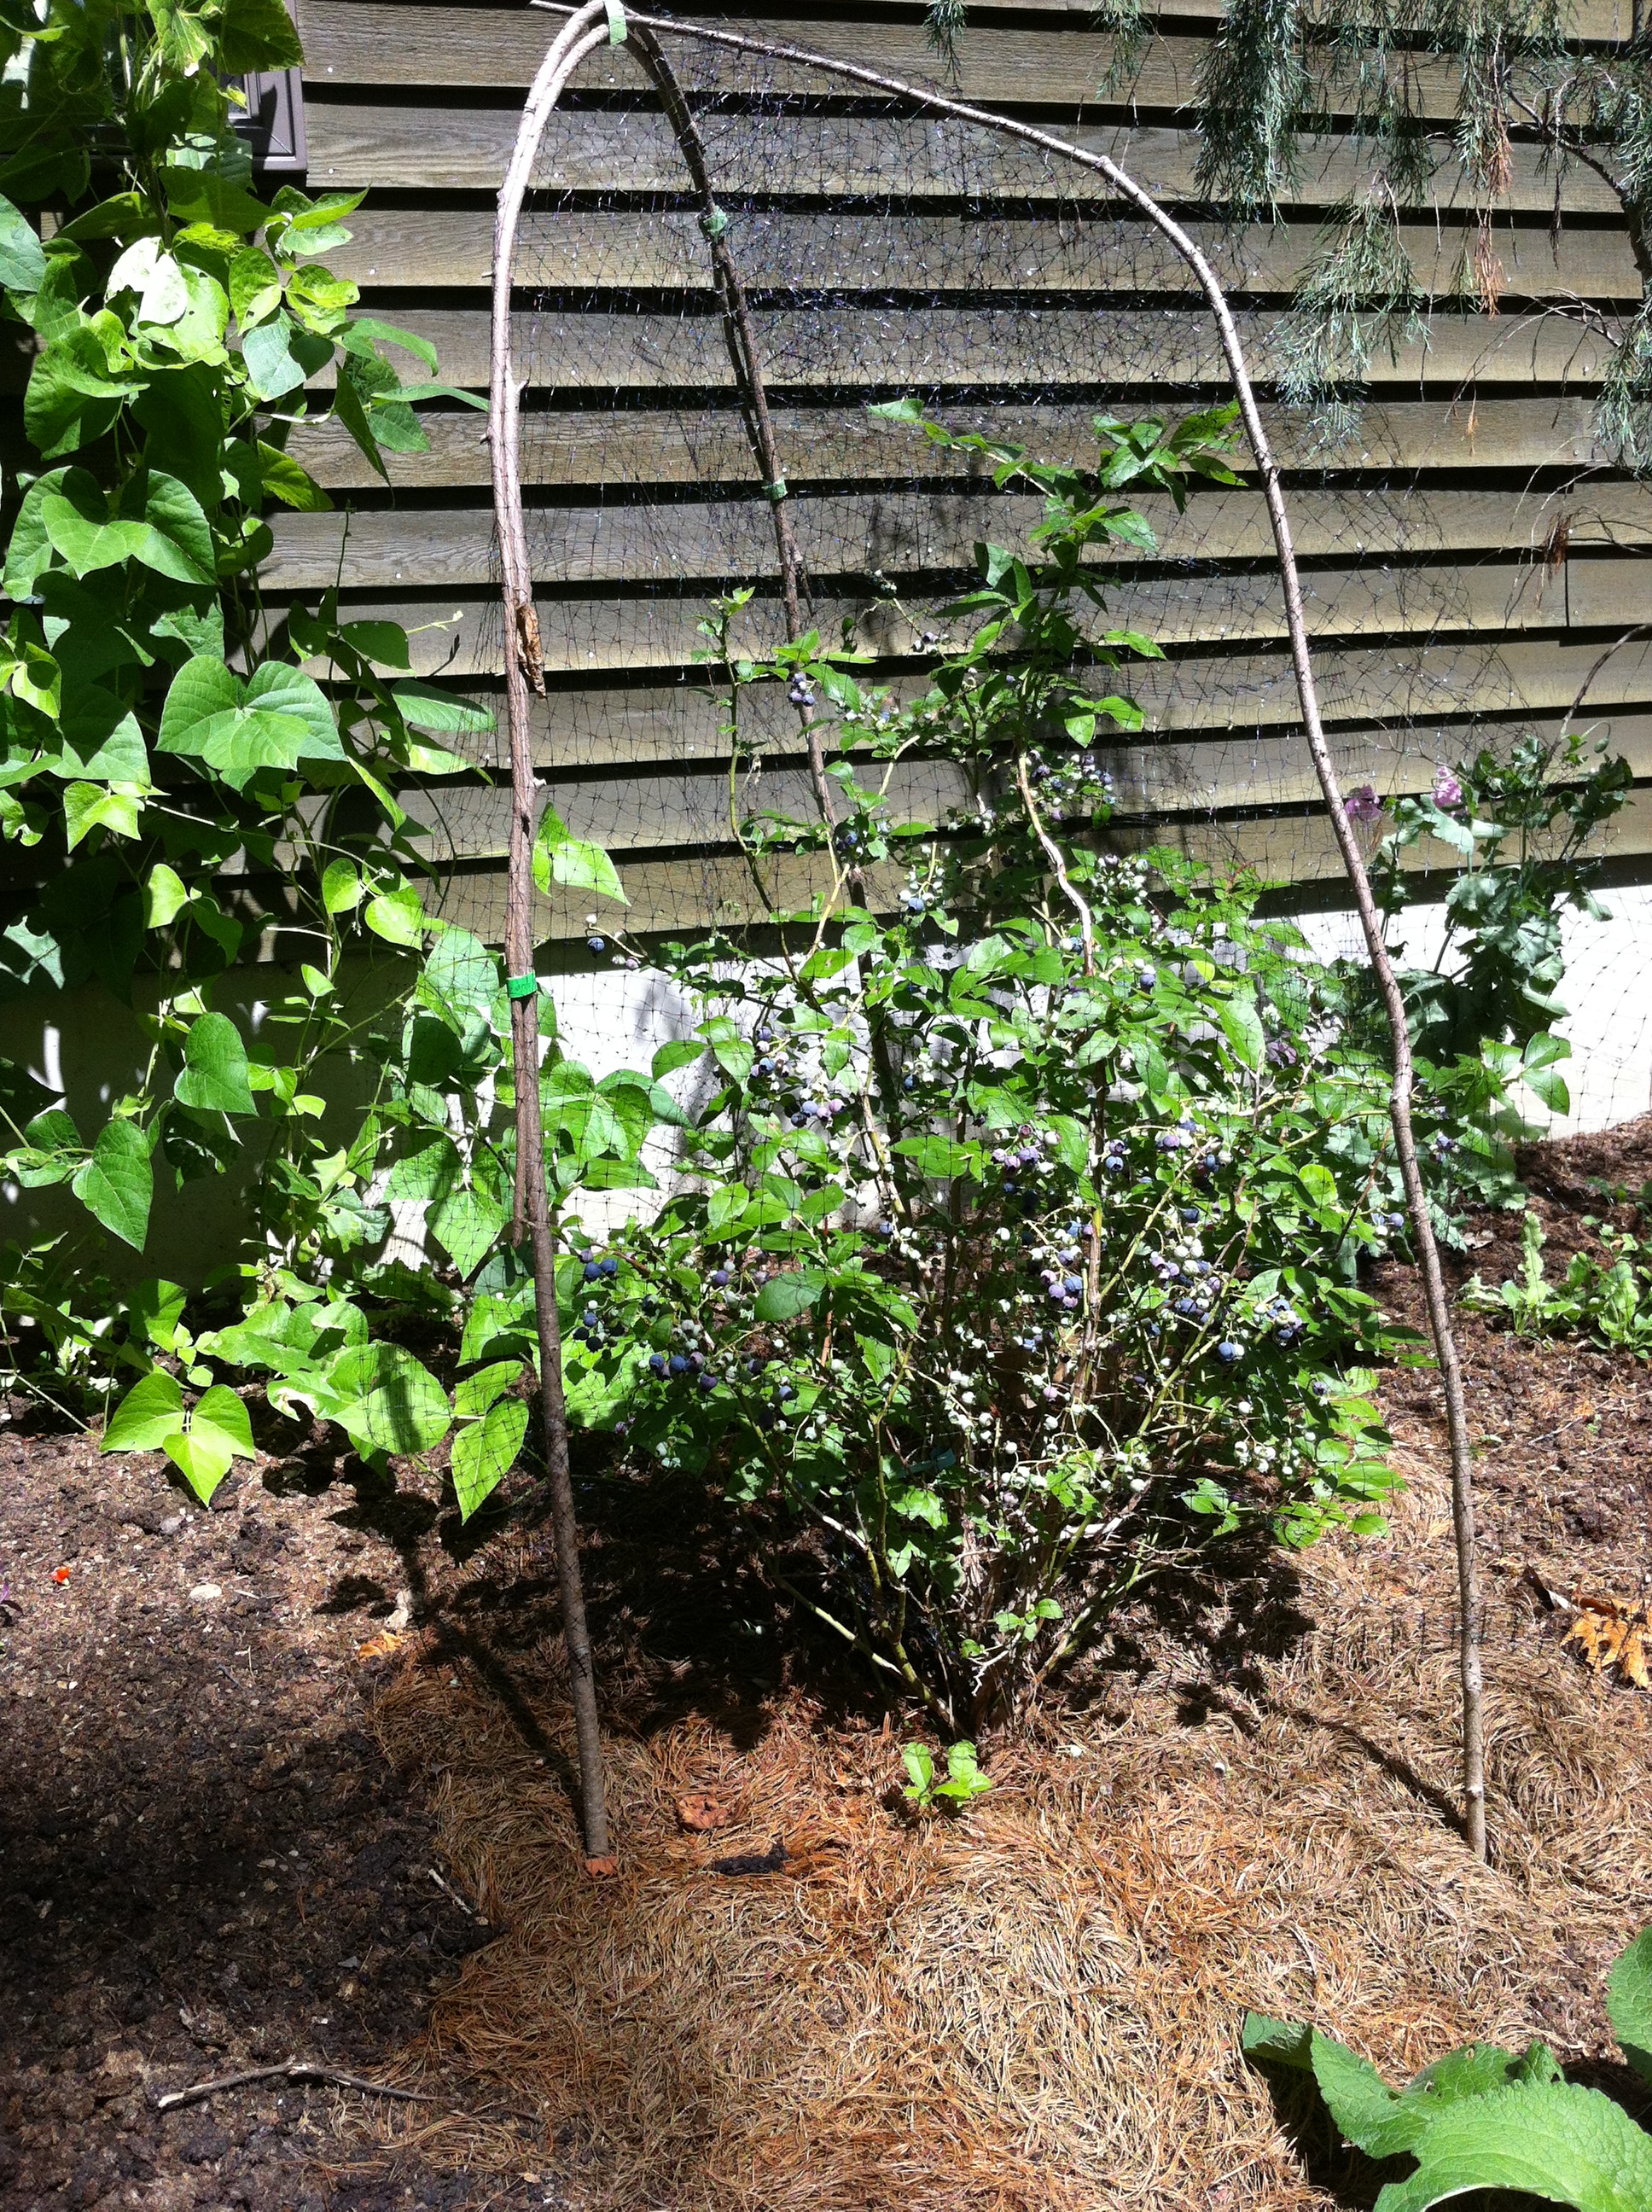
I snapped this picture at the 2012 New Marlborough Garden tour last weekend. The Gays live in New Marlborough and have a beautiful property in the foothills of East Mountain State Forest, which they kindly opened up to neighbors during the tour. They’ve created a delightful garden in a wooded setting featuring shade-loving plants, a stone pond loaded with Koi goldfish and many stone sculptures crafted from stones on their property. I loved exploring their veggie patch and came across a creative way to protect blueberries pictured below. You must put up netting to keep away the birds, and this can often be unsightly. Here they’ve created tents using skinny tree branches and it looks almost natural. Ingenious and aesthetically pleasing. So, Hubs will be trying this next year (step 3 of Project Blueberry). I’ll write about steps 1 & 2 later. Non-linear, I know.

Blueberry bushes under netting at the Gays’ garden in New Marlborough, MA


Sure Beats Steaming…

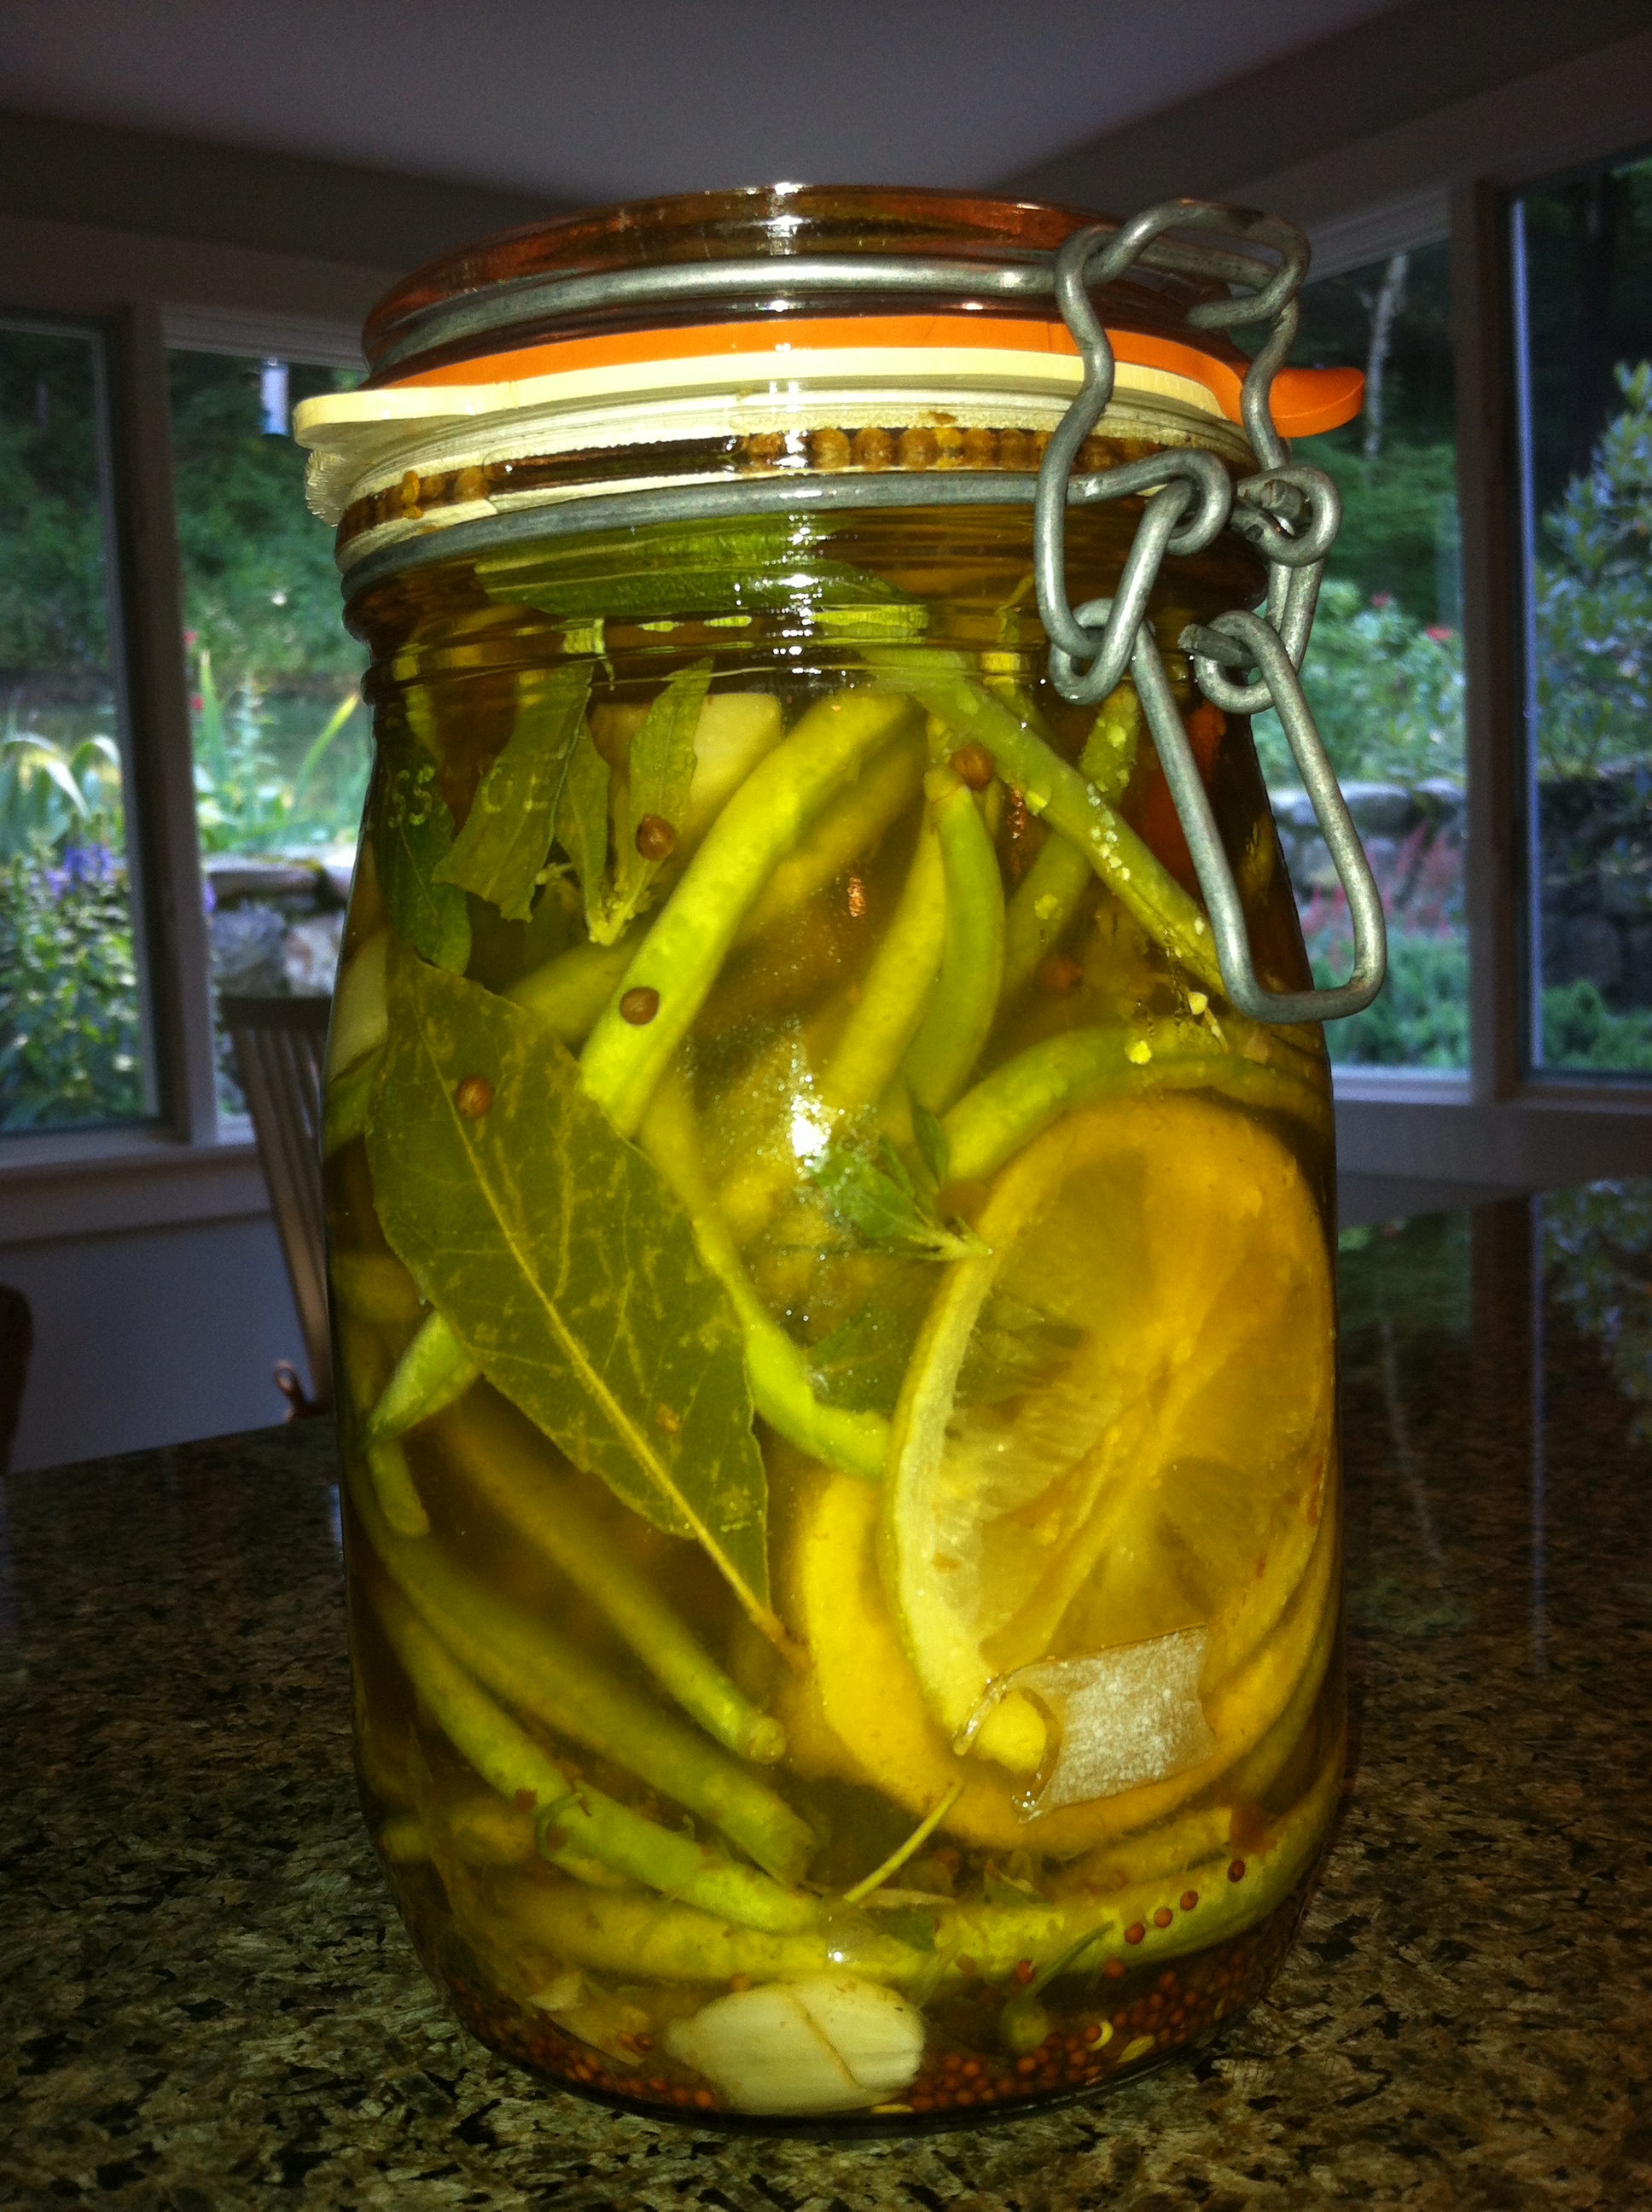
What a great surprise! Check out this gorgeous glass jar of pickled haricot verts that I received as a gift from my neighbor Dan Doern. Dan mixed the haricot verts from our 7/14/12 CSA pick up with vinegar, sliced lemons, peppercorns, garlic cloves, epazote (from his own garden) and jalapeno peppers to make a super tasty quick pickle.

The last time I used epazote was during a cooking class in Oaxaca, Mexico. Color me impressed…

Dan nuked everything for a minute and then stored it in this airtight glass container. Stored in the fridge, this tasty treat should last a few weeks.

And what flavor! The haricot verts are spicy, savory, tangy and citrus-y sweet all at the same time. Dan recommends adding to bloody marys for additional savoriness. We snacked on them with cocktails before dinner. Puts my steamed green beans to shame!

Dan, chime in on what I’m missing re: the recipe or instructions. And thank you again!

Monday, Monday – What’s for Dinner?

I always feel like I have to eat virtuously early in the week as things do start to slide downhill as the weekend approaches. Tonight I’ll make another favorite, particularly in warm weather – Seared Tuna with Shallot Gremolata. This is an easy and tasty recipe from a Williams Sonoma cookbook called “Weeknight Fresh + Fast” by Kristine Kidd. This recipe will take no more than 15 minutes from start to finish, not including the time to purchase fresh tuna steaks. Props to my dear friend Lauren for giving me this book as a gift last year.

As an aside, this is a great cookbook that takes a unique approach to categorizing recipes. All recipes are bucketed by season and feature seasonal ingredients.This recipe is ironically in the “Winter” section, but seasonality is linked to location, right?  It’s the citrus used in the recipe that places it in the “Winter” section, but since lemons and oranges never grow in NY without extraordinary efforts, I have no qualms about making this in July. Plus, I’ll use a few ingredients from my CSA pick up and garden.

Tuna with Shallot Gremolata recipe adapted  by me from Weeknight Fresh + Fast. Serves 2

  • 2 tuna steaks, about 6 ounces each (sushi grade tuna preferred)
  • 1 teaspoon mustard seeds
  • 1 teaspoon ground fennel seeds (use a mortar and pestle)
  • 1 lemon
  • few tablespoons chopped flat leaf parsley (from my herb garden)
  • 1 small minced shallot (from CSA Pick-up)
  • 2 teaspoons olive oil

Instructions: Mix together mustard seeds and fennel seeds and press into both sides of tuna steaks. Sprinkle with salt and pepper

Prepare gremolata: zest lemon in a bowl and add chopped parsley and shallot. Add a drizzle of olive oil to moisten the mixture. Gremolata done.

Prepare tuna steaks: Lightly coat a nonstick pan or cast iron pan with olive oil and heat over medium  to medium-high heat. Once hot, add the tuna steaks and cook 2-3 min per side depending on thickness of steak. I like to leave it very rare, or pink, in the middle. Sprinkle with gremolata and serve immediately

—–

You will have gremolata left over. Consider this a bonus – save it in the fridge and use it on other grilled dishes. It will stay for a few days.

On the side: You can serve this with any starch, or a light salad of fennel, red onion slices and orange slices. I love the fennel salad, but hubs never touches it, so I’m not bothering tonight.

We will have steamed haricot verts with a mustard vinaigrette and grilled bread rubbed with garlic and a hint of tomato (pan con tomate for you Spanish foodies)

Many Dishes, 1 Delicious Entree: CSA pick-up 7/21/12


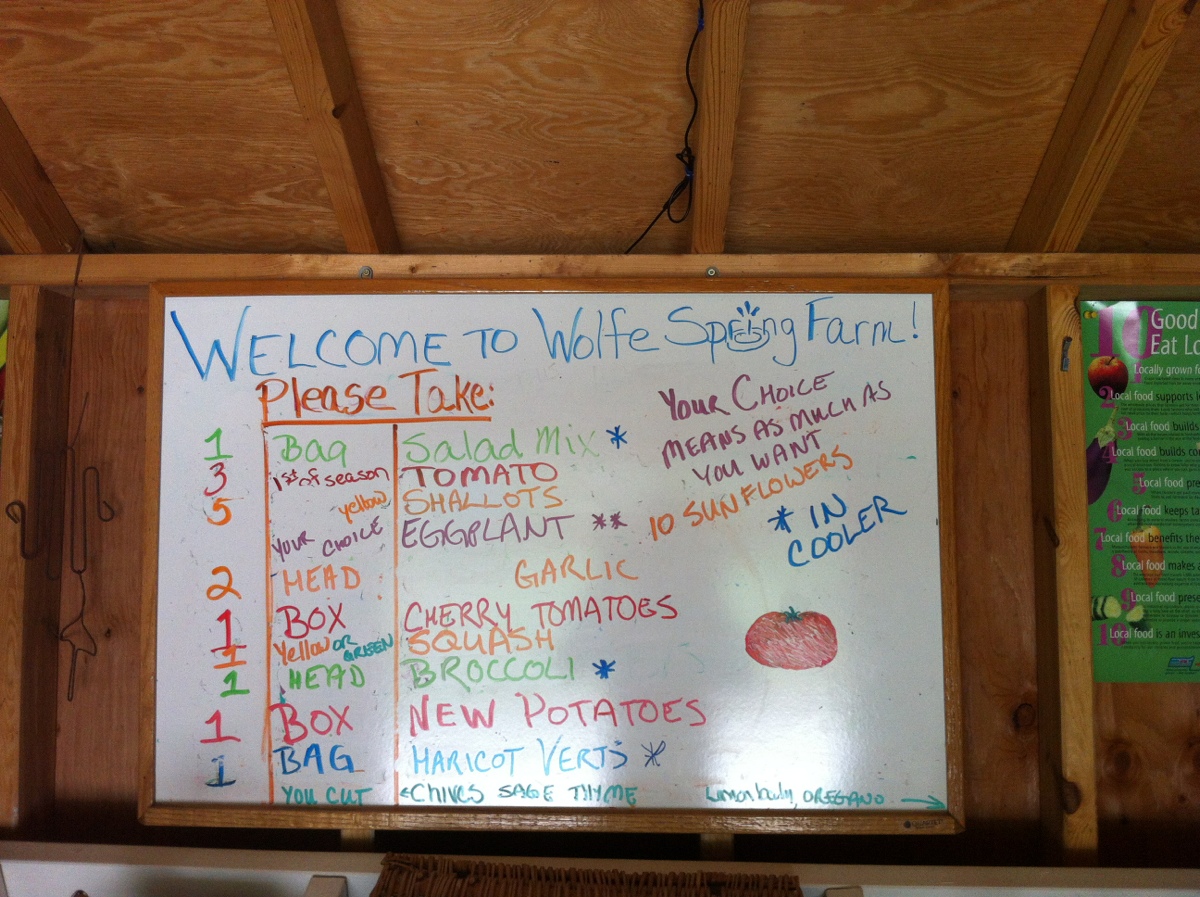
We had several exciting adventures yesterday: a real bounty pick-up at Wolfe Spring Farm, took in the annual New Marlborough Garden, and received a tasty, unexpected homemade treat from our neighbor Dan Doern (more on that later). Let’s focus on the CSA pick-up and ensuing kitchen chaos.  As a refresher, we picked up the following:
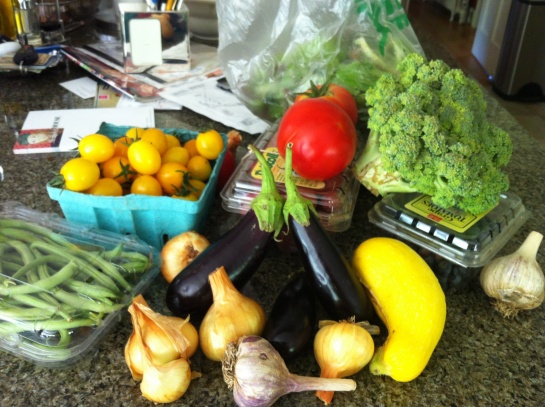
And we had a bonus: U-pick ’em blueberries. June lifted the netting off the blueberry bushes and let us have at ’em. We picked almost a pint, unsure of how much Sam consumed along the way.

Hubs and I were excited to see the yellow cherry tomatoes in the basket and he suggested a great recipe that we’ve made several times –  Spaghettini with Roasted Cherry Tomatoes, Garlic and Fresh Herbs. It’s a little counter-intuitive because you have to heat up the kitchen roasting the tomatoes, which stinks in the middle of summer, and it’s also best served at room temperature. But let me tell you, it’s worth the effort (and the heat). You slow roast the tomatoes with a bunch of garlic cloves and it makes a sweet, savory sauce with deep, rich flavors. You will not be disappointed.  I can’t remember where I originally found the recipe, and I’ve seen a bunch of variations online, so I’ll include my own adaptation.
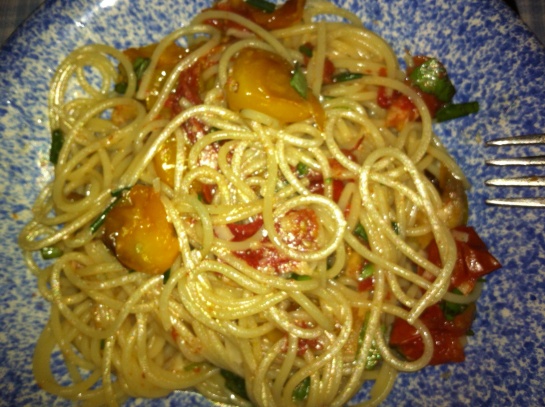
Instructions for 1 Delicious Entree: Preheat oven to 375 degrees. Toss 1-2 quarts of cherry tomatoes with 2 tablespoons olive oil in a 9X11″ baking dish (pyrex or ceramic preferred). Throw in 6-12 smashed cloves of garlic, healthy dash of kosher salt, few grinds of black pepper, and 2-3 dried hot peppers if you like some heat. Some recipes tell you to halve the tomatoes, but it is not necessary. Putting them in whole saves time, and has no impact on the final product.

Roast in 375 degree oven for 30-40 minutes. The tomatoes should get wrinkly and start to caramelize. You may need an additional 5-10 minutes depending on your oven. Give the pan a shake 1 or 2 times while baking, but otherwise leave unattended. Remove from oven and let cool. The tomatoes will have released some juices and you should have a beautiful chunky sauce.

Chop up a handful of fresh basil and any other herbs you may have on hand. I used fresh chives. Grate 1/4 cup parmiggiano to mix with pasta and sauce.

Prepare spaghettini as directed on package for 2 – 4 people. Once ready, drain water or scoop out with pasta server and add directly to pan of tomato sauce. Toss in chopped herbs and grated cheese. Transfer to serving bowl or serve directly into bowls. Yum!

You can also use the sauce for a take-off on bruschetta. We had some leftover last night and used it to make mini-pizzas for lunch. Sam loved them.

 The Rest of the Basket:  As I had written on Friday, I really wanted to make vegetable fritters. But, alas the contents of my basket did not comply. No beets, no leaks, no luck. Might try ’em this week with some produce purchased from the green market in town. Back to the basket.

For the salad greens, I have a ritual. I wash, spin and crisp them as soon as I get home. One downside is that it is far more labor intensive than buying a bag of ready washed greens, but hey, where’s the fun in that? We had mixed greens with our pasta last night and have lots more left.

I steamed the broccoli and the haricot verts, and stored them separately. We’ve already eaten some with a mustardy vinaigrette, and the nice thing about having them already cooked is that they are ready to go, as Julia Moskin advised.

So, all that sounds kind of humdrum. I wanted to do something interesting with the eggplant and felt I could let my creative juices flow because I don’t have to cater to hubs’s tastes on this one. He won’t go near eggplant. I felt an itch to attempt an Eggplant with Miso dressing recipe. I loosely followed this recipe, first roasting the sliced eggplant in the oven and then tossing it in the dressing. I admit I did not love the dressing. Perhaps it was the miso. Or perhaps I had no idea what I was doing as it was my first time ever cooking with miso paste. I had a jar of fermented bean miso in the fridge and cracked it open for the first time. I’m willing to try this again as I wasn’t fully satisfied with it – too salty, earthy tasting – but then again, I’m not great with eggplant dishes to begin with.

Anyone else ever try this? Or something similar?