Tuesday night and What’s for Dinner? Roasted Cod with Garlic Bread Crumbs

Hyper-local radish toasts, Roasted Fresh Atlantic Cod from Iceland (ok, not local, but sustainable) with homemade garlic bread crumbs, and green salad with balsamic vinaigrette. The radishes are the last of this summer’s – proud to say we grew them in our recently moved raised bed. I read somewhere that radishes are the EASIEST vegetable to grow. We have had 3 or 4 failed crops until now. Clearly, I should stick to the kitchen. The cod is from Whole Foods (along with the greens), and the bread crumbs I made a few weeks ago.

This post will contain a few tips and one quick and easy weeknight recipe.

Surprisingly good: Radish Toasts

Tip #1: Radish toasts (or crostini or bruschetta if you want to get fancy) are an easy to make hors d’ouevres or starter that appears much fancier than it is (that is, if you like spicy, crunchy radishes). Slice up some baguette and some breakfast radishes, put a generous daub of butter on one side of the baguette slice, place a few slices of radish on top and sprinkle with good sea salt. Rinse, repeat, indulge. Yum!

Tip #2: You are literally throwing money out the window if you buy breadcrumbs in the store. I have seen a small bag sold for $5 or $6 in the specialty foods shop. Next time you have a day old baguette or Italian bread, don’t toss it. Hold on to it for another day or two until it is completely dried out/stale. Once it feels like a baton, take it to a box grater and go to town. It will make a bit of a mess, but grate the baguette like you would a carrot and ta-da, you’ve got homemade bread crumbs you can store in a glass jar on the shelf for months. The important thing is to make sure there is no more moisture in the bread, otherwise you’ll have mushy, and eventually, moldy bread crumbs. You can also cube it and put it into the food processor to make bread crumbs (less muscle), or make croutons out of them for your salad or soup (more effort).

Tip #3: Easy weeknight recipe that’s healthy to boot:

Roasted Cod with Homemade Garlic Bread Crumbs

  • 2 cod (or other dense white fish) fillets, about 6-8 ounces each
  • 1/2 cup homemade bread crumbs
  • 2 tablespoons olive oil
  • 1 garlic clove, minced
  • few sprigs parsley, chopped (or other fresh herb)
  • Salt and pepper
  • Lemon slices (for garnish)

Instructions:

Heat one tablespoon of olive oil in small pan over low-medium heat. Once heated, add garlic and saute for 1-2 minutes until fragrant, but don’t burn it. Add bread crumbs, salt and pepper and any other spices you’d like. Sautee for 5-6 minutes until bread crumbs are toasted evenly, but again, be careful not to burn (apparently, I do this frequently). Add parsley and mix, set aside.

Heat oven to 450 degrees. Place cod on a baking dish and drizzle remaining olive oil on fillets, sprinkle with salt and pepper. Place in oven. Turn 1/4 after 2 minutes, and repeat until last side is reached. Then remove baking dish and spoon bread crumbs on top. Bake cod for another 2 minutes, checking to ensure that bread crumbs are browning, not burning. Remove from oven and place on plate. Garnish with lemon, if desired, and more parsley.

Hearty Fall Soup for Frosty Temps

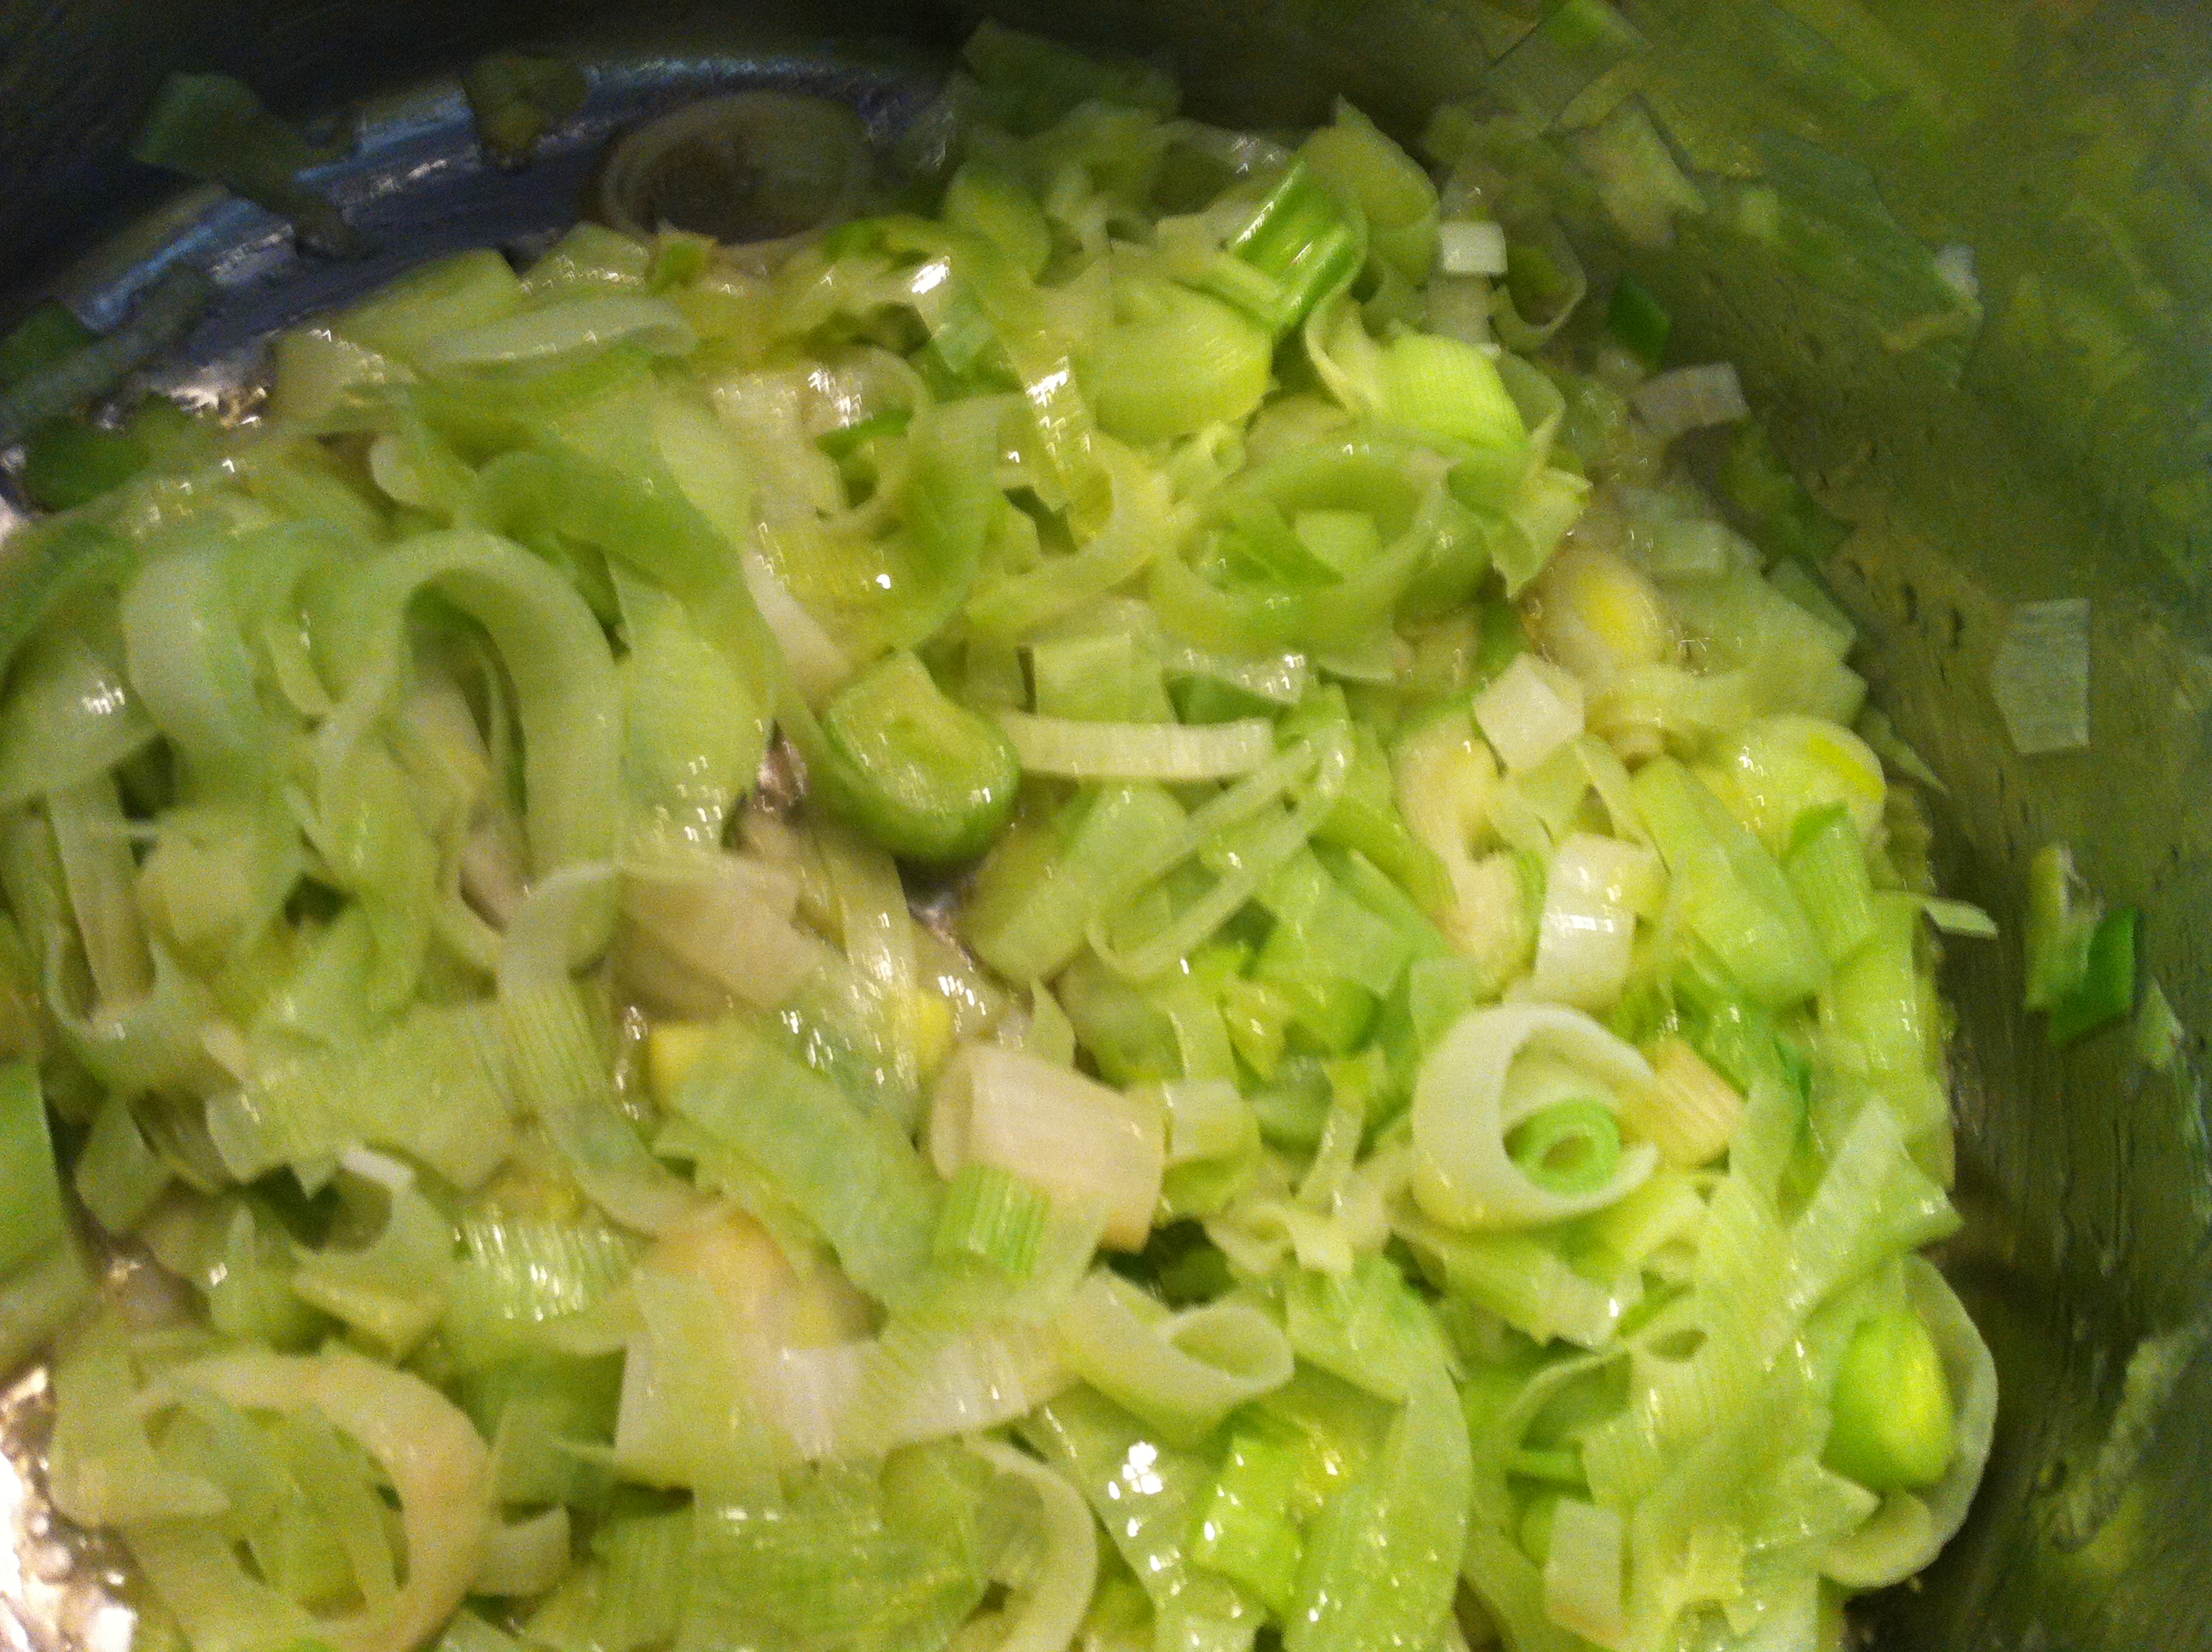
Chopped leeks ready for some butter

Chopped leeks ready for some butter

The irony of this soup recipe is that I originally tried it back in May, and here it is in mid-October and I finally have all the ingredients available in my CSA basket. It took nearly 6 months and 2 seasons to reach the point where I can prepare the dish from local, seasonal ingredients. The recipe for Cabbage, Potato and Leek soup comes from Melissa Clark‘s NY Times column, “A Good Appetite.”

It is a deeply flavorful, thick and satisfying soup that in my opinion, is much more suited for the fall than early spring, so I’m glad I filed it away in the back of my mind for this season. I was excited to put my frosty leeks to work (truly nothing smells better than leeks sauteed in butter), use up some of that never-ending cabbage, and make some headway in our large stock of potatoes. What sounds like a rather bland and monochromatic soup actually turned out to be quite colorful during the prep stages. The soup was roundly praised by all. Baby Sam asked for thirds. Check out my modified recipe below:

Ingredients:

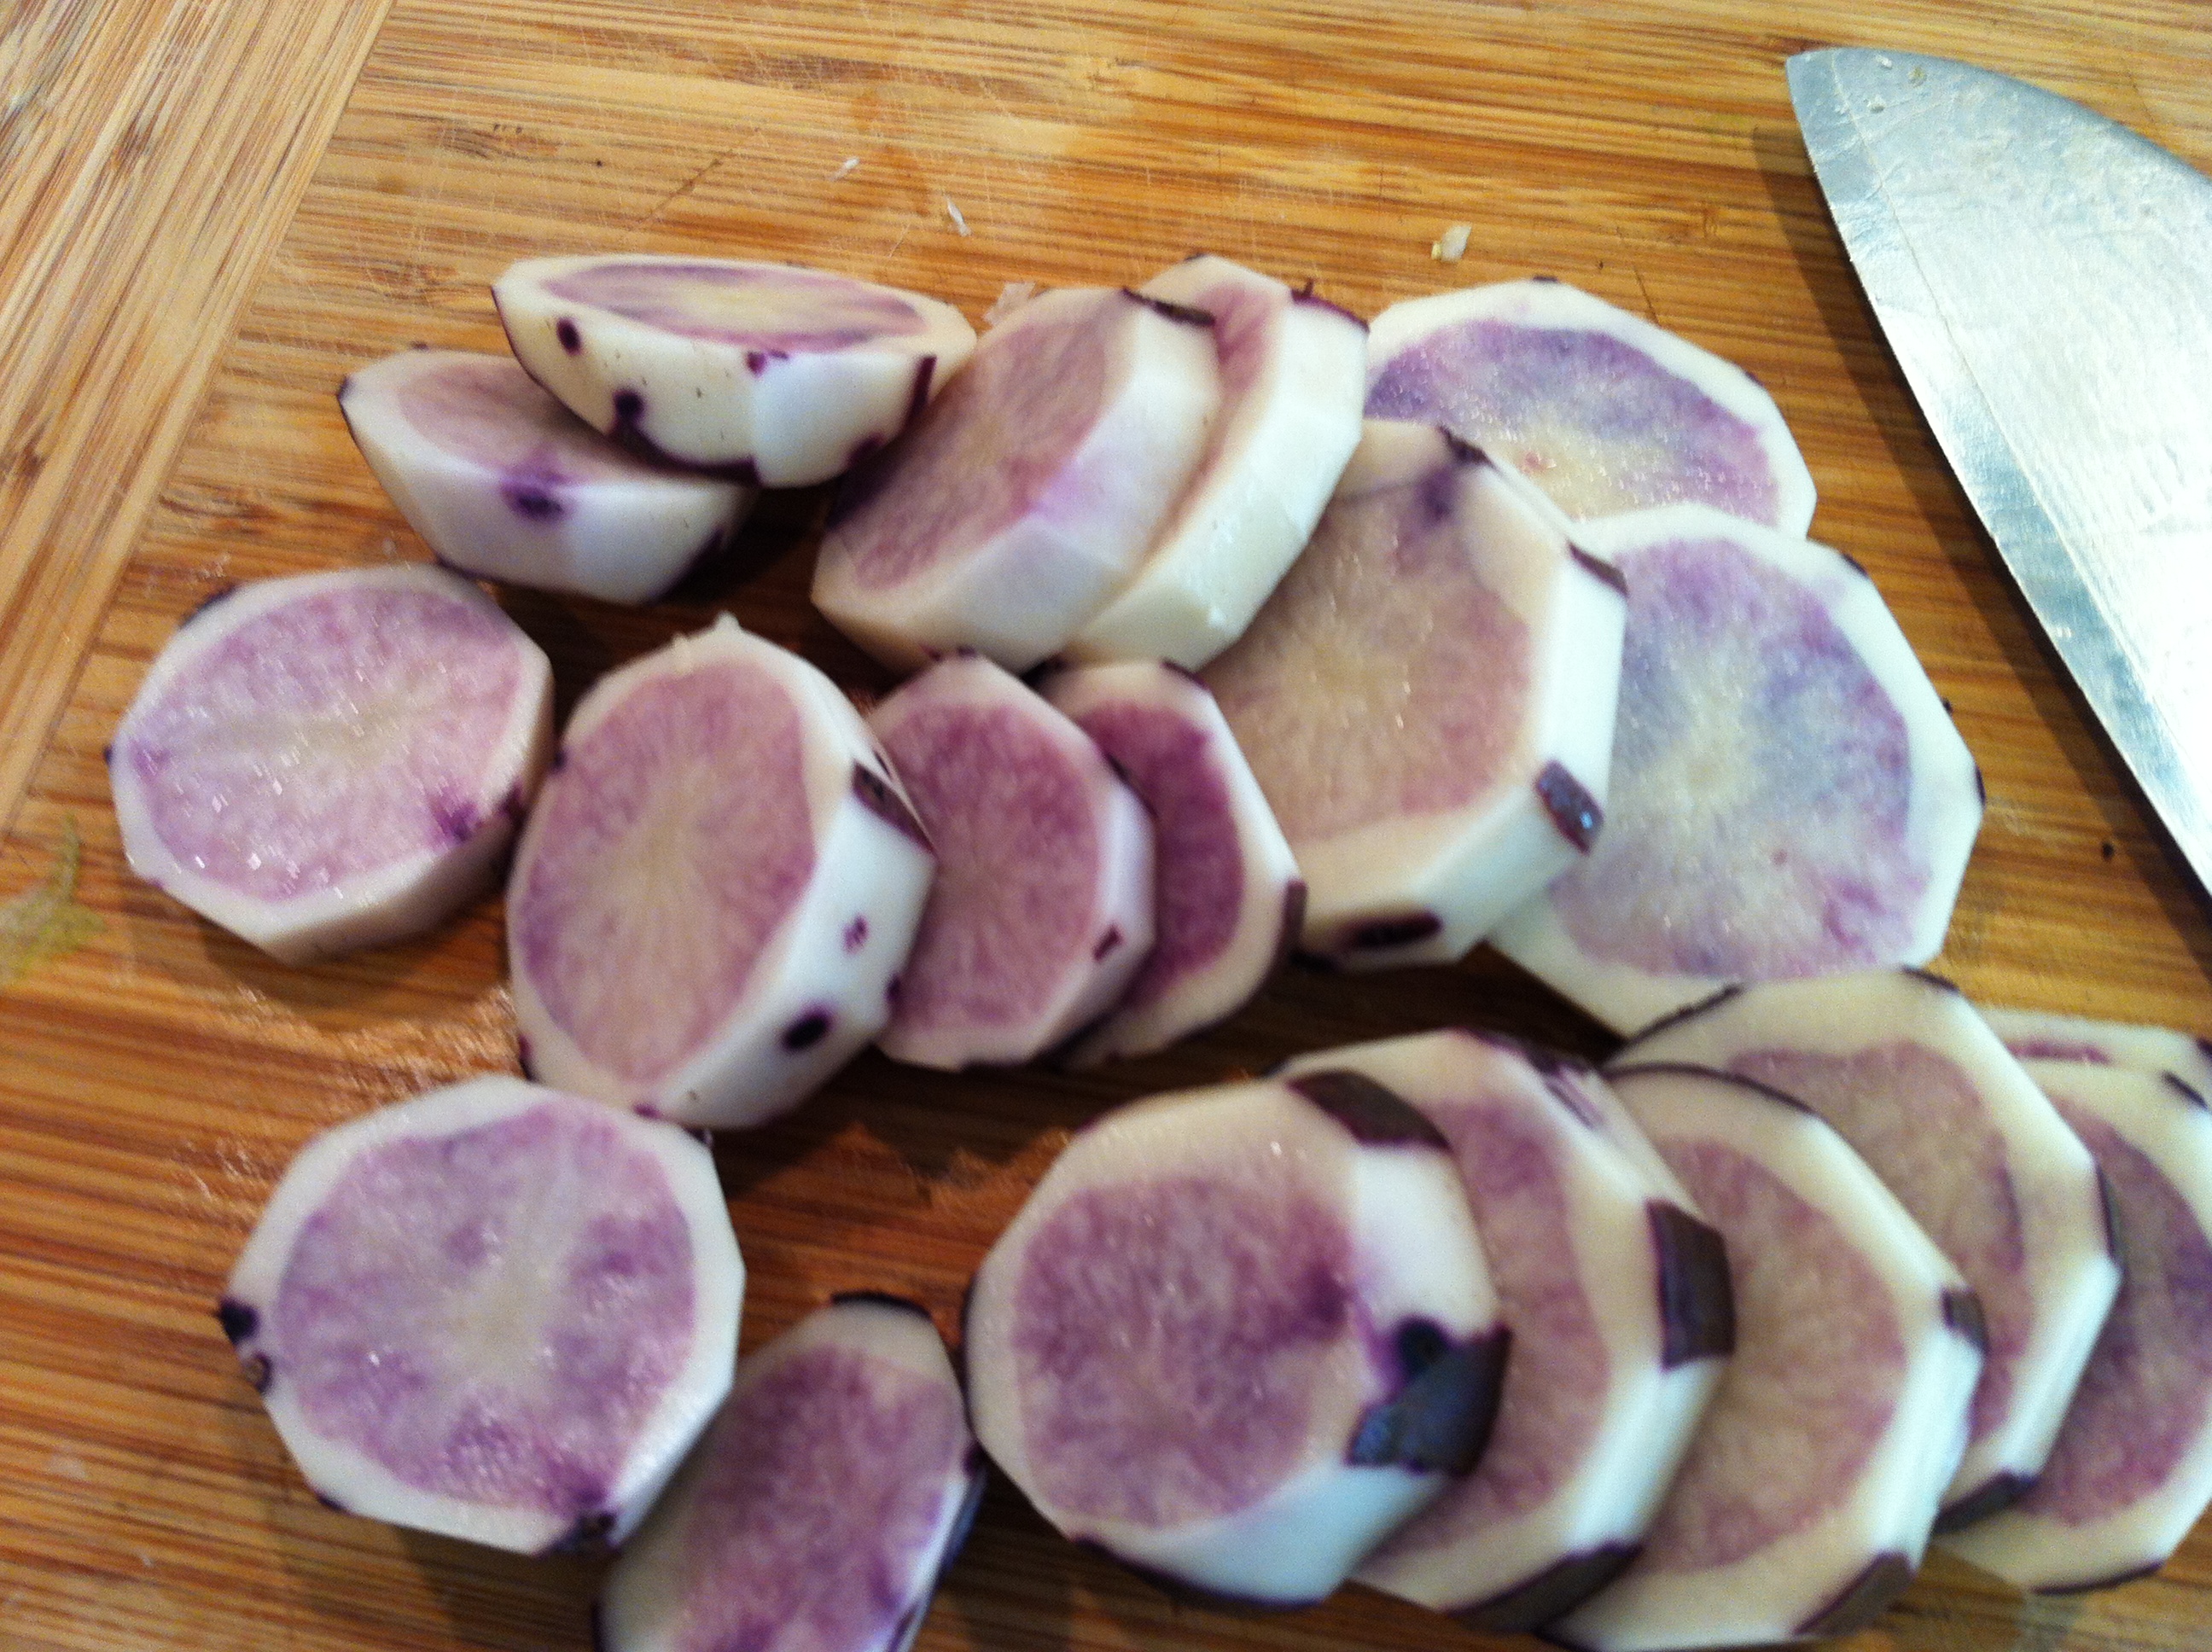
Sliced purple potatoes. Just because.

6 tablespoons unsalted butter
3 medium leeks, white and light green parts, thinly sliced
8 cups shredded cabbage
3 garlic cloves, finely chopped
5 small new potatoes (I used purple potatoes because I had them on hand) 
3 cups vegetable stock
2 1/2 teaspoons kosher salt
2 thyme branches
1/2 teaspoon black pepper
Pecorino Romano rind, or parmiggiano rind (optional)
Grated Parmigiano-Reggiano, to serve
Instructions:

1. Melt the butter in a large pot over medium-high heat, add the leeks and cook until soft and golden around the edges, 5 to 7 minutes. Add the cabbage and garlic and cook, stirring occasionally, until cabbage begins to caramelize, about 10 minutes.

Sauteed leeks

2. Stir in potatoes, stock, 4 or 5 cups water, salt, cheese rind (if using) and thyme. Bring soup to a simmer and cook, partly covered, until potatoes begin to fall apart, 45 to 50 minutes. Add more water, as needed, to reach the desired consistency. Use hand blender to partially puree and remove thyme stems. Season with black pepper and serve, topped with cheese.

Yield: 6 servings


Homemade Edamame Kale Quinoa Inspired by the Specialty Foods Counter

They say never to go grocery shopping when you’re hungry. I was so tempted to load up on prepared foods yesterday at Guido’s Marketplace in Great Barrington, but used my limited will power to stave off the urges. Guido’s Quinoa Edamame Salad (pictured below) looked divine  on an empty stomach. I liked that kale was one of the ingredients – it basically makes any recipe healthy in my book – and edamame, too (super food + protein). I nearly ordered a large container when I remembered that I had a bunch of kale in my CSA pick-up, and since it had been frosty, it needed to be prepared pronto.  Hold up, wait a minute, I was going to prepare this from scratch. I snapped a picture to capture the ingredient list (thank you, Guido’s) and hurried to the check-out counter.

Tempted: Quinoa Edamame Salad @ Guido’s Marketplace

While I unloaded the cart, I started making my mental map of prep steps.  I didn’t know the quantities, or the preparation instructions, but I was willing to wing it, even work under pressure as my belly was grumbling.  The first step would be to cook the quinoa (brilliant, I know). While the quinoa cooked, I’d prepare the vegetables and herbs (edamame, kale, parsley) and whip up the dressing. Mind you, these are all assumptions that I made.

I did a quick search online to confirm the cooking time for quinoa and found a great tip fromThe Kitchn blog. While boiling the quinoa, add a whole clove of garlic and a branch of rosemary to add an additional layer of flavor.  I loved this – the quinoa simply prepared like that tasted good enough to eat. But I powered forward, and to cut to the chase, the dish turned out great. If I had had more foresight, I’d have asked for a sample of Guido’s, so I would have had a taste benchmark as well. But, for a visual comparison, you can see my dish below. Not bad on the eyes, and pretty darn good on the palette. Recipe below photo for the adventurous.

Craving satisfied: Edamame Kale Quinoa Salad

Ingredients:

1 cup dry quinoa
2 cups water or broth
3 cloves garlic peeled, 1 smashed, the other 2 cloves minced
1 sprig of rosemary (optional)
1 tablespoon lemon juice
5 tablespoons olive oil
1 cup of edamame (if frozen, prepare according to package)
1 bunch of kale or tuscan kale, center ribs removed
1/2 cup of flat leaf parsley, washed and chopped
1-2 dried chili peppers (optional)


Instructions:

Rinse the quinoa well. Put the quinoa and water or broth in a small saucepan, add 1 clove smashed garlic and sprig of rosemary (if using), and bring to a boil. Cover and simmer for 15 minutes until all water is absorbed. Fluff with fork and let cool.

While quinoa is cooking, steam kale for 2-3 minutes. Remove from steamer with tongs and chop roughly. Place kale, chopped parsley, and edamame in mixing bowl. In a smaller bowl, prepare the dressing by combining remaining garlic, lemon juice, salt and pepper and chilis (if using). Whisk in the olive oil, and adjust seasoning as needed.

Once quinoa has cooled, add to bowl with vegetables and drizzle salad dressing over it. Stir gently to combine. Serve immediately, or store for 1-2 days.

Yield: 6-8 servings

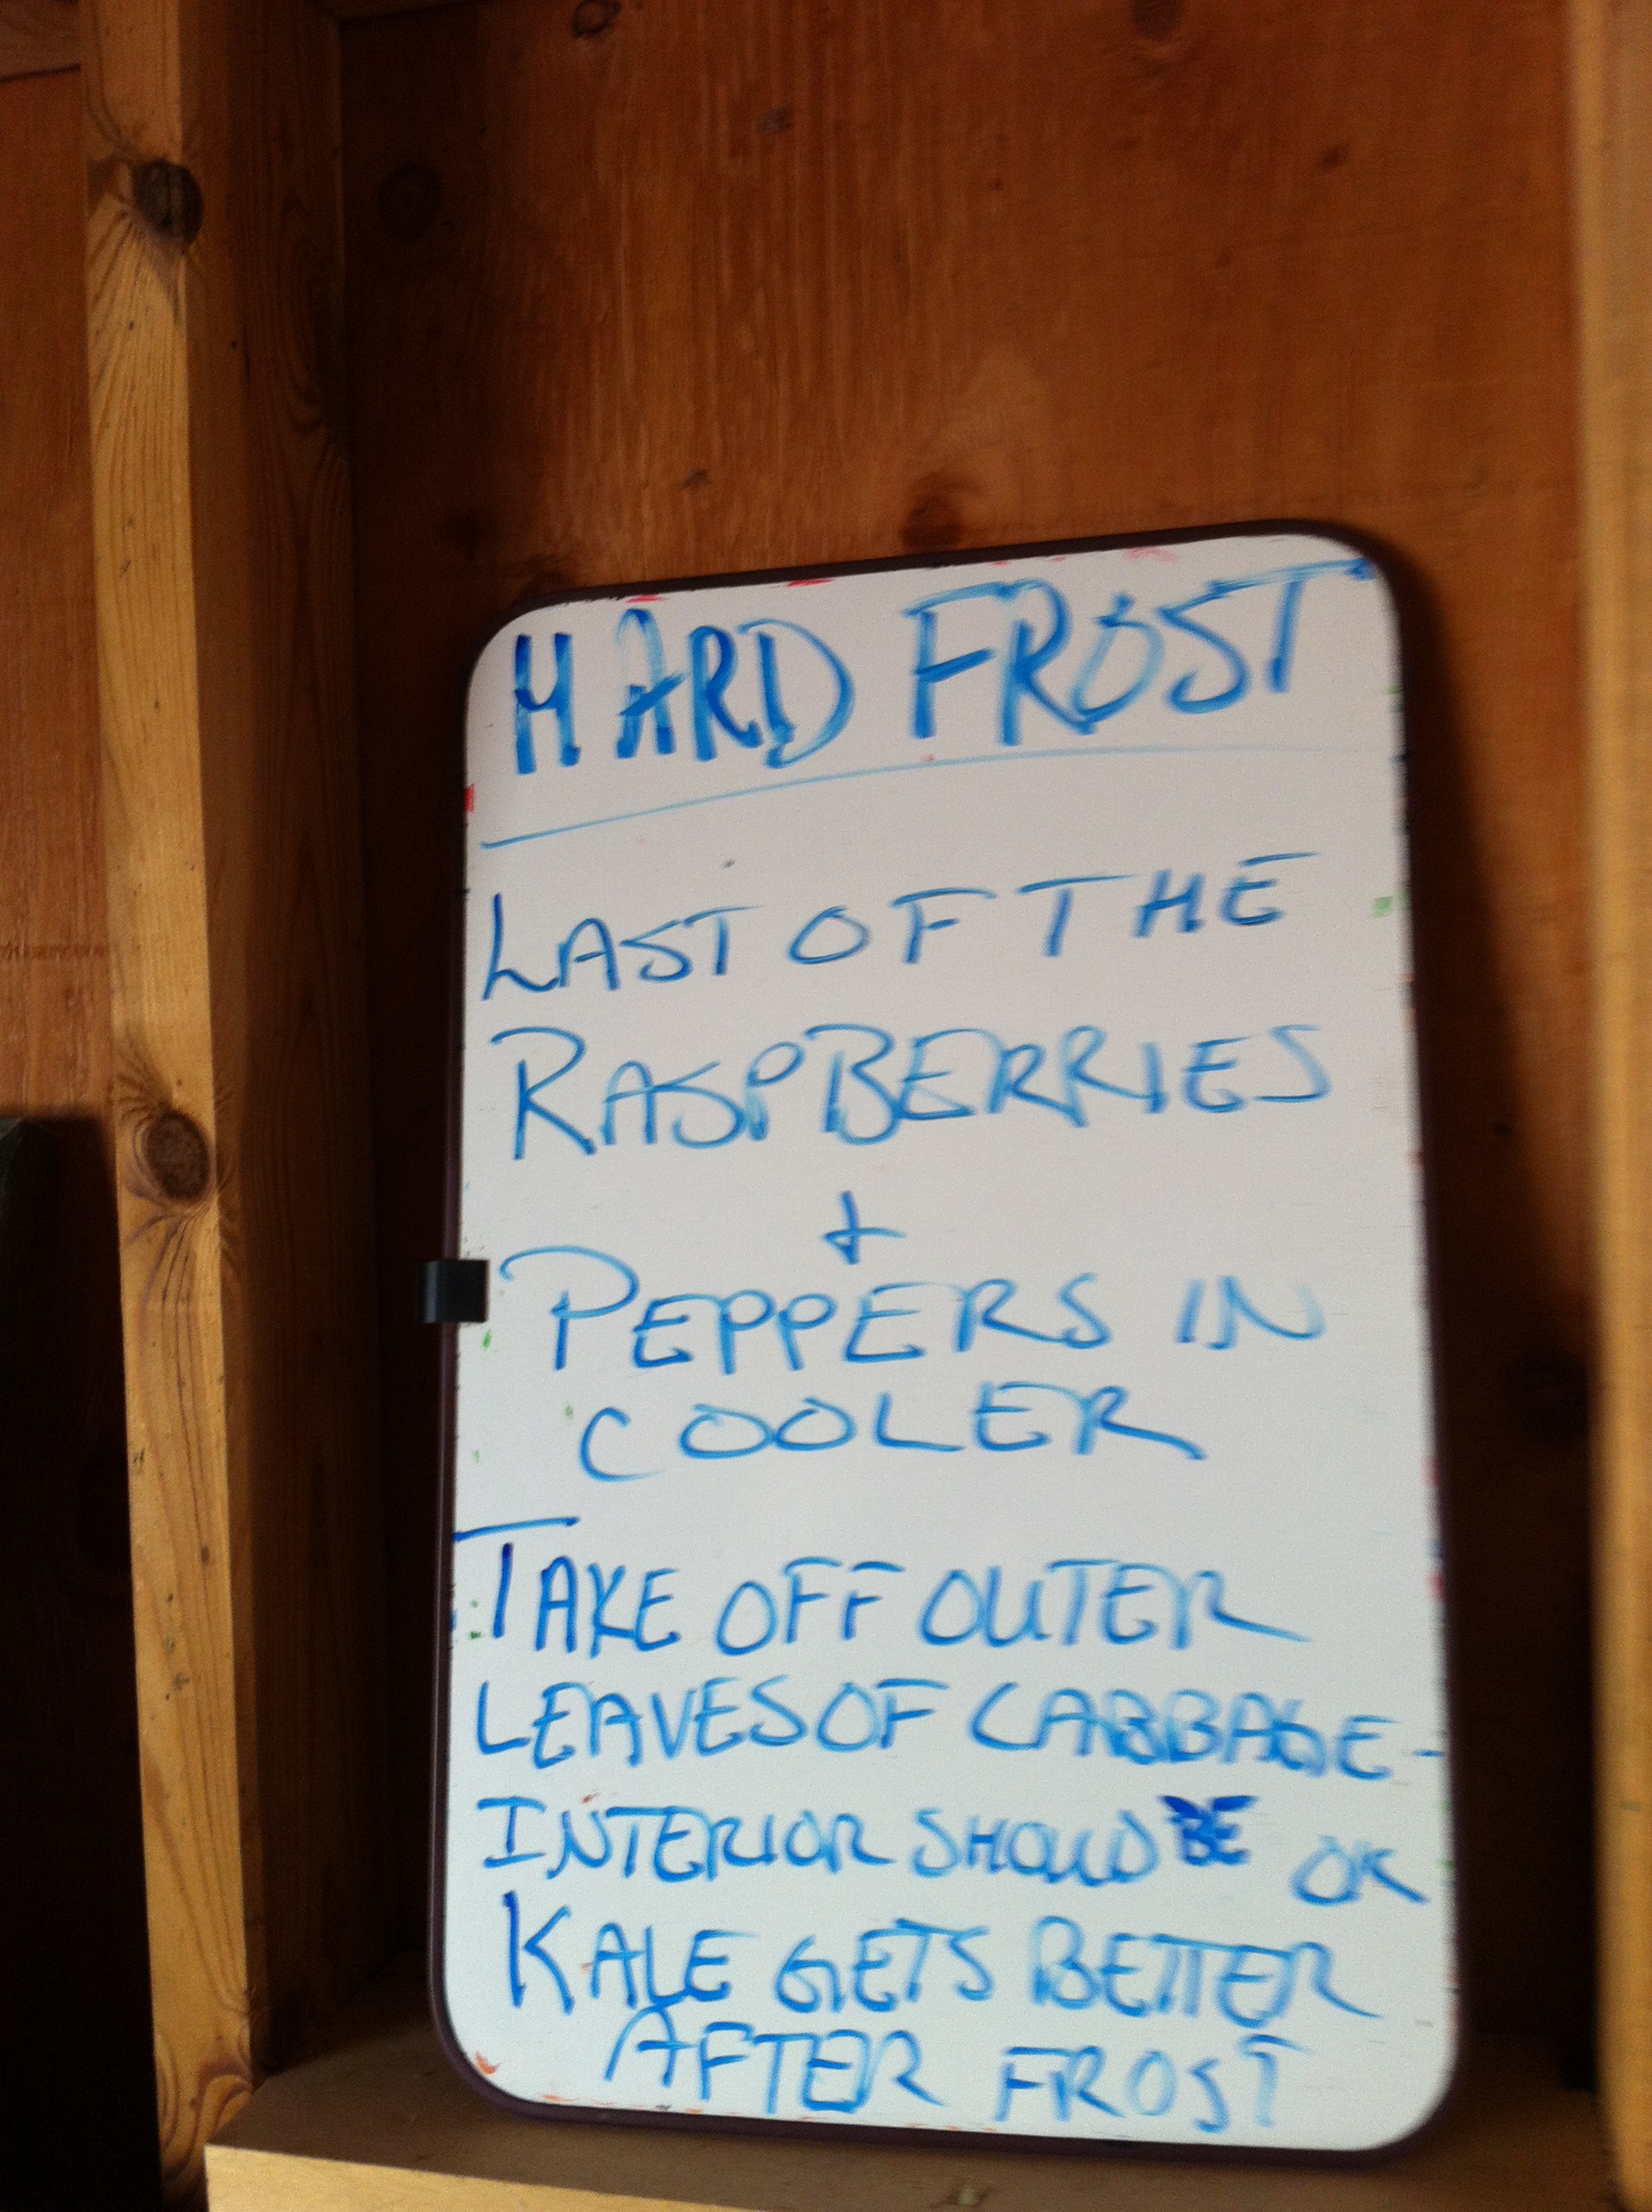
Hard Frost: CSA Pick-up 10/13/12

Mid-October and the end of CSA season in Western Mass is growing nigh.

Warning: Temps dipped into the 20s last night

If you like your kale crispy, it’s your lucky day:

Frosty Kale

Despite the overnight freezing temps, we still had a wide assortment of veggies at today’s pick-up, including some new fall veggies like Brussel Sprouts (yay!), multi-colored carrots, acorn squash and leeks (double yay!):

New: Brussel Sprouts

New: Carrots & Leeks (hello again, potatoes)

I was already brainstorming on what to do with this bounty and knew I’d have to act quick. Everything looked great, but once the ice melted, I feared many things would go to mush, and worse, rot. Here’s what I’ll make once I get these puppies home:

  • Leek, Potato and Caramelized Cabbage Soup
  • Kale & Edamame Quinoa salad (inspired by Guido’s prepared foods counter)
  • Roasted Brussel Sprouts
  • Acorn Squash with Chili-lime Vinaigrette
  • TBD

Here’s the full run-down of today’s pick-up:


Milanese Meal in NYC

Guess what I had for dinner last night?

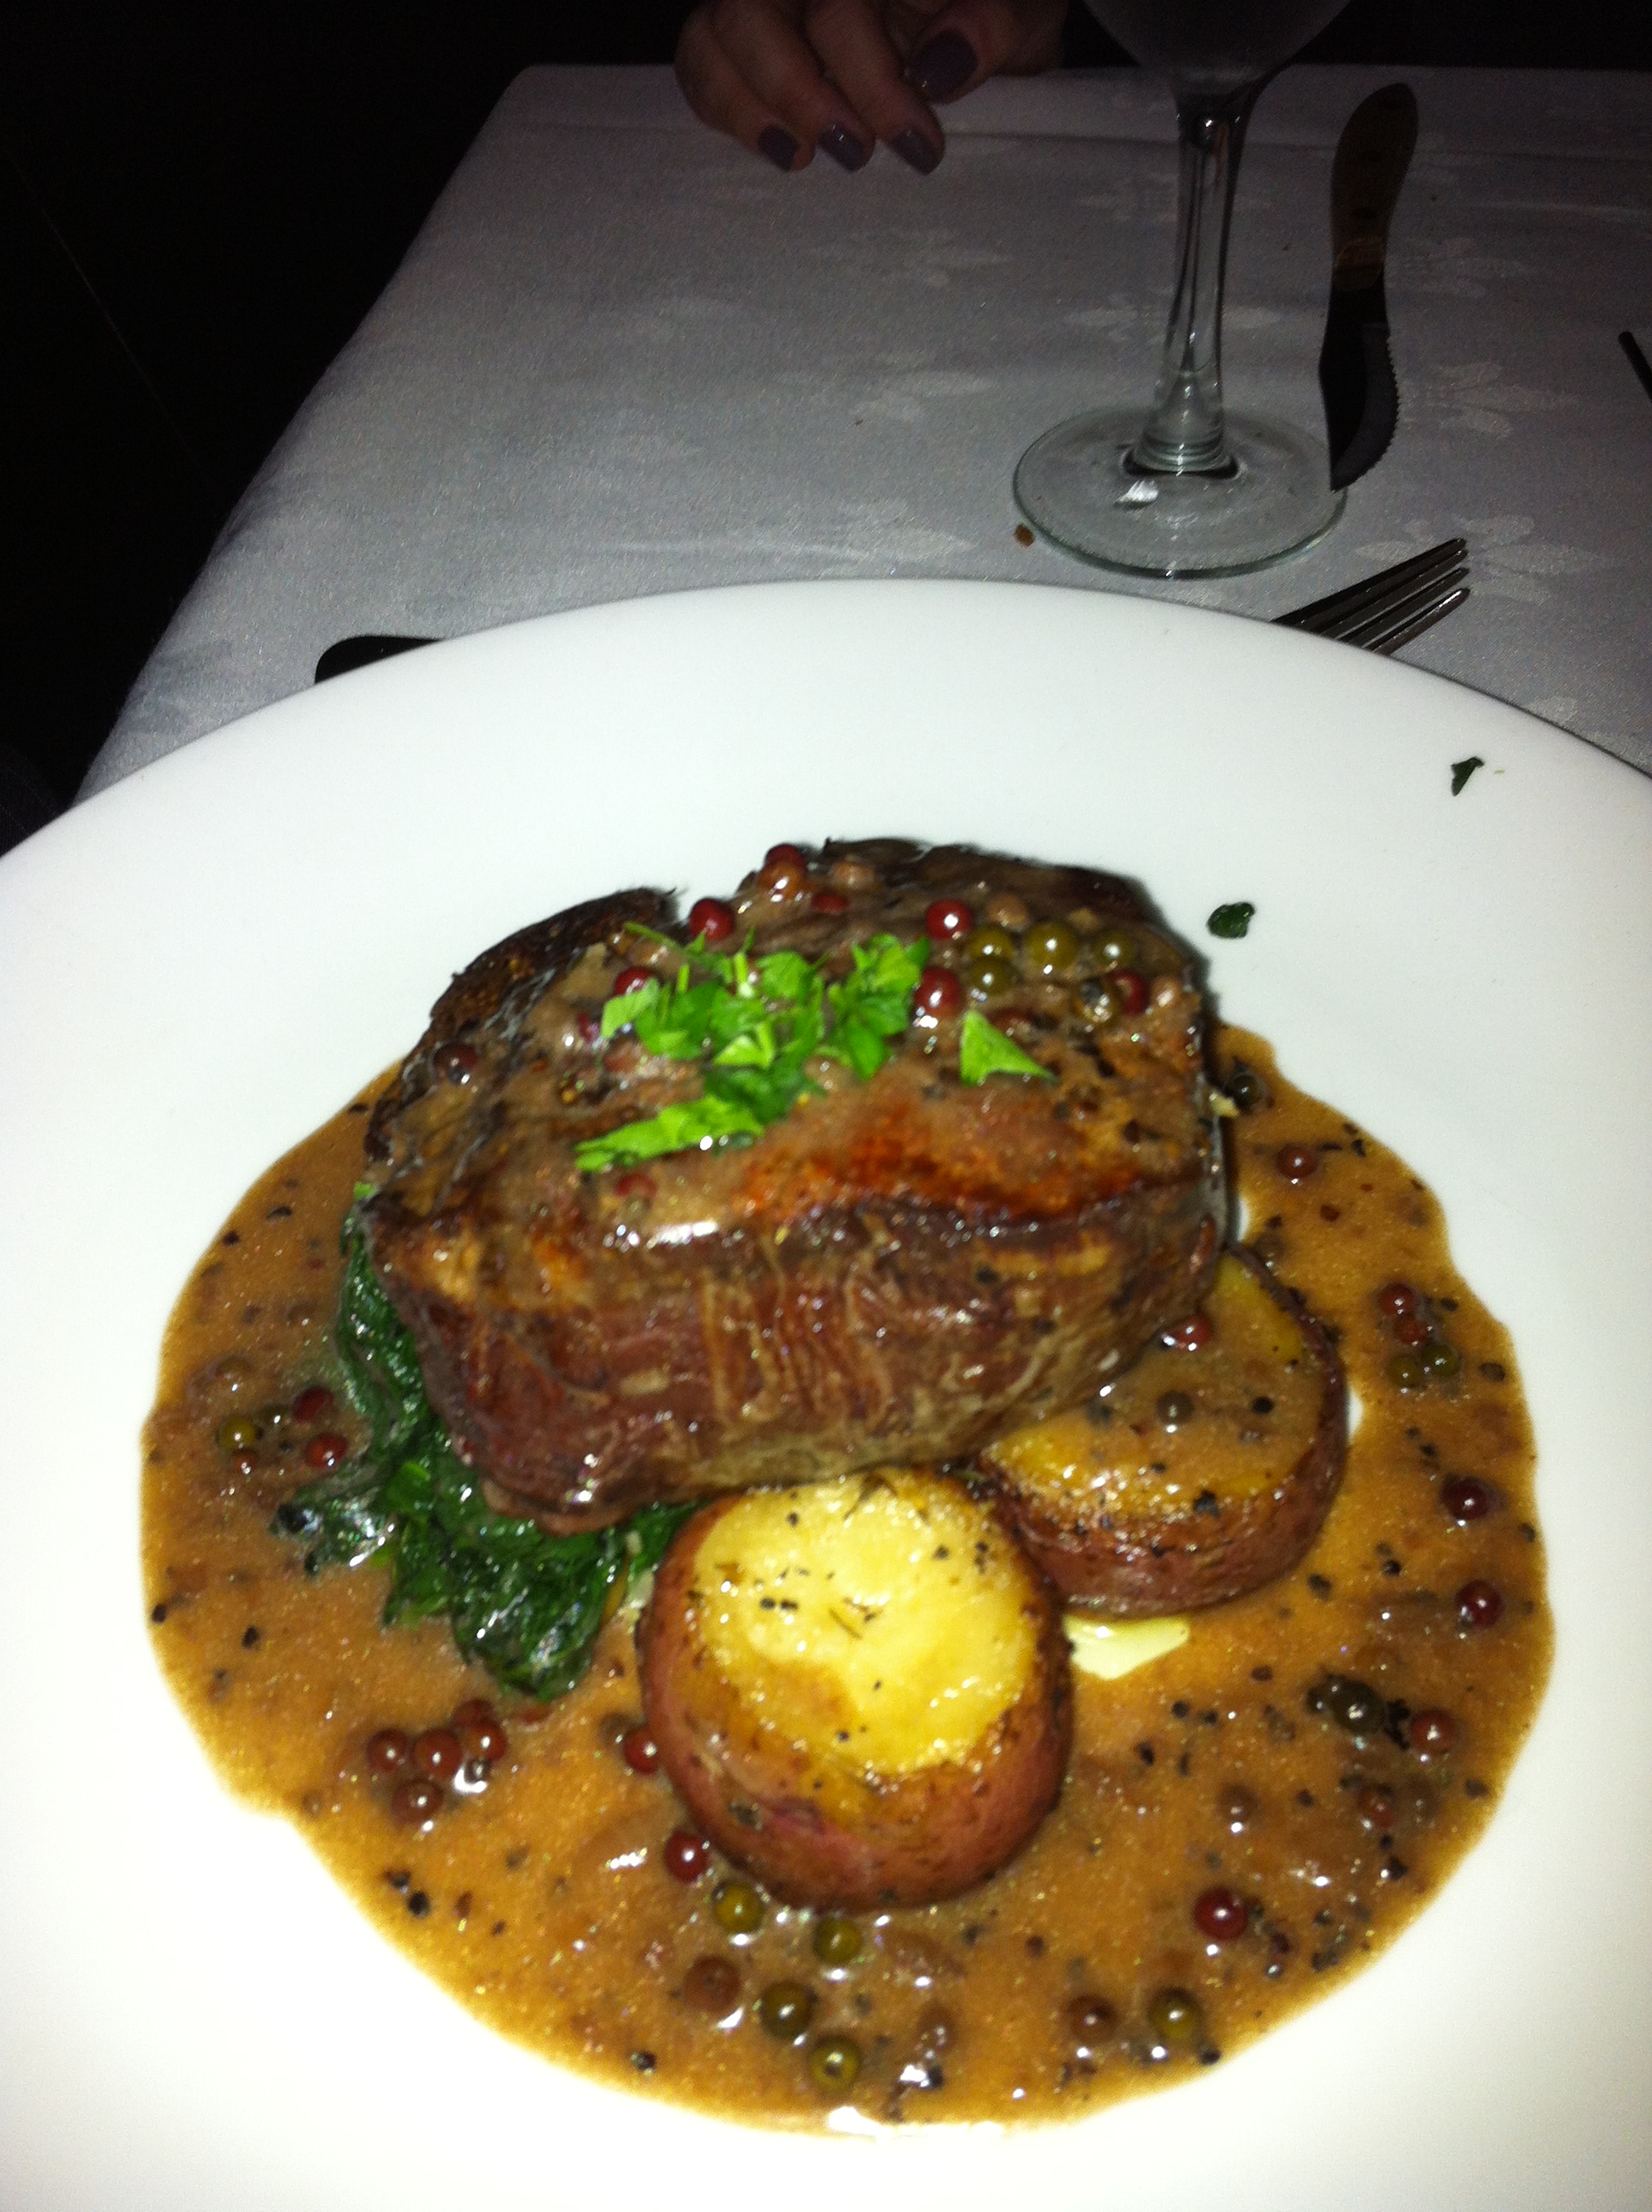
Fillet on a bed of sauteed spinach and roasted potatoes – da Umberto

JUST KIDDING! I haven’t eaten a steak since my 21st birthday and that was…just a few years ago. This is a snapshot of Hubs’s perfect steak dinner.  Even for a non-meat eater like myself, I thought this looked just delicious.

We had a great meal last night at da Umberto in Chelsea.  Da Umberto is an understated gem situated on a side street with a simple glass storefront. Our dining companions, Sandi and Mike, used to live 2 blocks away and had always wanted to dine there, but never had. It is the anti-scene. Inside, there is a dimly lit, elegant dining room and a menu reminiscent of a classic Milanese restaurant.

We were seated next to the antipasti bar, a rainbow of vegetable delights beautifully displayed, and begging to be ordered. The contents disappeared so quickly, I didn’t get a chance to snap a picture. You’ll have to use your imagination: roasted magenta beets, bright green broccoli rabe, perfect button mushrooms, roasted corn, eggplant caponata, caramelized brussel sprouts, and I can’t remember what else…

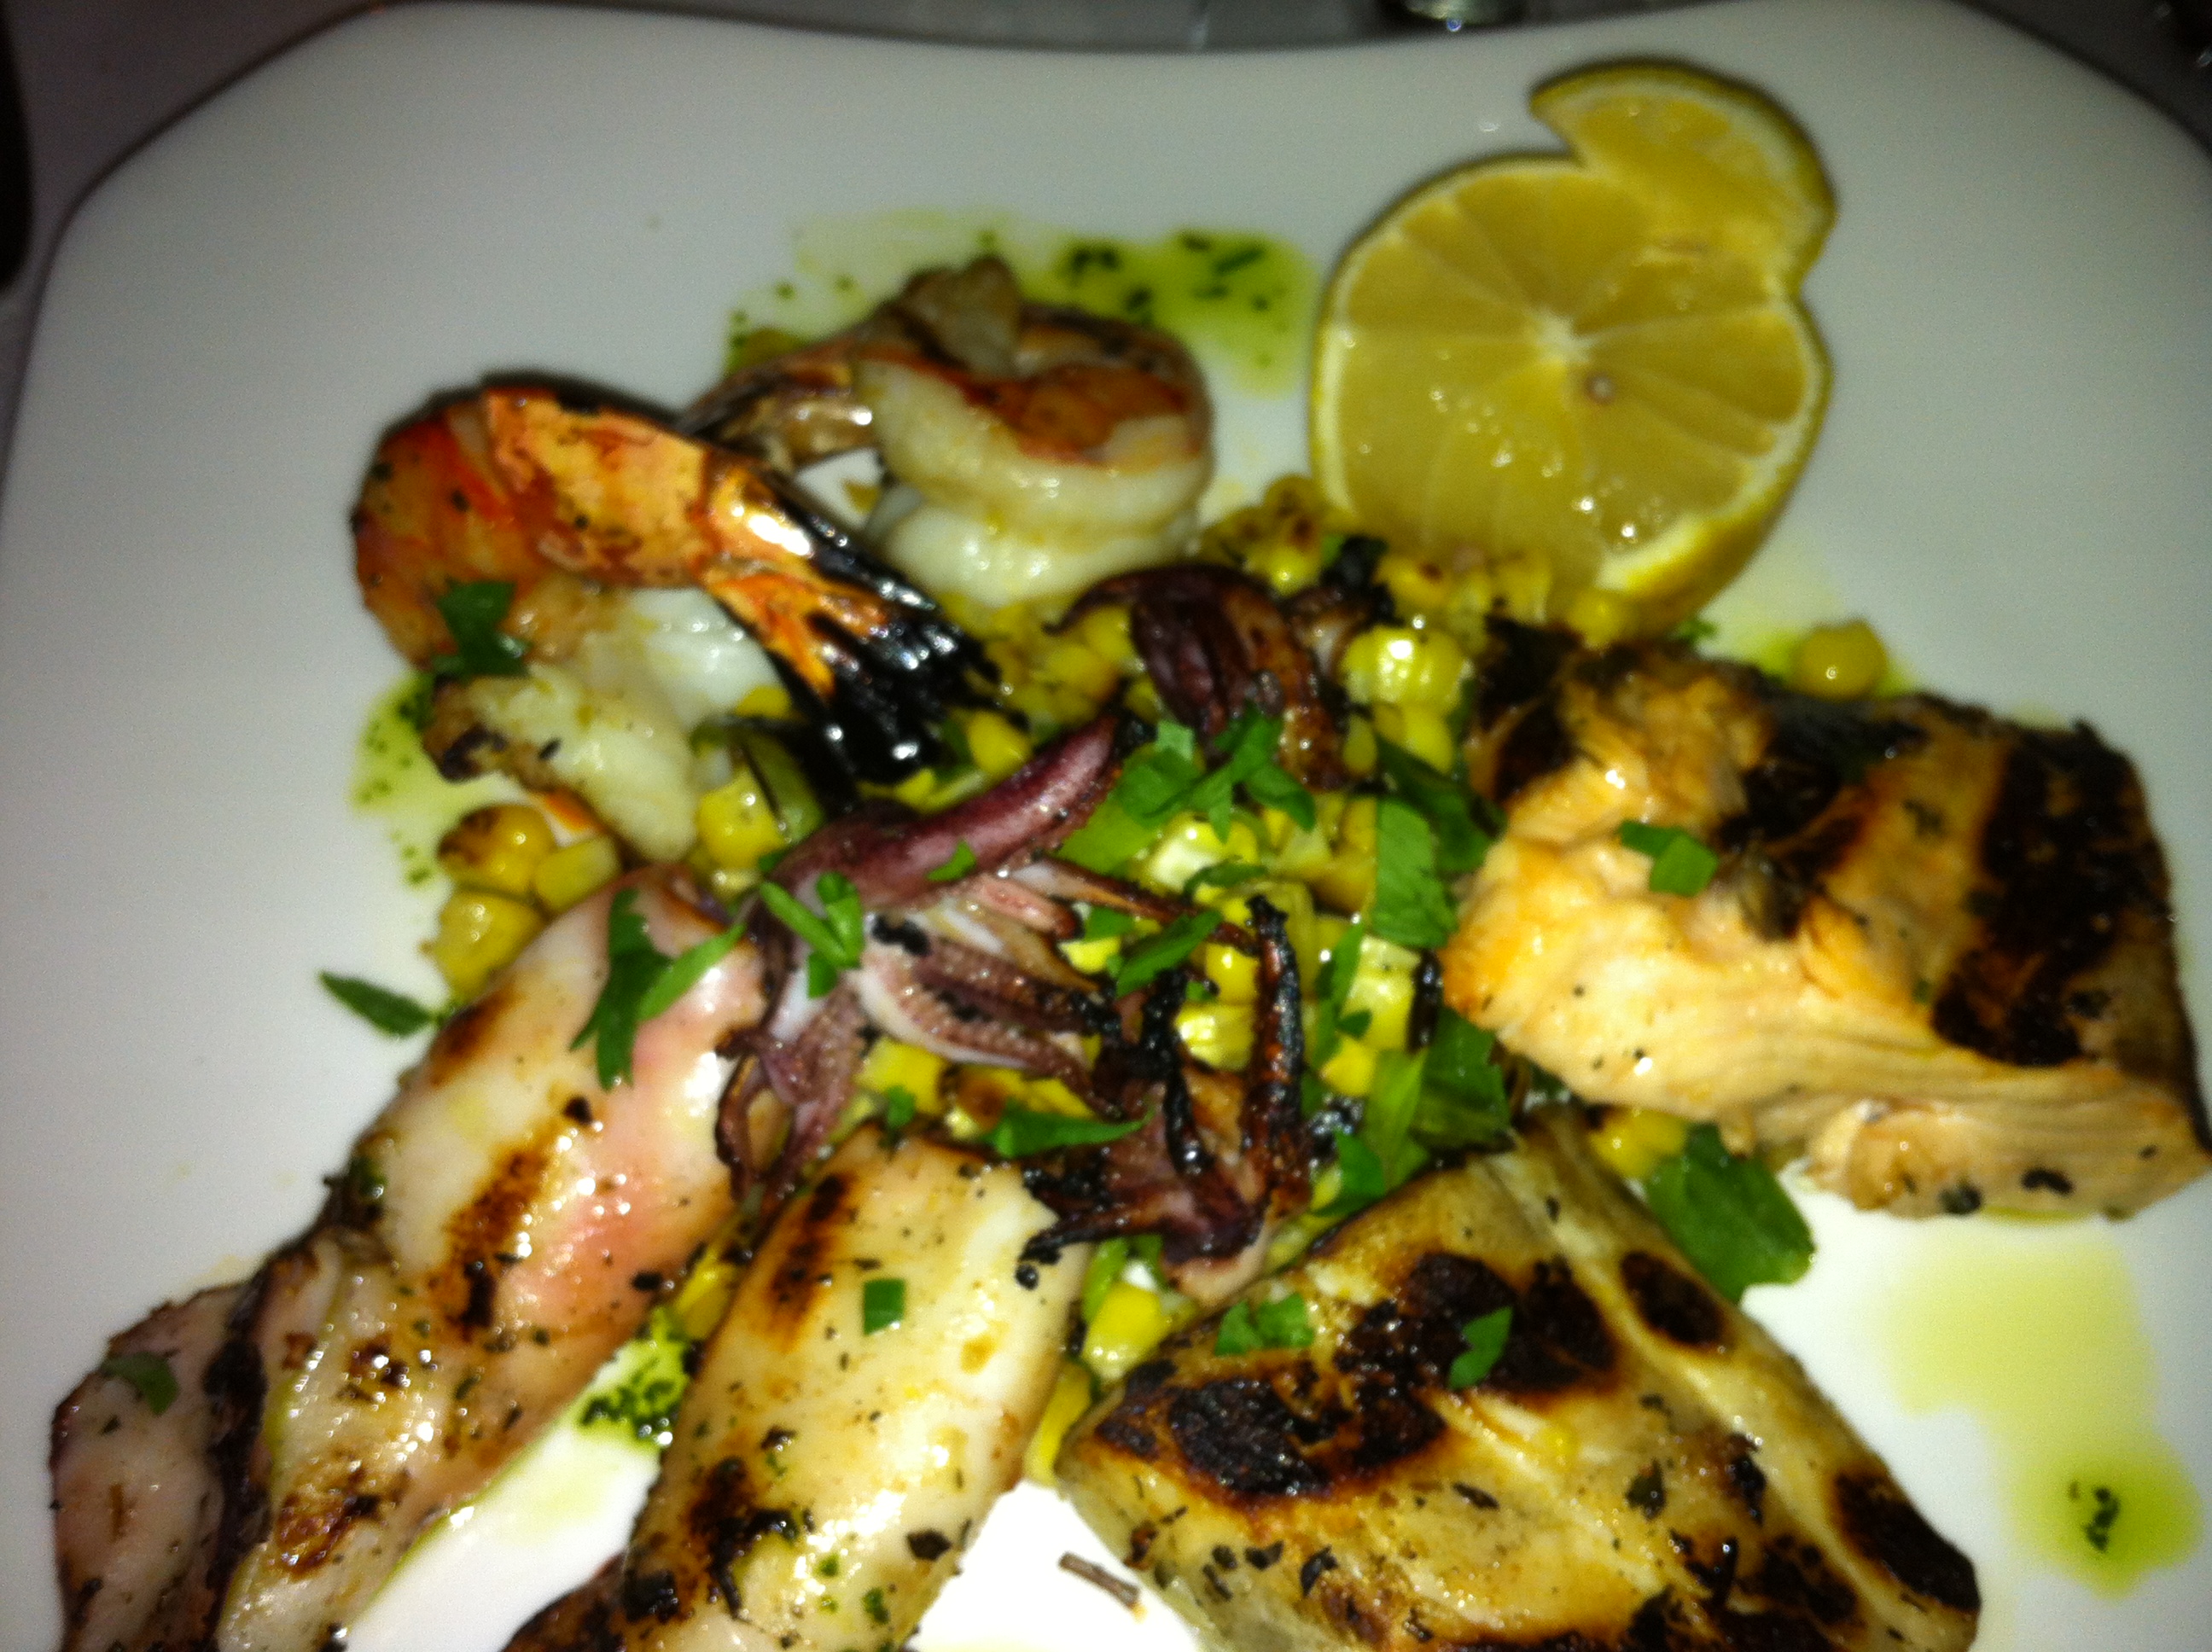
Mixed Grilled Seafood on a bed of Charred Corn – Grigliata Mista da Umberto

After a simple, fresh arugula salad, I had the mixed grilled seafood plate (grigliata mista) for dinner. It was a classic preparation – scampi, squid, a small piece of orata and salmon, all lightly drizzled with olive oil, lemon and some fresh herbs and grilled to perfection. What our dining companions ate, I cannot tell you. I was far too absorbed in my plate.  And in honor of our recent trip to the Maremma, Hubs ordered a yummy, medium-bodied, pepper-y red wine from Bolgheri.

I was already feeling quite full when the waiter wheeled over the dessert cart. Again, a lovely presentation: a beautiful ceramic bowl of tiramisu, ricotta cheese cake, goblets of frutti da bosco, chocolate mousse cakes and more. We could not resist and shared a chocolate and vanilla ice cream tartufoDelightful. I can’t wait to go back.

Grilled Shrimp in Snowy Denver

It’s only early October, but that didn’t stop the snow from falling on Friday night in Denver, Colorado. The locals called it frost, but this East Coaster called it snowfall.

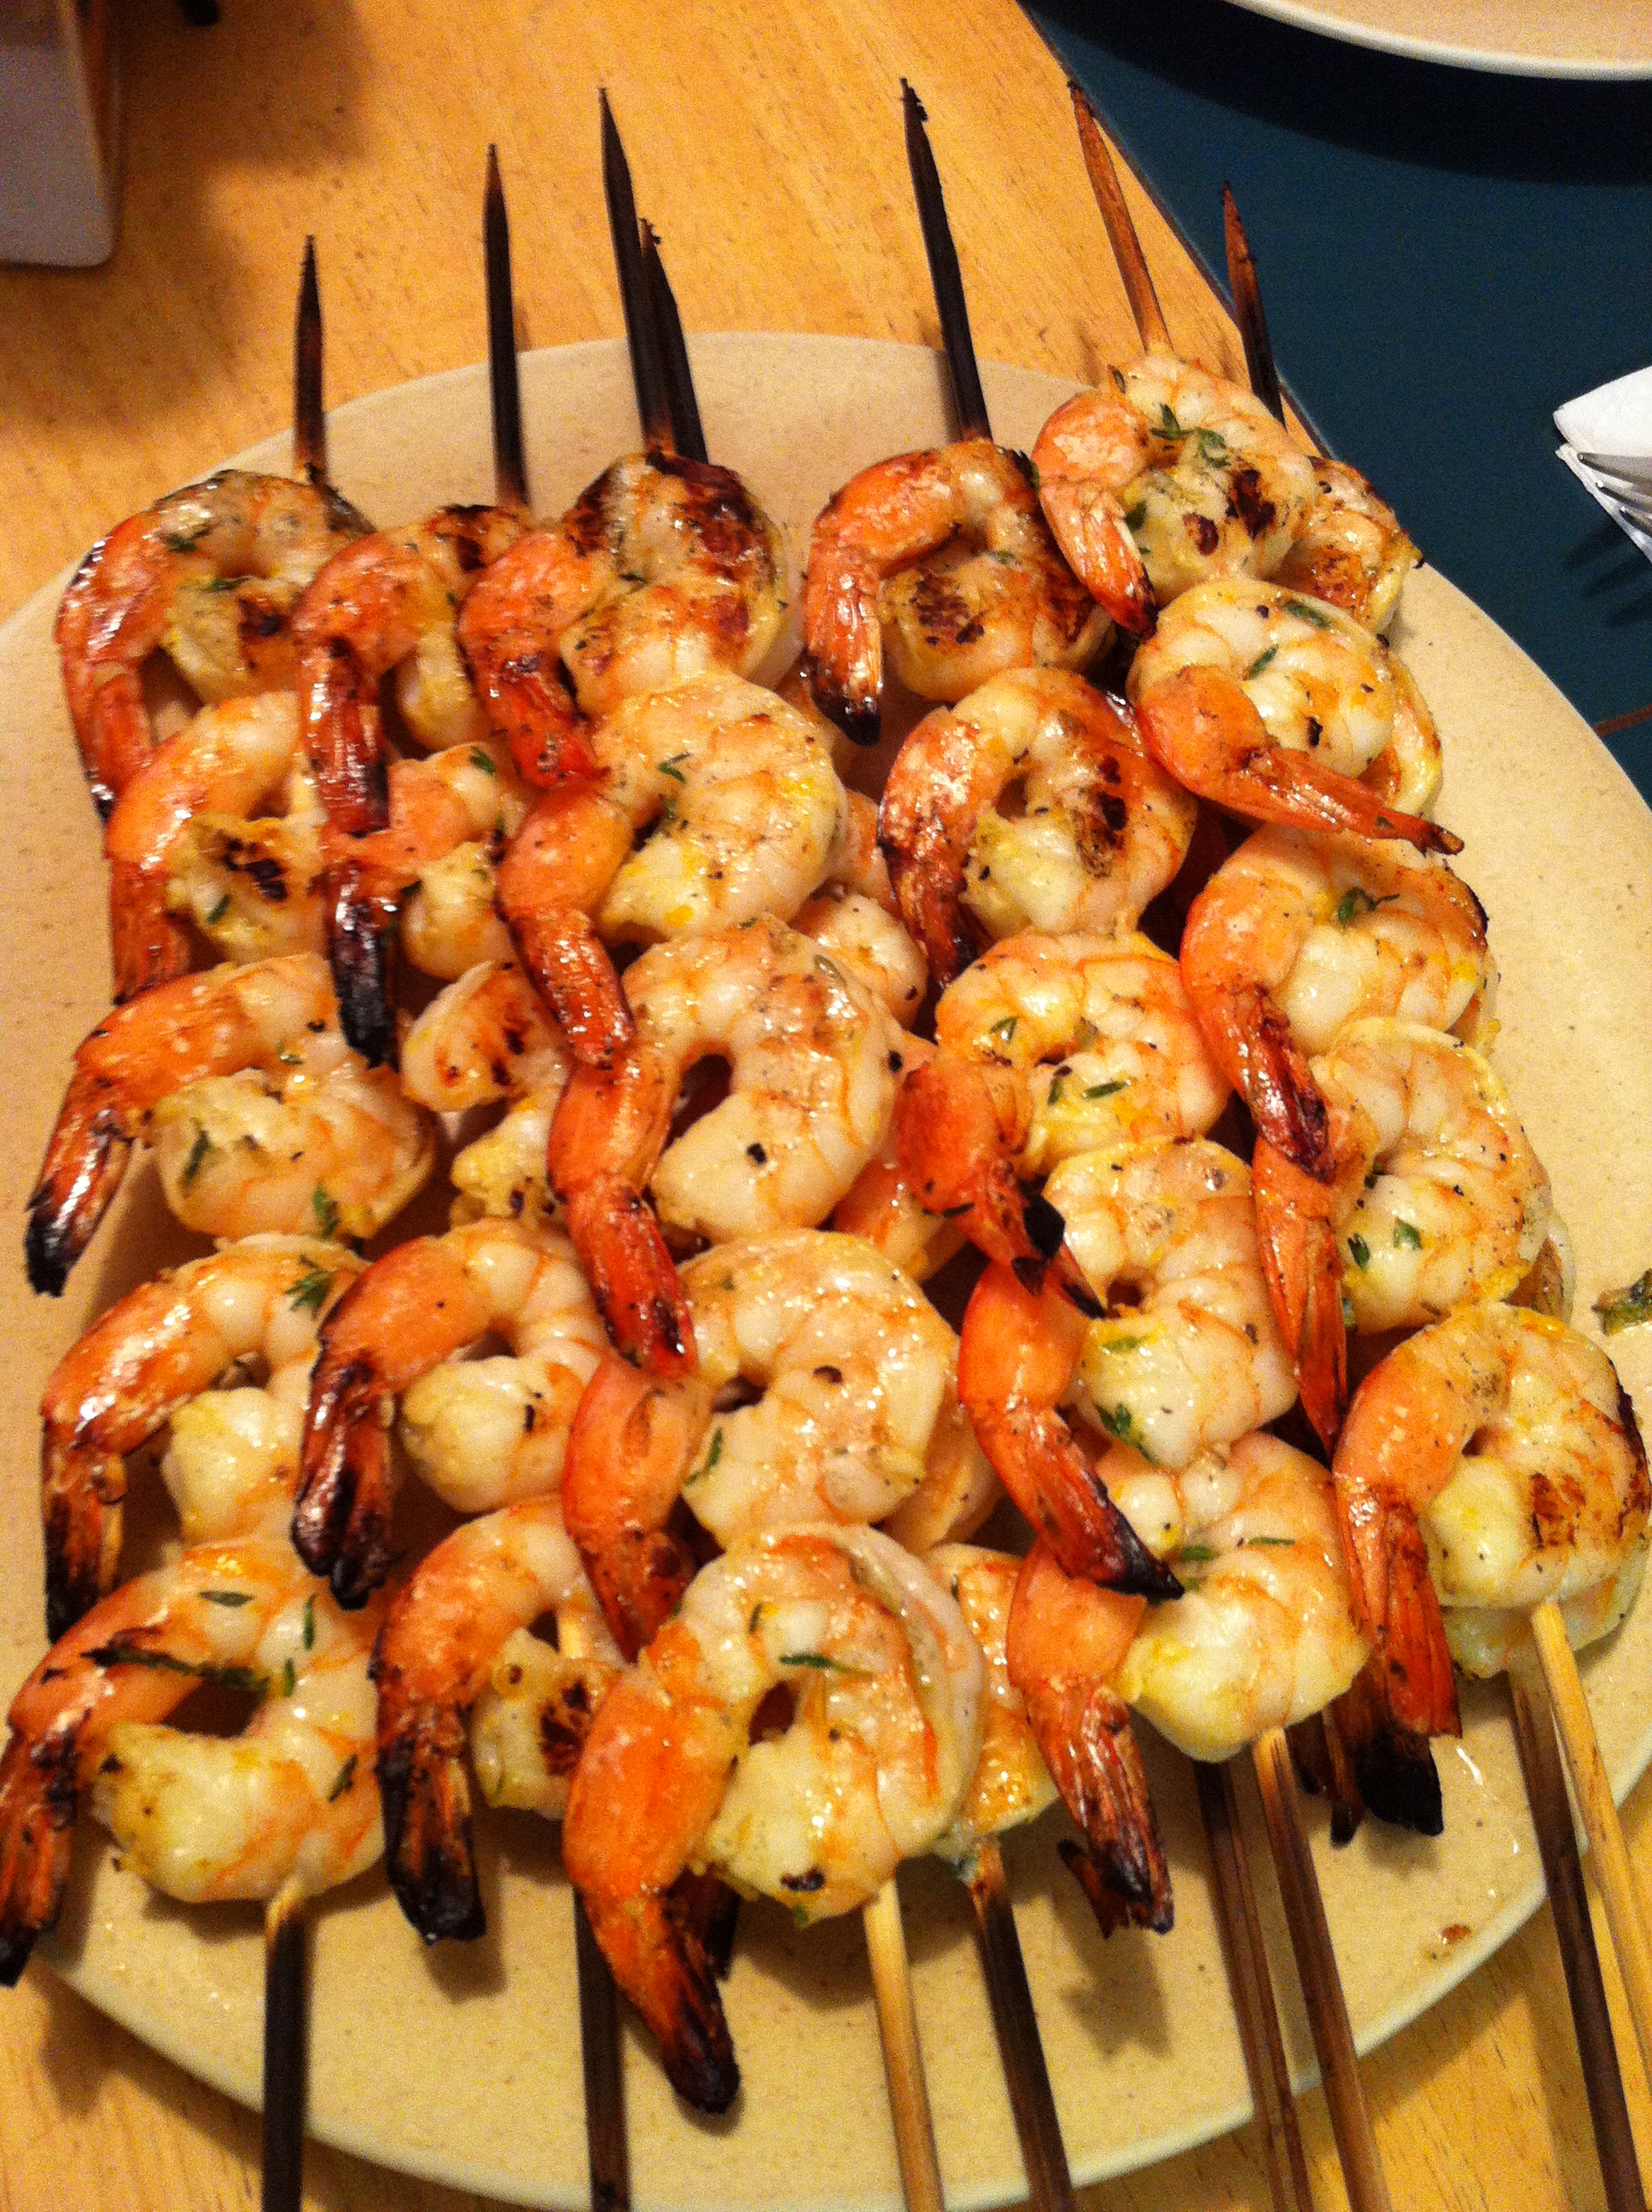
My super-organized sister-in-law Sara keeps a binder full of  favorite family recipes. It’s a system that works much better than cramming cut-out recipes into cookbook pages, as I tend to do. During our weekend visit, Sara prepared this yummy Orange Thyme Shrimp dish that was thoroughly enjoyed by kids of all ages. She marinated large shrimp in a mixture of orange juice, orange zest, minced garlic, fresh thyme and olive oil. Then threaded the shrimp on wooden skewers, ready for the grill.

Tails in a row: Orange Thyme Grilled Shrimp

Brother-in-law Mark grilled the shrimp to perfection. Note the engineer’s attention to detail in that all tails are pointing in the same direction. 2-3 minutes per side should do it (much internal debate on cooking time).

The grilled shrimp were served on a bed of orzo (or substitute your grain of choice, like Freekeh), with peas on the side to round out the meal. Thanks again to Sara and Mark for a fabulous visit!

Next up: Community Supported Fishing?

As you know, I am a huge fan of Community Supported Agriculture  programs (CSAs), and the state of Maine.  I’ve been reading a lot about variations on the CSA theme. Yesterday, the NY Times published an article about weekly pick-up programs for fresh fish that truly help sustain fishing villages. Patricia Leigh Brown writes about Port Clyde Fresh Catch, started a few years ago by fisherman Glen Libby in Port Clyde, Maine (clearly a story after my own heart).

Port Clyde, Maine

In an effort to protect over-fished populations, many government regulations  have hurt the commercial fishing industry.  Mr. Libby came up with the idea to sell directly to consumers on a subscription basis to help pull his community together.  Mr. Libby’s idea was to turn the business on its head and sell a “mixed bag” directly to consumers, just like CSAs, instead of via wholesalers. The beauty of it is that the fisherman can catch local fish that are sustainable, not just the high-demand fish like cod, haddock, etc.  The bonus for consumers is that they’ll be introduced to new fish and seafood, much like I am confronted with never-prepared vegetables before from my CSA, AND will consume responsibly caught fish. More opportunity to experiment and learn for the home cook – all in a way that helps the local community and our maritime friends. Win-win.

Happy reading.

Delicata Squash with Chili-Lime Vinaigrette

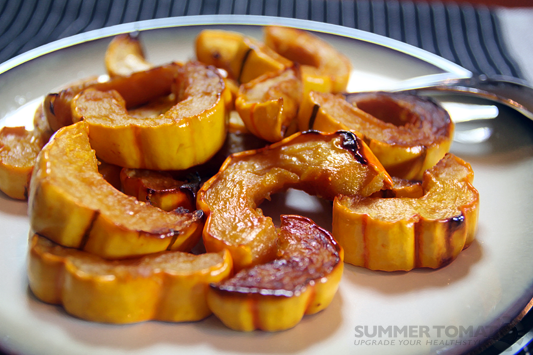
Must tell you about a simple and sumptuous recipe I tried on Monday night. I wanted to try a new preparation for my 2 small Delicata squash that I picked up on Saturday. I liked the late fall pasta recipe I made a few weeks ago, but wanted to prepare the Delicata as a side dish.  After some research, I picked this recipe from Smitten Kitchen that was originally made for acorn squash. It was delicious, and so easy because you don’t even need to peel Delicata. The Chile-lime vinaigrette was tasty enough to eat on its own. I wound up using the vinaigrette as a dipping sauce and would recommend it as delicious dipping sauce for any roasted vegetables, fish, bread, use your imagination.

Roasted Delicata Squash from Summer Tomato

Roasted Delicata Squash with Chile-Lime Vinaigrette
Adapted from Smitten Kitchen and Gourmet, October 2006

Ingredients:

2 small delicata squash, or 1 large
1/2 teaspoon black pepper
1 teaspoon salt
6 tablespoons olive oil
1 garlic clove
1 1/2 tablespoons fresh lime juice, or to taste
1 to 2 teaspoons finely chopped jalapeno
2 tablespoons chopped fresh cilantro

Instructions:

Preheat oven to 450°F. Halve squash lengthwise, then cut off and discard stem ends (no need to peel). Scoop out seeds and cut squash  into half moons 1/2-inch-wide slices. Toss squash with black pepper, 3/4 teaspoon salt, and 2 tablespoons oil on a baking sheet, then arrange in 1 layer. Roast squash, switching position of pans halfway through roasting, until squash is tender and undersides of wedges are golden brown, 20- 25 minutes.

While squash roasts, mince garlic and mash to a paste with remaining 1/4 teaspoon salt. Transfer paste to a small bowl and whisk in lime juice, jalapeno pepper (to taste), cilantro, and remaining 1/4 cup oil until combined. Transfer squash, browned sides up, to a platter and drizzle with vinaigrette, or use as dipping sauce.

Yield: 2-4 servings as a side dish

Late Summer Crunchy Veggie Salad

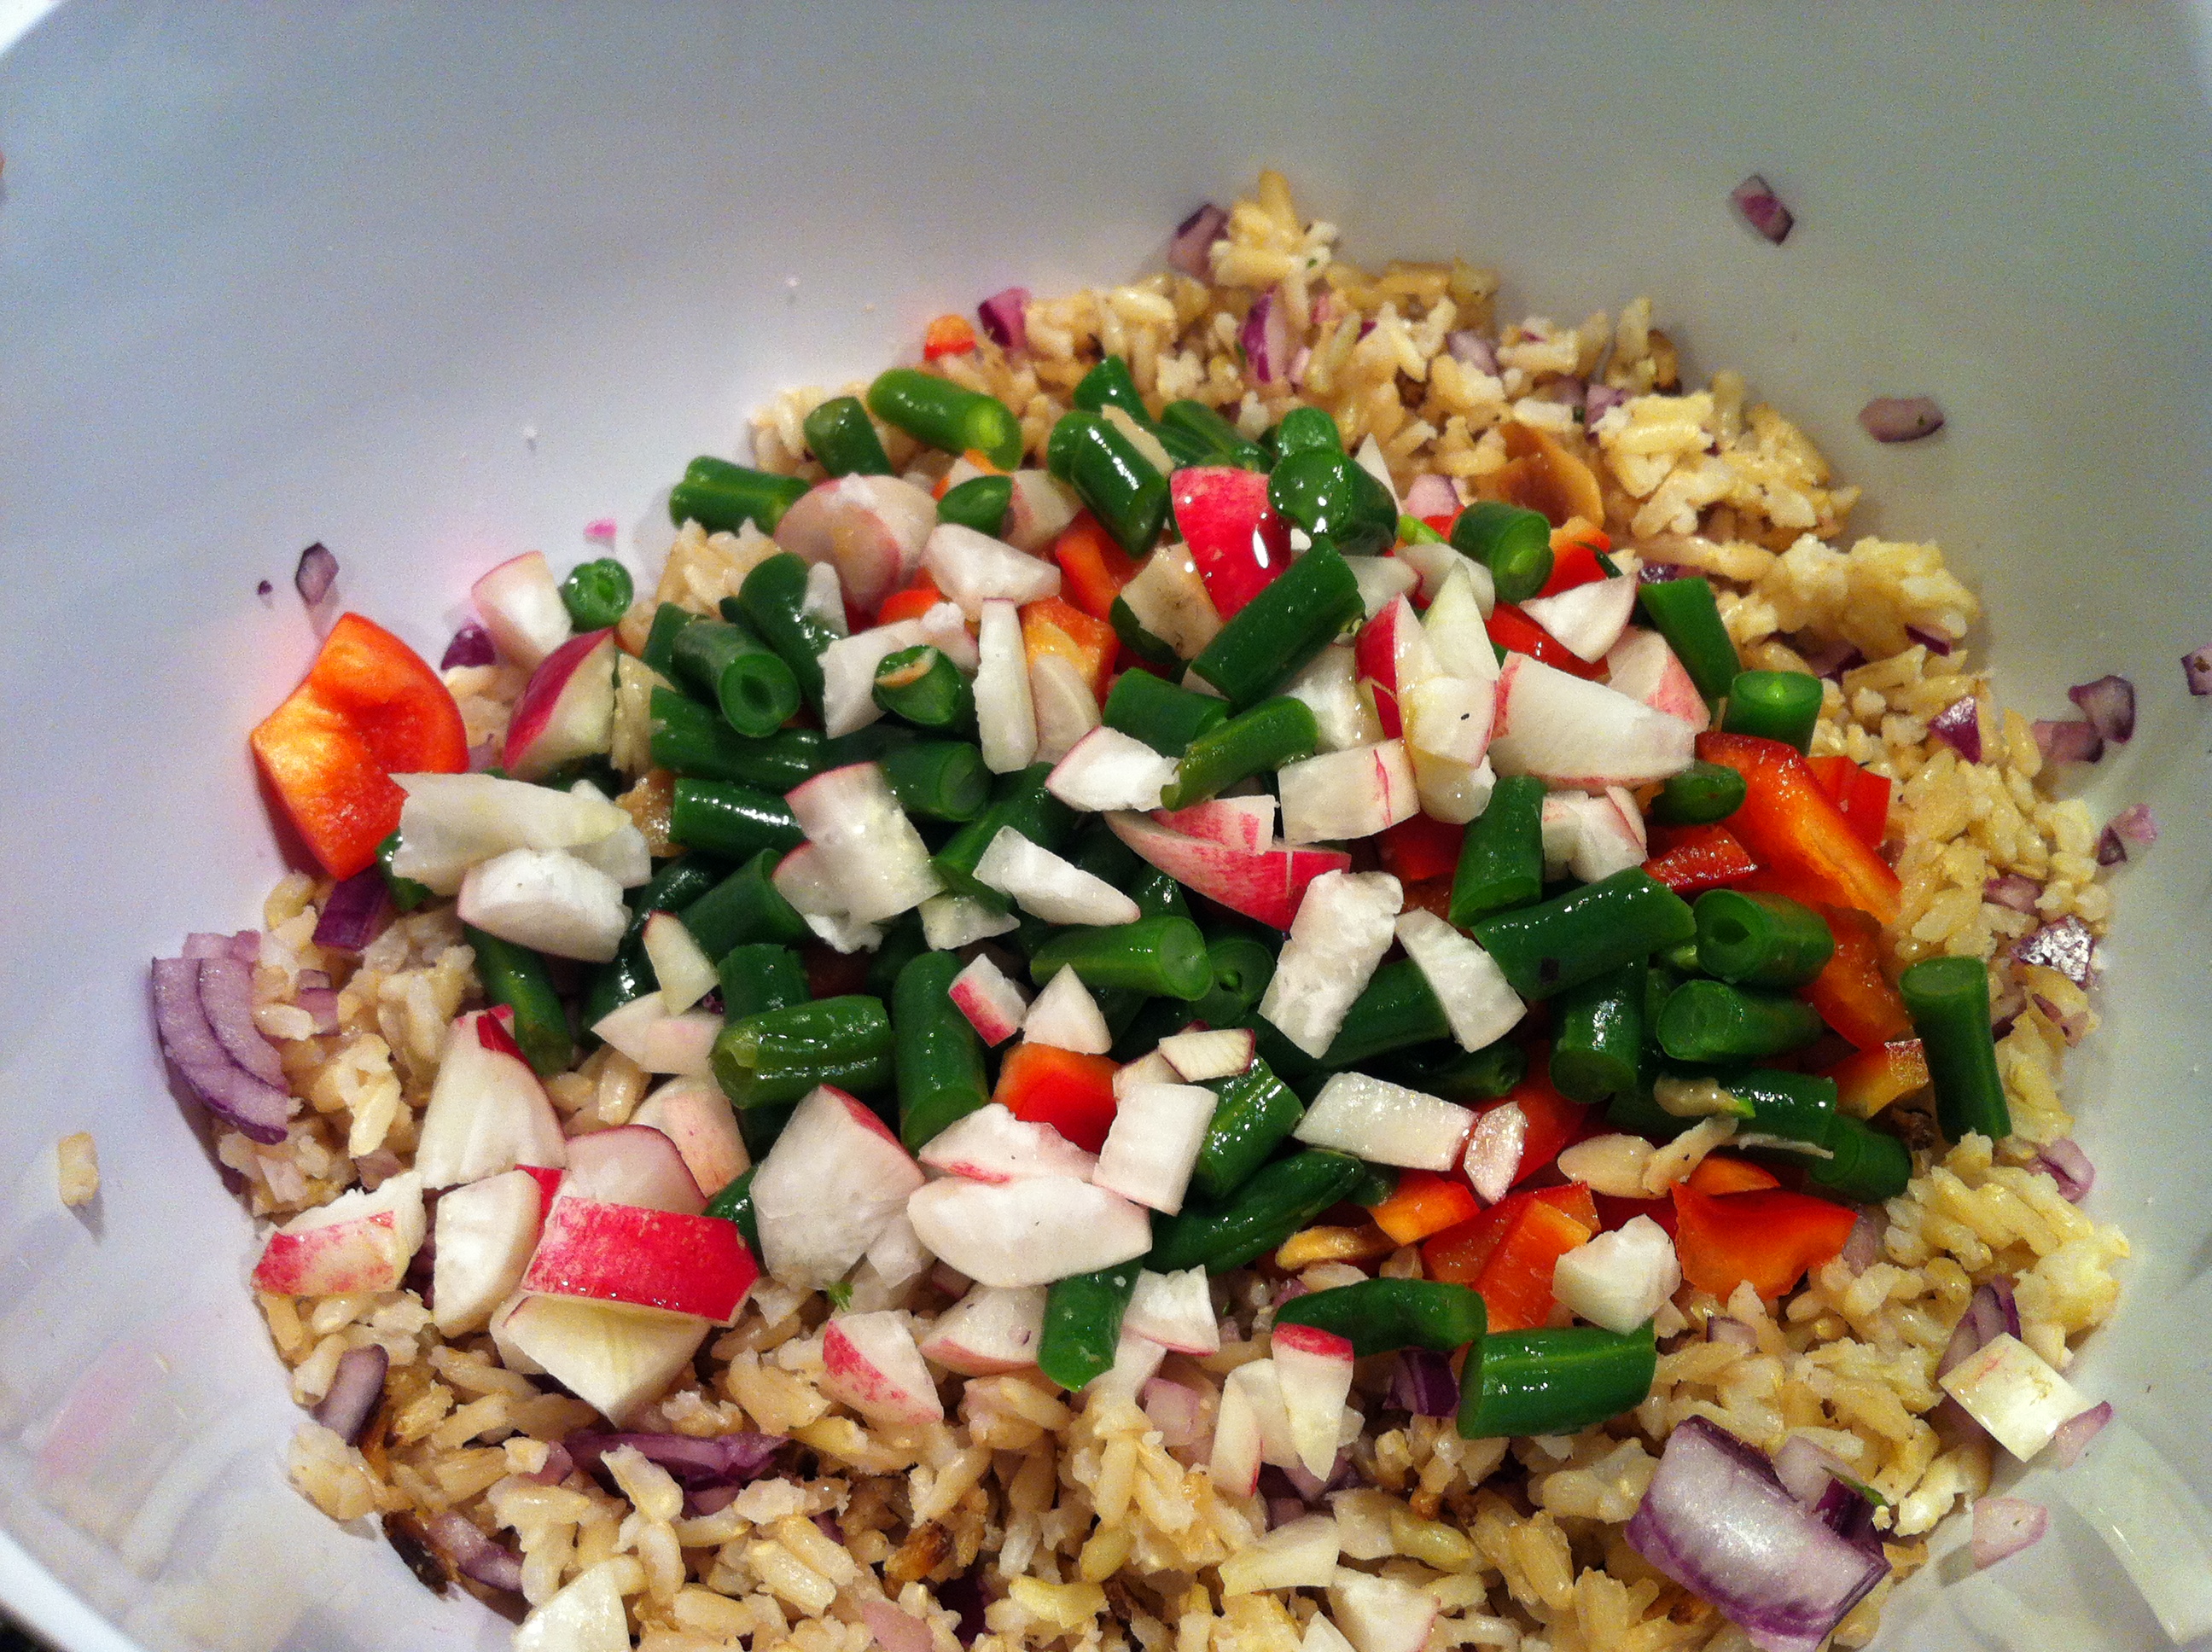
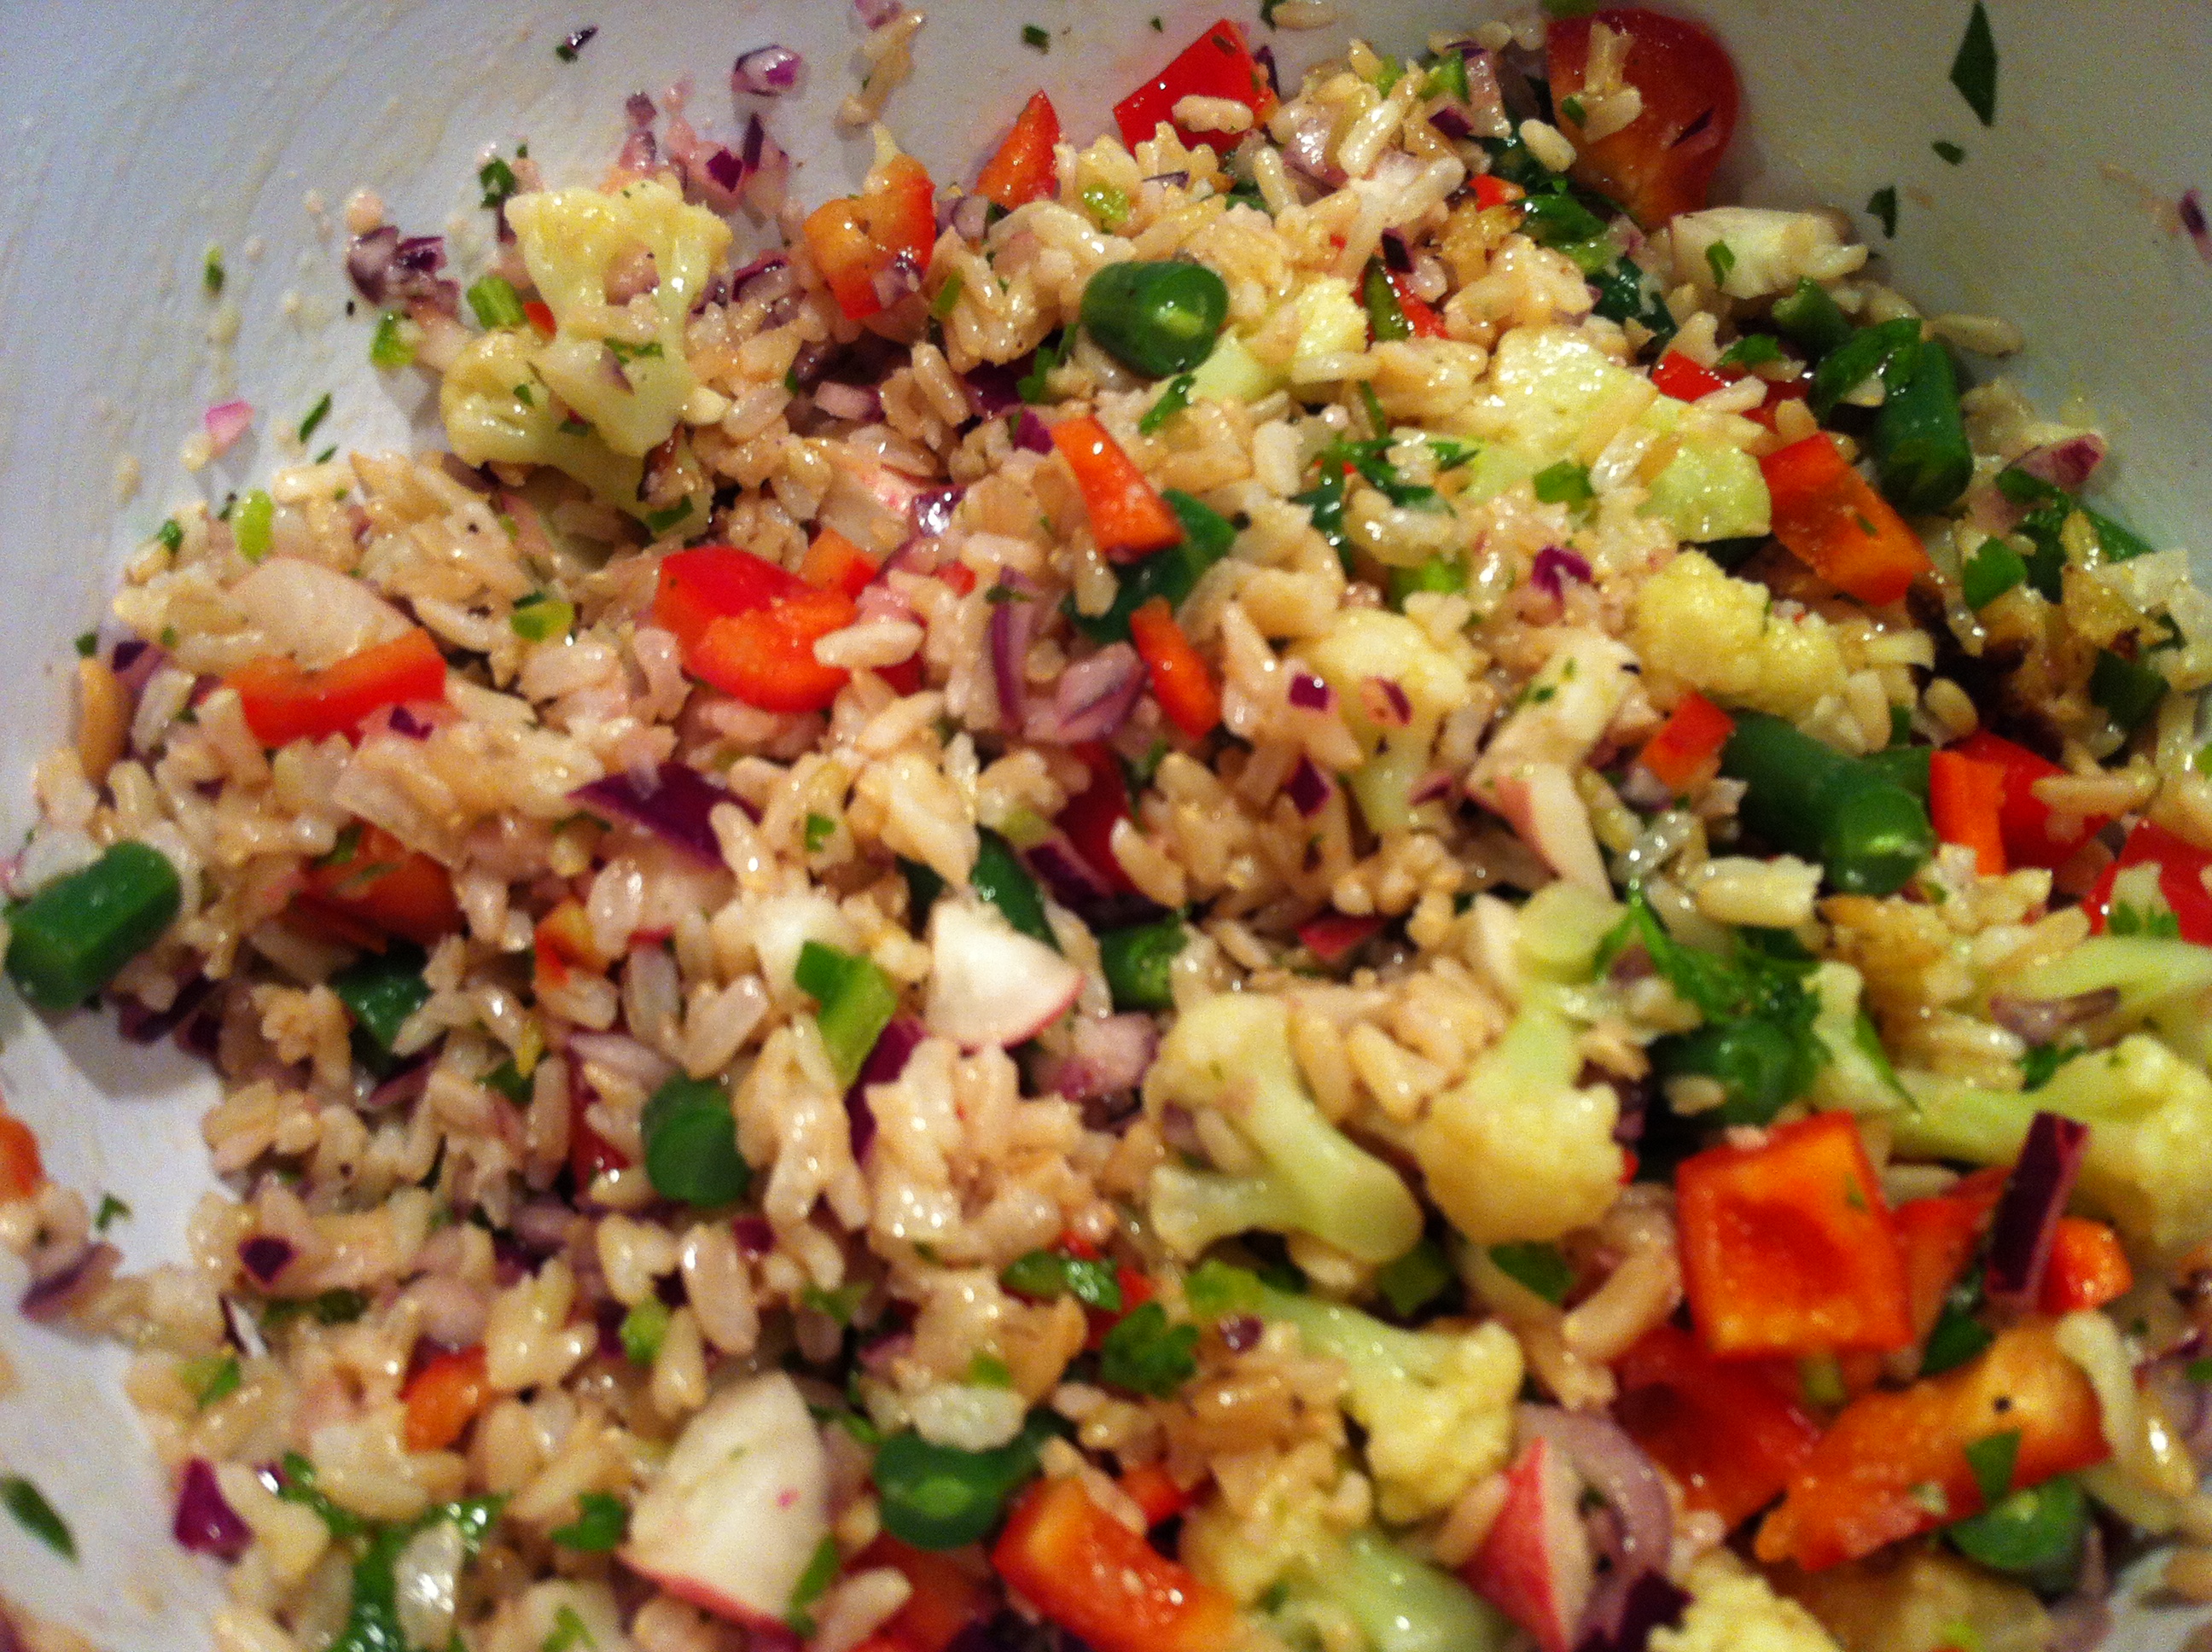
I had called this a vegetable and brown rice salad in an earlier post, and realized that it makes it sounds awfully boring. Very health food store-y, and not in a good way. So I’ve re-branded my headline in the hopes that it will encourage more folks to give this awesome, flavorful, deeply-textured, nutrient-dense dish a try. This was a perfect lunch dish, and one that you can prepare in advance, good for 1-2 days.

Late Summer Veggie Salad: Layered colors and textures

Here is an updated version of the recipe:

Summer Veggie Rice Salad
adapted from Bon Appetit June 2012

1 small shallot, chopped
2 tablespoons chopped flat-leaf parsley
2 tablespoons lemon juice
1/3 cup extra-virgin olive oil, divided
Kosher salt, freshly ground pepper
2 cups cooked brown rice, cooled
2 cups bite-size pieces assorted vegetables  (I used radishes, steamed cauliflower, bell pepper, green beans)
1 jalapeno pepper, minced
3/4 cup torn mixed leafy greens, sprouts, and herbs (Optional – I didn’t have any on hand, so skipped it)
1/3 cup chopped red onion or scallions

Preparation

  1. Make the dressing: mix shallot, parsley and lemon juice together in a bowl and season with salt and pepper. Slowly drizzle in oil and use whisk to mix dressing.
  2. Place remaining ingredients in a large bowl; drizzle with 3 Tbsp. dressing and toss to coat. Pass remaining dressing alongside for drizzling over.


And for those interested, origins of Ingredients:

– Cauliflower, bell peppers, jalapenos, onions, garlic: WSF

– Sauteed Green beans: Citarella Market (I cheated on this one, these were already prepared when I bought them)

– Breakfast radishes: our garden

Late Summer Veggie Salad